
Free Crochet Christmas Gnome Pattern For Holiday Decor
A crochet Christmas gnome brings a playful holiday touch without taking up much space. Its tall hat, fluffy beard, and round shape instantly make it stand out among festive decorations.
Display it on a mantel, tuck it into a holiday centerpiece, or make a few in different colors for a cheerful seasonal collection. This crochet pattern is a lovely way to create a decoration you’ll look forward to bringing out every Christmas.
Crochet Christmas Gnome Pattern
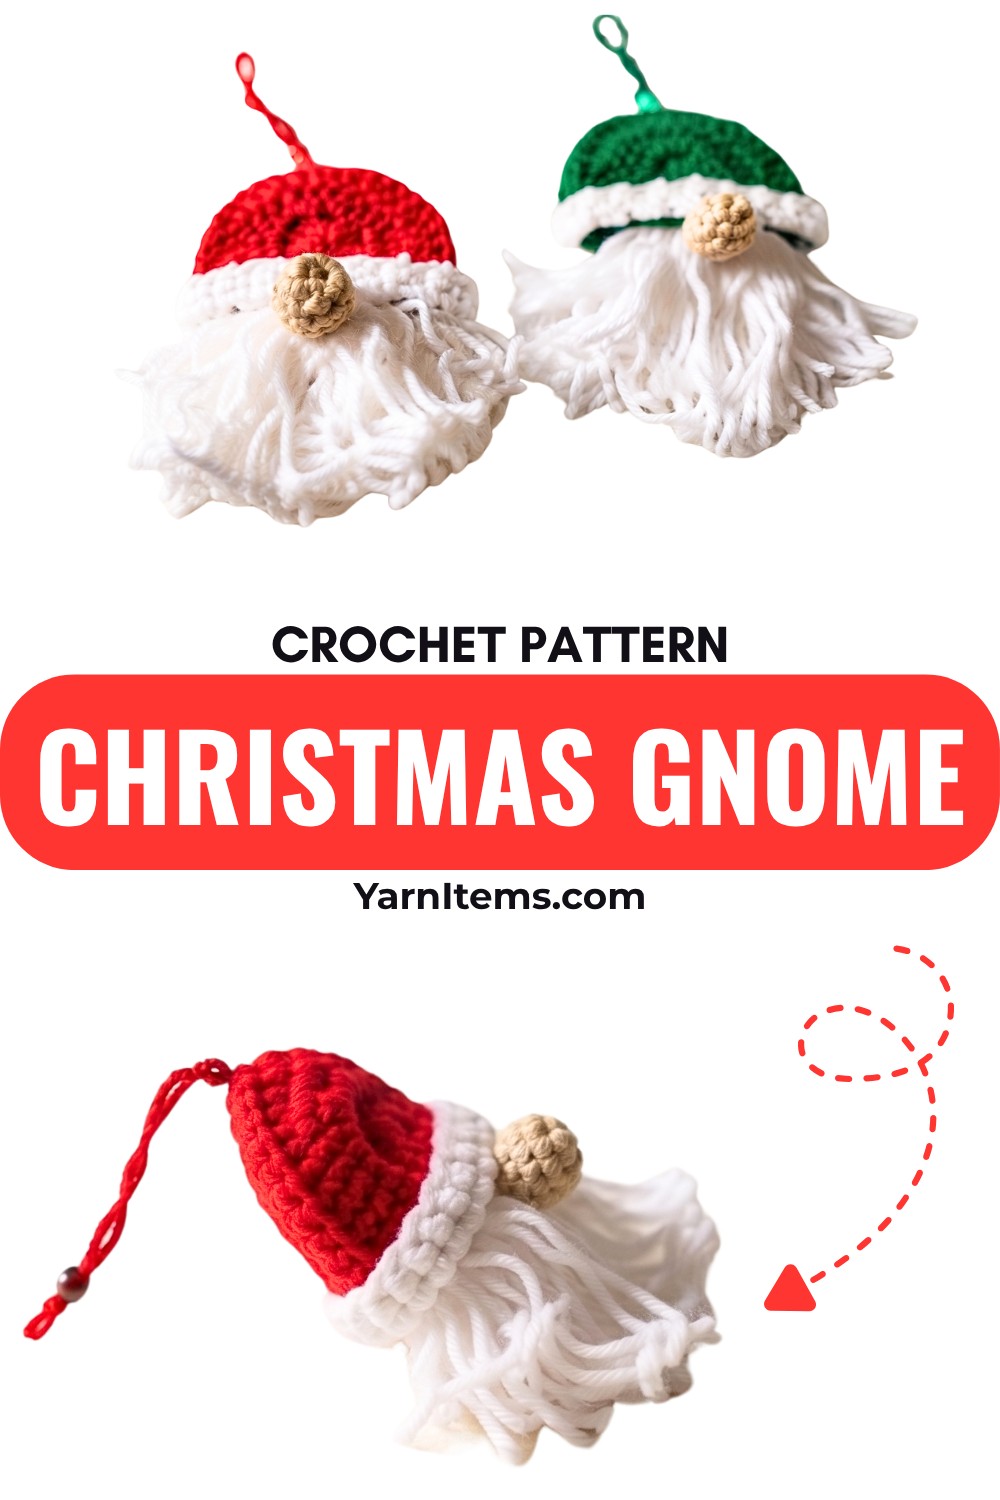
The crochet design comes together one section at a time, making each step easy to follow and enjoyable to complete. You can personalize the hat, beard, and color palette to match your holiday décor or create a one-of-a-kind handmade gift. By the time the final details are added, you’ll have a charming Christmas crochet gnome that’s ready to spread festive cheer throughout your home.
Credit Crochet Mili
Materials & Tools Needed
- Yarn:
- Hat Color: Medium-weight yarn in Red, Green, or any preferred color.
- Fluff/Beard Color: Medium-weight yarn in White.
- Nose Color: Medium-weight yarn in Beige/Tan.
- Crochet Hooks:
- 3.75 mm hook: For Hat and Hat Fluff.
- 3.5 mm hook: For the Nose.
- Additional Items:
- Beads: For decoration or hanging.
- Hot glue.
- Scissors.
- Yarn needle.
- A small piece of cardboard or sturdy paper: For wrapping the beard strands.

Finished Size & Customization Ideas
- Approximate Finished Size: 3.5–4 inches tall (ideal for ornaments).
- Customization Tips:
- Choose festive hat colors like traditional red, forest green, wintry blue, or even glittery yarns.
- Add shiny beads to the hanging loop for extra holiday flair!
Pattern Abbreviations (US Terms)
- ch: Chain
- sc: Single Crochet
- dc: Double Crochet
- st(s): Stitch(es)
- sl st: Slip Stitch
Step-by-Step Crochet Instructions
1. The Hat (Make 2 Pieces)
Using the 3.75 mm hook and Hat Color yarn (e.g., Red or Green):
Row 1:
- Make a slip knot, then ch 6.
- Work 1 dc into the 3rd ch from the hook, followed by 1 dc into the next 2 chains.
- In the last chain, work 6 dc.
- Move to the opposite side of the chain base and work 1 dc into each of the next 3 chains.
(Do not join; rows are worked flat with turns.)
Row 2:
- Ch 2, turn.
- 1 dc into the next 3 stitches.
- 2 dc into each of the next 6 stitches.
- 1 dc into the next 3 stitches.
Row 3:
- Ch 2, turn.
- 1 dc into the next 3 stitches.
- Repeat: [1 dc, then 2 dc into the next st] 4 times.
- Finish the row by working 1 dc into each of the last 3 stitches.
Finish:
- Ch 1, cut the yarn, leaving a short tail.
- Create another identical hat piece.

2. Hat Fluff (White Trim)
Using the 3.75 mm hook and White yarn:
Row 1:
- Make a slip knot, ch 3.
- 1 sc into the 2nd chain from the hook, 1 dc into the next chain.
Row 2:
- Ch 1, turn.
- 1 sc into each of the 2 stitches.
Rows 3–30:
- Repeat Row 2 until you complete 30 rows, creating a ribbed texture.
- Finish with ch 1, then cut the yarn.

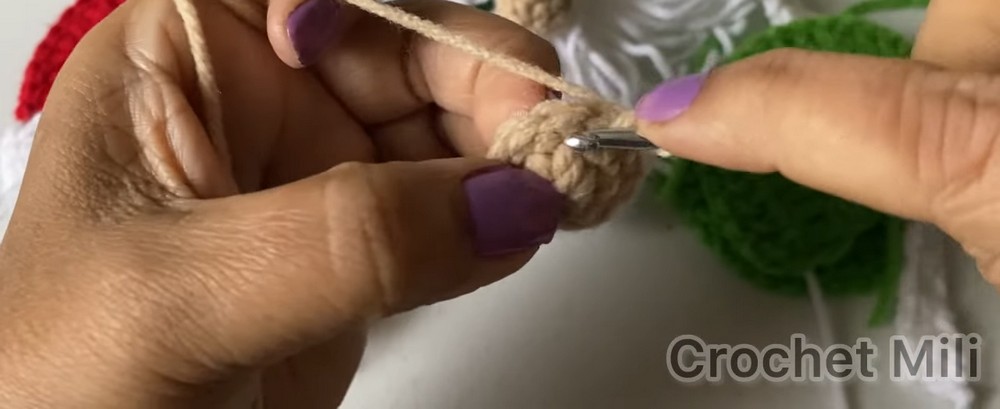
3. The Nose
Using the 3.5 mm hook and Beige/Tan yarn:
Round 1:
- Create a magic ring, ch 1, then work 6 sc into the ring.
- Pull the ring closed securely. Sl st to the first sc to join.
Round 2:
- Ch 1, then:
- 1 sc into the next 2 stitches, 2 sc into the next stitch, repeat around.
- Sl st to the first sc to join.
Round 3:
- Ch 1, work 1 sc in each stitch around.
- Sl st to the first sc to join, cut yarn, and secure.
4. Creating the Beard
Using White yarn:
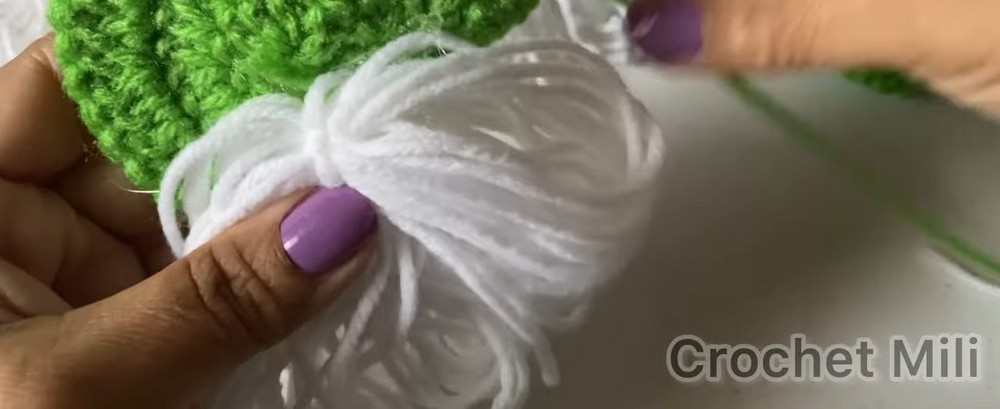
- Wrap the yarn 45 times around a piece of cardboard or sturdy paper.
- Cut along one edge of the wrapped yarn, leaving equal lengths.
- Take the bundle and tie it securely in the middle with an extra strand of yarn.
Assembly & Finishing Techniques
1. Prep the Beard
- Take the tied yarn bundle and ensure the strands are evenly distributed.
2. Attach the Beard to the Hat
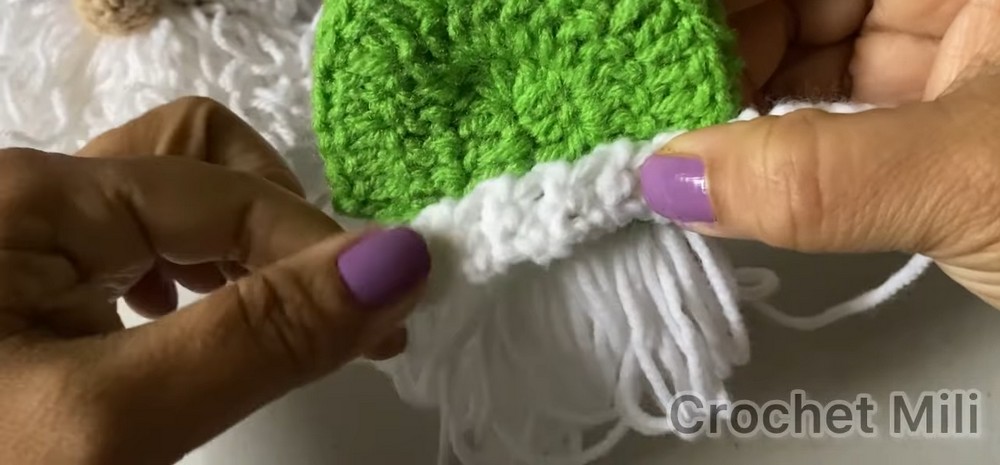
- Apply hot glue along the straight bottom edge of one hat piece.
- Place the tied center of the beard bundle directly onto the glue, ensuring the knot aligns with the hat’s center edge.
3. Combine Hat Pieces
- Apply glue around the inner curved edges of the glued hat piece.
- Place the second hat piece on top, sandwiching the beard between both. Press firmly.
4. Add the Hanging Loop
- Thread hat-colored yarn through the top peak of the hat using a needle.
- String beads onto the yarn loop.
- Tie a knot at the top to secure the loop, hiding excess thread inside the hat.

5. Trim the Beard
- Groom the beard with scissors to create a clean shape (rounded or tapered).
6. Attach the Fluff & Nose
- Apply hot glue to attach the ribbed white “Hat Fluff” along the hat brim, between the hat and beard seam.
- Add the nose: Place a small dab of glue above the center of the beard (just below the hat brim) and press the beige nose into place.


One Comment