Crochet Shirt Neckline with Step-by-Step Instructions
Transform your crochet skills with this gorgeous and versatile shirt neckline design. Perfect for upgrading any top, it blends style and functionality seamlessly.
Whether you’re going for casual or formal, this durable and customizable neckline adds a unique touch to your wardrobe.

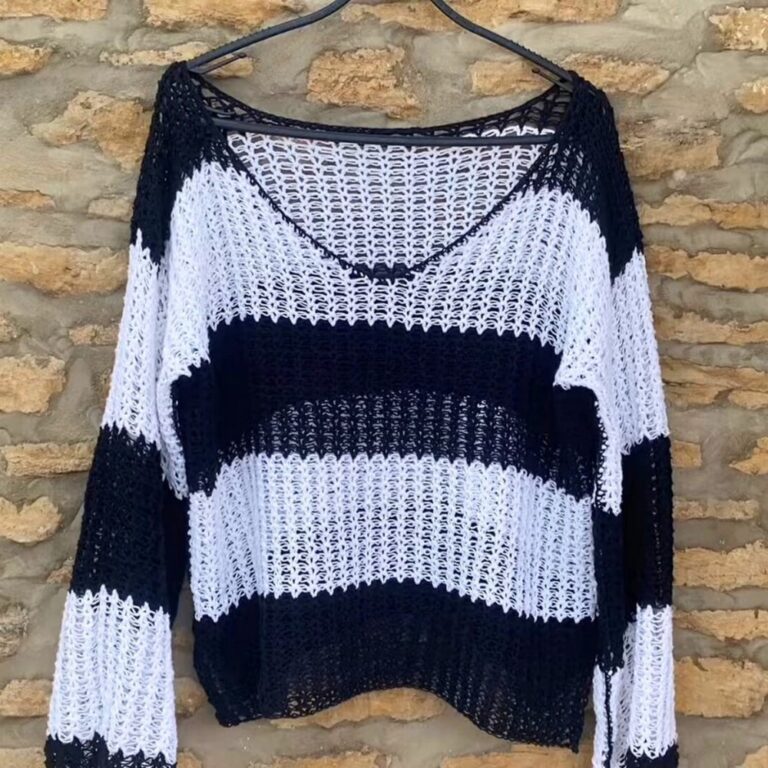
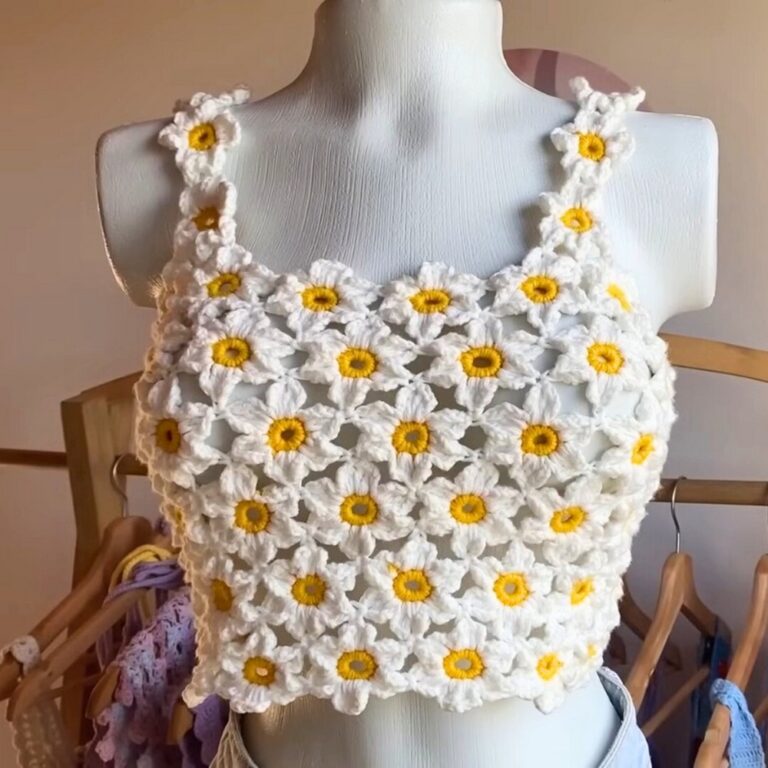
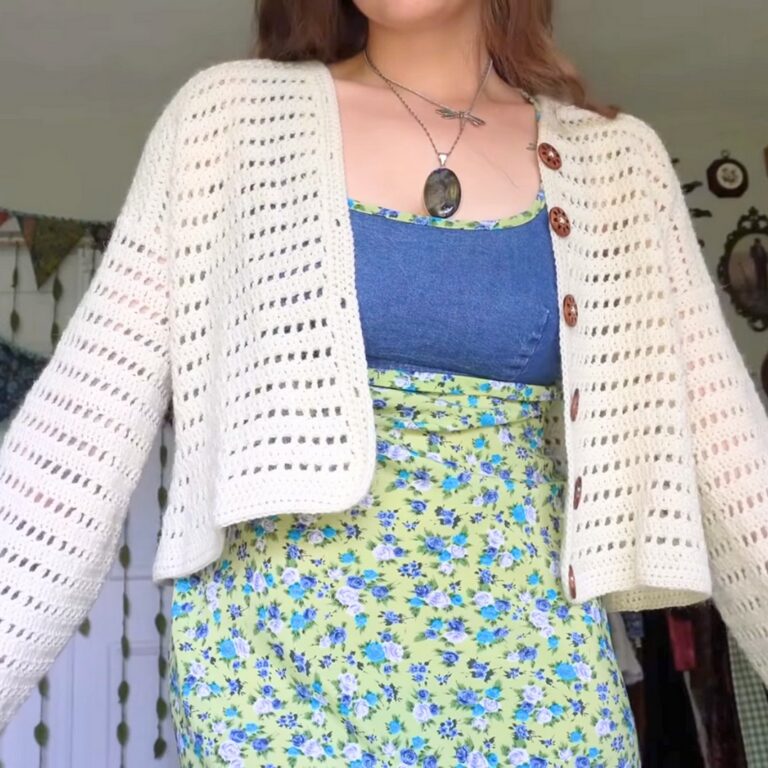
This crochet neckline elevates any shirt with its intricate pattern and stylish finish. It’s perfect for both everyday wear or special occasions.
Lightweight yet sturdy, it provides comfort and durability. Plus, it’s highly customizable to match any color scheme or clothing type, making it a practical project for all seasons.
Step-by-Step Pattern
Materials
To get started, gather the following materials:
- Yarn: Medium-weight yarn (Category 4) or lightweight yarn (Category 3), depending on the desired finish. Choose soft cotton or a cotton-blend yarn for better comfort.
- Hook: Crochet hook size H (5.0 mm) for medium-weight yarn or size G (4.0 mm) for lightweight yarn.
- Stitch Markers: For marking your starting points, especially for shaping.
- Tapestry Needle: For weaving in the ends.
- Scissors: Sharp scissors for cutting yarn.
- Measuring Tape: To ensure your neckline dimensions are accurate.
Stitch Guide
Here is a quick guide to the basic crochet stitches used in this project:
- Chain (ch): Create a slip knot, yarn over, and pull through the loop on your hook.
- Slip Stitch (sl st): Insert the hook into the stitch, yarn over, and pull through both loops on the hook.
- Single Crochet (sc): Insert hook into a stitch, yarn over, pull through a loop, yarn over again, pull through both loops on the hook.
- Double Crochet (dc): Yarn over, insert the hook into the stitch, yarn over, pull up a loop, yarn over, pull through two loops, yarn over, pull through the remaining two loops.
- Half Double Crochet (hdc): Yarn over, insert the hook into the stitch, yarn over, pull up a loop, yarn over, pull through all three loops on the hook.

Notes
- Gauge Check: Before starting, crochet a small swatch (approximately 4 inches x 4 inches) to check your gauge. Adjust the hook size if the stitches are too tight or too loose.
- Customization Ideas:
- For a wider neckline, increase the foundation chain length.
- Play with texture by adding rows of puff stitches or shells for decorative touches.
- Use a contrasting yarn color for borders to add a pop of detail.
- Shaping Tip: Always check the neckline against the shirt to ensure proper fit during different stages of the process.
Pattern Instructions
Step 1: Foundation Chain
- Measure the neckline of your shirt to determine the length of your foundation chain.
- Using your chosen yarn and hook, create a slip knot.
- Crochet a foundation chain long enough to match your neckline measurement. Ensure the number of chains is a multiple of 4 (to accommodate stitch pattern symmetry).
Step 2: First Round of Single Crochet
- Join the foundation chain into a ring with a slip stitch, being careful not to twist the chain.
- Chain 1, then single crochet (sc) into each chain stitch around.
- Join the round with a slip stitch into the first single crochet.
Step 3: Build Layers for the Neckline
- Row 1: Chain 2 (counts as the first hdc), then half double crochet (hdc) into each stitch around. Join with a slip stitch to the top of the chain 2.
- Row 2: Chain 3 (counts as the first dc), and double crochet (dc) in each stitch around. Join with a slip stitch to the top of the chain 3.
- Row 3 (Optional for Texture): Chain 3 (counts as dc), dc in the next 2 stitches, chain 1, skip 1 stitch. Repeat from * to the end of the round. Join with a slip stitch to the top of the chain 3.
Step 4: Add Ribbing or Borders
For a polished finish, add ribbing or a decorative border around the neckline:
- Ribbed Border: Use a front post/back post double crochet alternating pattern. This creates a stretchy, textured trim.
- Shell Edge: To add a lacy finish, work a shell edging (e.g., 5 dc in one stitch, skip 2 stitches, sc in next stitch, skip 2 stitches, repeat).
Step 5: Finish and Weave In Ends
- When you’re happy with the height and design, cut the yarn, leaving a 6-inch tail.
- Pull the tail through the last loop to secure.
- Use your tapestry needle to weave in the ends neatly.
Pattern Question
Question: What type of yarn works best for this crochet neckline project?
Answer: A lightweight cotton or bamboo yarn is ideal because it provides both comfort and durability, perfect for regular wear.
Conclusion
This crochet shirt neckline project combines creativity with practicality, offering a fun way to personalize your clothing. It’s easy to adapt, visually stunning, and a rewarding project for crafters. Whether you’re experienced or new to crochet, this makes the perfect addition to your DIY list.