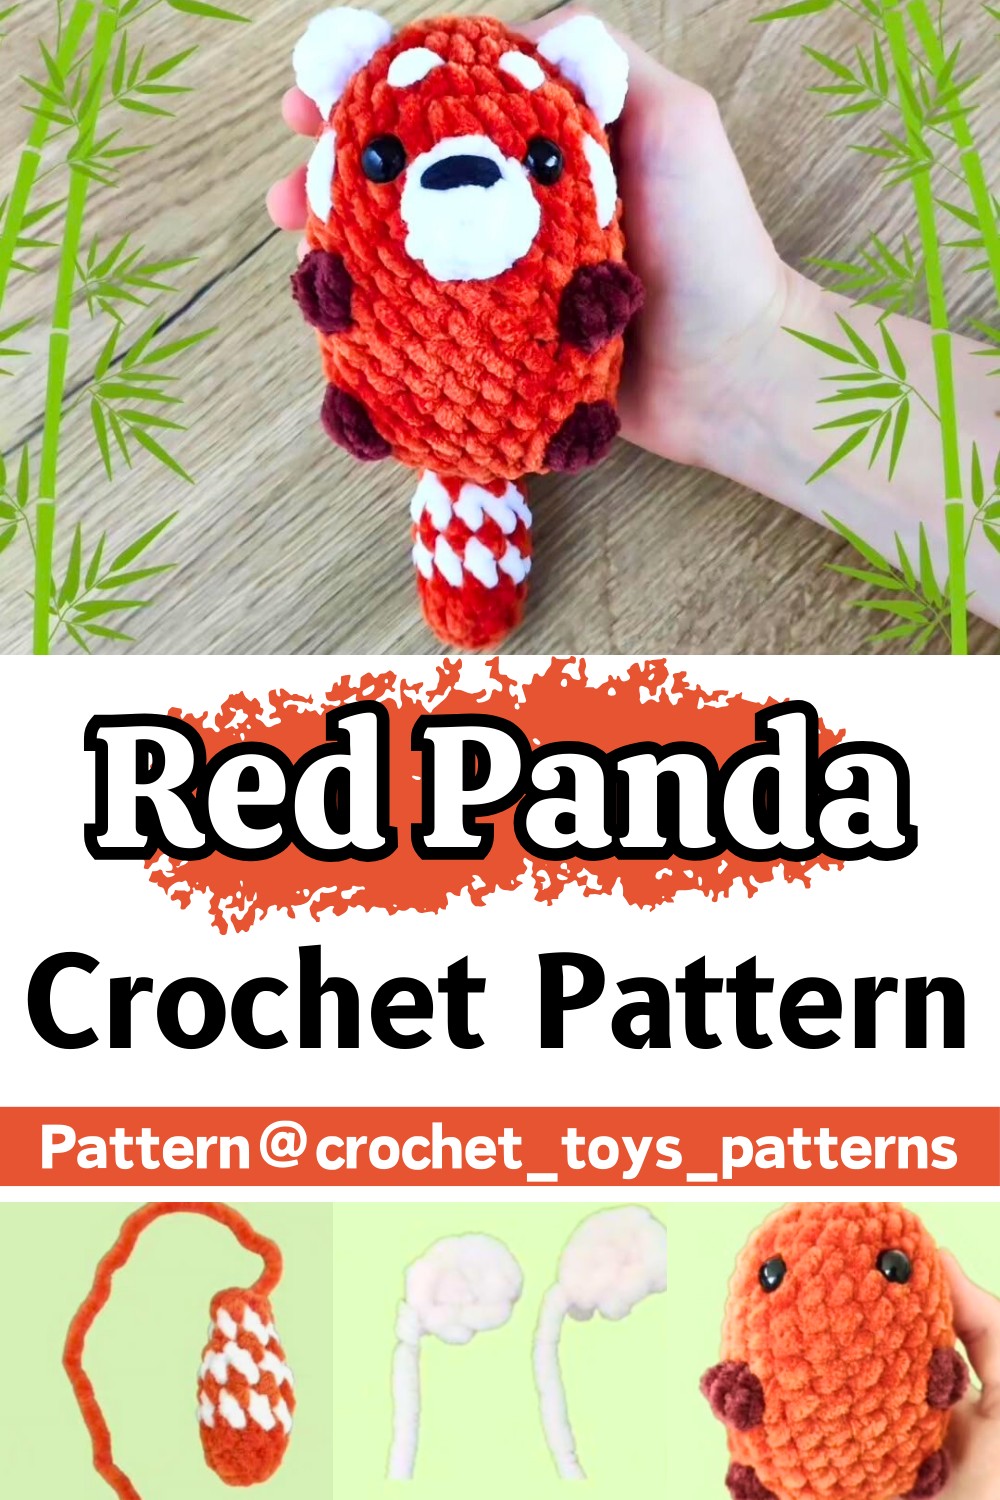
Charming Crochet Red Panda Pattern | For Plush Companion
Crafting a crochet red panda combines both creativity and precision, resulting in an adorable handmade plush. The pattern typically involves meticulous stitchwork for the signature bushy tail, rounded ears, and vibrant striped fur. Using soft-textured yarn can enhance the final appearance, while experimenting with oversized eyes or varying fur colors adds personality. Incorporating safety eyes ensures a polished and durable finish ideal for gifting or showcasing.

Customization brings endless opportunities to elevate the red panda character. Adjust yarn weights to modify the plush’s size or use multicolored embroidery for personalized fur details. Adding accessories like a miniature scarf or backpack introduces a playful twist. Advanced crocheters can enhance the feet and claws for realism or use gradient yarns for a seamless color transition. This versatile pattern suits both beginners and experienced creators aiming for unique designs.
Credit crochet_toys_patterns
Step-by-Step Pattern
Materials
- Super bulky #6 chenille yarn in orange, brown and white + black acrylic yarn (for embroidery)
- 5 mm crochet hook
- 10 mm safety eyes
- stitch marker
- sewing needle
- scissors
- toy stuffing (fiberfill)
Abbreviations
- R – round
- MR – magic ring
- st(s) – stitch(es) • ch – chain
- sl st – slip stitch
- sc – single crochet
- hdc – half double crochet
- inc – increase
- dec – decrease
- cc – color change
- BO – bobble stitch
- (x) – total number of stitches in the round
- FO – fasten off

Pattern Instructions
Body
Start with orange yarn.
- R1. 6 sc in MR (6)
- R2. inc x 6 (12)
- R3. (sc, inc) x 6 (18)
- R4. (2 sc, inc) x 6 (24)
- R5-8. 24 sc around [4 rounds]
- R9. 8 sc, BO (with brown), 6 sc, BO (with brown), 8 sc (24) Attach safety eyes between round 5-6, 4 stitches apart.
- R10-13. 24 sc around [4 rounds]
Next we will crochet the second 2 legs. Make sure they are aligned with the first BO. Because of your tension, you might move the placement 1 or 2 sts.
- R14. 9 sc, BO (with brown), 6 sc, BO (with brown), 7 sc (24)
- R15. (2 sc, dec) x 6 (18)
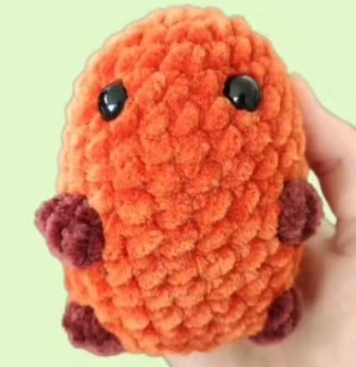
Stuff the body tight.
- R16. (sc, dec) x 6 (12)
- R17. dec x 6 (6)
Finish stuffing.
FO, close the hole.
Muzzle
Use white yarn
- R1. 6 sc in MR (6)
- R2. (sc, inc) x 3 (9)

Cut the yarn, leave a long tail for sewing.
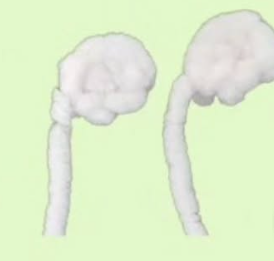
Ears (X2)
– Use white yarn
- ch 2, in the 2nd ch from hook:
- sc, 2 hdc, sc
- Cut the yarn, leave a long tail for sewing.
Tail
Start with orange color. Stuff as you go.
- R1. 6 sc in MR (6)
- R2. (sc,inc) x3 (9)
- R3. 9 sc around (9)
- R4. cc to white: 9 sc around (9) R5. cc to orange: 9 sc around (9) R6. cc to white: 9 sc around (9) R7. cc to orange: (sc, dec) x3 (6) R8. cc to white: 6 sc around (6) R9. cc to orange: 6 sc around (6)
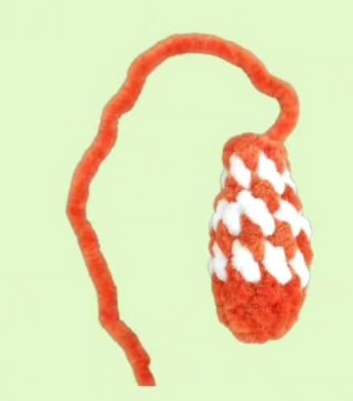
Finish stuffing. Cut the yarn, leave a long tail for sewing.
Assembly & Face Details

- Sew the muzzle on the front of the head between R4-9.
- Sew the ears on the top of the head between R2-6.
- Sew the tail on the bottom of the body between R15-17, closer to the back. If you want a sitting version, sew it between R13-15.
- Embroider the eyebrows on R3.
- Embroider the cheeks between R5-9.
- Use black thread to embroider the nose on the muzzle.