Easy Crochet Ghost Pattern – Perfect For Halloween Décor
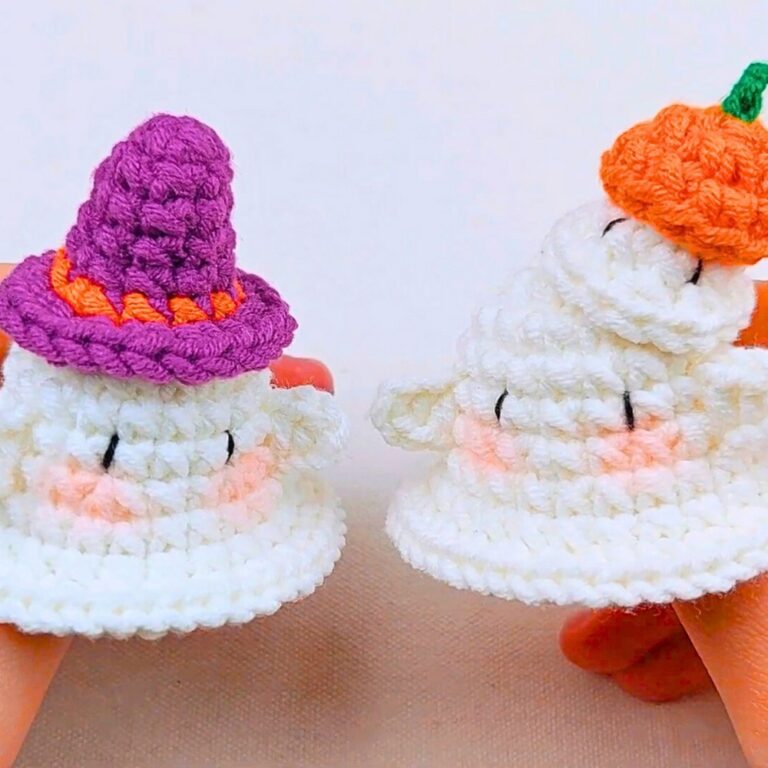
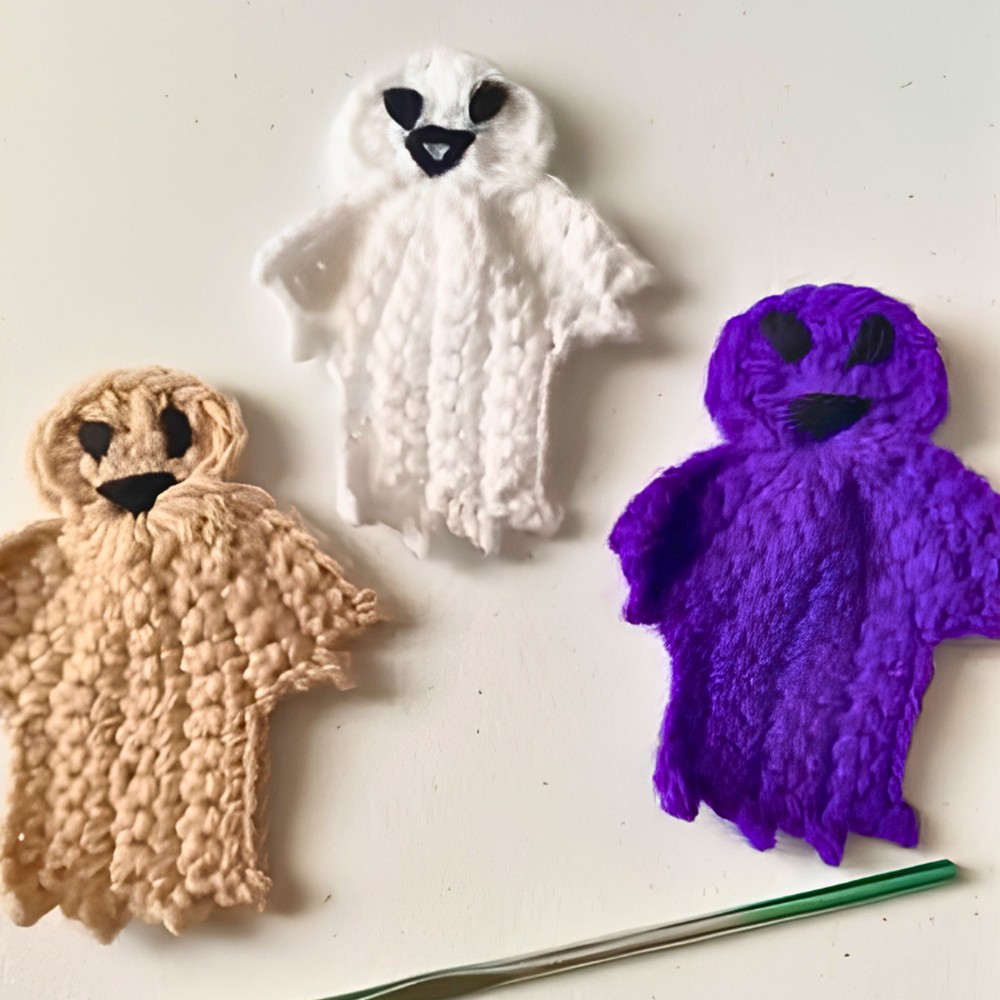
A tiny crochet ghost can add just the right amount of spooky charm without looking scary. With its soft shape and sweet expression, it’s a fun decoration for Halloween shelves, tiered trays, desks, or gift baskets.
Small enough to finish quickly yet cute enough to display anywhere. This little crochet ghost brings a playful handmade touch wherever it goes.
Free Crochet Ghost Pattern
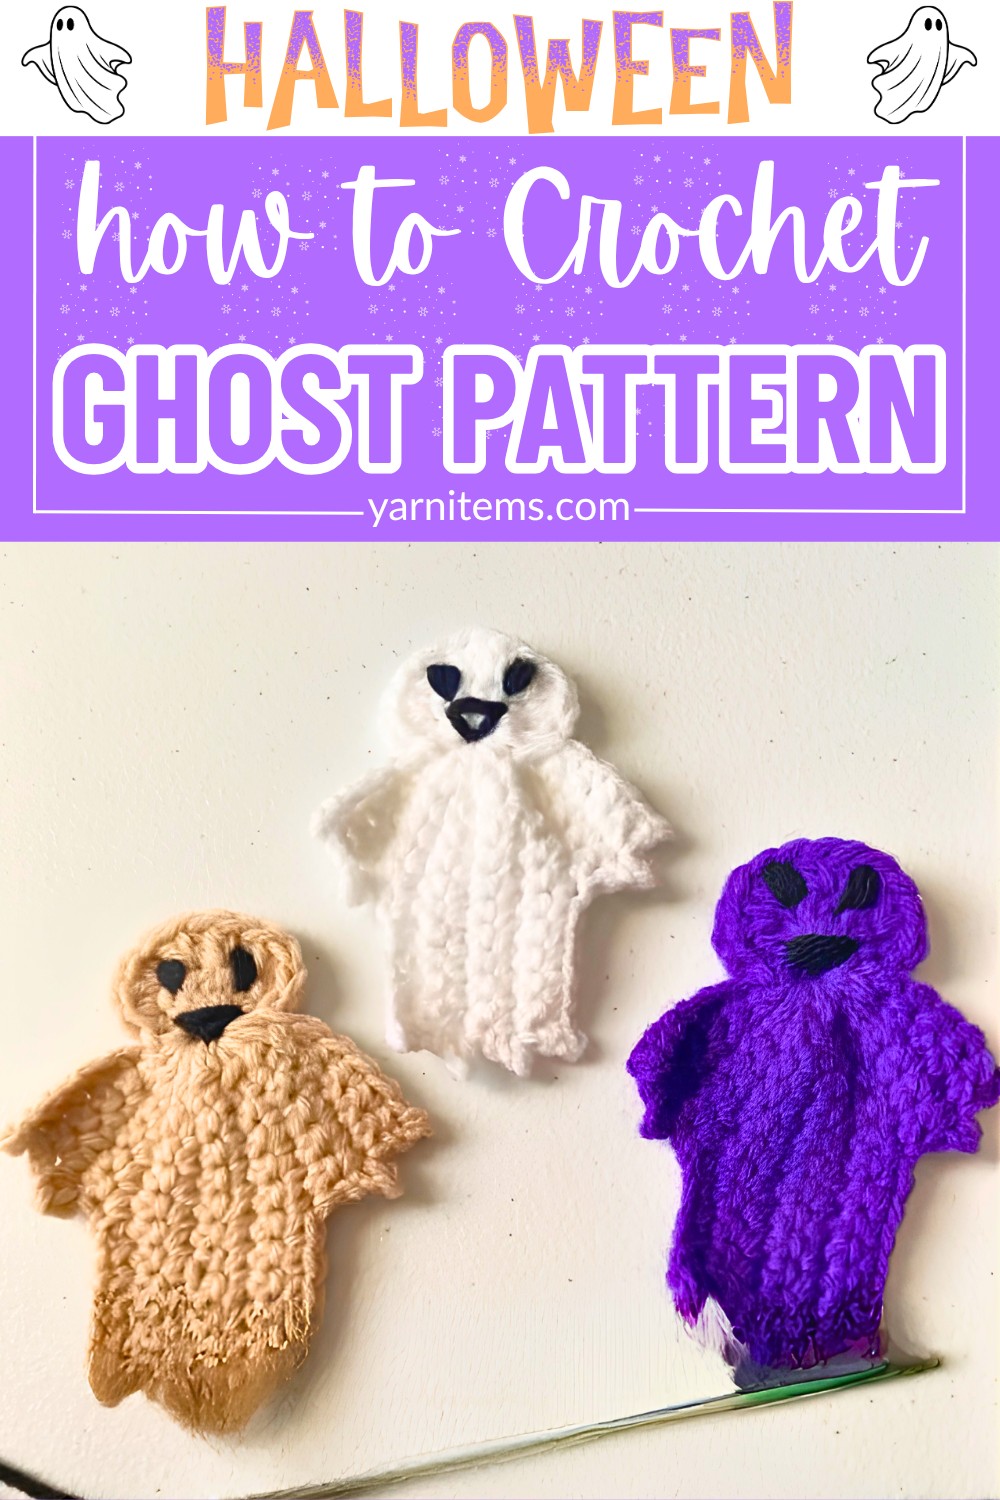
Every stitch comes together in a simple crochet pattern that’s easy to follow from start to finish. The instructions guide you through shaping the ghost with a smooth, enjoyable process, leaving plenty of room to add your own creative details. Before long, a small bundle of yarn begins to take on a charming personality that’s hard to put down until the very last crochet stitch.
Credit Crochet Mili
Materials & Tools Needed
- Yarn:
- Main color: White, purple, or tan
- Accent color: Small amount of black yarn for the face
- Crochet Hook: 4.0 mm
- Other Tools:
- Scissors
- Yarn needle (or tapestry needle) for weaving in ends and embroidering face
Finished Size & Customization Ideas
- Finished Size:
Approximately 3–4 inches tall, depending on yarn tension. - Customization Ideas:
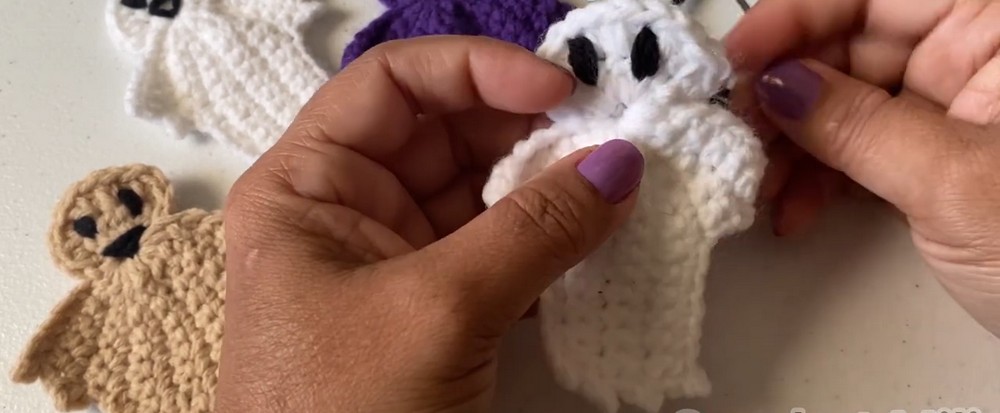
- Use different colors for the ghost, such as spooky purple, classic white, or earthy tan.
- Modify yarn weight and hook size for mini or large-size ghosts.
- Experiment with different facial expressions like happy, spooky, sad, or winking.
Pattern Abbreviations & Terminology
Here are the stitch abbreviations used throughout the pattern:
- Slip knot: Starting loop on the hook.
- ch: Chain stitch
- sl st: Slip stitch
- sc: Single crochet
- hdc (or half dc): Half double crochet
- Ring: The center space created by joining your initial chains.
Step-by-Step Crochet Pattern
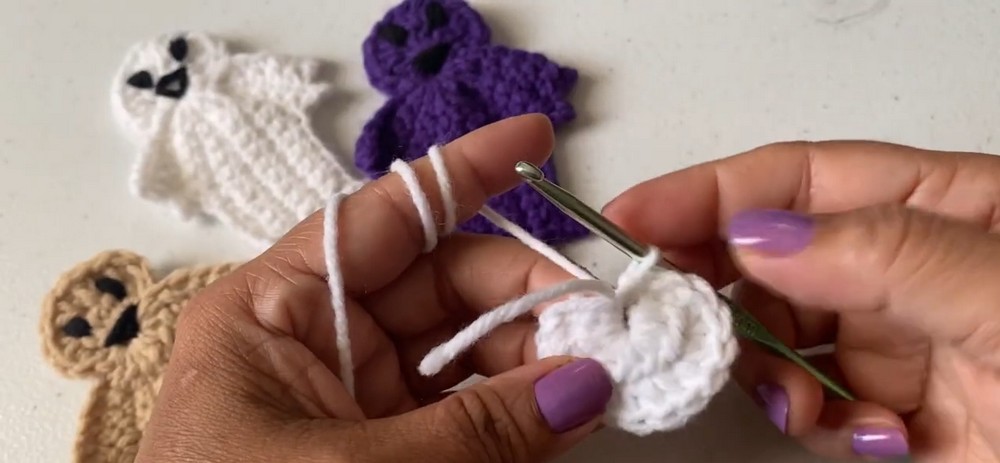
The Head
Row 1:
- Make a slip knot and chain 4.
- Slip stitch into the 1st chain to form a ring.
- Work 7 half double crochets (hdc) into the center of the ring.
- Turn your work.
- Work 2 half double crochets (hdc) into each stitch across (14 stitches total).
- Slip stitch back into the ring to secure the head.
The First Arm
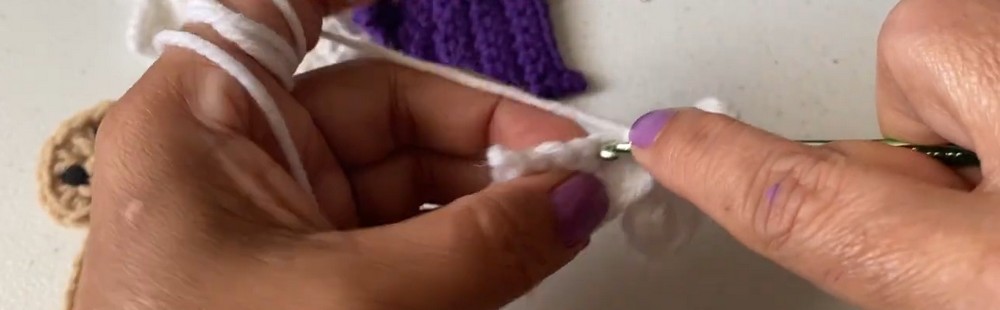
Row 2:
- Chain 7.
- Slip stitch into the 2nd chain from the hook.
- Work 1 single crochet (sc) into each of the next 5 chains.
- Slip stitch into the ring to anchor the arm.
The Body
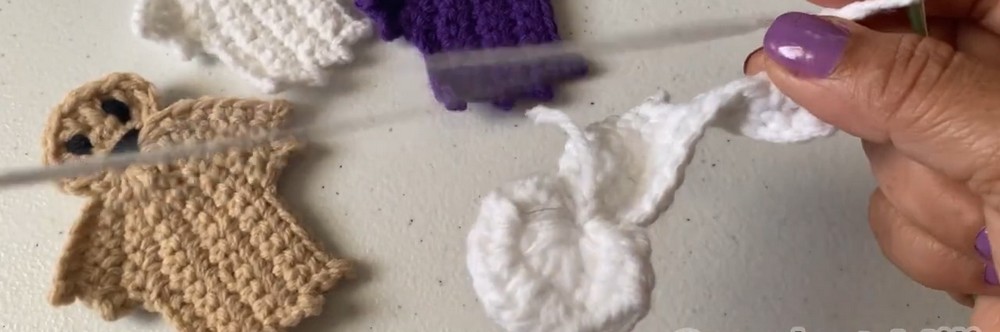
Row 3:
- Chain 1, turn your work.
- Work 1 single crochet (sc) into the next 5 stitches.
- Chain 2, then slip stitch into the 2nd chain from the hook.
- Work 1 single crochet (sc) into the next 5 stitches.
- Slip stitch into the ring.
Row 4:
- Chain 1, turn your work.
- Work 1 single crochet (sc) into the next 5 stitches.
- Chain 7, then slip stitch into the 2nd chain from the hook.
- Work 1 single crochet (sc) into the next 10 stitches.
- Slip stitch into the ring.
Rows 5–11:
- Chain 1, turn your work.
- Work 1 single crochet (sc) into the next 10 stitches.
- Chain 2, then slip stitch into the 2nd chain from the hook.
- Work 1 single crochet (sc) into the next 10 stitches.
- Slip stitch into the ring.
- Repeat this process for all rows from Row 5 through Row 11.
Row 12:
- Chain 1, turn your work.
- Work 1 single crochet (sc) into the next 5 stitches.
- Chain 2, then slip stitch into the 2nd chain from the hook.
- Work 1 single crochet (sc) into the next 5 stitches.
- Slip stitch into the ring.
Row 13 (Final Row):
- Chain 1, turn your work.
- Work 1 single crochet (sc) into the next 5 stitches.
- Chain 2, then slip stitch into the 2nd chain from the hook.
- Work 1 single crochet (sc) into the next 5 stitches.
- Slip stitch into the ring.
- Fasten off and cut the main yarn, leaving a small tail to weave in.
Finishing Techniques & Face Details
Weaving Ends:
- Thread the main-color yarn tails onto your needle.
- Weave securely through the back of your stitches to hide yarn ends.
- Trim excess yarn.
Embroidering the Face:
- Thread your yarn needle with the black accent yarn.
- Pass your needle from the back to the front through the head area.
- Use simple lines for facial features, such as:
- Eyes: Vertical lines or ovals
- Mouth: A crescent or wide smile
- After finishing the face, tie off the yarn securely and trim the excess.
Ideas for Use
- Perfect for Halloween garlands, bookmarks, clothing patches, or other seasonal decorations.
- Customize expressions and colors for more creative designs!