Crochet Flower Coaster Guide – Beautiful, Functional, Easy!
Bring warmth and floral charm into your home with this Crochet Flower Coaster DIY tutorial. Perfect for highlighting your crafting skills, this pattern combines artistic flair with practical design. From morning coffee cups to elegant dinner settings, these whimsical coasters add functionality and beauty to your space while letting you express creativity through vibrant yarn colors.
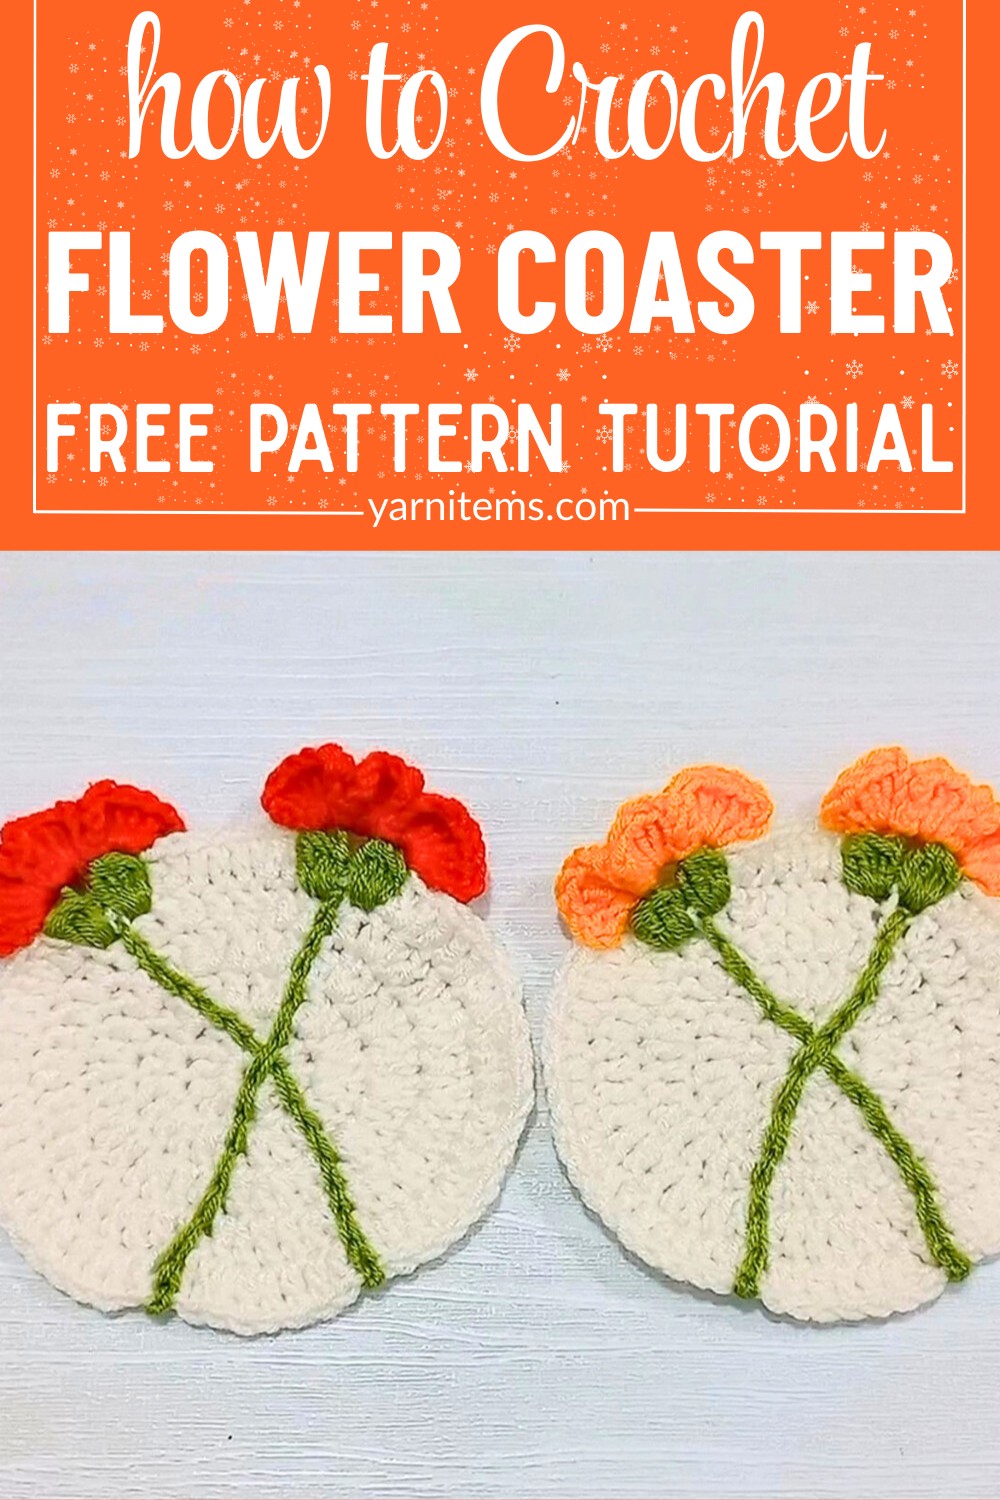
Crochet Flower Coaster
This Coaster tutorial introduces a delightful twist, teaching you how to crochet flowers with durability and flair. The design focuses heavily on creating lifelike floral textures using overlapping petal layers and intricate center detailing. Whether you’re perfecting color gradients or learning decorative edging techniques, this guide offers valuable tips for crocheters looking to elevate their skills.
Pattern Highlights:
- Features creative petal layering for a lifelike look.
- Ideal project for cotton-based or soft acrylic yarns like “Alize Cotton Gold.”
Credit zhavin crochet
Step-by-Step Pattern
Materials
To make this Crochet Flower Coaster, you’ll need:
- Yarn: Alize Baby Best or any Category 3 (Light/DK weight) yarn in multiple colors. These include:
- White yarn (for the base).
- Green yarn (for the flower leaves and stems).
- Red or any contrasting color yarn (for the flower petals).
- For a different look, feel free to use multiples of Category 2 or experiment with sparkly or ombre yarn for a creative twist.
- Crochet Hook: 3mm hook (adjust depending on your yarn and tension).
- Tapestry Needle: For weaving in ends and finishing details.
- Scissors: To trim ends and cut yarn as needed.
Stitch Guide
Here are the basic stitches and techniques you’ll use:
- Slip Knot – Create a loop with your yarn, insert the hook, and pull the tail end to secure the knot.
- Chain (ch) – Yarn over, pull through the loop on your hook to create a stitch.
- Single Crochet (sc) – Insert hook into the stitch, yarn over, pull through the loop, yarn over again, and pull through both loops on the hook.
- Double Crochet (dc) – Yarn over, insert hook into the stitch, yarn over and pull up a loop (3 loops on the hook), yarn over and pull through two loops, yarn over again and pull through the remaining two loops.
- Bubble Stitch (bobble) – Work five incomplete dc stitches into the same stitch (yarn over, pull through two for each) to leave six loops on the hook, then yarn over and pull through all six loops in one movement.
- Slip Stitch – Insert hook into stitch, yarn over, and pull through the loop to fasten off or join.
Notes
- Adjusting Yarn Type: While the tutorial uses Category 3 yarn, Category 2 yarn can also work for this project. Adjust the hook size accordingly to achieve uniformity.
- Color Choices: Customize the coaster with any combination of colors! Use multiple yarn shades for the petals, leaves, and stem of the flowers to suit your aesthetic preferences.
- Gauge Note: For standard sizing, aim for 12 double crochets in the first round and increase by following the pattern. The finished coaster should be approximately 5-6 inches in diameter, depending on yarn and tension.
- Optional Ideas: Add beads in the center of the petals for a fancy touch or turn the coaster into a hanging ornament by attaching a yarn ring at the top.

Pattern Instructions
Step 1: Start the Center Ring
- Take your white yarn and make a slip knot. Create 4 chains and join the last chain to the first with a slip stitch, forming a ring.
- Begin Round 1 by chaining 1 and making 1 single crochet into the ring. After the single crochet, chain 1.
- This single crochet and chain 1 will count as the first double crochet for this round.
- Make 11 more double crochets into the ring.
- Yarn over, insert the hook into the ring, pull up a loop, yarn over, pull through 2 loops, then yarn over and pull through the final 2 loops.
- After finishing, you should have 12 double crochets in total.
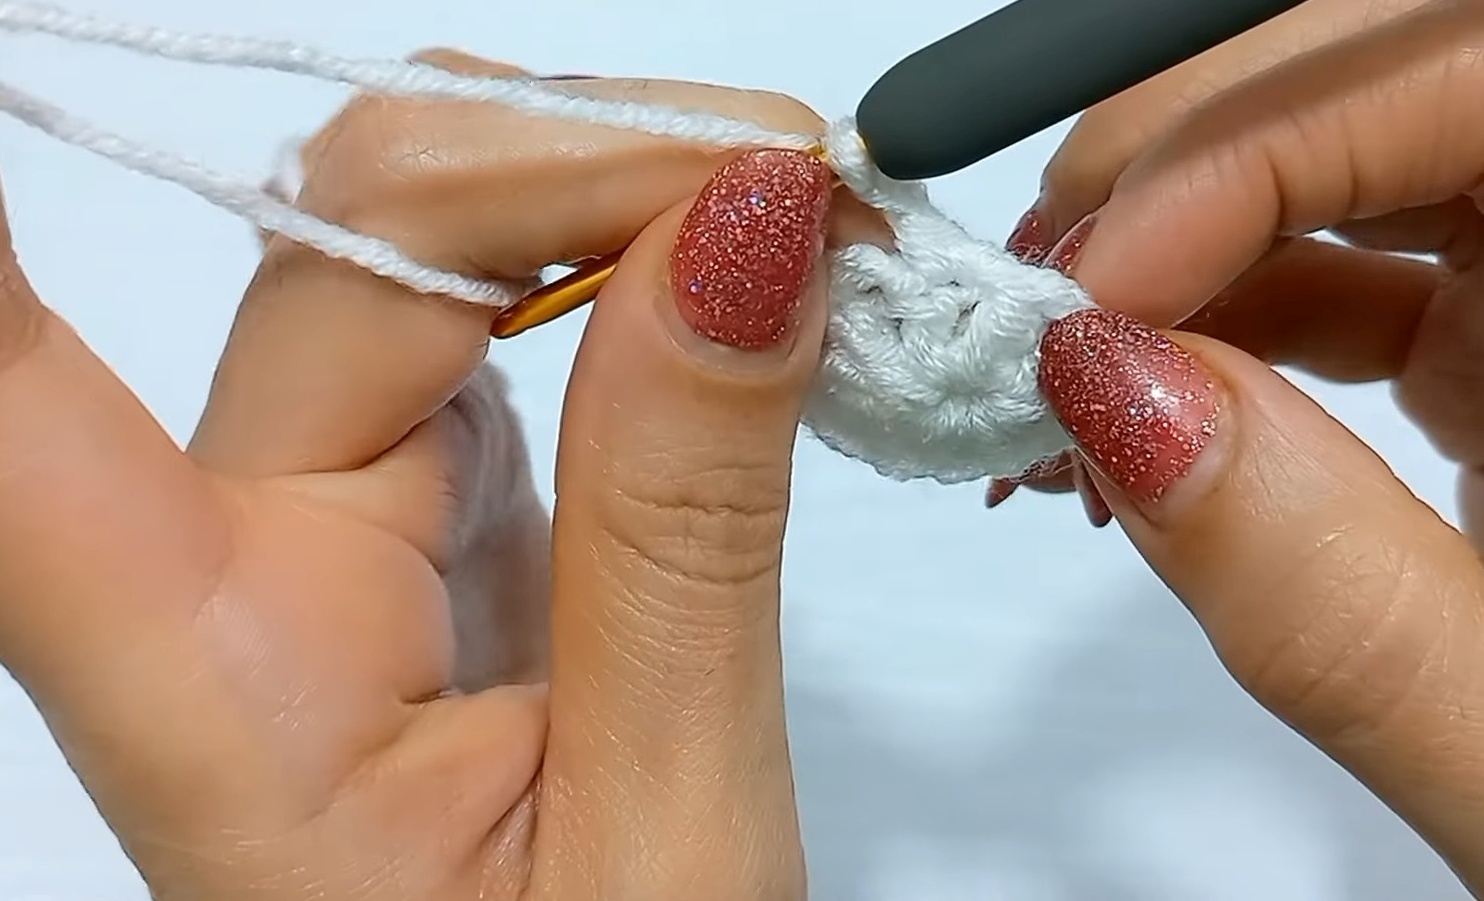
Step 2: Begin Round 2
- Remove the hook and insert it into the top of the second double crochet (you’ll skip the first single crochet and chain 1). Pull the loop of the last double crochet through this stitch.
- Chain 1, and make 1 single crochet and 1 chain into the same stitch to create the first double crochet.
- Work 2 double crochets into each stitch around:
- Yarn over, insert the hook into the stitch, work one double crochet.
- Work a second double crochet into the same stitch.
- Repeat this for all stitches, making 2 double crochets into each stitch until you have 24 double crochets total by the end of Round 2.
Step 3: Add Rounds for Expansion
For Round 3:
- Start by chaining 1, make 1 single crochet, and chain 1 for the first stitch.
- Work the following sequence across the round:
- 2 double crochets into the first stitch.
- 1 double crochet into the next.
- Keep repeating these steps: 2 double crochets into one stitch followed by 1 double crochet into the next stitch.
- Once finished, you’ll have 36 double crochets.
For Round 4:
- Begin the round with 1 single crochet and 1 chain.
- Work the following sequence:
- 2 double crochets into one stitch.
- 1 double crochet into each of the next 2 stitches.
- Repeat this sequence until the end of the round. You should have 48 double crochets.
For Round 5:
- Start with 1 single crochet and chain 1.
- Work the following sequence:
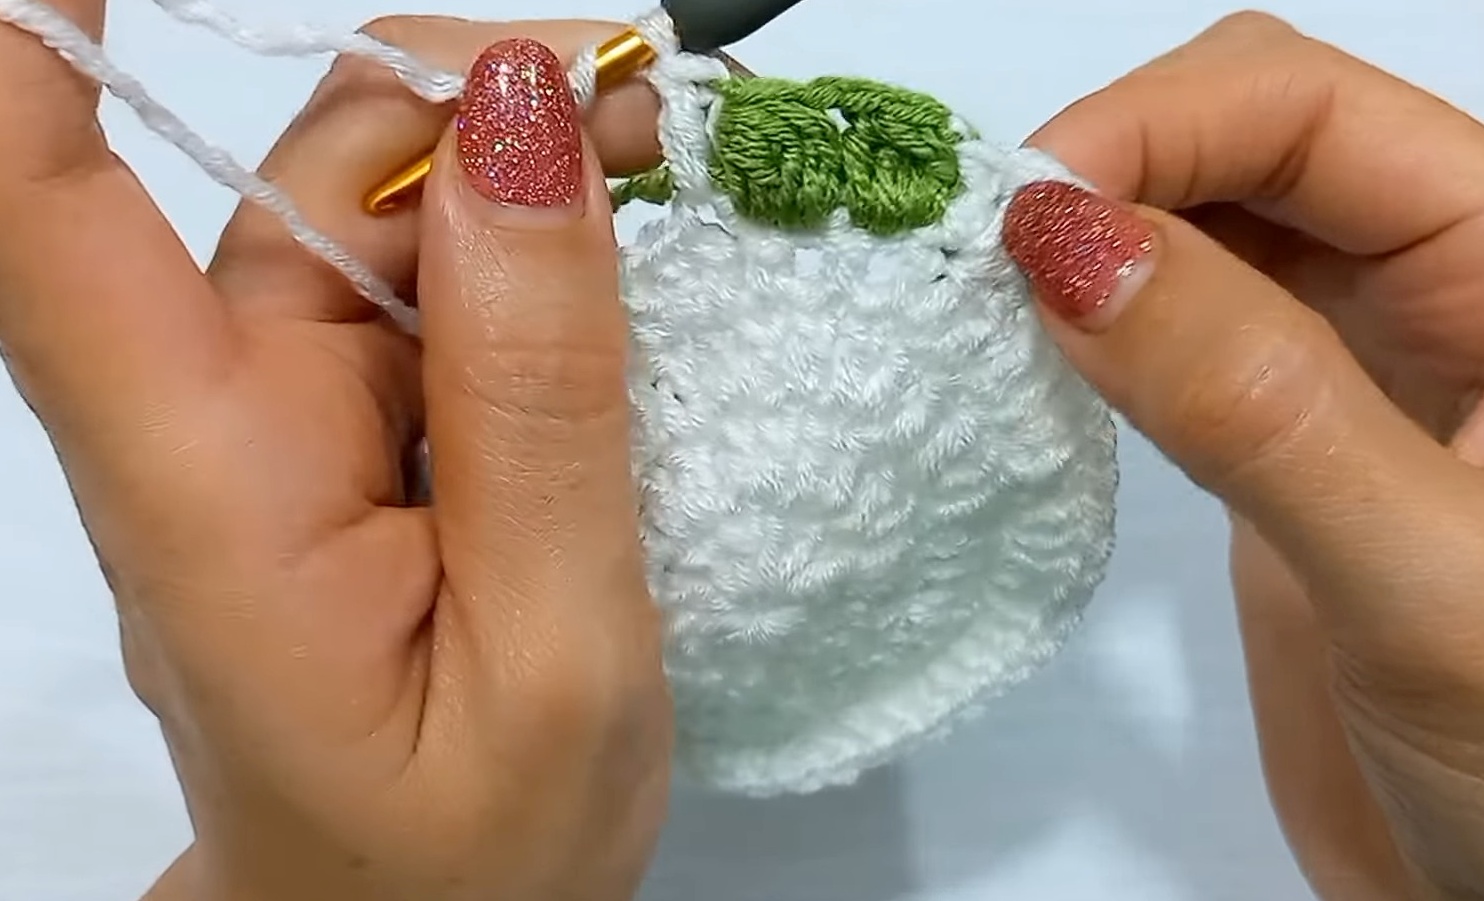
- 2 double crochets into one stitch, then 1 double crochet into each of the next 3 stitches. Don’t finish the second double crochet, as you need to change colors to green yarn for the leaves.
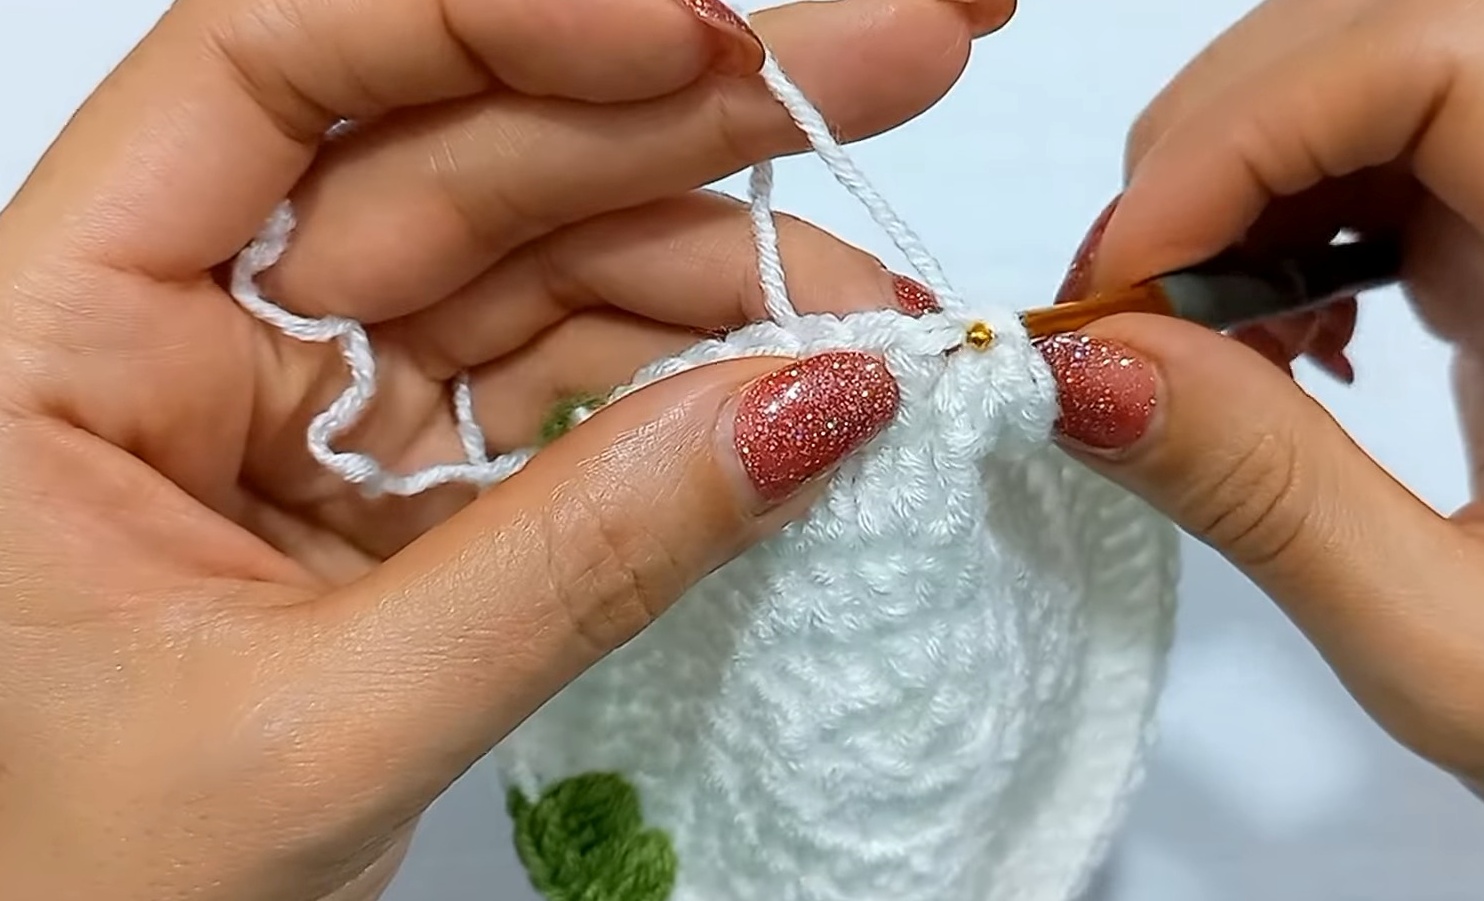
Step 4: Create the Leaves
With the green yarn:
- Secure the green yarn by pulling it through during the incomplete second double crochet, then chain 1.
- Make a bubble stitch into the next stitch:
- Yarn over, insert hook into stitch, pull through and work 5 incomplete double crochets (leaving 6 loops on the hook).
- Yarn over and pull through all loops.
- Chain 2.
- Move to the next stitch and create another bubble stitch (follow step 2 again).
- Secure the green yarn by pulling through the white yarn at the end of your bubble stitch.
Continue working through the round with the following pattern:
- Two double crochets into one stitch.
- Three individual double crochets into the next three stitches.
- Repeat the sequence, making bubble stitches and following the pattern as you go until the end of the round.
Step 5: Add Flowers
To create the finishing flowers:
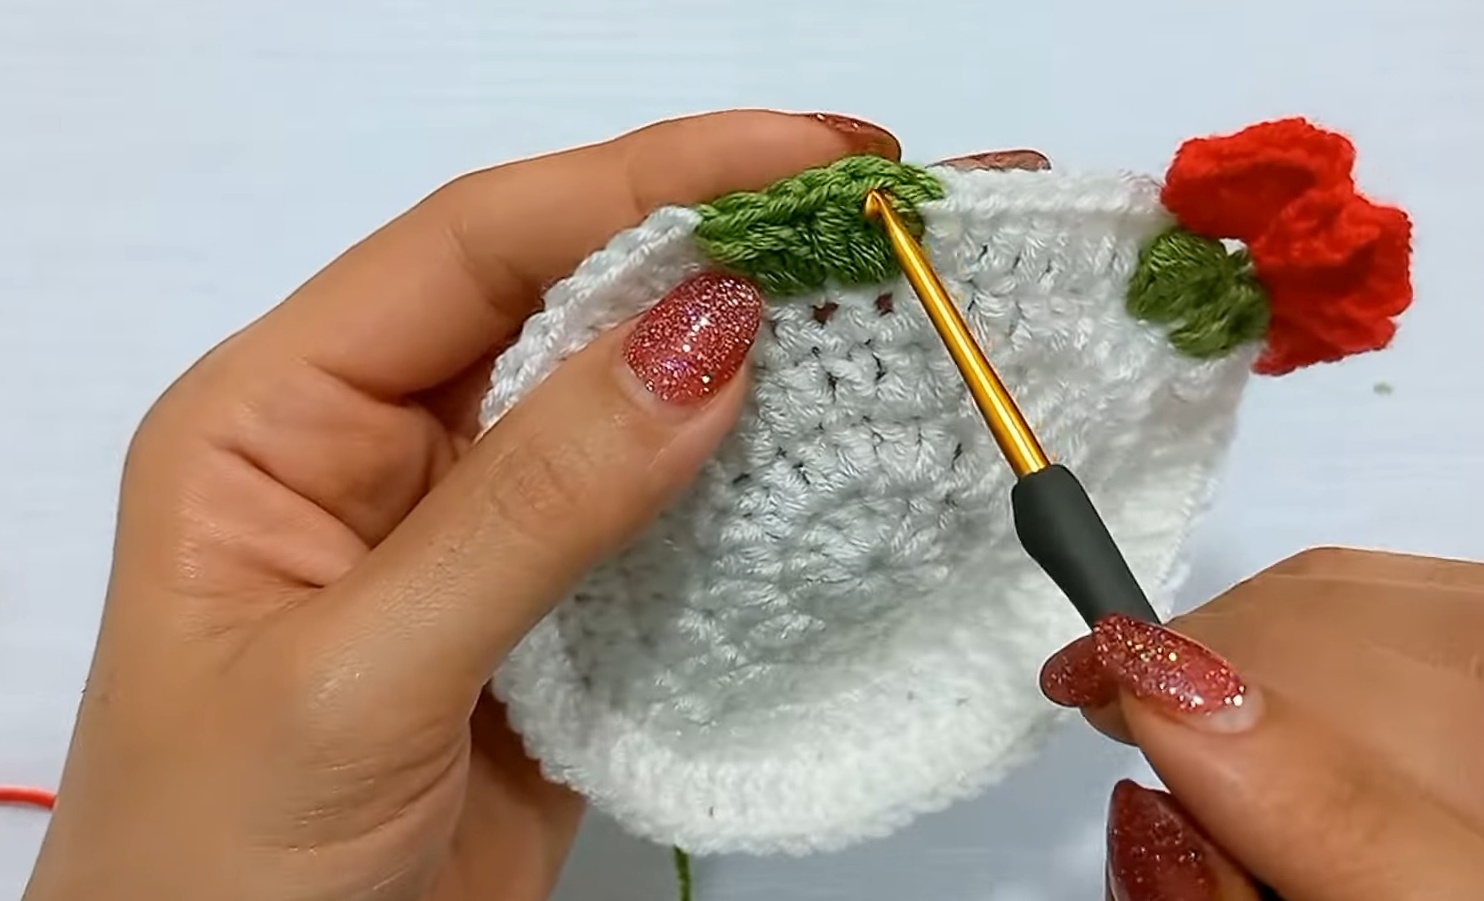
- Take red yarn and make a slip knot. Insert the hook at the top of the bubble stitch on the green petal and make:
- 1 single crochet, 3 chains, and 5 double crochets into the same stitch to form the petal.
- Chain 3, then make 1 slip stitch into the same stitch to close the petal.
- Continue with the next petal: Insert the hook into the chain space between two bubble stitches and make:
- 1 slip stitch, 3 chains, 5 double crochets, 3 chains, and 1 slip stitch.
Repeat the above sequence until you’ve added all the petals.
Note: Shift back and forth on stitches to create a realistic stem effect with the green yarn between the leaves.
Step 6: Finish Your Coaster
Once all the petals and stems are complete:
- Cut the yarn, leaving short tails for weaving in.
- Use your tapestry needle to weave in all ends securely and trim the excess yarn.
- Shape the coaster by gently pressing it flat with your hands or blocking it for a polished finish.
Final Notes
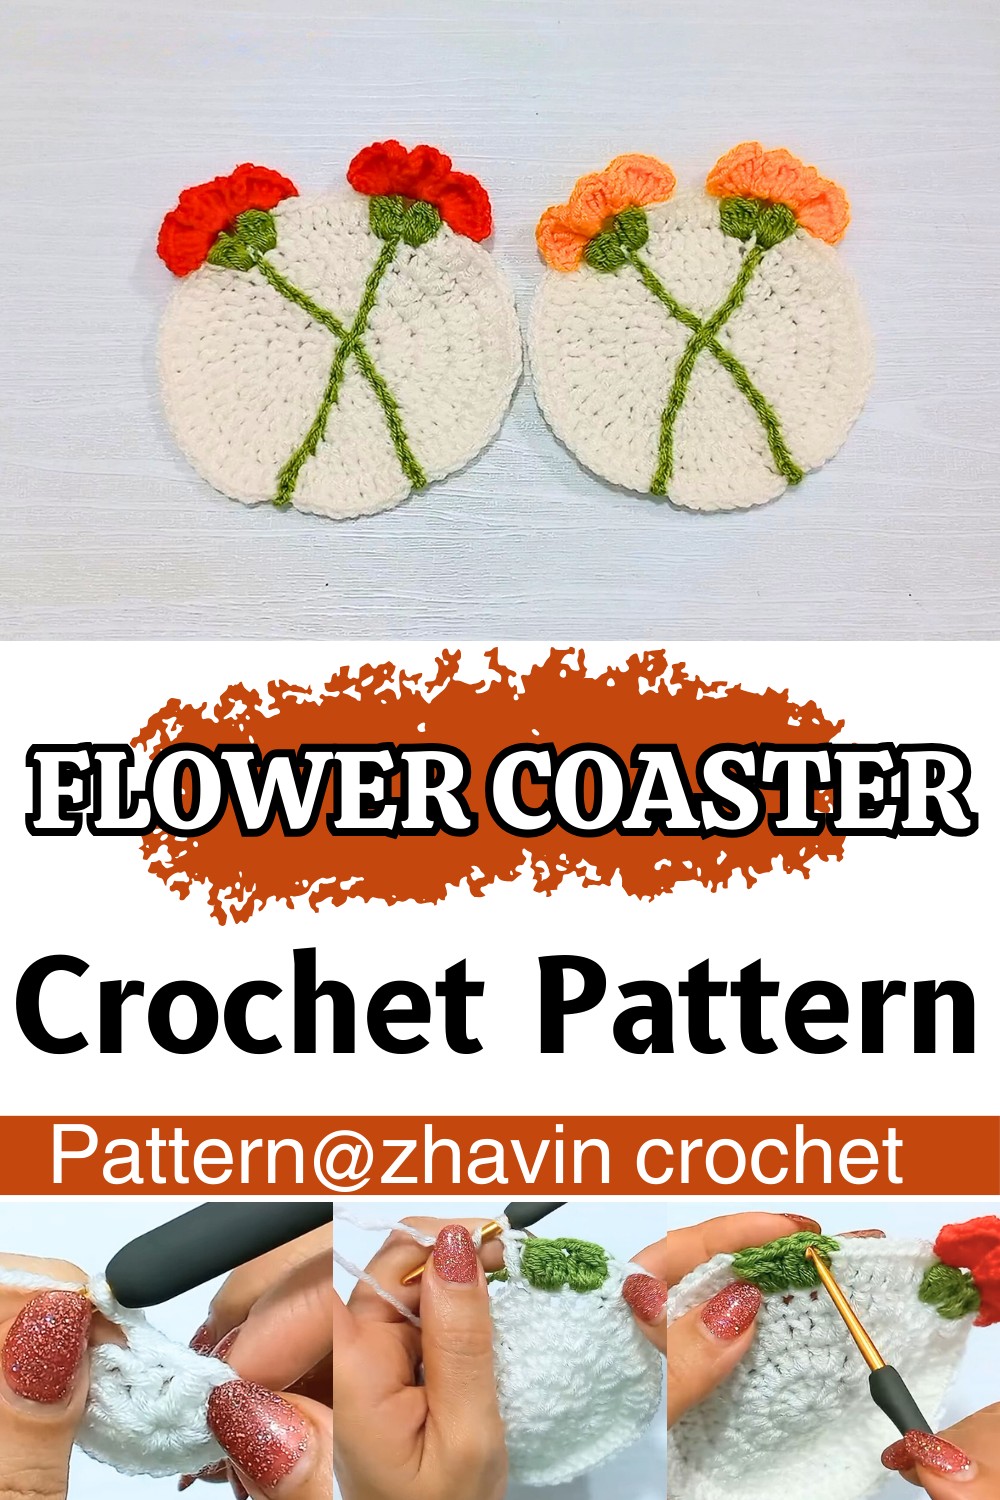
Your Crochet Flower Coaster is now ready! This versatile project is perfect as a decorative piece for your dining table, a thoughtful gift for a friend, or even an adorable wall hanging.
Customization ideas:
- Experiment with ombre, variegated, or seasonal yarn palettes to create unique and colorful variations.
- Add beads or embroidery to the flower petals for an extra elegant touch.
- Use metallic or glitter yarn to make the flowers pop.