How to Crochet Baby Girl Hat with a Soft, Durable Design
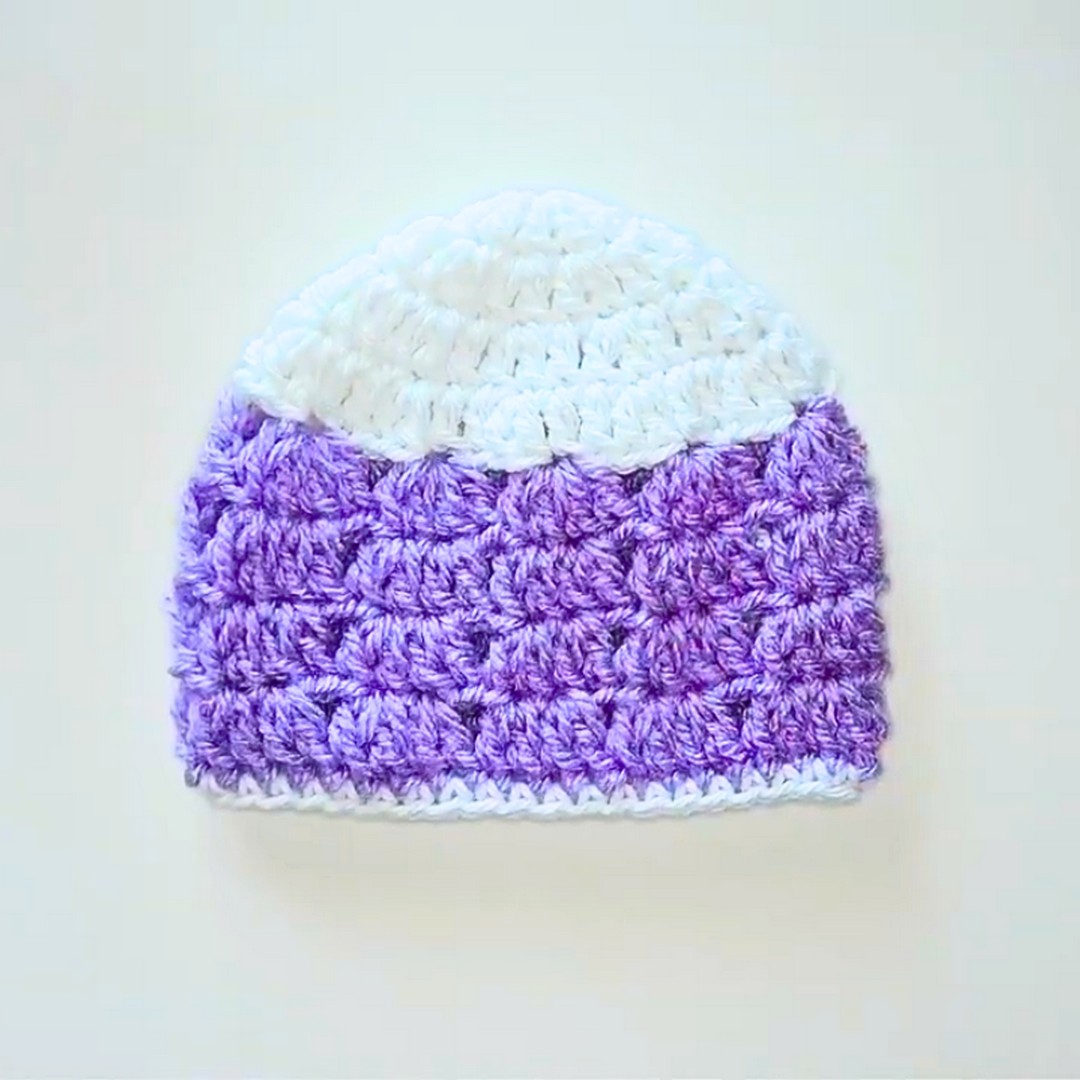
The sweetest baby accessories often come from the simplest stitches. This Crochet Baby Girl Hat combines a soft texture with a charming pattern that makes every finished piece look extra special.
Designed to be gentle and comfortable, it adds a lovely touch to everyday outfits, family outings, and memorable photos. Its delicate scalloped edge gives the crochet hat a timeless finish that never goes out of style.

A few basic supplies are all you need to create an item that’s both beautiful and practical. Using two yarn colors, a 5 mm crochet hook, and simple crochet techniques, this hat comes together with a snug and durable fit.
It also makes a thoughtful handmade gift that parents will appreciate for both its comfort and style. As you continue, you’ll discover how each round gradually shapes a cozy piece made especially for little ones.
Credit Crochet With Anna
Estimated Time:
Approximately 1.5–2 hours, depending on your crochet experience.
Materials & Tools Needed:
- Yarn: Two colors of medium-weight yarn (such as worsted weight).
- Crochet Hook: 5 mm.
- Other Tools: Scissors and a yarn needle.
Smart Yarn-Saving Tricks Every Crocheter Should Know:
- Use yarn leftovers for smaller decorative pieces or accents.
- When changing colors, leave a 4–5 inch tail to weave in instead of cutting the yarn too short, reducing frayed ends.
- Save excess yarn by minimizing large knots during joins–opt for slip joins that blend seamlessly.
Finished Size & Customization Ideas:
- Finished Size: Standard babygirl hat size (approximately 5–6 inches tall with a 15–16 inch circumference).
- Customization Ideas:
- Add a flower applique or bow to one side for extra charm.
- Use variegated yarn instead of two solid colors.
- Adjust the starting rounds for size: fewer increases for a smaller hat and more for a larger one.
Read These Pattern Notes Before Your First Stitch:
- Important: Chain two at the start of each round does not count as a stitch unless stated otherwise.
- Slip stitches are used for joining rounds; do not crochet into these stitches on subsequent rounds.
- Maintain the correct stitch count at the end of each round to ensure a consistent shape.
Crochet Faster With These Genius Time-Saving Hacks:
- Keep your tools and yarn accessible to avoid interruptions during stitching.
- Practice the double crochet stitch beforehand if you’re a beginner to improve speed.
- Wind your yarn neatly into balls to prevent tangles while working.
Pattern Abbreviations & Terminology:
- ch: Chain
- sl st: Slip Stitch
- dc: Double Crochet
- sc: Single Crochet
Terminology Note: This pattern uses US crochet terminology.
Simple Ways to Make This Pattern Uniquely Yours:
- Switch up the color scheme or alternate colors every other round.
- Add textured stitches like puff or bobble stitches in the middle rounds.
- Use a soft glitter yarn to add a subtle shimmer to the finished hat.
Step-by-Step Detailed Crochet Instructions:
Round 1:
- Start with white yarn.
- Create a slip knot on your hook.
- Chain 3.
- Join to the first chain using a slip stitch to form a ring.
- Chain 2 (does not count as a stitch).
- Work 10 double crochet (dc) stitches into the ring.
- Join to the first stitch with a slip stitch.
- Stitch count: 10.
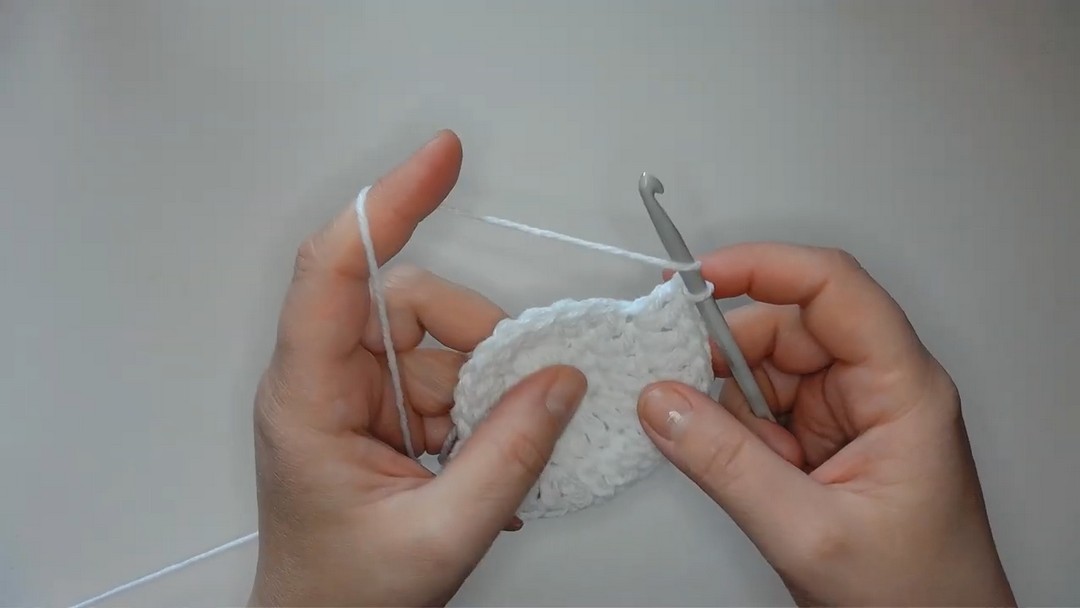
Round 2:
- Chain 2.
- Work 2 dc in each stitch around. (This doubles the stitch count.)
- Join to the first stitch with a slip stitch.
- Stitch count: 20.
Round 3:
- Chain 2.
- In the first stitch, work 1 dc.
- In the next stitch, work 2 dc.
- Repeat: 1 dc in the next stitch, 2 dc in the next stitch, continuing around.
- Join to the first stitch with a slip stitch.
- Stitch count: 30.
Round 4:
- Chain 2.
- Work 1 dc in each of the first 2 stitches, then 2 dc in the third stitch.
- Repeat: 1 dc in the next two stitches, 2 dc in the next stitch, continuing around.
- Join to the first stitch with a slip stitch.
- Stitch count: 40.
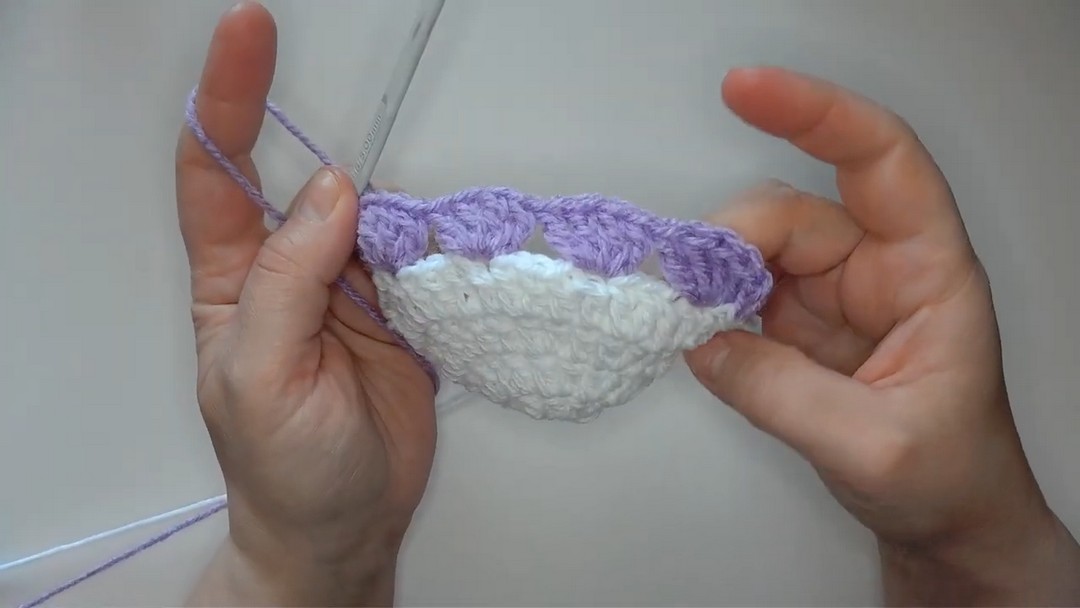
Round 5:
- Switch to the second yarn color.
- Chain 2.
- Work 4 dc in the first stitch, then skip 3 stitches.
- Repeat: 4 dc in the next stitch, skip 3 stitches, continuing around.
- Join to the first stitch with a slip stitch.
Round 6:
- Chain 2.
- Skip the first stitch, then work 2 dc in the second stitch and 2 dc in the next stitch.
- Skip 2 stitches.
- Repeat: 2 dc in the next stitch, 2 dc in the next stitch, skip 2 stitches, continuing around.
- Join to the first stitch with a slip stitch.
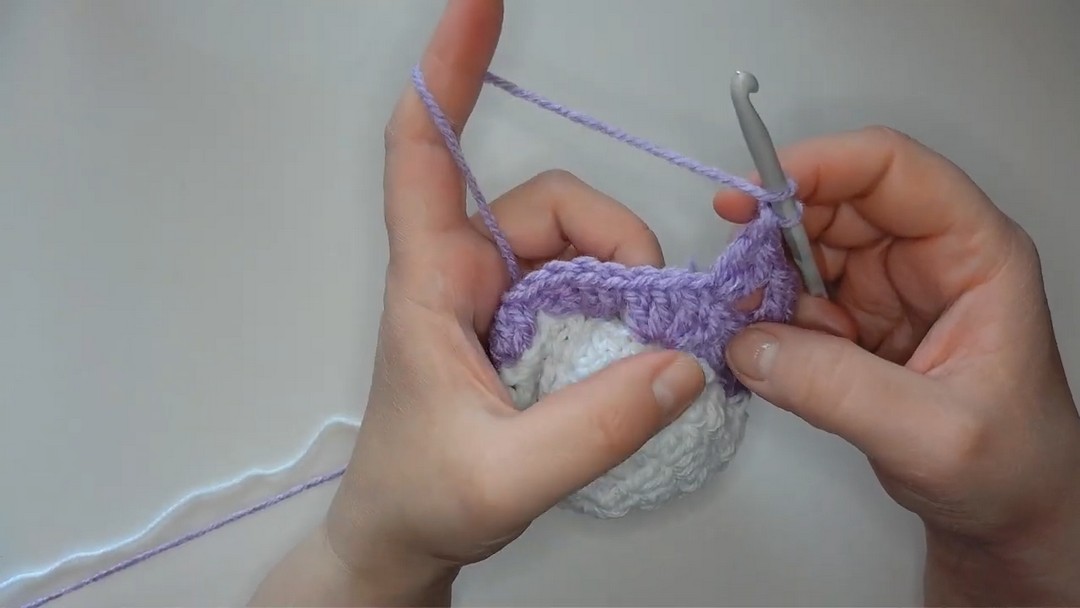
Rounds 7 & 8:
Repeat the pattern for Round 6.
- Stitch count remains consistent.
Round 9:
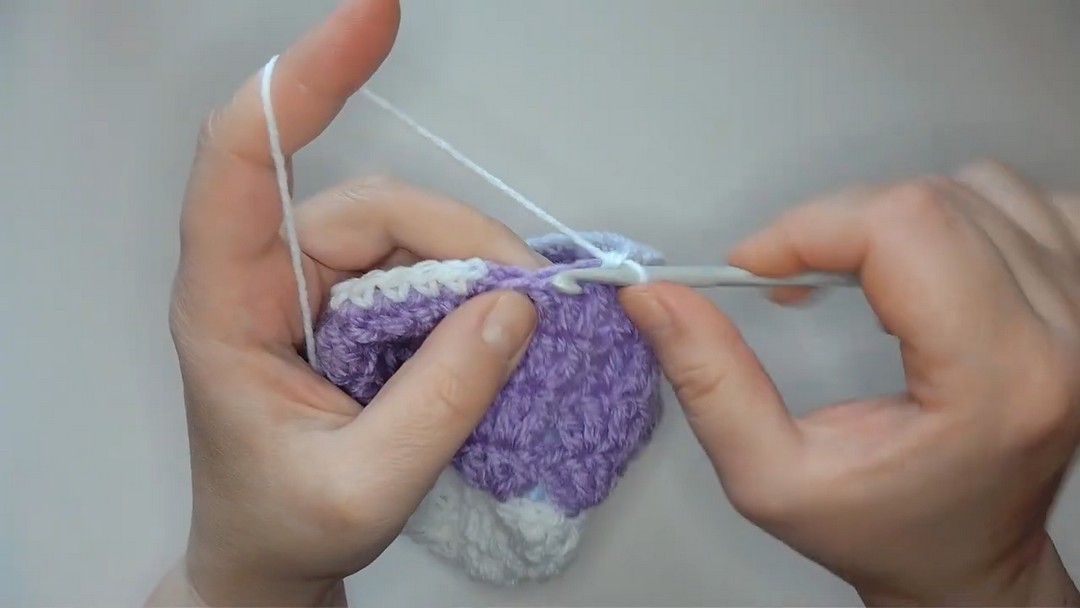
- Switch back to the first yarn color.
- Chain 1.
- Work 1 sc in each stitch around.
- Join to the first stitch with a slip stitch.
- Cut the yarn, leaving a tail, and weave in the ends with a yarn needle.
Final Assembly:
The hat is now complete! Add any optional decorations or embellishments, such as a crochet flower or pompom, using the yarn needle to attach them.
Smart Storage Tips Every Crocheter Should Know:
- Store your hat in a clean, dry place to maintain its shape.
- Stack your finished crocheted items neatly in a box or zippered bag to avoid snagging.
- Avoid hanging to store, as this may stretch the hat’s shape.
Share Your Finished Pattern Like a Crochet Influencer:
- Photograph your hat in natural light for bright and clear images.
- Add props like baby toys or pastel blankets to enhance the photo aesthetic.
- Share on social media platforms like Instagram or Pinterest, using hashtags like #CrochetBabyHat, #HandmadeWithLove, or #CrochetWithAnna.
Conclusion
This detailed step-by-step guide mirrors the tutorial exactly, ensuring your finished product turns out beautifully. By following these steps carefully, you’ll have not only created a cute and durable baby girl hat but also honed your crochet skills. Happy crocheting!