
Wrap your little one in love with this soft, cozy, and textured crochet baby blanket, featuring a gentle wave design and a beautiful ribbed border that’s perfect for snuggles.

A crochet baby blanket is more than just a cozy cover; it’s a warm hug made with love. The Snuggly Baby Blanket stands out for its simple yet beautiful pattern, offering both comfort and charm. With its soft texture and delicate design, it’s perfect for a baby’s crib, a thoughtful gift, or a comfy throw for moments of relaxation.
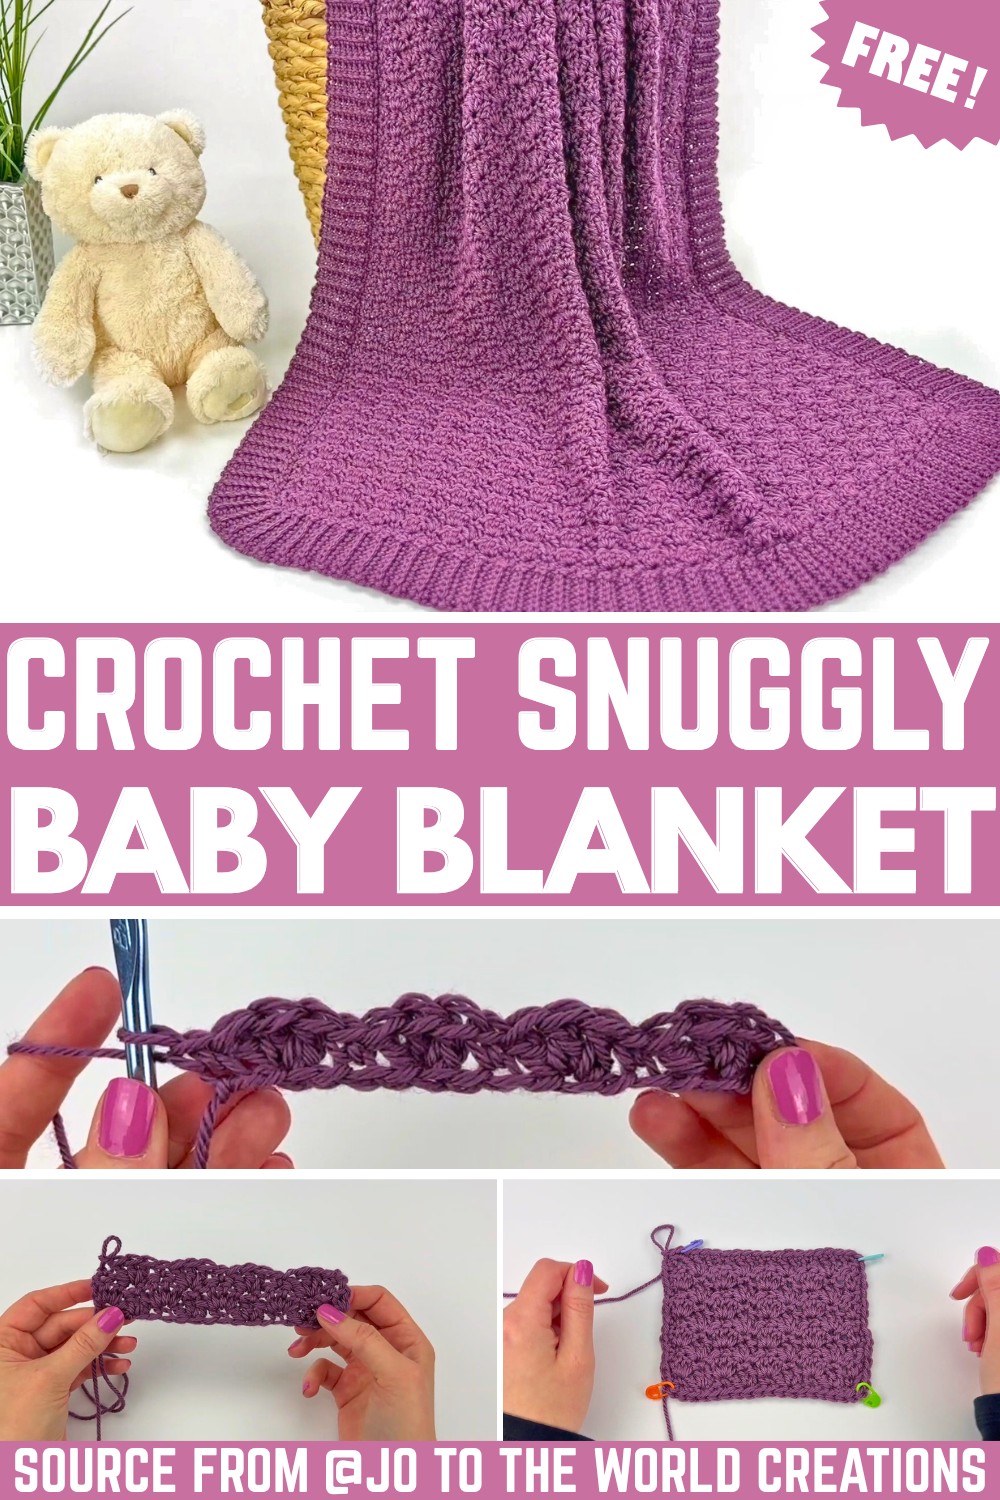
Free Crochet a Snuggly Baby Blanket
What makes this crochet blanket special is how easy it is to create. Even beginners can enjoy bringing it to life by following along with clear instructions. The repeating stitch pattern makes it soothing to work on, and the border adds a neat finish.
Credit Jo to the World Creations
Key Features and Construction
- Simple, beginner-friendly stitches: Combines single crochet and clusters of double crochet for a gentle texture.
- Seamless, versatile pattern: Worked in rows using a repeating stitch sequence.
- Textured detail with back loop usage: Adds dimension to the piece.
- Beautiful ribbed border: A decorative finishing touch using ribbing and corner detailing.
- Customizable size: Easily adjust dimensions to suit baby blankets, throws, or larger patterns.
The Crochet Snuggly Baby Blanket is constructed using a repeating stitch sequence that is easy to follow and builds texture row by row. It begins with a foundation chain (90 chains for a baby blanket as specified in the pattern) and incorporates simple techniques like single crochet and clusters of three double crochets. The stitches are worked into the back ridge loops of the foundation chain for a smoother edge, setting up the textured, wavy effect that runs throughout the blanket.

The alternating rows feature clusters of three double crochet stitches interspersed with single crochets for a dynamic design. The clusters are carefully placed to create little waves of texture, while single crochets anchor the pattern. Every few rows are repeated to maintain the design’s consistency, with clear guidelines for stitch placement to ensure clean, even edges.

Once the blanket’s body is completed (approximately 63 rows for a square blanket), the design transitions seamlessly into an elegant ribbed border. This border is made with multiple rounds, beginning with evenly spaced single crochets around the blanket’s edges. Corner stitches involve working three single crochets into the same stitch to create a neat, defined corner.

The standout feature of the blanket is its ribbed border, achieved by crocheting vertical ribbing sections off the edges of the blanket and joining them back to the body using slip stitches. This gives the blanket a raised, knitted appearance that frames the design beautifully, balancing texture with durability.

Video Tutorial
Step-by-Step Pattern
Materials
Here’s what you’ll need to get started:
- Yarn: Worsted weight yarn (#4); approximately 900-1000 yards for a baby blanket (31” square size).
Recommended: Soft, machine-washable yarn such as acrylic or a cotton/acrylic blend for a baby-friendly feel. - Crochet Hook: Size H/8 (5.0mm) or size needed to obtain gauge.
- Scissors: For cutting yarn.
- Yarn Needle: To weave in ends.
- Stitch Markers (optional): To mark corners during the border round.
- Measuring Tape (optional): To ensure your blanket matches your desired size.

Pattern Instructions
Foundation Chain
- Start with a slip knot.
- Chain 90 stitches (or to your desired width in multiples of 4). For the tutorial swatch, 18 chains were used.
Step 1: Blanket Body
Row 1
- Work into the back ridge loops of the chain to create a clean base.
- Starting from the second chain from the hook:
- (a) Single Crochet (sc) in the second chain.
- (b) Skip the next chain.
- (c) 3 Double Crochet (dc) in the following chain.
- Repeat (b) and (c) across the row until one chain remains.
- (d) End the row with a Single Crochet (sc) in the final chain.
Row 2
- Chain 2 and turn.
- In the first stitch: Work 2 Double Crochet (dc) in the same stitch.
- Skip the next stitch and single crochet in the middle double crochet of the 3-dc cluster from the previous row.
- Work 3 Double Crochet (dc) in each single crochet from the previous row.
- Repeat this sequence across until one stitch remains.
- Finish with 2 Double Crochet (dc) in the final stitch.
Row 3
- Chain 1 and turn.
- In the first stitch: Work 1 Single Crochet (sc) in the same stitch.
- Skip the next stitch.
- (a) Work 3 Double Crochet (dc) into the next single crochet from the previous row.
- (b) Skip the next stitch.
- (c) Work 1 Single Crochet (sc) into the middle double crochet from the previous row.
- Repeat (a) and (b) across until one stitch remains.
- Finish with 1 Single Crochet (sc) in the final stitch.
Row 4 Onwards
- Alternate repeating Row 2 and Row 3 until your blanket reaches your desired height (for a square blanket, the height and width should match).
Step 2: Border
After finishing the blanket body, do not fasten off the yarn. You’ll begin the border directly.
Border Round 1
- Chain 1 and turn your work so you can work evenly down the side of the blanket.
- Single Crochet (sc) evenly along all four edges, making 3 Single Crochets in each corner to create rounded edges.
- Slip stitch to the first single crochet to join the round.
Border Round 2: Ribbing
- Chain 9 (or desired ribbing height).
- Turn and Single Crochet (sc) in the back loop only (BLO) of the second chain from the hook and each chain across (8 BLO sc total).
- Slip stitch into the next two stitches along the blanket edge to attach this ribbing section.
- Chain 1, turn, and Single Crochet (sc) in the BLO of each stitch back up. Repeat this process until the border wraps entirely around the blanket.
- In the corners, repeat the ribbing process three times into the same corner stitch to create corner ribbing.
Finishing
- After completing the final ribbing section, fasten off, leaving a long tail. Use this tail to sew the starting chain of the ribbing to the final stitches for a seamless join.
- Use a yarn needle to weave in all loose ends securely.
- Block your finished blanket if desired to relax the stitches and even out the shape.
Troubleshooting and Suggestions
Common Issues & Tips:
- Curling or bunching in the first rows: Don’t worry if the blanket curls slightly at the start—it will flatten as the body grows.
- Even stitch placement in the border: Use guidepoints (like the ends of rows or chains) to space your single crochets evenly. Corners can become too tight if fewer stitches are worked, so ensure three single crochets are always included in each corner.
- Ribbing slip stitch tension: Keep slip stitches loose when attaching the ribbing to avoid puckering or tightness. Test whether one or two slip stitches per row suits your work.
Creative Modifications:
- Experiment with yarn colors! Choose soft pastels for a baby blanket or bold ombré tones for a modern throw.
- Add stripes to the design by changing yarn colors every few rows for a lively, playful look.
- Repurpose the ribbed border technique for other patterns like pillows or scarves to add texture.


