Easiest Striped Sweater Crochet Pattern – Oversized Pullover
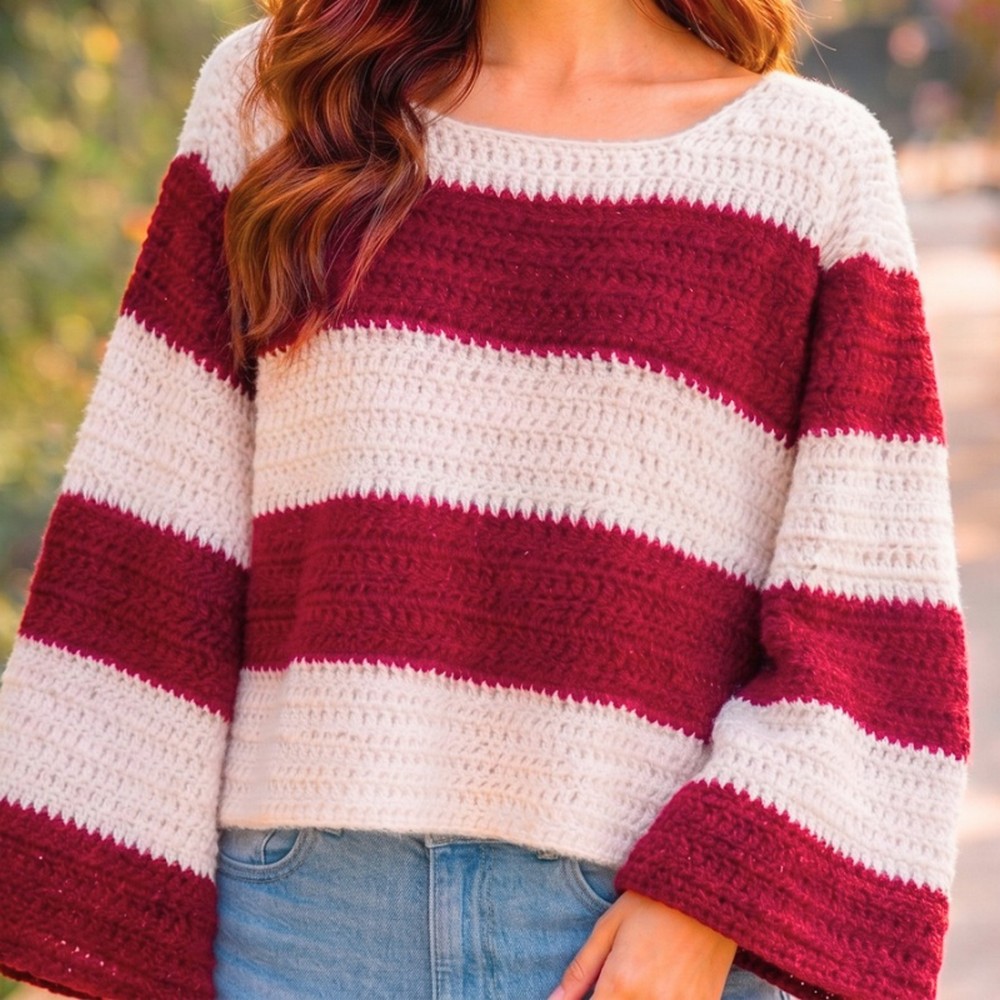
Six-row color bands give this oversized drop-shoulder sweater a relaxed look, while simple double-crochet panels make the pattern approachable and easy to customize.

An oversized sweater does not need complicated stitchwork to create a polished result. This striped design uses straightforward double-crochet rows for the front, back, and sleeves, with regular color changes adding visual interest across the fabric.
The main crochet details to keep track of are the repeated row counts, the shorter stripe near the top, and the neckline decreases at the end of the body panel. Keeping those points organized as you crochet makes the later assembly much easier, particularly when matching the shoulders and positioning the sleeves.
Credit Crochet & knitting
Materials & Tools Needed
- 5 mm crochet hook
- Approximately 320 g of yarn
- Tapestry needle for sewing the panels and weaving in yarn ends
Choose yarn that works well with a 5 mm hook and provides enough drape for the relaxed oversized shape.
Finished Size & Customization Ideas
The sweater has an oversized, drop-shoulder style.
For a custom fit, adjust the foundation chain and row count according to your preferred measurements.
- Width: Measure from arm to arm and include the additional ease needed for the drop-shoulder fit.
- Length: Add or remove rows from the body panels for a cropped or longer sweater.
- Sleeves: Adjust the sleeve length by adding or removing rows while maintaining the desired stripe sequence.
When changing the foundation chain, keep the stitch pattern requirements in mind so the fabric remains consistent.
Pattern Abbreviations & Terminology
US crochet terminology is used throughout.
- ch – Chain
- dc – Double Crochet
- sc – Single Crochet
- st – Stitch
- sl st – Slip Stitch
Easiest Striped Sweater Crochet Pattern
Crochet the Front and Back Panels
The front and back panels use the same basic double-crochet fabric. The neckline shaping is added near the top of the panel as specified in the tutorial.
Make 2 panels.
Foundation Chain: Make a slip knot and ch 58.
Row 1: Yarn over and insert the hook into the 4th chain from the hook. Make 1 dc, then continue working dc across. (56 dc)
Rows 2-26: Ch 3, turn, then work 1 dc across the row. Maintain 56 dc.
Work the Stripes
Alternate the yarn colors every 6 rows to create the main striped pattern.
The top stripe around the neck and shoulder area contains 5 rows rather than 6.
Keep track of each color section as you work so the stripes remain consistent between the front and back panels.

Shape the Neckline
The neckline shaping takes place across the final three rows.
Row 27: Decrease 1 stitch at the end of the row.
Row 28: Decrease 1 stitch at the end of the row.
Row 29: Decrease 1 stitch at the end of the row.
The decreases create the change in the neckline edge while the remainder of the panel stays in the same double-crochet fabric.
Troubleshooting the Neckline
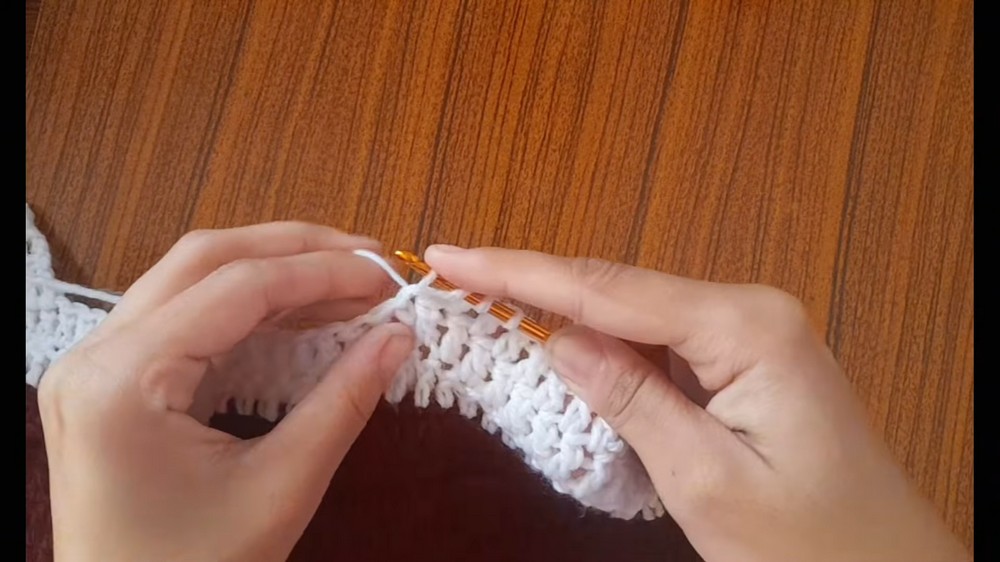
If the neckline edge does not look symmetrical when the front and back pieces are placed together, first check the decrease rows and stitch counts.
Because the shaping is concentrated at the end of the panel, even one missed decrease can make the neckline appear uneven. Compare both pieces before sewing the shoulders together so any counting issue can be corrected while the panels are still separate.
Crochet the Sleeves
Make 2 sleeves.
Foundation Chain: Make a slip knot and ch 51.
Row 1: Work dc across the foundation chain. (49 dc)
Rows 2–24: Ch 3, turn, then work dc across, maintaining 49 dc in each row.
The sleeve stripe sequence follows the same general color-changing idea as the body, but the top stripe contains 5 rows rather than 6.
Make the second sleeve to match the first in both row count and stripe placement.
Work a Double-Crochet Decrease
The decrease used for the neckline combines two double crochets into one stitch.
Yarn over and insert the hook into the next stitch. Yarn over and pull through two loops, leaving the incomplete stitch on the hook. Yarn over, insert the hook into the following stitch, yarn over, and pull through two loops. Yarn over again and pull through all remaining loops on the hook.
This reduces the stitch count by one and creates the gradual neckline shaping.

Sew the Shoulder Seams
Place the front and back panels together with the right sides facing each other.
Align the shoulder edges.
Using the same yarn and a tapestry needle, sew along the shoulder seams while leaving the intended opening for the neckline.
Keep the stripe sections aligned as you sew.
Attach the Sleeves
Find the midpoint of each sleeve.
Align the midpoint with the shoulder seam.
Pin or hold the sleeve in place and distribute the sleeve stitches evenly along the armhole before sewing.
Use the tapestry needle and the same yarn to attach the sleeve securely.
Repeat with the second sleeve.

Check the Sleeve Position
Before completing the seam, lay the garment flat and confirm that the sleeve midpoint meets the shoulder seam.
Check that the sleeve fabric extends evenly on both sides of the armhole and that the stripes follow the intended direction.
Finish the Neckline
Attach the yarn at the edge of the shoulder seam.
Work a single-crochet edging evenly around the neckline.
Neckline Round: Ch 1, work sc evenly around the neckline, then sl st to join. Fasten off.
The single-crochet border gives the neckline a neat finished edge.
Weave in the Yarn Ends
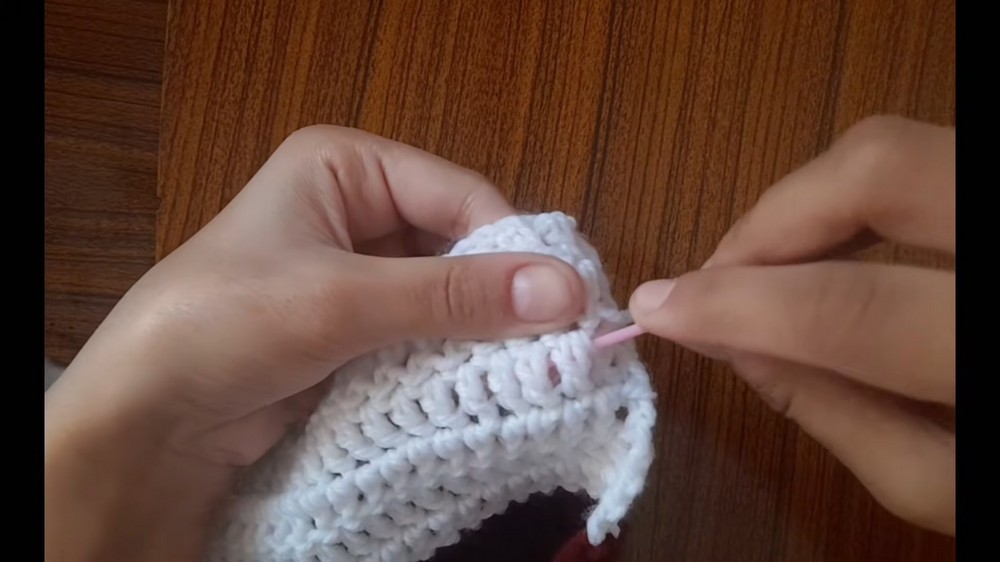
Use the tapestry needle to secure the remaining loose yarn ends on the wrong side of the sweater.
Weave each end through the fabric securely, then trim the excess yarn.
Pay particular attention to the ends created by the color changes so they remain secure during wear and washing.
Customize the Fit
The simple panel design makes the sweater easy to adjust.
For a cropped fit, remove rows from the body panels.
For a longer or tunic-style fit, add rows before assembly.
To change the overall width, modify the foundation chain according to the stitch requirements of the pattern.
You can also alter the stripe colors while keeping the six-row rhythm for a different visual effect.
Finish the Striped Sweater
Once the shoulder seams, sleeves, neckline, and loose ends are finished, the oversized sweater is ready to wear.
The combination of repeated double-crochet rows and regular stripe changes keeps the main fabric simple, while the neckline shaping and sleeve placement provide the details that need the closest attention. With the foundation measurements adjusted to your preferred fit, the same basic pattern can be used for a shorter, longer, narrower, or more oversized version.