How to Crochet Cute Bear Coasters for Beginners
Create adorable crochet bear coasters that blend charm and practicality! This quick project, perfect for beginners, uses simple techniques to craft coasters that are both functional and decorative.
With customizable colors, they add personality to your space while protecting your surfaces in style.

These bear-shaped coasters are practical additions to any table setting, protecting surfaces from spills and heat while maintaining their shape and durability.
Their playful and cute design makes them great gifts or home décor. The pattern’s simplicity allows for variations, making them versatile and easily customizable.
Credit Tasty Dumpling Living
In this article, you’ll discover a detailed step-by-step Crochet Cute Bear Coasters pattern accompanied by clear instructions. If you face any challenges or make mistakes while crafting your design, don’t hesitate to check out the video tutorial linked at the end of the blog post.
Step-by-Step Pattern
Materials
To create your bear coaster, you’ll need the following:
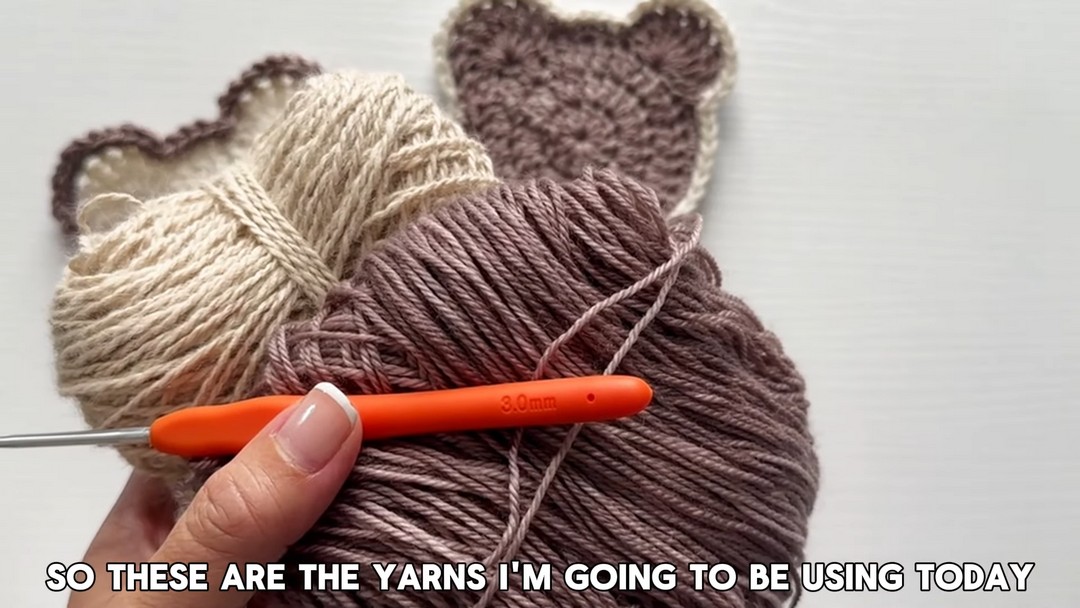
- Yarn: Two colors of worsted weight yarn (e.g., soft brown for the bear and a contrasting color for the border).
- Crochet hook: 3 mm hook.
- Stitch markers: Two (optional but recommended for ear placement).
- Scissors and a tapestry needle: For finishing and weaving in ends.
Stitch Guide
Here’s a quick refresher on key stitches and techniques:
- Magic Ring: Create a loop, insert your hook, and pull up a yarn loop. This provides a tight, adjustable center for your work.
- Chain (ch): Yarn over (yo) and pull through the loop on your hook.
- Slip Stitch (sl st): Insert the hook into the designated stitch, yo, pull through both the stitch and the loop on your hook.
- Single Crochet (sc): Insert your hook, yo, pull up a loop, yo, pull through both loops.
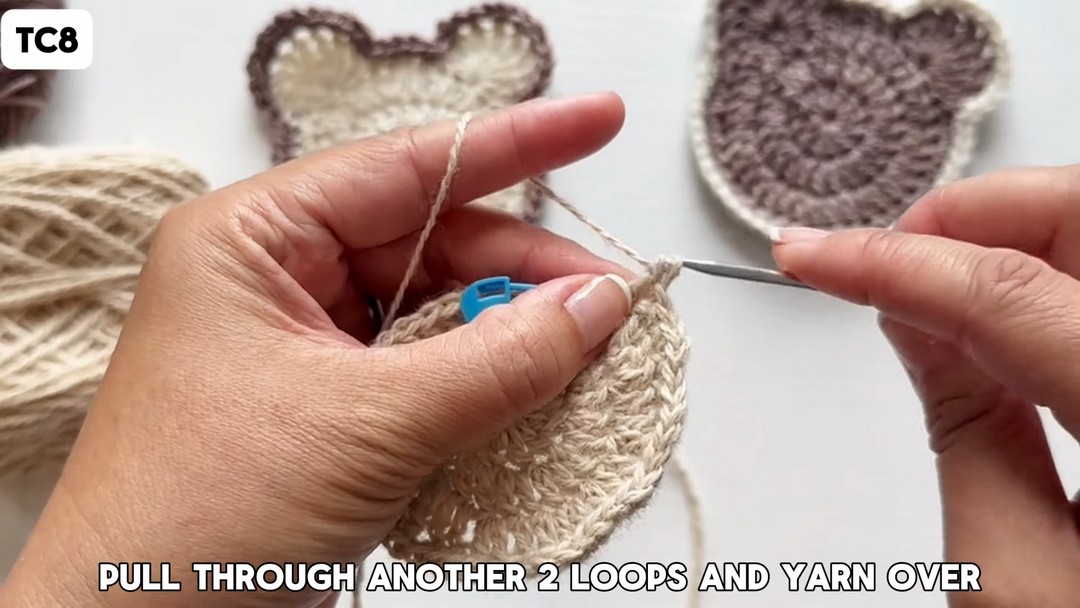
- Double Crochet (dc): Yo, insert hook in the stitch, yo, pull up a loop (3 loops on hook), yo, pull through 2 loops, yo, pull through remaining 2 loops.
- Treble Crochet (tr): Yo twice, insert the hook into the stitch, yo and pull up a loop (4 loops on hook), yo and pull through 2, yo and pull through 2, yo and pull through the last 2.
- Increase: Crochet 2 stitches into the same base stitch.

Notes
- Adjusting Gauge: Use thicker yarn and a larger hook to make a bigger coaster.
- Customization Ideas: Try brighter or pastel shades for a whimsical look, or embroider details like eyes and a nose for a more defined face.
- Blocking: After completing the coaster, block it with a bit of steam or wet blocking to flatten and shape it neatly.
Pattern Instructions
Round 1: Begin the Bear’s Head
- Start with a magic ring.
- Chain 3 (counts as your first dc).
- Work 11 double crochets (dc) into the ring (12 stitches total, including the initial chain 3).
- Pull the magic ring tight and close with a slip stitch into the 3rd chain of the starting chain.

Round 2: Increase the Circle
- Chain 3 (counts as your first dc).
- Perform an increase on each stitch—2 dc in every stitch around (24 stitches by the end of the round).
- Close with a slip stitch into the 3rd chain of the starting chain.
Round 3: Continue Increasing
- Chain 3.
- In the same stitch as the sl st, do 1 dc (this creates your first increase).
- Alternate 1 dc in the next stitch, then 2 dc in the next (pattern: increase, 1 dc).
- Repeat this pattern around the circle. End the round with 36 stitches.
- Slip stitch to close the round.
Round 4: Start Defining the Ears
- Begin by locating where your ears will go using stitch markers:
- From the slip stitch, count back 2 stitches and place your first marker.
- From the first marker, count back 8 stitches and place your second marker. These 2 points will serve as the centers of the ears.
- Chain 1 and create the following repeat pattern:
- 1 sc in the first stitch.
- Increase (2 sc in the next stitch).
- 1 sc in the next stitch.
- Repeat this pattern up to 3 stitches before the first marker.
Form the First Ear
- Slip stitch into the next stitch.
- In the marked stitch, make 8 treble crochets (tr).
- Anchor the ear by slip stitching into the next stitch.

Form the Second Ear
- Continue the single crochet pattern between the ears:
- 1 sc, then an increase (2 sc), then 1 sc.
- Work until 3 stitches before the second marker.
- Slip stitch into the next stitch.
- In the second marked stitch, make 8 treble crochets (tr).
- Anchor the ear by slip stitching into the next stitch.
Final Edge Detailing
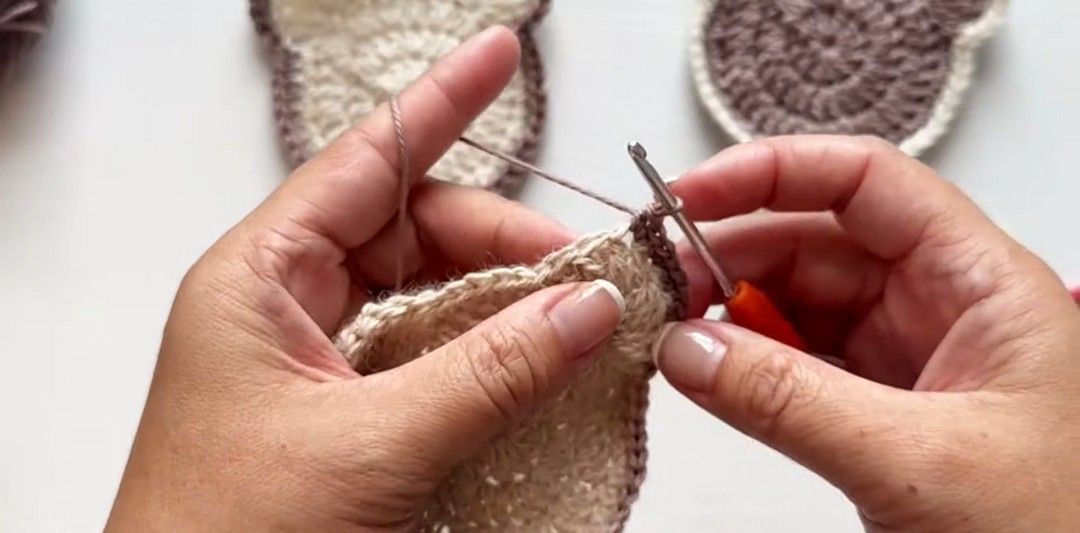
- Switch to a contrasting yarn color by completing your slip stitch with the new color.
- Chain 1 and single crochet (sc) into each stitch around the coaster, including stitches over the ears.
- On the ears:
- Work 1 sc in the first and last stitches of the ear.
- Create 6 increases (2 sc in each of the next 6 stitches) for a rounded ear effect.
- Slip stitch between the ears.
- Continue single crocheting around.
- Close with a slip stitch, cut the yarn, and fasten off.
Finishing Touches
- Weave in Ends: Use your tapestry needle to hide any loose yarn tails on the back of the coaster.
- Blocking: Lay the coaster flat and lightly steam or dampen it to shape the ears and head evenly.
- Optional: Embroider facial details like a nose and eyes or add embellishments with small yarn scraps.
Pattern Question
Question: Can I use a different yarn thickness or hook size for this pattern?
Answer: Yes! Using thicker yarn or larger hooks will result in bigger coasters, while thinner yarn or smaller hooks create smaller coasters. Adjusting size depends on your personal preference.
Conclusion
This crochet bear coaster project is an enjoyable way to showcase your creativity while crafting something useful. Its charming design, ease of assembly, and practicality make it a fun and rewarding project for any skill level. Perfect for gifting or brightening your own home!