How to Crochet a Two-Color Irish Hat with Raised Texture
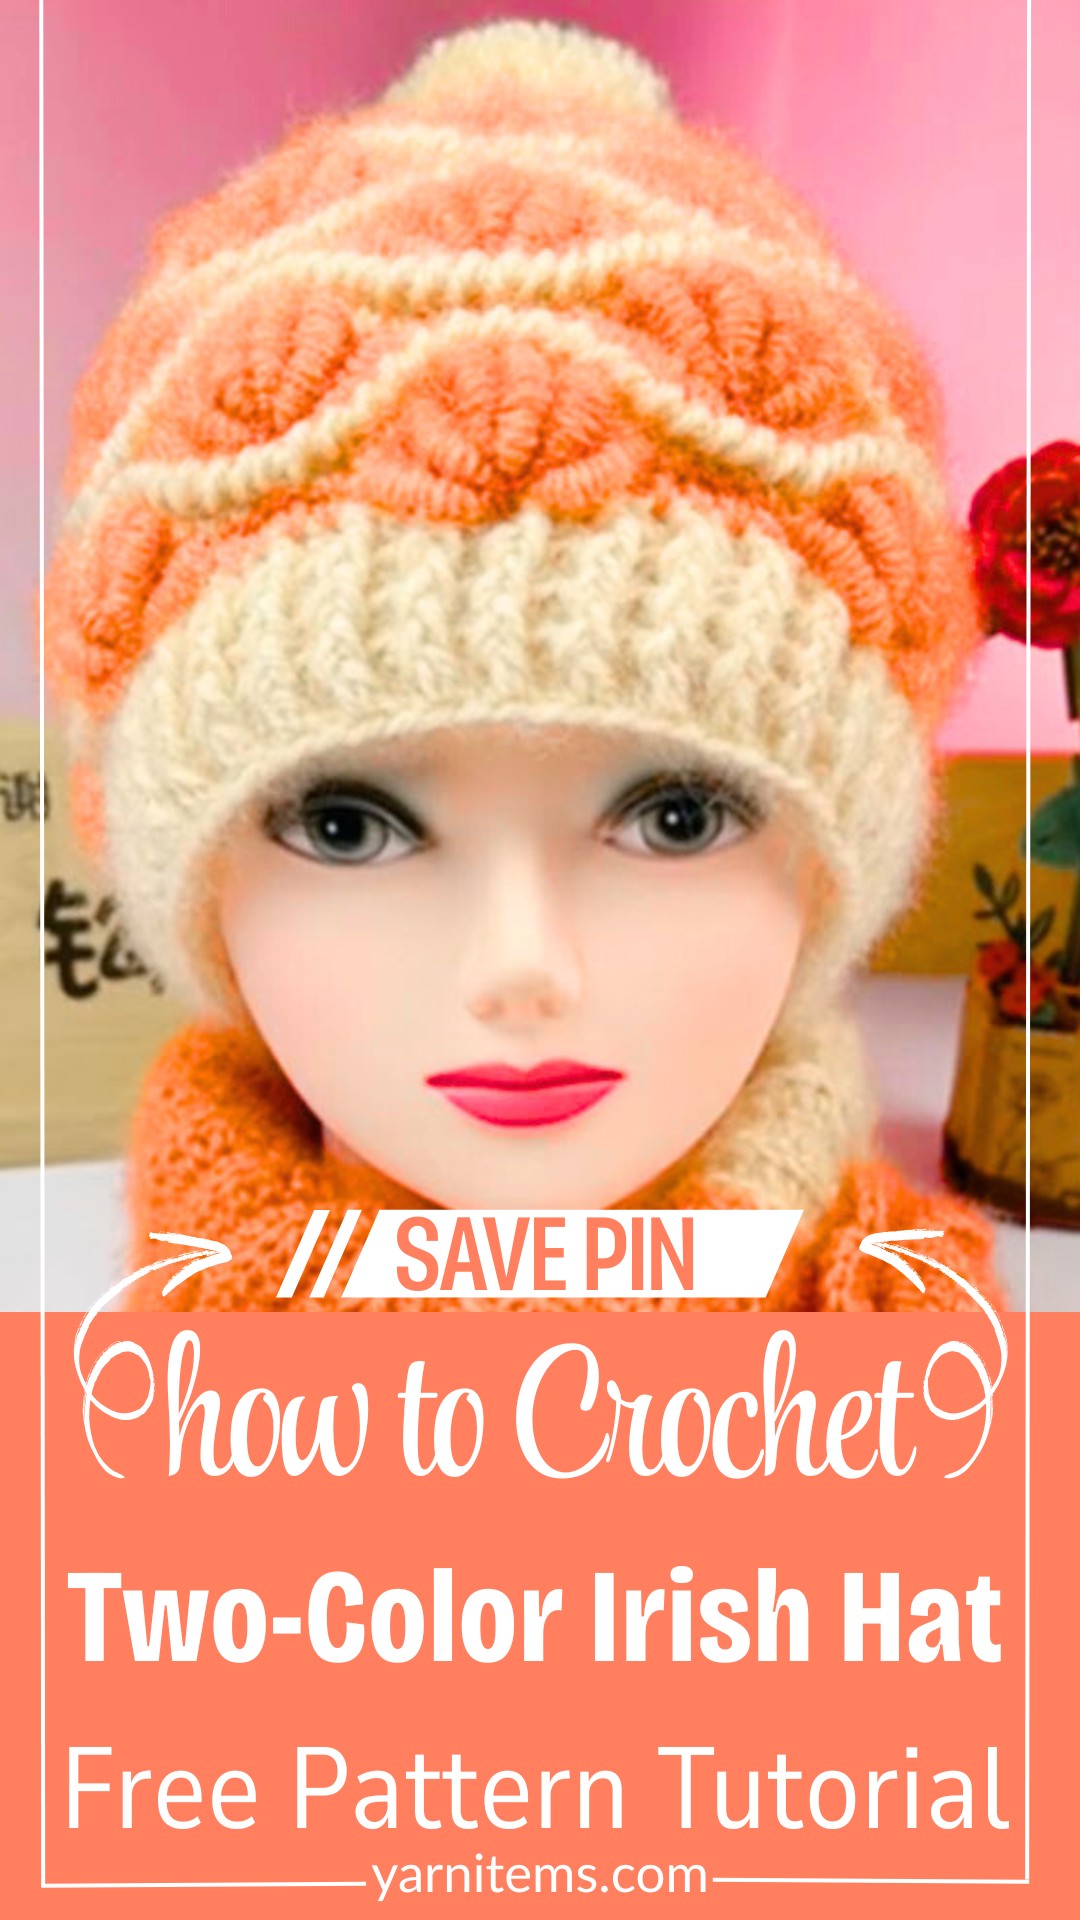
A ribbed brim and raised two-color details give this cozy Irish-inspired hat plenty of texture, while the color changes let you create a combination that feels completely your own.
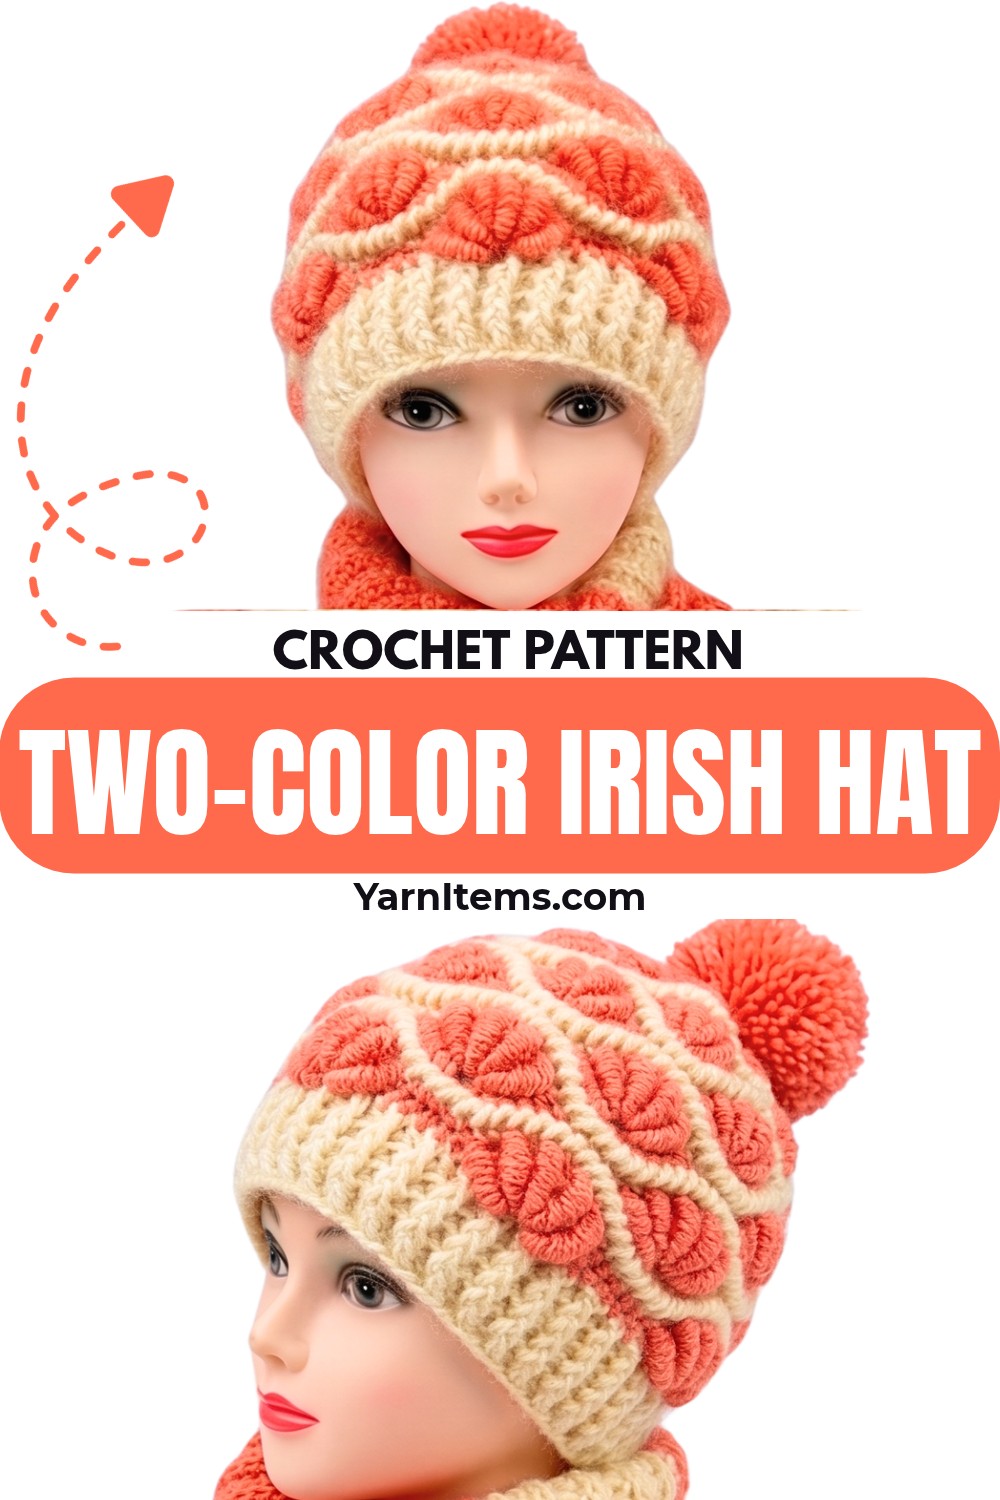
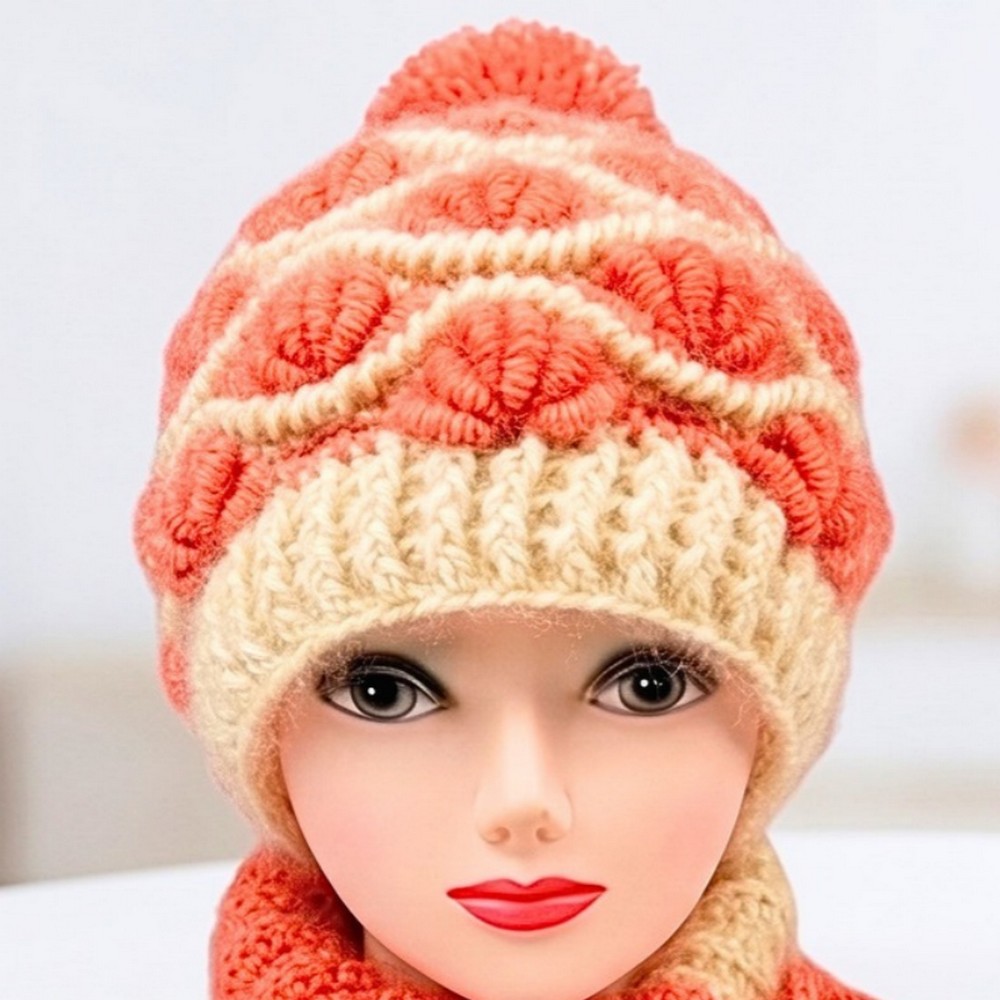
The first thing that makes this crochet hat appealing is the contrast between its comfortable ribbed brim and the more decorative texture above it. The two yarn colors work together to bring the raised Irish-inspired motif forward, so the crochet hat looks detailed without relying on complicated shaping from the beginning.
The construction also becomes easier to manage when you treat the crochet hat in stages: first create a stretchy band, then build the textured body, and finally reduce the crown. Keeping the color changes and post stitches tidy is especially important here because those details are what make the finished pattern stand out.
Credit anxin_crochet
Materials & Tools
- Yarn: 2 contrasting colors of medium/worsted-weight or DK yarn
- Color A: approximately 80–100 g
- Color B: approximately 40–50 g
- Crochet Hook: 4.5 mm the size needed to obtain the desired gauge
- Tapestry Needle
- Scissors
- Stitch Markers: Optional, but useful when tracking the motif
Finished Size & Adjustments
The finished hat is designed for an adult head circumference of approximately 52–58 cm (20.5–23 inches).
The easiest place to adjust the fit is the ribbed brim. Add or remove rows until the band comfortably reaches around the head while slightly stretched. Keep the final stitch or row count compatible with the repeat used for the textured body.
You can also change the color arrangement or add a pom-pom after closing the crown.
Abbreviations
This pattern uses US crochet terminology.
- ch: chain
- sl st: slip stitch
- sc: single crochet
- hdc: half double crochet
- dc: double crochet
- tr: treble crochet
- FPdc: front-post double crochet
- BLO: back loop only
- st(s): stitch(es)
- rnd(s): round(s)
- YO: yarn over
How to Crochet the Two-Color Irish Hat
Make the Ribbed Brim
Begin with Color A. The brim is worked flat first and then joined, creating the stretchy band that determines the hat’s circumference.
Foundation: Ch 10–12, depending on the desired height of the brim.
Row 1: Sc in the 2nd ch from hook and in each ch across. Turn.
Row 2: Ch 1, sc in the BLO of each st across. Turn.
Rows 3–72: Repeat Row 2 until the ribbed strip comfortably wraps around the intended head when slightly stretched.
Joining the brim: Fold the strip with the right sides together and sl st through both loops across the short ends to form a circular band. Turn the band right side out.
Teaching tip: Check the circumference before starting the body. The ribbing should stretch around the head without feeling overly tight; this is much easier to correct now than after the textured rounds are finished.
Build the Main Hat
Once the brim is joined, work around its long upper edge.
Base Round: Ch 1, work 1 sc evenly into each rib row around the brim, then sl st to the first sc to join.
Round 1: Ch 3 (counts as first dc), work 1 dc in each st around, then sl st to the top of the beginning ch-3 to join.
This round establishes the even foundation needed for the two-color texture that follows.
Introduce the Second Color
Now bring in Color B while keeping Color A available for the background.
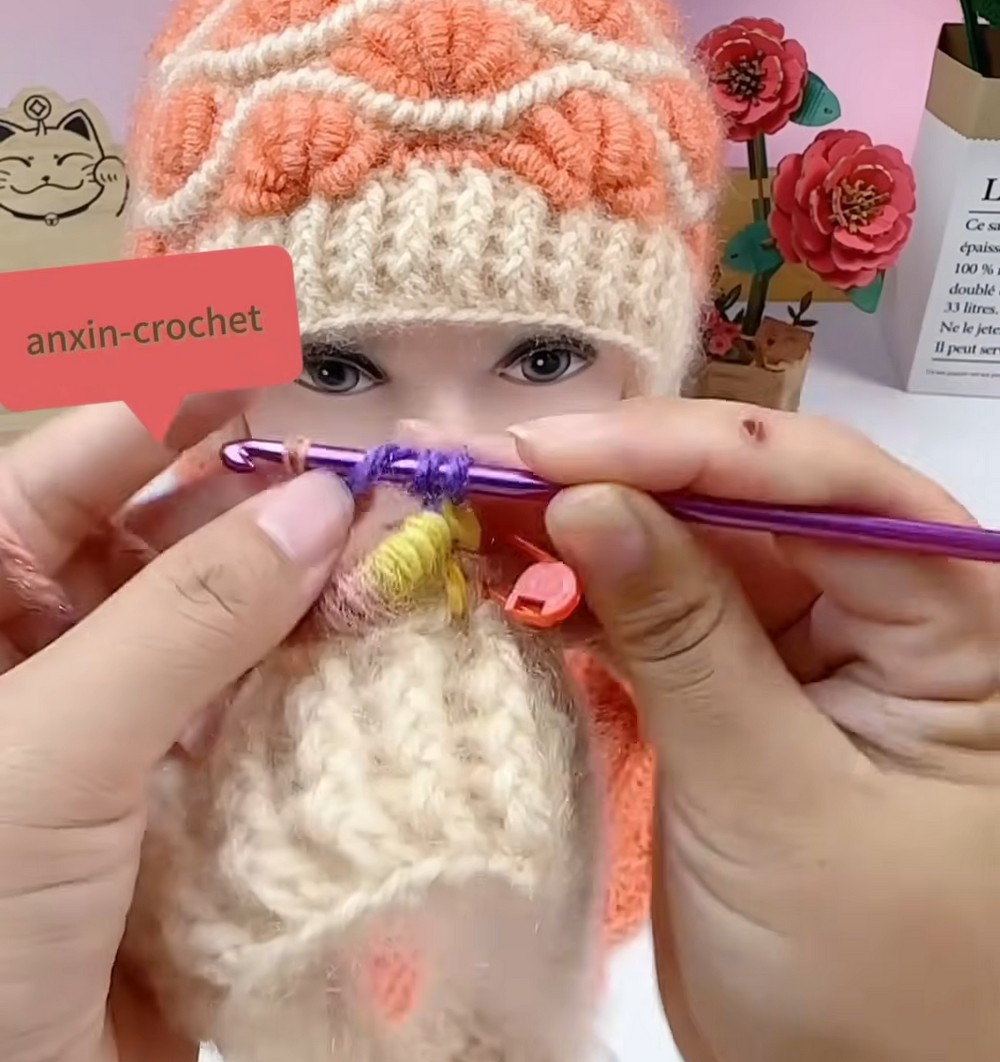
Round 2: Join Color B without cutting Color A. Ch 2, work the designated front-post double-crochet/cable overlay into the stitches from the lower round, ch 1, skip 1 st, then work 3 sc with Color A; repeat the established sequence around and join with a sl st.
The important part of this round is understanding that the raised Color B stitches sit over the surface of the Color A background. They are what begin creating the Irish-inspired floral or leafy effect.
Teaching tip: Don’t pull the carried yarn tightly when changing colors. A tight float can make the hat draw inward and reduce the stretch of the fabric.
Continue the Raised Irish Motif
The next rounds build on the foundation rather than introducing an entirely new construction.
Rounds 3–15: Continue the established two-color motif, alternating the background stitches in Color A with the raised treble/front-post elements in Color B. Work the Color A rounds as the textured background and use Color B to create the raised diagonal leafy details. Carry the unused color neatly along the inside when appropriate.
As the motif develops, keep checking the front of the hat. The raised stitches should sit smoothly on the surface rather than pulling the surrounding fabric inward.
Teaching tip: The color changes are easier to control if you keep the two yarns separated while working. If the strands begin twisting around each other, pause and untangle them before continuing.
Shape the Crown
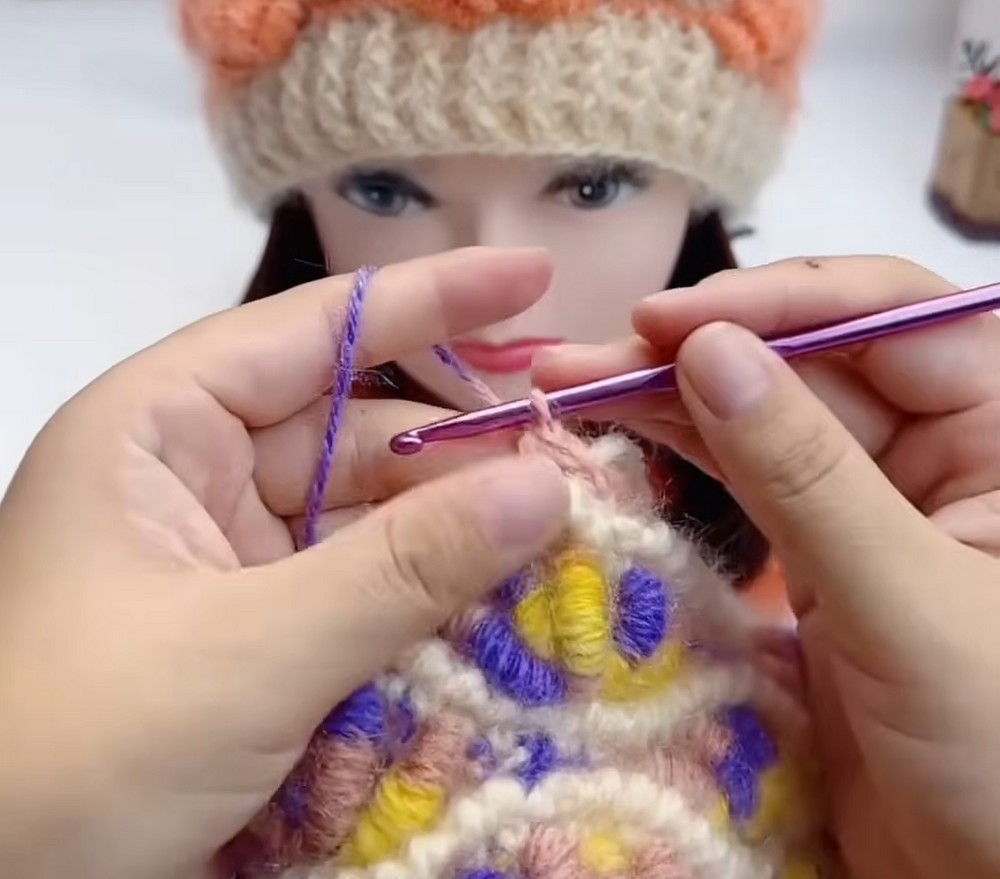
Once the main body reaches the desired height, the stitch count needs to gradually decrease so the hat can close at the top.
First Decrease Round
Decrease Round 1: Ch 2, work 4 hdc/dc, then dc2tog; repeat from * around and join with a sl st.
This begins bringing the sides inward while preserving the overall textured appearance.
Continue the Two-Color Shaping
Decrease Round 2: Continue the two-color motif while reducing the spacing between the raised accent stitches with the appropriate single- or double-crochet decreases.
Decrease Round 3: Work 2 hdc, hdc2tog; repeat from * around and join with a sl st.
Decrease Round 4: Work 1 hdc, hdc2tog; repeat from * around and join with a sl st.
Final Crown Round: Work sc2tog or dc2tog around the remaining stitches until approximately 10–12 sts remain. Fasten off, leaving a yarn tail of approximately 20 cm.
Teaching tip: As the opening becomes smaller, avoid tightening each decrease excessively. The goal is to gradually gather the crown rather than create a stiff, puckered top.
Close the Crown
Thread the remaining yarn tail onto a tapestry needle.
Pass the needle through the front loops of the remaining crown stitches, moving around the entire opening. Once every stitch has been secured, pull the yarn gently but firmly to draw the opening closed.
Secure the yarn with a firm knot on the inside of the hat.
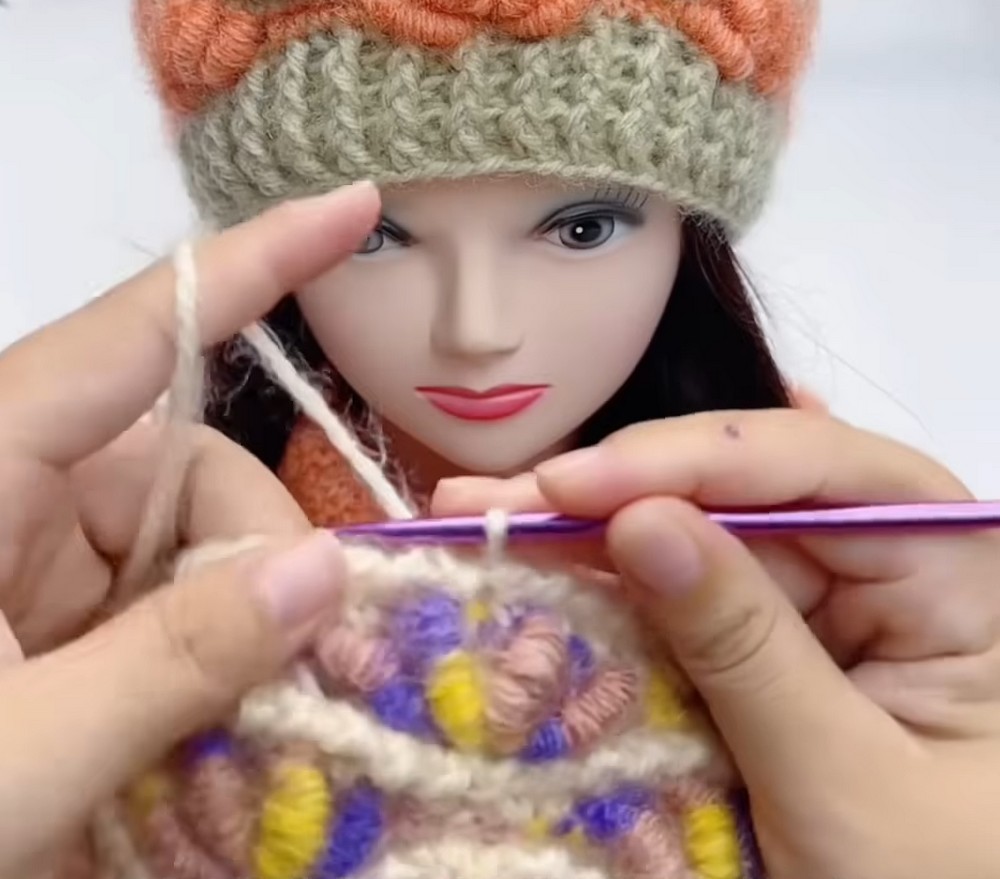
Finish the Color Changes
Turn the hat inside out and inspect the interior.
Secure any loose color-change strands and weave in the remaining yarn ends with the tapestry needle. Make sure the carried yarn has enough slack to allow the hat to stretch comfortably.
If you want a more traditional winter-hat finish, attach a pom-pom securely to the center of the closed crown.
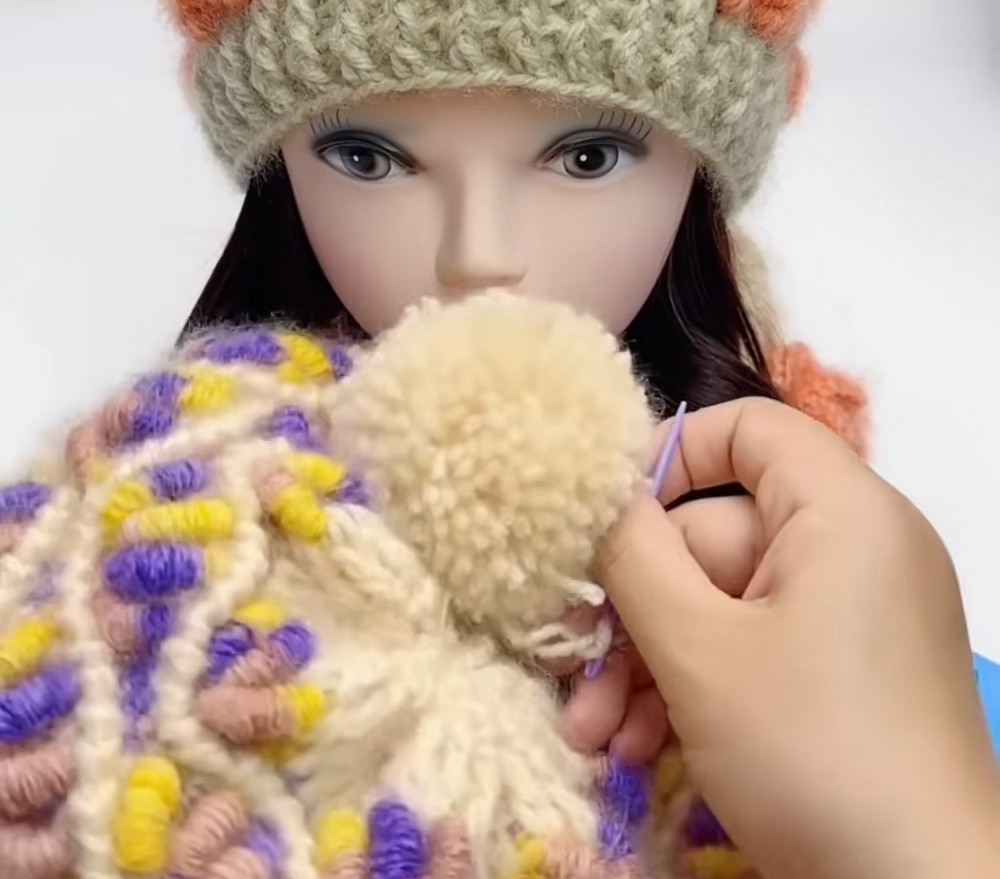
Before You Wear It
Give the hat a quick check:
- The brim should stretch comfortably around the head.
- The two colors should remain evenly distributed.
- The raised stitches should sit smoothly without pulling.
- The crown should be completely closed.
- All yarn ends should be securely woven in.
- The inside floats should not be tight enough to restrict the hat’s stretch.
The finished Two-Color Irish Hat combines a practical ribbed foundation with raised, contrasting texture. Once the brim and first motif round are established, the rest of the hat follows that structure toward the crown, making the colorwork much easier to manage while keeping the finished piece bold and distinctive.