Crochet Preemie Baby Hat – Granny Stitch Baby Beanie
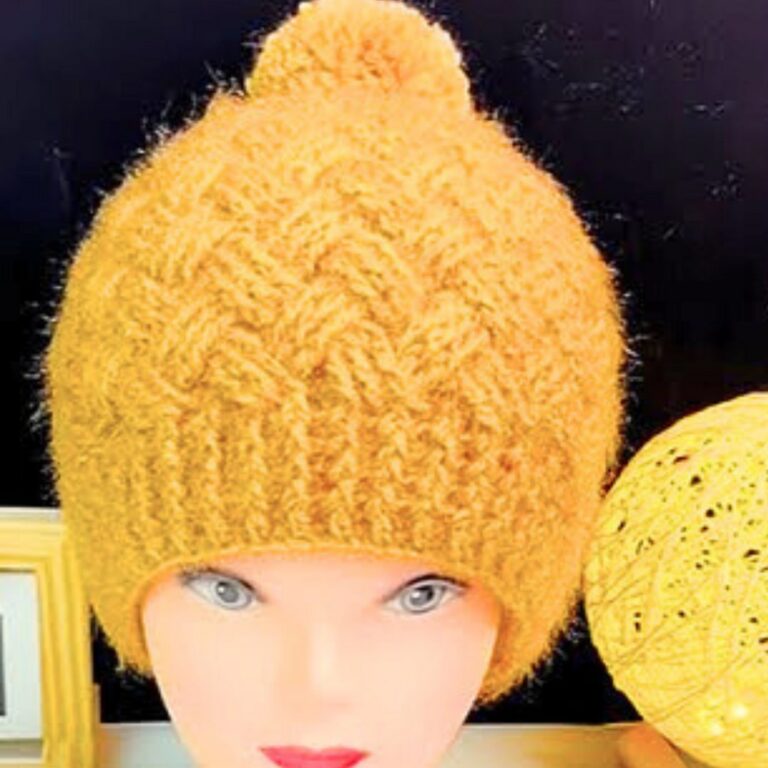
A soft pastel preemie beanie hat with no seams combines a rounded crochet crown, airy granny clusters, and a neat HDC brim for a sweet handmade finish.

Soft yarn and an open granny-stitch texture give this tiny crochet baby hat a delicate look, while the rounded crown and simple brim create a comfortable shape. Its small finished size makes it a thoughtful option for hospital crochet preemie donations, as long as the measurements suit the receiving hospital’s requirements.
Begin with a magic ring, increase the crown to 48 stitches, then work five rows of granny clusters, finishing with a two-row half-double-crochet brim. The instructions also cover stacked stitches, cluster alignment, invisible joining, and neatly securing the yarn ends.
Credit Crochet Rocks
Finished Size & Customization Ideas
- Finished Length: Approximately 3.5 inches (9 cm).
- Finished Width: Approximately 10 inches (25 cm) unstretched.
- Hospital Donations: This size is intended as an option for hospital preemie donations. Always check the receiving hospital’s current size and yarn requirements before donating.
- Adjusting the Length: Add an extra round of half-double crochet stitches to the brim if you need more length.
- Adjusting the Yarn Weight: If using a slightly different yarn weight, such as DK, check the crown measurements and adjust the increases as needed.
The finished measurements are unstretched. Since yarn thickness and personal tension can affect the result, check your gauge and finished dimensions before making a batch for donation.
Materials & Tools Needed
- Yarn: Super-soft 4-ply sport-weight yarn. The original creator used a soft ball from her yarn stash.
- Crochet Hook: 3.5 mm crochet hook.
- Tapestry/Darning Needle: For the invisible join and weaving in yarn ends.
- Scissors: For cutting the yarn.
Choose a soft yarn suitable for a baby’s delicate skin. For hospital donations, confirm the facility’s yarn, fiber, and washing requirements before beginning.
Pattern Abbreviations & Terminology
This pattern uses US crochet terminology. The creator references UK treble crochet stitches, which correspond to US double crochet stitches.
- St / Sts: Stitch / Stitches
- Ch: Chain
- Sl St: Slip stitch
- DC: US Double Crochet (UK Treble)
- HDC: US Half Double Crochet
- Inc: Increase (working two stitches into the same space or stitch)
- Stack / Stacked St: Stacked US crochet stitch used to start rounds neatly without traditional turning chains.

Before You Begin
Work the hat from the top down. The crown starts as a small circle and gradually widens through four increase rounds. Once the crown reaches 48 stitches, work the granny-stitch body in rounds, then the HDC brim.
Use a stacked stitch at the beginning of several rounds. Instead of using a traditional turning chain for the first stitch, this method creates a stitch-like starting post. Keep your starting stitches neat and consistent so the joins are less noticeable.

Part 1: Crochet the Crown
Work the crown in four rounds, increasing from 12 stitches to 48 stitches. These increases create the hat’s rounded top.
Round 1: Foundation Ring & Base Stitches (12 Sts)
- Leave a nice long yarn tail so you can secure the magic loop later.
- Create a magic loop by making a loop, inserting your hook, pulling the yarn through, and chaining 1 to secure it.
- Alternatively, chain 2 and work into the first chain.
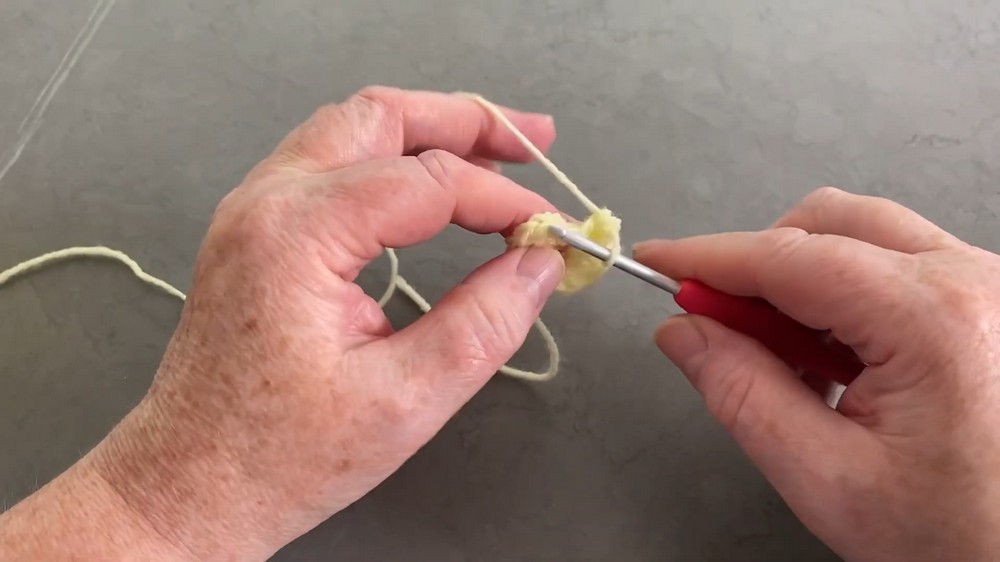
- Work a stacked DC into the ring:
- Insert the hook into the ring and pull up a loop.
- Yarn over and pull through both loops.
- Insert the hook into the vertical side post.
- Pull up a loop, yarn over, and pull through both loops.
- Working over the starting tail, work 11 more DC into the ring.
- You should have 12 stitches in total.
- Join with a sl st into the top two loops of the first stacked stitch.
- Pull the magic loop completely closed.
Why this round matters: The first round creates the center of the crown. Leaving a long starting tail gives you enough yarn to secure the center opening after you finish the hat.
Round 2: Crown Increase Round 1 (24 Sts)
- Reinsert the hook into the same space where you made the joining slip stitch.
- Pull up a loop, yarn over, and pull through both loops.
- Make the vertical post stitch to create the stacked first DC.
- Work 1 more DC into that exact same stitch space. This completes the first increase.
- Work 2 DC into every stitch around.
- Continue until you have 24 stitches in total.
- Join with a sl st into the top of the first stitch.
Why the stitches increase here: Working two DC into each stitch doubles the stitch count from 12 to 24. This widens the crown evenly and prepares it for the next increase round.
Round 3: Crown Increase Round 2 (36 Sts)
- Start with a stacked first DC in the same joining space.
- Work 1 increase into that same first stitch.
- Work 1 DC into the next stitch.
- Repeat the following sequence around:
- Work 1 increase in the next stitch.
- Work 1 DC in the next stitch.
- Continue until you have 36 stitches in total.
- Join with a sl st into the top of the first stitch.
What happens next: This round adds increases between regular stitches instead of increasing in every stitch. The alternating sequence expands the crown while helping it retain a rounded shape.

Round 4: Final Crown Increase Round (48 Sts)
- Start with 1 regular stacked DC in the first stitch. The previous round began with an increase, so this round starts with a regular stitch.
- Work 2 DC into the next stitch.
- Work 1 DC into each of the next 2 stitches.
- Repeat the following sequence around:
- Work 1 increase (2 DC in one stitch).
- Work 1 DC in each of the next 2 stitches.
- Continue until you have 48 stitches in total.
- Join with a sl st into the top of the first stitch.
Crown checkpoint: You should now have 48 stitches. This is the final crown increase round. The next section changes from circular increases to granny clusters, so check the crown shape before continuing.
Part 2: Crochet the Granny Stitch Body
The body is made with five rows of traditional granny clusters. Each cluster contains 3 DC worked into the same space.
The granny stitches create the open texture that gives the hat its decorative appearance. Unlike the crown, where stitches are increased to widen the circle, the body is worked into the spaces between the clusters.
Row 1 of Granny Body (16 Clusters)
- Start with a stacked first DC.
- Skip the next 2 stitches.
- Work 3 DC into the third stitch to form a traditional granny cluster.
- Repeat the following sequence around:
- Skip 2 stitches.
- Work 3 DC into the third stitch.
- Continue until you reach the beginning space.
- Complete the final cluster by working 2 more DC into the exact same space as your first stitch.
- Join with a sl st into the top of the first stitch.
- You should have 16 clusters in total.
Why we use clusters: Each group of 3 DC forms a small, fan-like section. The spaces between these groups become the working spaces for the following rows.
Row 2 of Granny Body
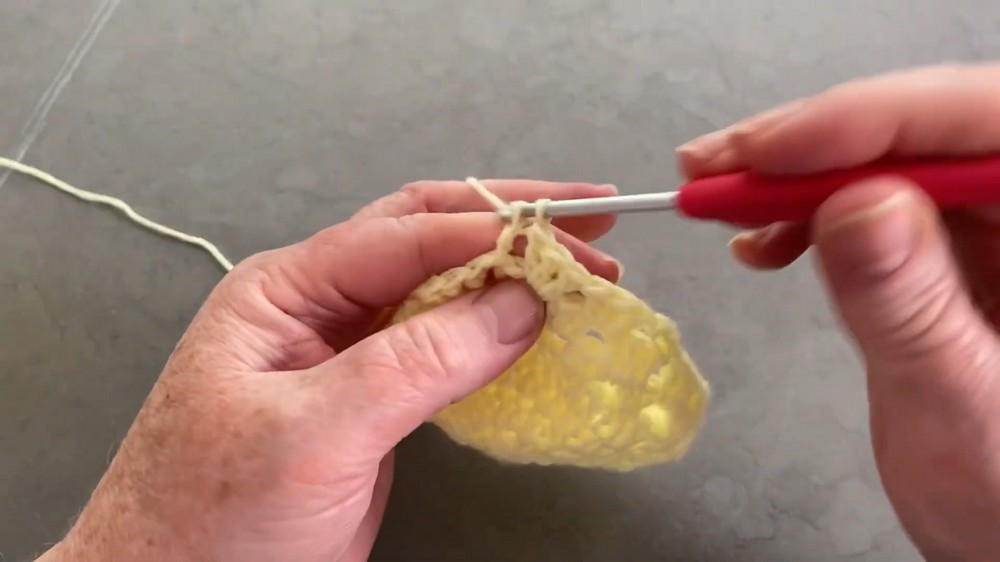
- Work your stacked first DC into the space.
- Work 2 more DC into that exact same space to complete the first cluster of 3.
- Work 3 DC in each space between the granny clusters of the previous row.
- Continue all the way around.
- Join using a slightly wider joining method:
- Insert the hook into the two loops.
- Pull up a loop.
- Yarn over and pull through both loops.
What happens in this row: The new clusters sit in the spaces between the previous round’s clusters. This creates the familiar granny-stitch pattern and continues the body downward.
Rows 3 to 5 of Granny Body
- Start with a stacked DC in the space.
- Leave it as 1 stitch and work 2 DC into that same space to catch up.
- Alternatively, adjust the starting arrangement depending on the row alignment so the clusters fall neatly into the chain and cluster spaces.
- Continue working 3 DC clusters into every space around.
- Complete a total of 5 granny-stitch rows.
Keeping the clusters aligned
As you work these rows, look at the spaces between the clusters from the previous round. Each new group of 3 DC should be placed in the appropriate space rather than worked randomly into individual stitches.
The starting position may need to change slightly depending on how the previous round ends. This is why the pattern allows the starting cluster to be adjusted so the groups sit neatly in the chain and cluster spaces.
Once five granny-stitch rows are complete, the body is ready for the brim.
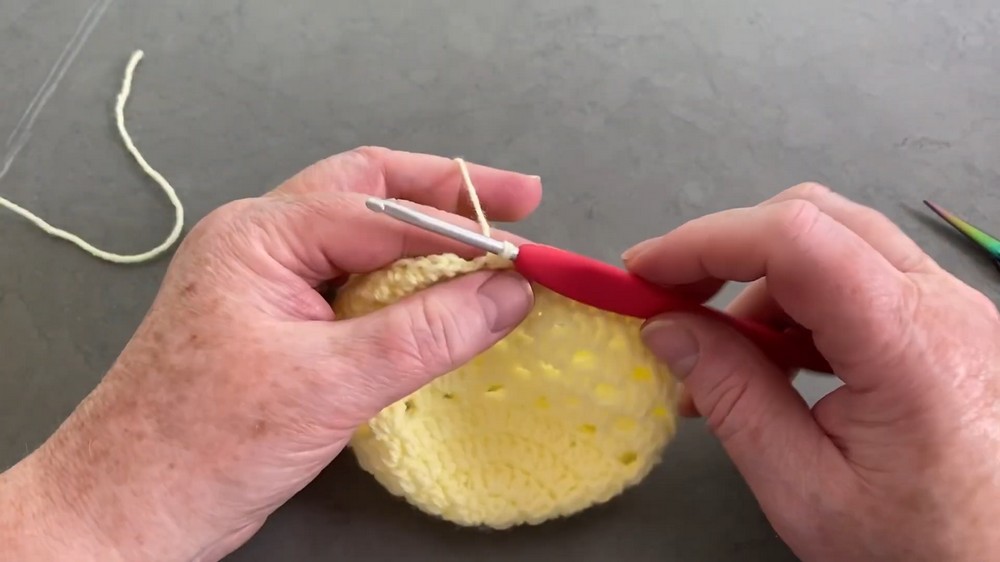
Part 3: Crochet the Brim
The brim is made with two rounds of HDC stitches. This gives the lower edge a more solid finish than the open granny-stitch body.
Brim Row 1
- Ch 1 and pull tight to lock or cinch down the starting point.
- Complete your first stacked HDC into the same stitch.
- Work 1 HDC in every stitch all the way around.
- Join with a sl st to the first stitch.
Why switch to HDC: The HDC stitches create a closer, more compact edge beneath the open granny clusters. This helps give the hat a neat finished lower section.
Brim Row 2
- Ch 1 and cinch down.
- Work 1 stacked HDC into the same stitch.
- Work 1 HDC in every stitch all the way around.
- Fasten off, leaving a yarn tail for the invisible join.
The second row completes the brim. Leave the tail long enough to sew the final join neatly with a tapestry needle.
Part 4: Invisible Join and Finishing
An invisible join gives the final round a smooth appearance by disguising the connection between its last and first stitches.
Invisible Join
- Thread the cut yarn tail onto a tapestry needle.
- Insert the needle from front to back through both loops of the very first stitch of the round.
- Bring the yarn back through the back loop only of the final stitch.
- Adjust the yarn tension until the join replicates the top V-shape of a standard stitch.
- Avoid pulling too tightly, as this can distort the brim.
Why use this method: A regular slip-stitch join can leave a visible bump. The needle join imitates the top of a crochet stitch, making the round look more continuous.
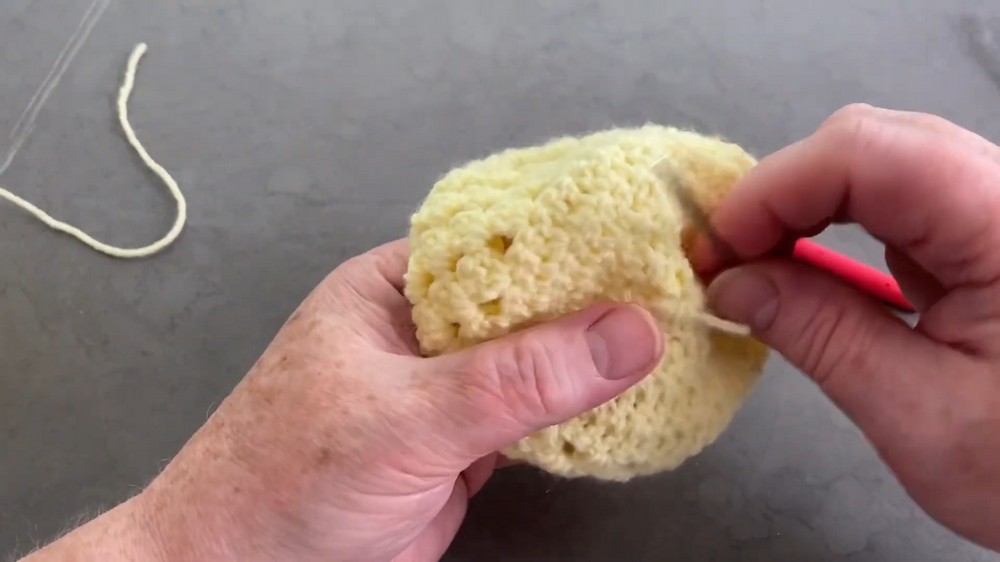
Weave in the Yarn Ends
- Anchor the yarn securely with a small knot stitch nearby.
- Thread the tail back and forth through the base line of the internal stitches.
- Change direction as needed to secure the yarn.
- Trim the excess yarn cleanly.
- Repeat the weaving process with the starting magic-loop tail on the inside of the crown.
- Turn the beanie right side out.
Sizing and Donation Notes
The supplied finished measurements are approximately 3.5 inches (9 cm) long and 10 inches (25 cm) wide when unstretched. If you plan to donate the hat to a hospital, confirm the required preemie sizing, yarn fiber, washing instructions, and donation guidelines with that hospital first.
If you want to adjust the length, an additional HDC round can be added to the brim. If you use a different yarn weight, such as DK, check the crown size and adjust the increases as needed rather than assuming the original measurements will remain the same.
The finished hat combines a rounded crown, textured granny-stitch body, and compact HDC brim in a small handmade design.