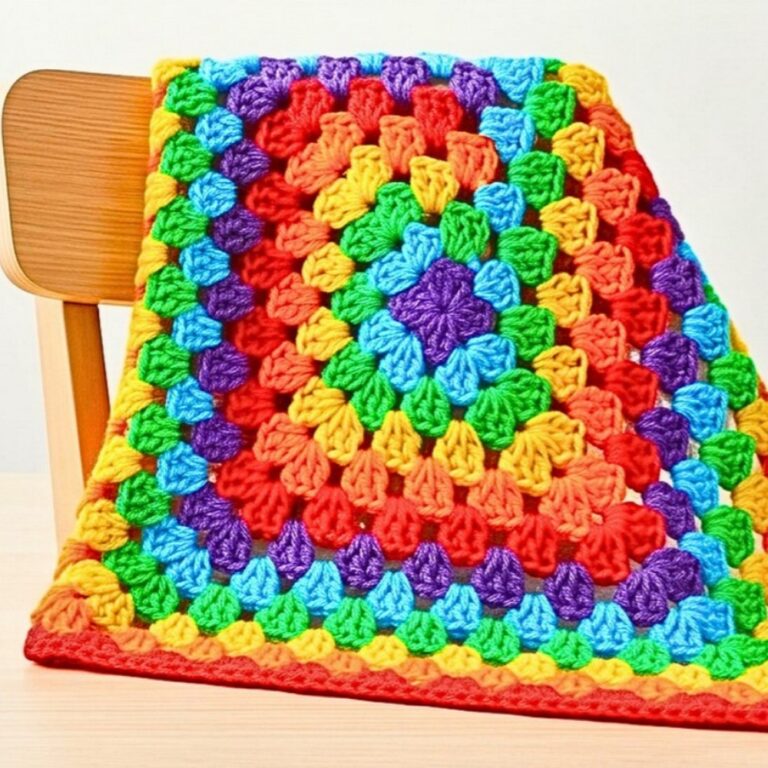
Beginner-Friendly Pattern For Crochet Bat Granny Square
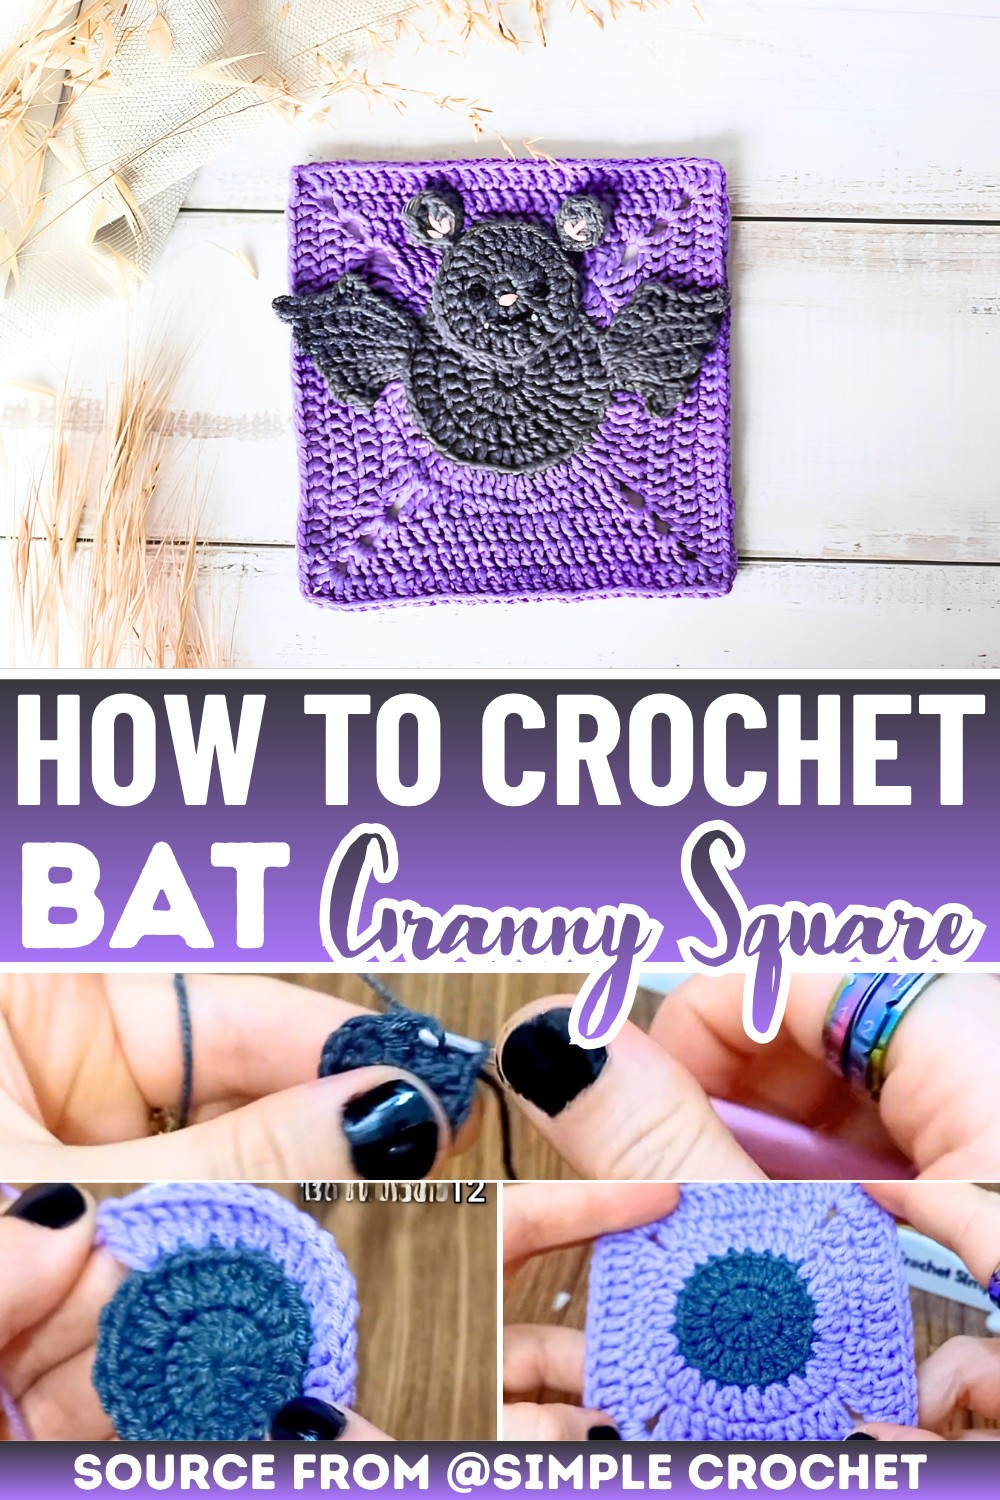
The bat granny square is a fun crochet pattern that blends basic stitches with a spooky Halloween theme! It features a cute bat designed using double crochet and chain stitches, set on a neat granny square frame. This pattern is perfect for beginners as it starts with a magic ring and builds naturally with repeating rows to form its shape. The bat design stands out against the background and can be adjusted in size, giving you lots of creative possibilities.
How to Crochet a Bat Granny Square
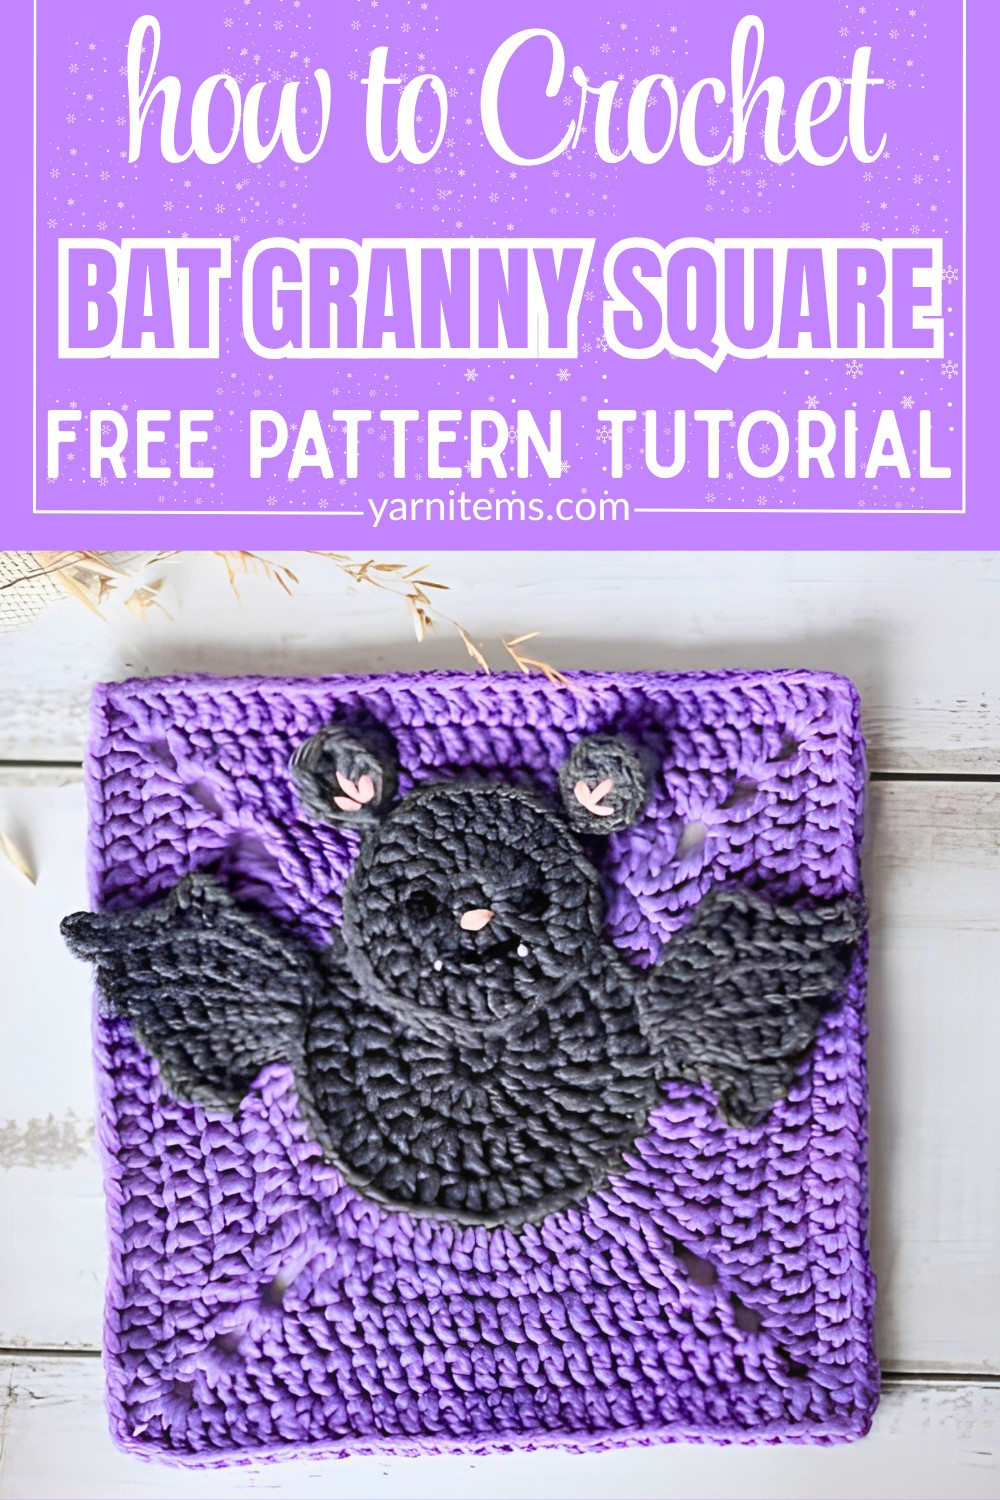
This crochet square isn’t just for Halloween! You can personalize it with bold yarn colors or soft pastels to fit your style. You can join multiple squares to create blankets, cushions, or even bags. Adding details like embroidery for the bat’s eyes or sewing on beads makes the piece extra special. You can also choose to use glow-in-the-dark or sparkly black yarn to make the bat even more eye-catching for parties or gifts!
Designed with classic granny square techniques, this pattern uses slip stitches to join and turn easily, making it a relaxing yet creative project. The corners are worked in shell stitches, ensuring the square remains balanced and even. It’s a wonderful way to practice your crochet skills while making something delightful. Whether it’s for Halloween decor or fun daily projects, this bat granny square adds joy to your crochet collection.
Credi Simple Crochet
Materials & Tools Needed
-
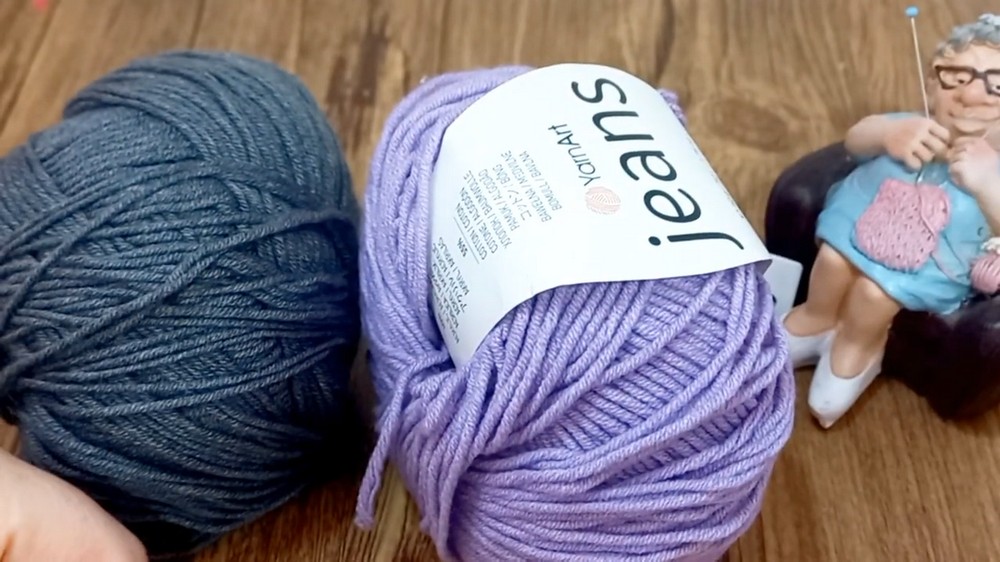
Yarn: Medium-weight yarn in two main colors: Black (or dark gray) for the bat body, head, wings, and ears; and a contrasting background color of your choice (purple, vibrant green, spooky orange, or bright yellow work beautifully).
-
Embroidery Yarn/Thread: Small leftover scraps of brown or black yarn (for the eyes), pink yarn (for the nose and inner ears), and white yarn (for the spooky little fangs).
-
Crochet Hook: A 2.5 mm crochet hook (or a hook size suitable for your chosen yarn weight).
-
Tools: A sturdy yarn needle for seamless finishing and assembly, and a pair of scissors.
Pattern Construction & Key Features
-
Worked in the Round: The core bat body and the background square are worked outwardly from a central magic ring.
-
The “Squaring” Technique: Transitions smoothly from a 24-stitch circle to a 4-cornered square by grouping different stitch heights (single, half-double, and double crochets) and using corner chain spaces.
-
Dimensional Textures: Uses specialized placement—like working into the back loop and third loop simultaneously—to pop the bat’s body out from the background.
-
Back Loop Only (BLO) Wings: The wings are worked flat in rows using BLO, coupled with intentional stitch-skipping to create a perfectly ridged, jagged bat-wing silhouette.
-
Customizable Details: Features separate modular pieces (head, ears, wings) sewn onto the flat base, allowing you to position them to give your bat its own unique personality.
Step-by-Step Pattern
Round 1: The Bat Body Base:
- Start by making a magic ring. Chain 3 (this counts as your first double crochet). Work 11 double crochets (DC) directly into the ring. Pull the tail tight to close the center hole, and join with a slip stitch (sl st) to the third chain of your starting chain-3. You will have a total of 12 stitches.
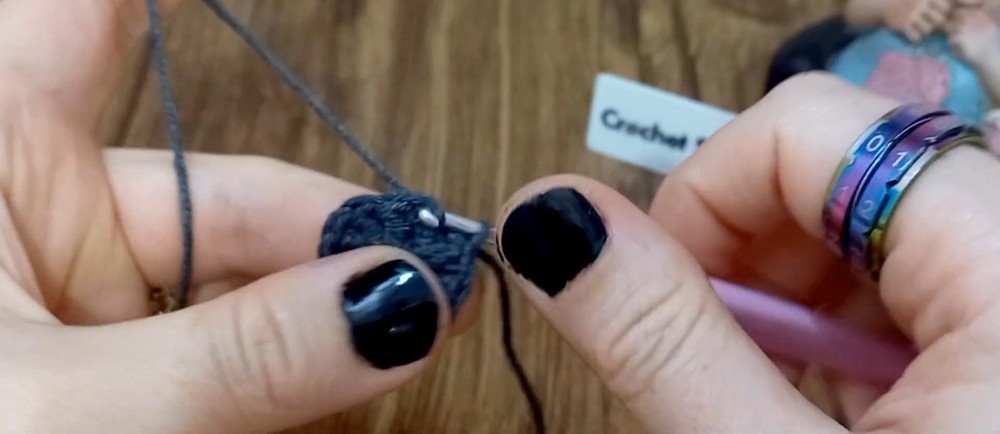
- Chain 3 (counts as your first DC), and make another DC in that very same space. Continue around the circle by making 2 DC into each of the next 11 stitches. When you reach the end, you should have 24 stitches. Fasten off your black yarn. For an ultra-clean finish, use your yarn needle to create an invisible join under the loops of the third stitch.
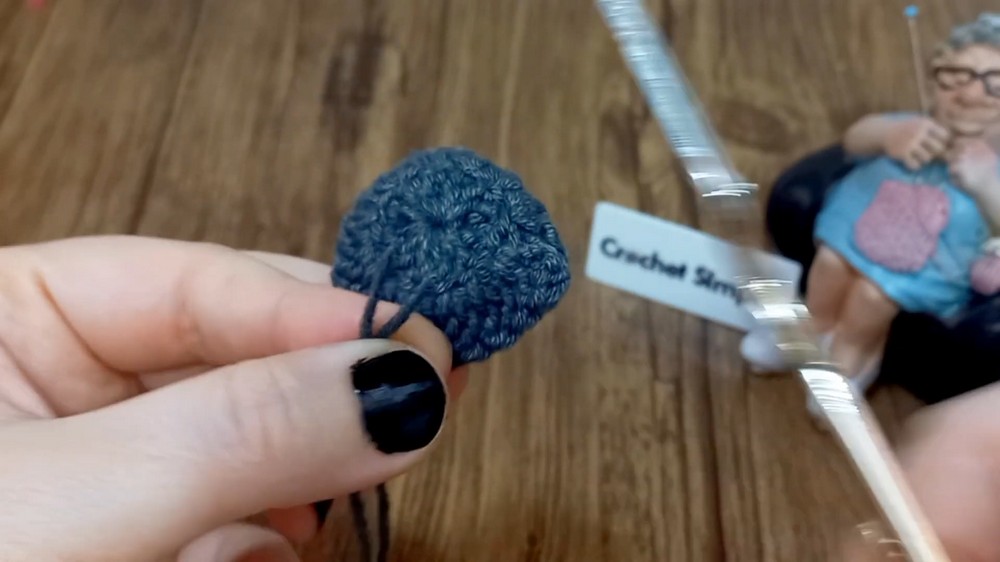
- Make a slip knot on your hook with your background yarn. To create a crisp border between the bat and the background, insert your hook into both the back loop and the third loop of any stitch from Round 2. Pull up a loop and work a DC (or chain 3). Follow an increase diagram around the circle: work 2 DC in the first stitch, then 1 DC in the next stitch. Repeat this sequence all the way around. You will end this round with 36 stitches. Join with a sl st.
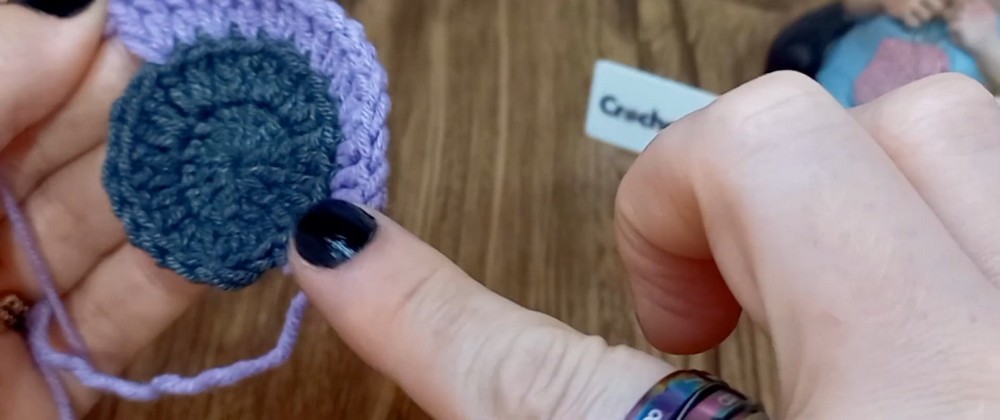
- Chain 4 (this counts as your first DC plus a chain-1 corner space). In the very next stitch, work 2 DC. Work 1 half double crochet (HDC) into each of the next 2 stitches. Work 1 single crochet (SC) into each of the next 3 stitches. Work 1 HDC into each of the next 2 stitches. Work 2 DC in the next stitch, then chain 1. Repeat from * to * around to form the remaining corners and flat edges. In the final corner space, add your last DC and join with a sl st to the third chain.
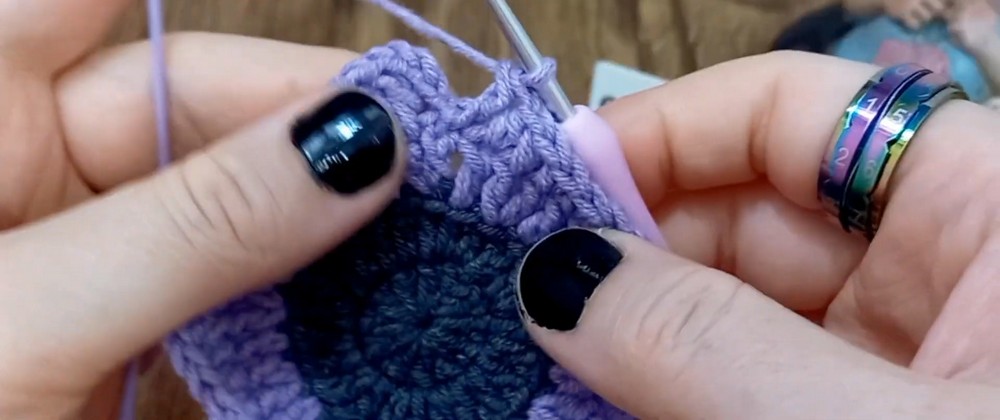
- Slip stitch into the corner chain space. Chain 4 (counts as DC + ch-1), and work 2 DC into that same space. Now, work 1 DC into every stitch along the straight side until you hit the next corner. In each corner chain-1 space, work (2 DC, chain 1, 2 DC). Repeat this around all four sides. Fasten off and weave in your ends neatly on the wrong side.
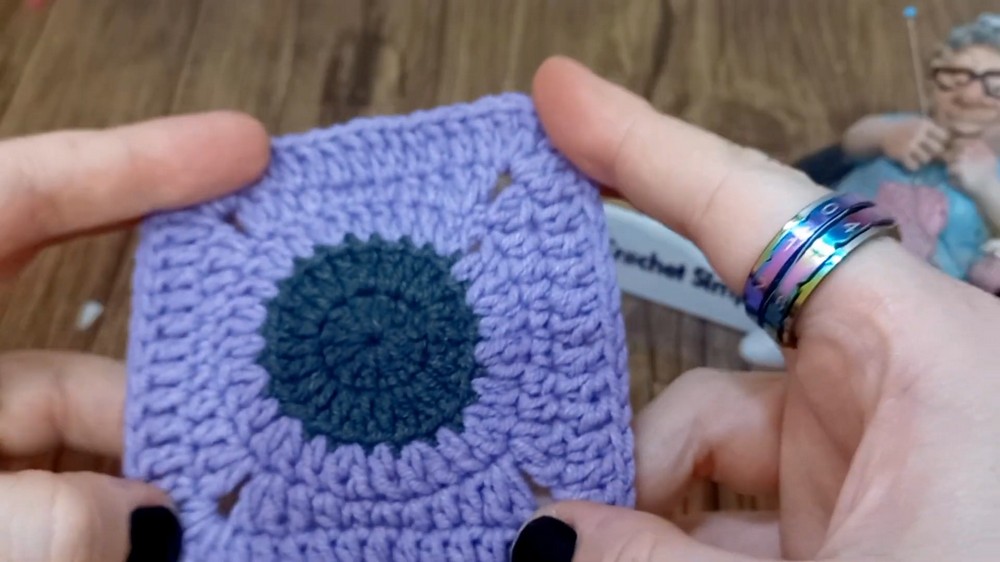
- For the Head: Create a magic ring, chain 3, and work 11 DC into the ring. Join to the top of the chain-3 (12 stitches). For Round 2, chain 2 (counts as an SC), work an SC in the same space, and then work 2 SC into every stitch around. Fasten off with a needle join.
For the Ears (Make 2): Inside a tiny magic ring, work 1 SC, 1 DC, and 1 Triple (Treble) Crochet. Fasten off, leaving a long yarn tail for sewing. Pull the ring tight to create a sharp, pointy ear shape!
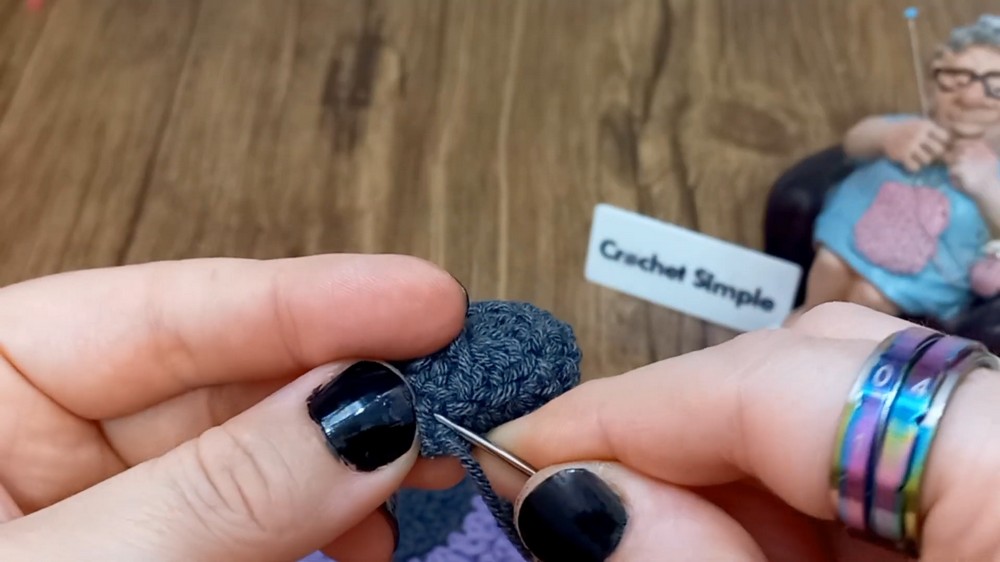
Step 7: Shaping the Ridged Wings:
Chain 8.
- Row 1: SC in the 2nd chain from your hook and in each chain across (7 SC). Chain 1, turn.
- Row 2: Working in Back Loop Only (BLO), work 1 SC into each of the next 6 stitches. Skip the very last stitch. Chain 1, turn.
- Row 3: Working in BLO, work 1 SC into each of the 6 stitches across to the end. Chain 1, turn.
- Row 4: Working in BLO, work 1 SC into each of the next 5 stitches. Skip the last stitch. Chain 1, turn.
- Row 5: Working in BLO, work 1 SC into each of the 5 stitches across. Fasten off, leaving a long tail for sewing.
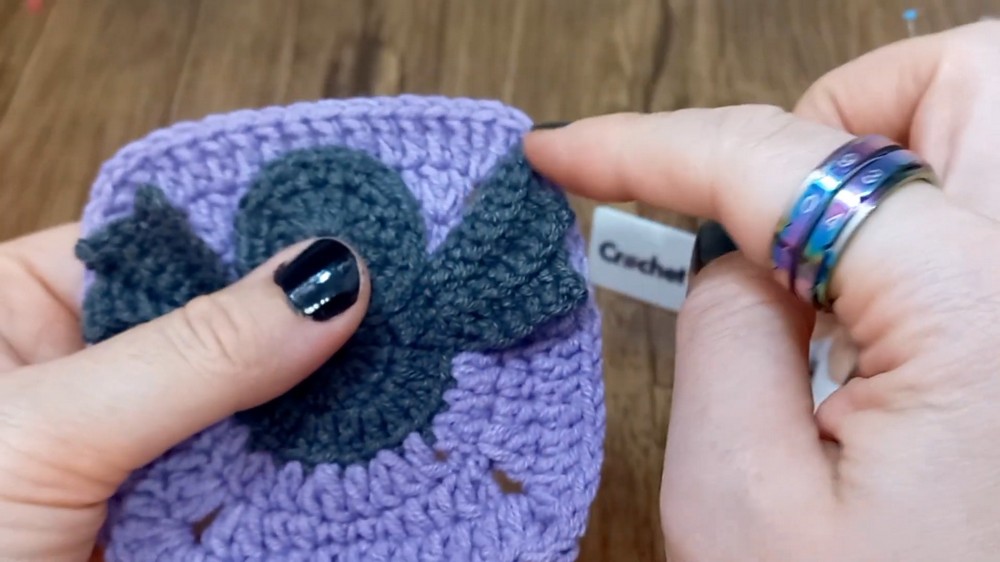
Step 8: Assembly & Spooky Embroidery:
Finishing Touches.
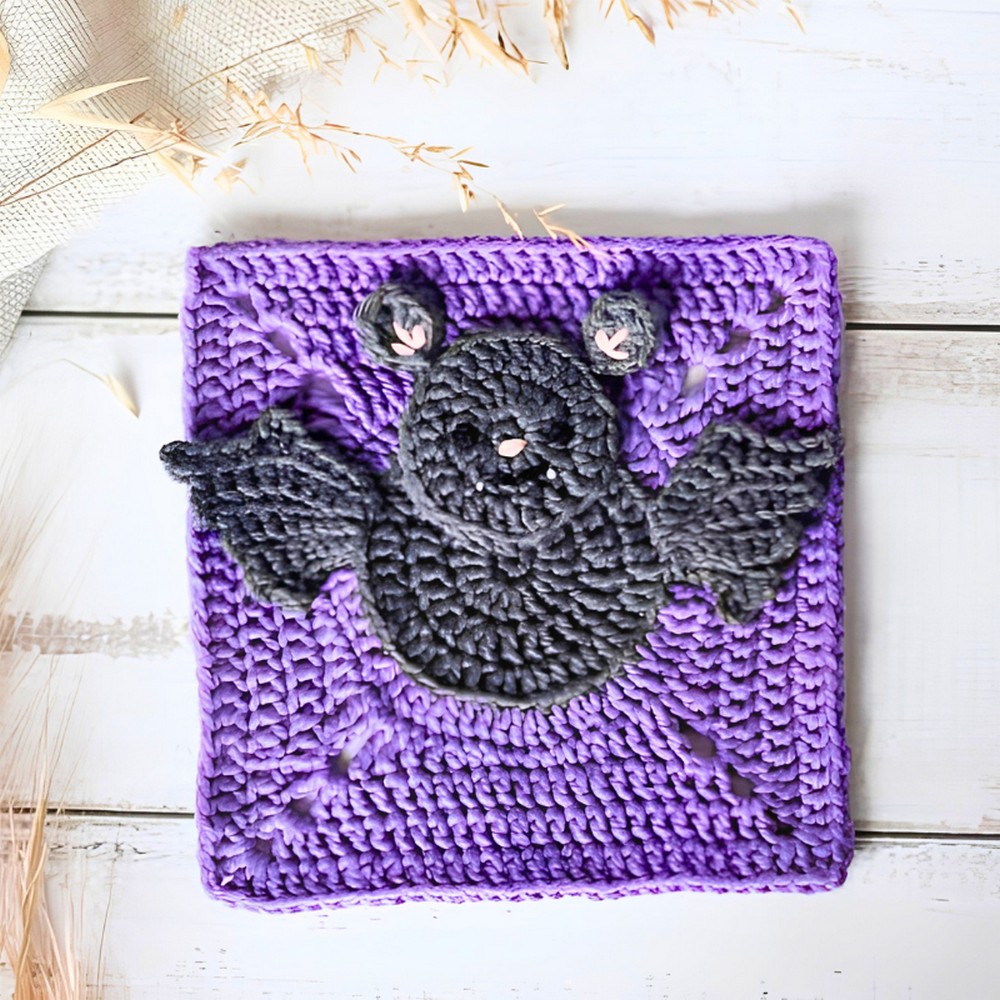
Using your yarn needle, sew the head applique over the top edge of the central black circle. Position the ears right at the top of the head and sew down securely. Flatten out your wings so the stepped, jagged edges point downward, and stitch the straight top edge of the wings to the sides of the body.
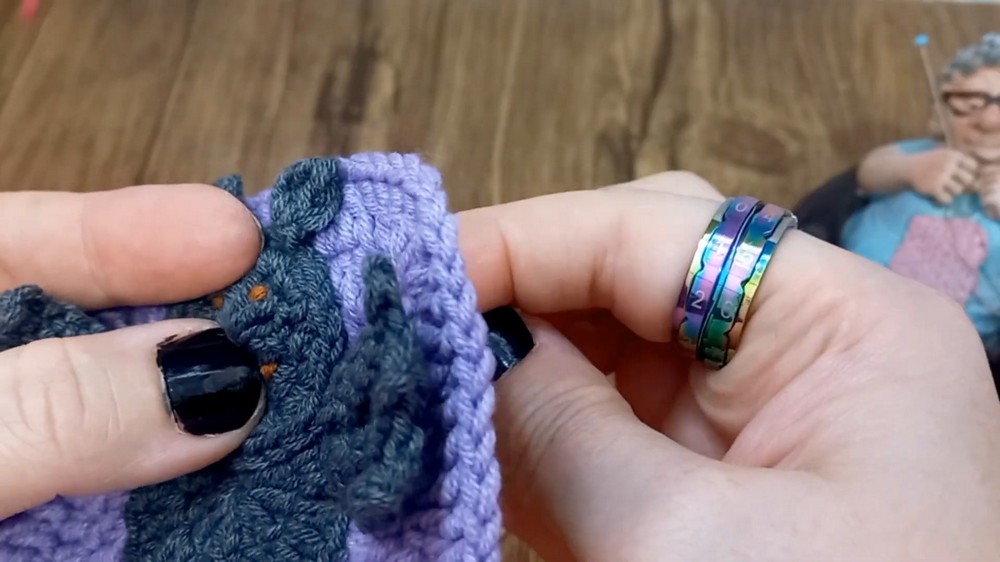
Thread your needle with contrasting yarn to stitch the face: use brown or black yarn to create two small sleepy or round eyes, pink yarn for horizontal nose and inner ear accent lines, and white yarn to give your bat two sweet, tiny vampire fangs!
Troubleshooting & Suggestions
-
Handling Color Changes and Clean Edges: When cutting your yarn at the end of Round 2, avoid using a standard slip stitch to join, as it leaves a noticeable knot. Instead, use the needle join method shown in the tutorial. Thread your yarn tail onto a needle, pass it under both loops of the third stitch of the round, and bring it back down through the center of the very last stitch you crocheted. This mimics a real stitch loop, completely hiding the transition before you start your background yarn.
-
Eliminating Gaps in Round 3: Working into the back loop and the third loop (the loop hiding directly behind the back loop) keeps your background stitches structurally sound. If you only use the back loop, the weight of the double crochets can pull on the stitch and leave unsightly holes around the bat’s body.
-
Stitch Consistency and “Cupping”: If your square is curling inward like a bowl, your stitches are likely too tight, or you may have accidentally missed an increase. Give your square a gentle tug across the diagonals to stretch it out. If it still cups, try switching to a slightly larger hook (like a 3.0 mm) for the background portion.
-
Creative Modifications:
-
Color Play: Try a classic Halloween palette! Give your bat an eerie glow by using neon green, bright pumpkin orange, or crisp white for the background. You could even use a dark charcoal grey for the bat body to make the black embroidered facial lines pop more clearly.
-
Size Adjustments: Want a larger square? You don’t have to stop at Round 5! Simply repeat the blueprint from the final round—working 1 DC into every side stitch and
(2 DC, ch 1, 2 DC)into the corners—to make your square big enough for a standalone hot pad or tote bag pane. -
Alternative Embellishments: If you aren’t confident in your embroidery skills, swap the stitched eyes for two tiny black buttons or secure plastic safety eyes (just make sure to install safety eyes onto the head applique before sewing the head down onto the square!).
-