Beginner-Friendly Pattern For Crochet Mesh Sweater
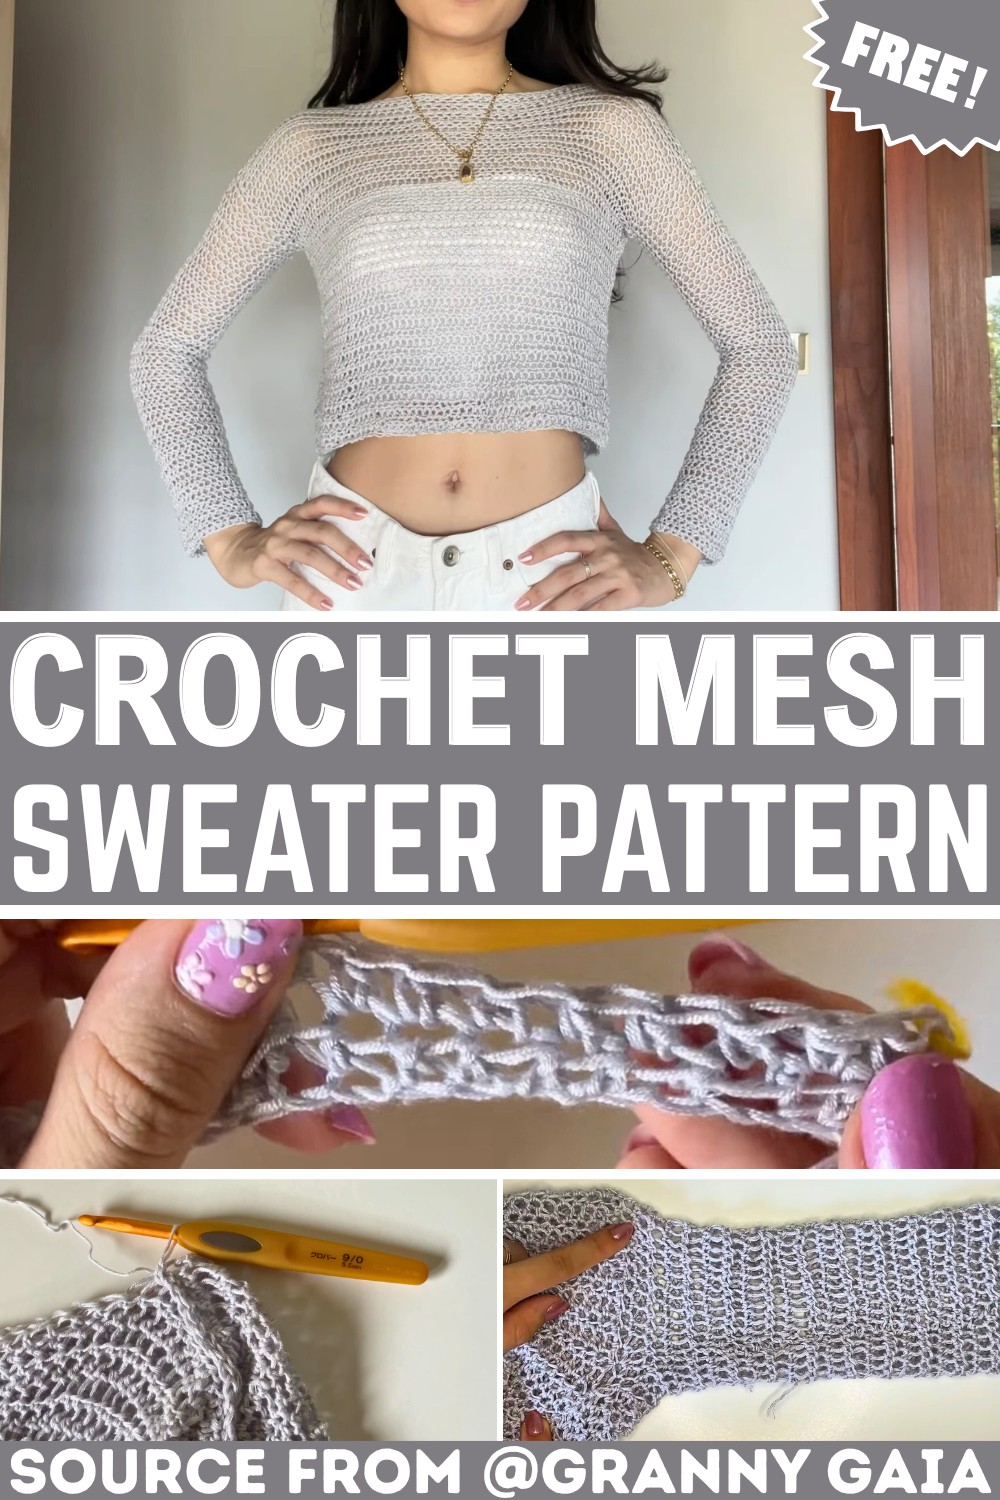
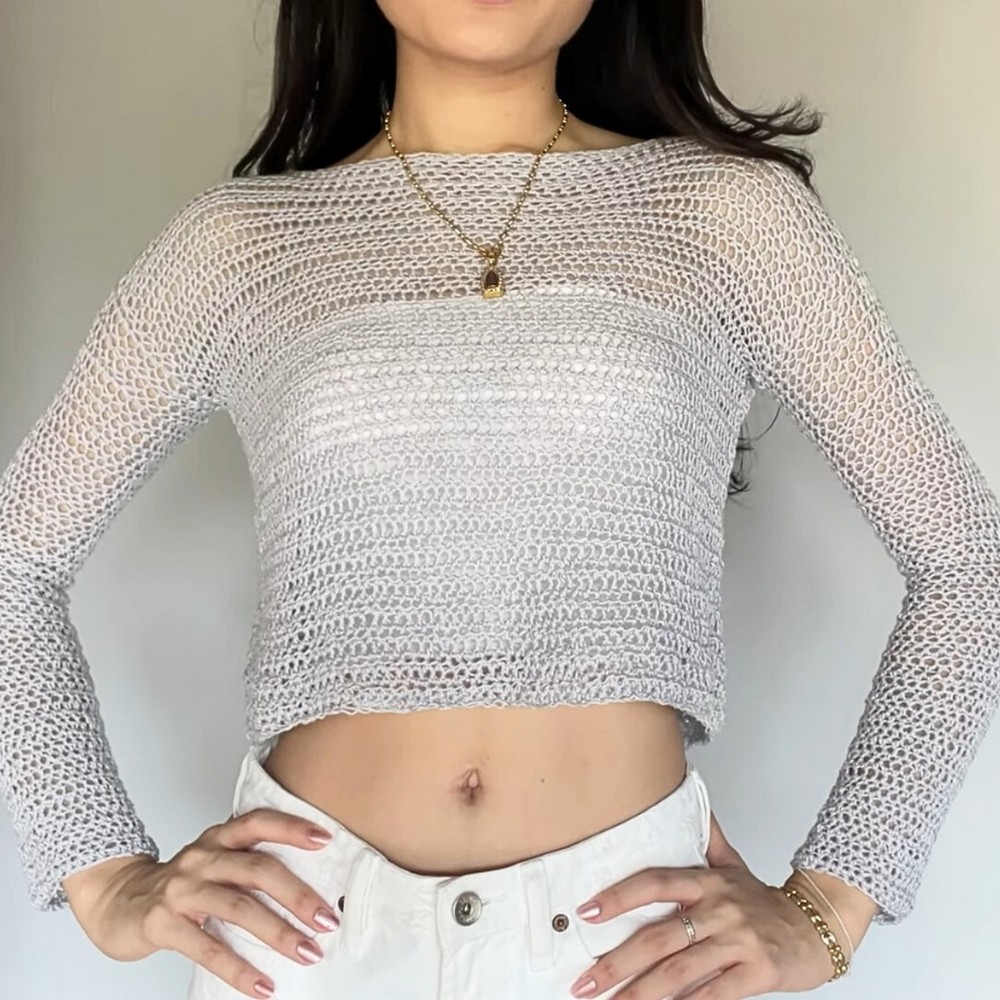
The beauty of this crochet mesh sweater lies in how effortlessly it combines comfort with modern style. Its lightweight, openwork texture creates a breathable piece that layers beautifully over everyday outfits without feeling bulky.
Made-to-measure construction allows you to shape it to your own body for a comfortable, flattering fit. Soft cotton or bamboo yarn gives the finished item an easy, relaxed drape that feels wonderful to wear.
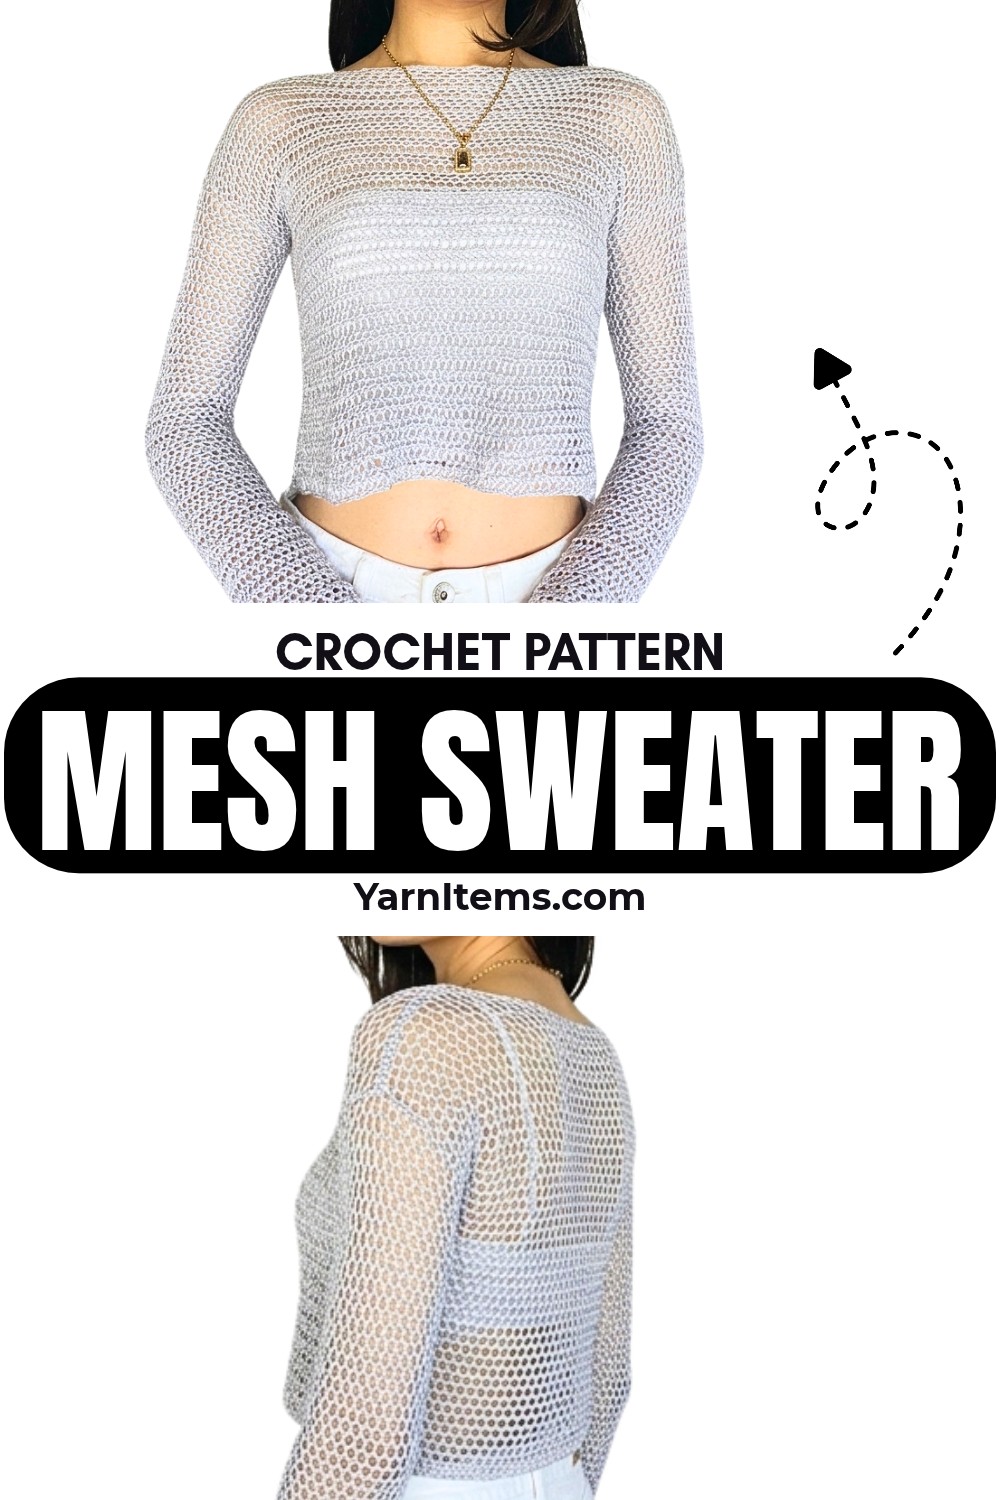
Simple stitches come together to create a stylish design that is approachable for beginners and enjoyable for experienced crocheters alike. The front and back panels are worked separately before being joined, while the sleeves are added directly around the armholes for a clean finish. You can easily adjust the width, length, and sleeve size to match your preferred look without changing the overall construction. The result is a versatile wardrobe crochet piece that you can personalize with different colors, edging, or subtle design details.
Credit Granny Gaia
Materials & Tools Needed
To make this Mesh Sweater, you will need:
- Fingering weight (Weight 1) yarn. You can choose any soft yarn (e.g., cotton or bamboo blend). The yarn in the tutorial was 70% bamboo and 30% cotton.
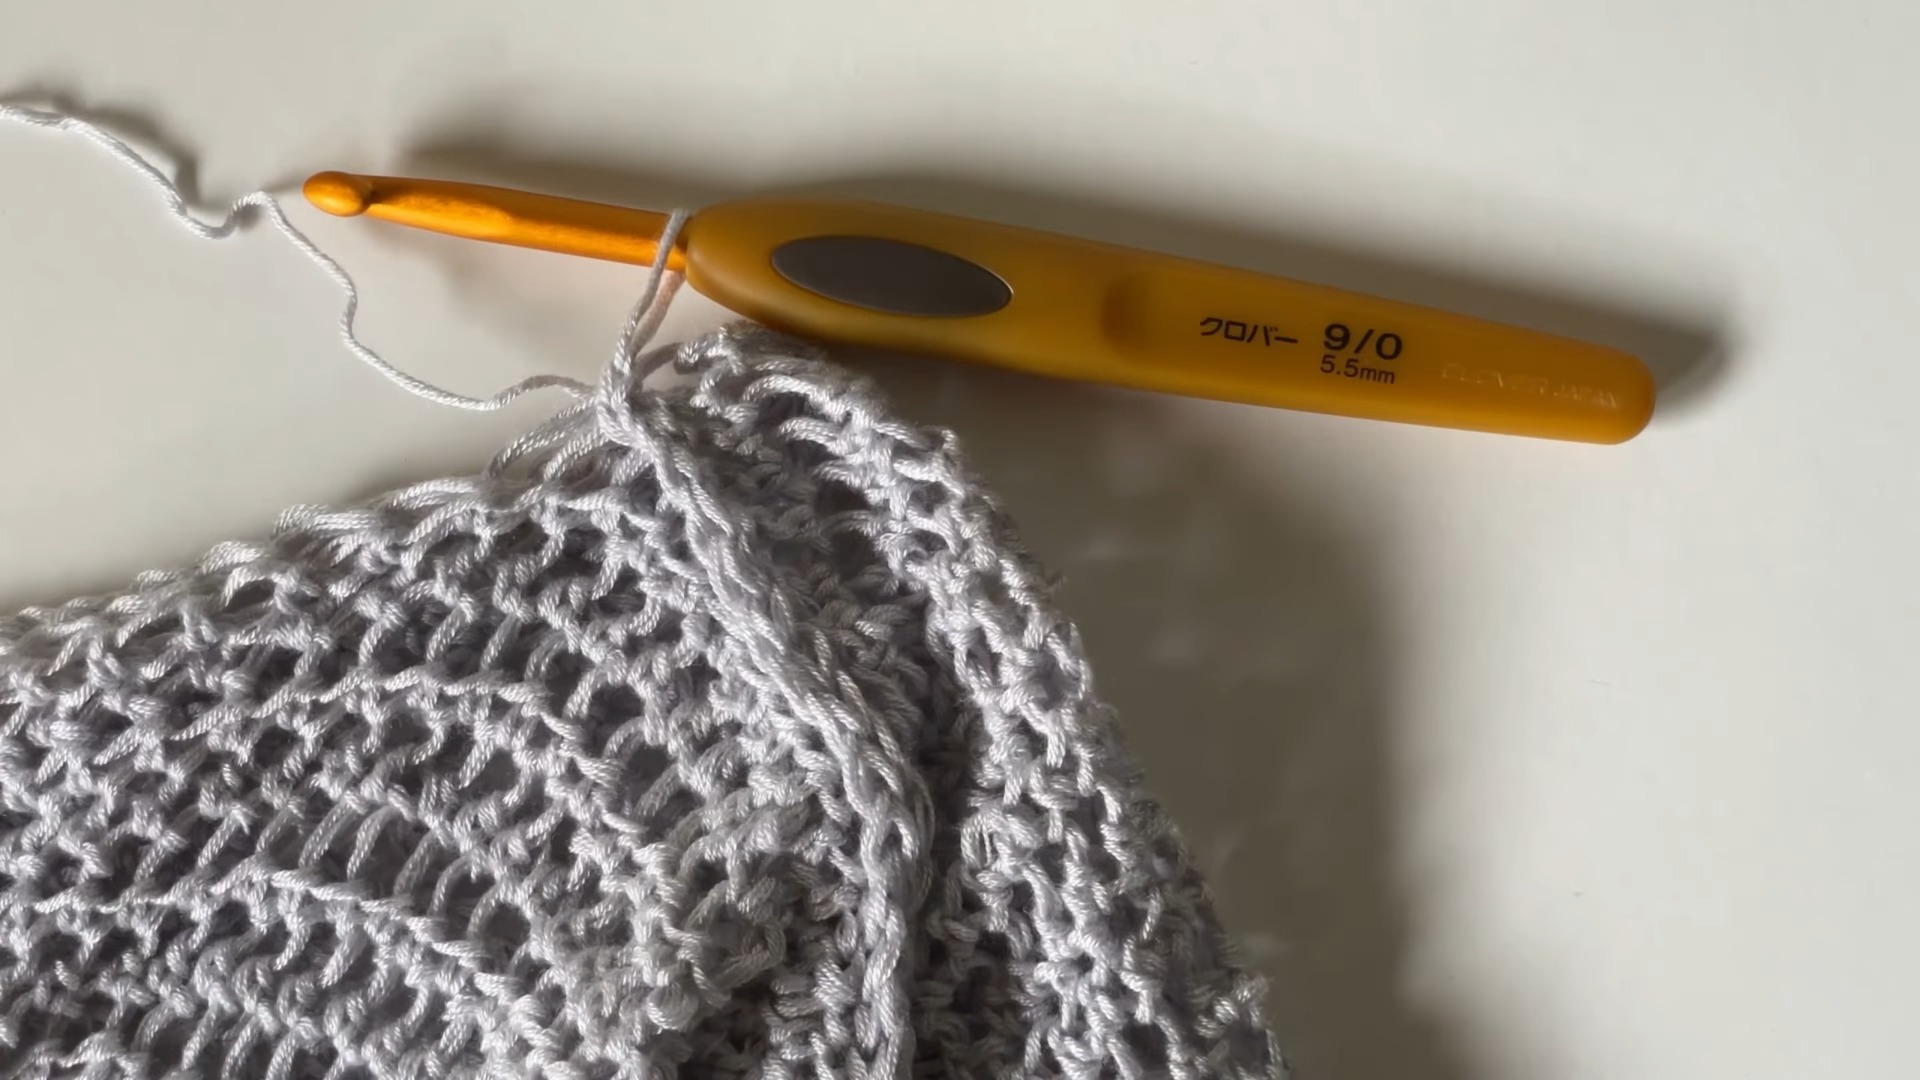
- 5.5 mm crochet hook
- Scissors
- Darning needle (for weaving in ends)
- Stitch markers
- Tape measure (for taking custom measurements)
Pattern Notes:
- Made-to-Measure Design:
- The project is fully customizable to fit your exact measurements.
- Provided measurements are for reference purposes only.
- Beginner-Friendly:
- Ideal for those new to crochet.
- Great for practicing Half Double Crochets (HDC) and Slip Stitches.
- Oversized Fit:
- Includes an additional width of 3.5 cm added to the bust measurement for a loose, oversized feel.
Finished Size & Customization Ideas
The sweater is made to measure! Here are the creator’s measurements for reference:
- Bust: 83 cm.
- Width of each panel (front & back, including 3.5 cm of ease): 45 cm.
- Length of the front and back panels: 37 cm.
- Sleeve length: 50 cm (52 rows of HDC).
To adjust the fit:
- Add or subtract width to adjust to your desired looseness.
- Customize the length of the body panels and sleeves to match your measurements.
Pattern Abbreviations & Terminology
US Terminology:
- HDC – Half Double Crochet
- CH – Chain
- ST – Stitch
- SL ST – Slip Stitch
- YO – Yarn Over
- SC – Single Crochet
Step-by-Step Detailed Crochet Instructions
Step 1: Take Measurements
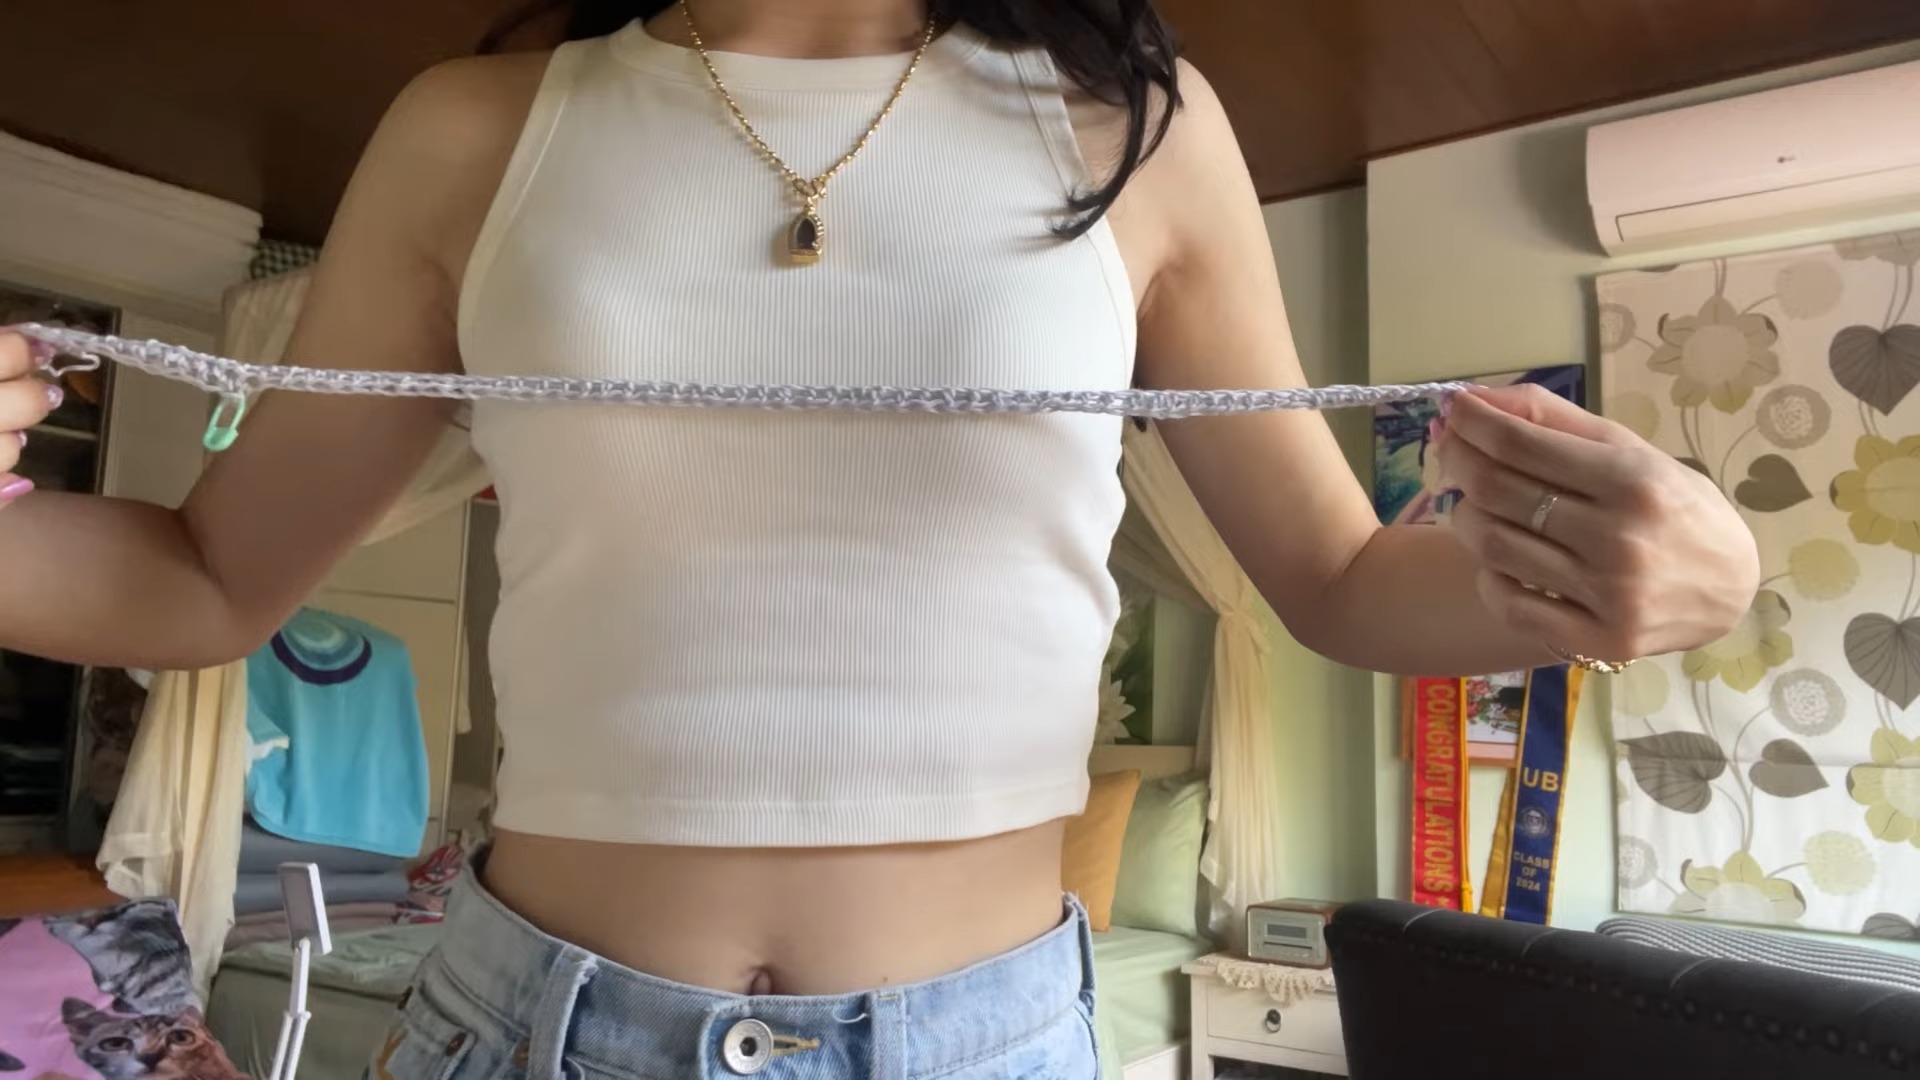
- Measure your bust circumference.
- Example from video: 83 cm.
- Divide your bust measurement by 2.
- Example: 83 ÷ 2 = 41.5 cm.
- Add 3.5 cm of ease for an oversized fit.
- 41.5 + 3.5 = 45 cm (panel width).
Step 2: Create the Front Panel
- Foundation Row:
- Make a CH long enough to measure 45 cm (or your custom width).
- Example: CH 69 for 45 cm.
- Do not create a turning CH (optional). Start working HDC into the CH row:
- Skip the first 2 CHs, YO, and work 1 HDC into the 3rd CH.
- Place 1 HDC in each CH across the row.
- At the end of the row, count your stitches. Example: 69 HDC.
- Continue Rows:
- Chain 2 (turning chain).
- Turn your work.
- Place 1 HDC in each ST across the row.
- Repeat for additional rows until the panel reaches your desired length.
- Example: 45 rows (or 37 cm long).
- At the end of the final row:
- Chain 1, cut the yarn, and fasten off.
Step 3: Create the Back Panel
- Repeat the same steps as the Front Panel, matching the width, stitch count, and row count exactly.
- When finished, you should have 2 identical panels.
Step 4: Join the Panels at the Shoulders
- Lay the two panels flat, one on top of the other, ensuring alignment.
- Use a tape measure or try the panels on your body to mark out your desired neckline width.
- Example: 14 cm wide, leaving 20 stitches on each side for the shoulders.
- Mark the shoulder seam edges using stitch markers.
- Seam the Shoulders:
- Use a slip stitch to join the panels along the marked areas.
- Insert your hook into the first stitch on both panels, YO, and pull through both loops to make a SL ST.
- Repeat across all stitches until you reach the stitch markers.
- Chain 1 and fasten off.
Step 5: Seam the Sides
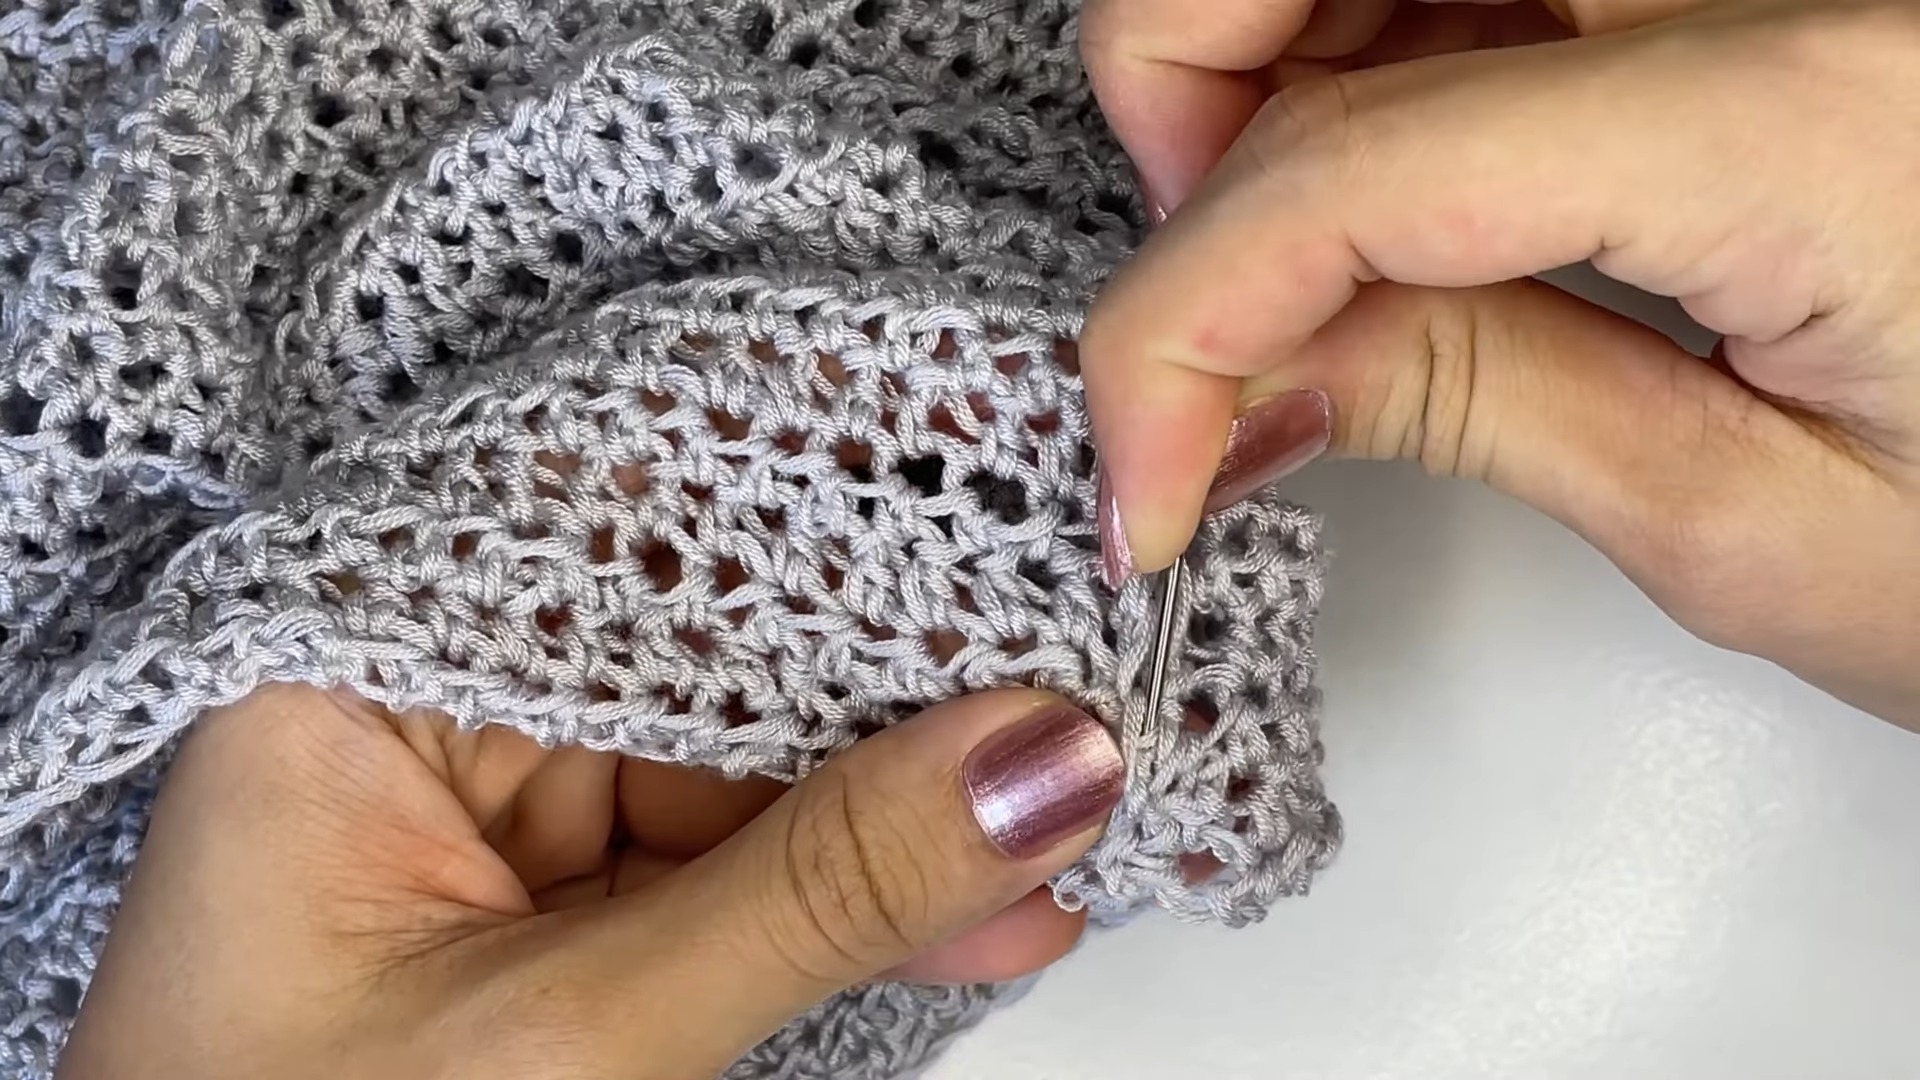
- Place the panels flat with the “wrong side” facing out.
- Mark the armhole openings with stitch markers.
- Example: 16 cm from the shoulder seam (17 rows).
- Use single crochet (SC) to seam the sides:
- Attach yarn at the bottom corner of the panel.
- Insert your hook into the edge of the front and back rows, YO, pull through, and SC both panels together.
- Continue working up to the marked armhole opening.
- Chain 1, fasten off.
- Repeat on the other side.
Step 6: Create Sleeves
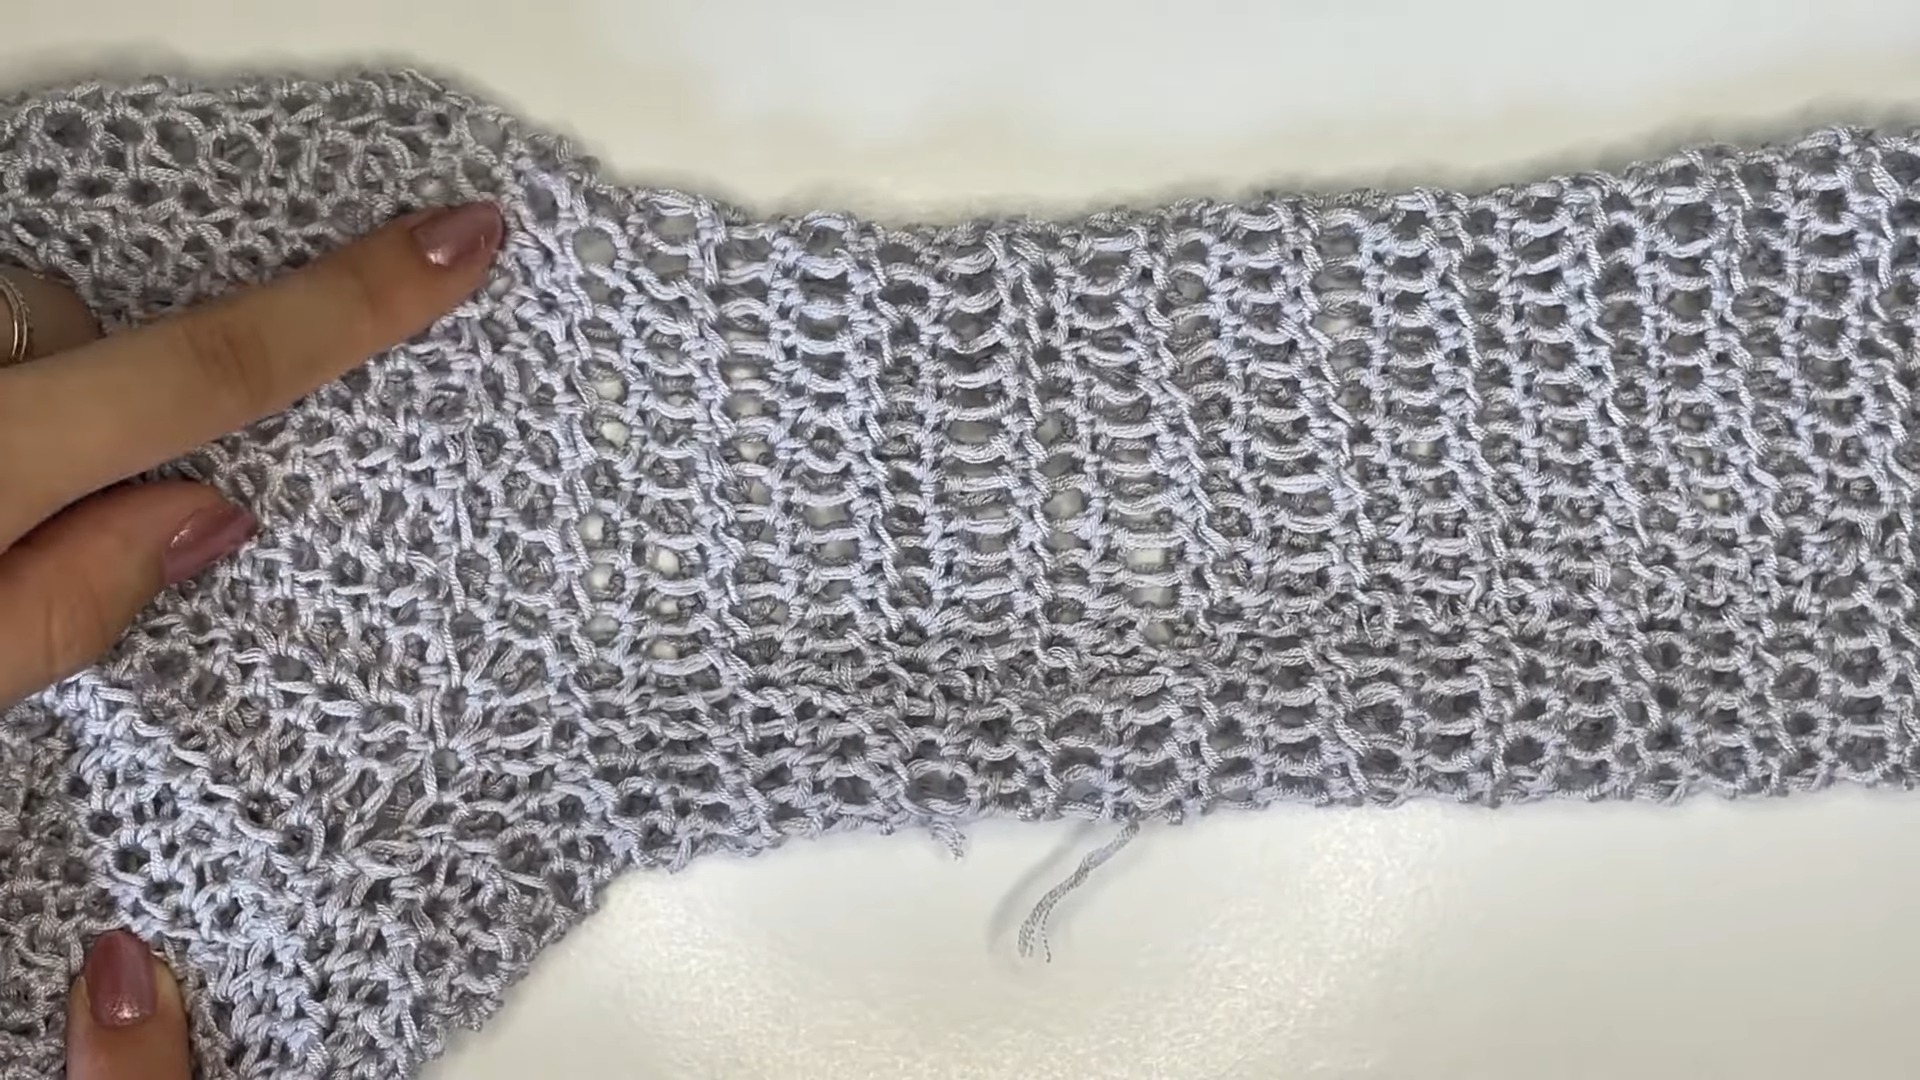
- With the sweater still inside out, reattach your yarn to any point around the armhole opening.
- Work 1 round of HDC stitches around the armhole:
- Place 1 HDC in each row edge around the armhole to create a uniform sleeve base.
- Slip stitch into the first HDC to join the round.
- Chain 2 and turn your work.
- Work HDC rows in the round, turning at the end of each row to keep the seam straight.
- Continue until the sleeve reaches your desired length.
- Example: 52 rows for a sleeve length of 50 cm.
- When finished:
- Slip stitch to join the last round.
- Chain 1, cut the yarn, and fasten off.
- Repeat for the second sleeve.
Step 7: Weave in Ends
- Using a darning needle, weave in all loose ends carefully on the wrong side of the sweater.
Finishing Techniques
- Turn the sweater to the right side.
- Lightly steam block or wet block to relax stitches and achieve the perfect drape.
- Try it on and admire your work!
Optional Customizations
- Color Changes: Add stripes or color blocks by switching yarn colors at desired rows.
- Edging: Add a row of SC or picots around the neckline, cuffs, and bottom hem for a polished look.