Crochet Mini Ghost Pattern – Adorable Halloween Décor Tutorial
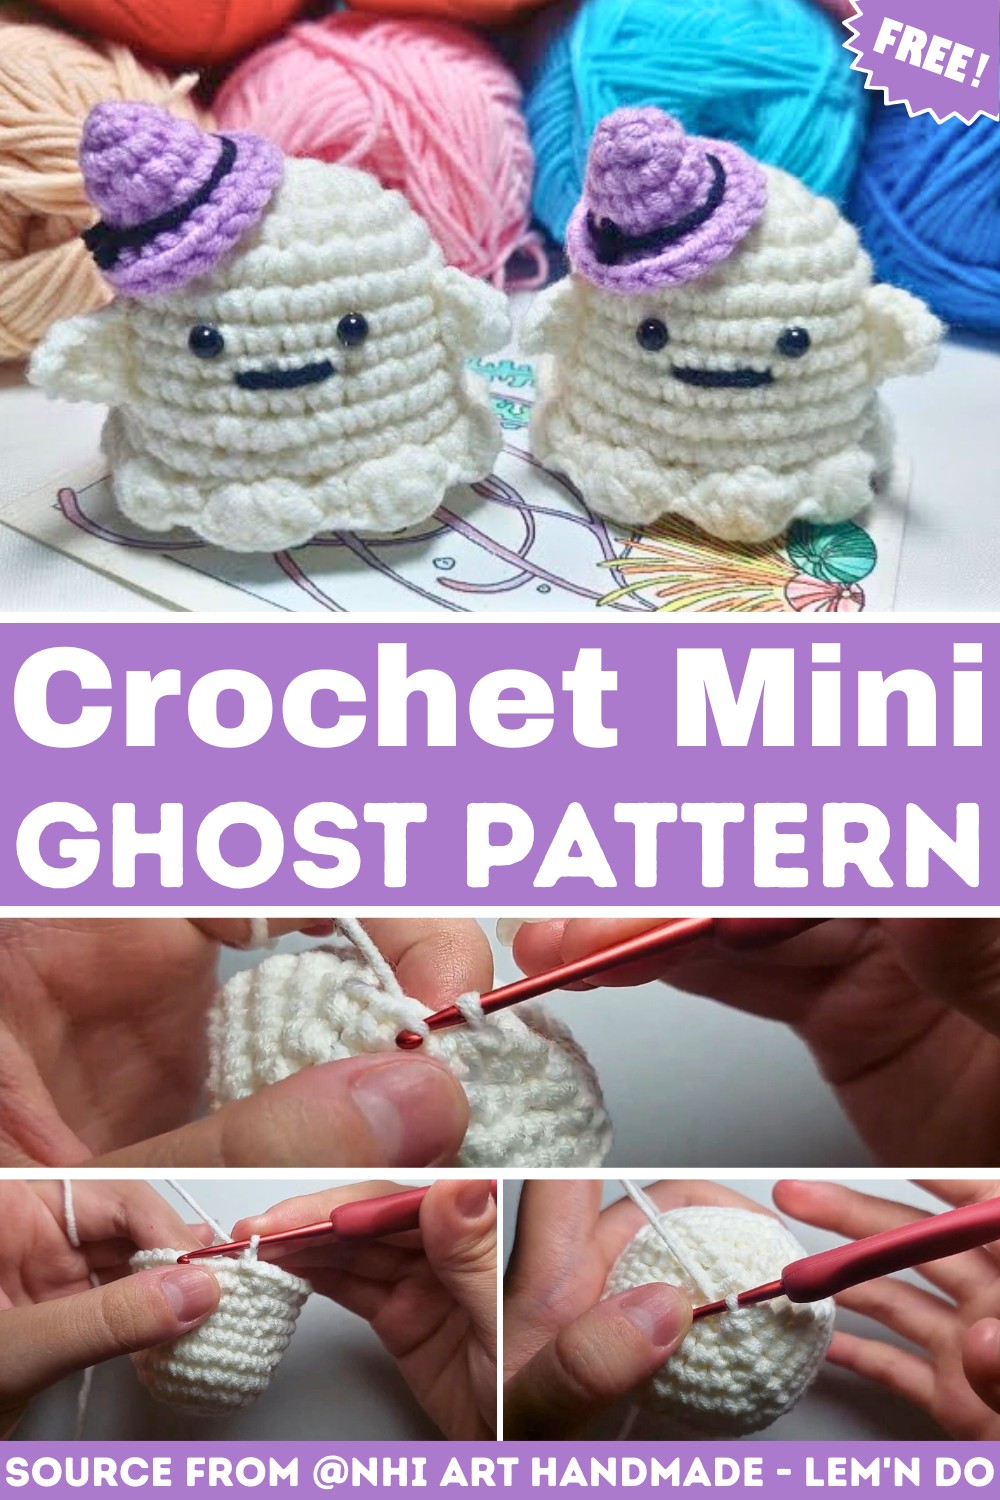
This adorable Crochet Mini Ghost is a quick and spooky pattern perfect for Halloween decorations or playful little companions. With its rounded body, flowing “tail,” and charming face, it’s an ideal addition to your seasonal crochet!

Do you love cute Halloween decorations? Meet the crochet mini ghost, a tiny, adorable figure that adds a playful touch to your home or gifts. Crochet Mini Ghost is perfect as festive décor for shelves, tables, or even as a hanging ornament. You could also make Mini Ghosts for keychains or attach them to bags for a fun, seasonal accessory. Their simple, charming look makes them hard not to love.
Free & Easy Crochet Mini Ghost Pattern
Crocheting this sweet little ghost is easier than you might think. Using just basic crochet skills, you can stitch together something so delightful that it feels like magic. This crochet ghost is small, quick to make, and perfect for beginners or anyone looking for something fun and relaxing to practice with. Once finished, the crochet ghost is lightweight and easy to display wherever you’d like.
Credit Nhi Art Handmade – Lem’n Do
Key Features of the Mini Ghost Pattern:
- Foundation and Shaping: Worked in the round starting with a magic ring and increasing to create a rounded ghostly body.
- Body Height: Built with simple single crochet stitches for smooth, seamless sides.
- Closing and Stuffing: Decreased rows shape the top, while fiberfill gives the ghost its plump, huggable form.
- Optional Details: A flowing “tail” can be added for a floating effect, and embroided or safety-eye embellishments bring the spooky face to life.
- Beginner-Friendly Stitches: Relies mostly on single crochet, increases, and decreases—perfect for crocheters of all skill levels.
The ghost begins its journey with a magic ring, the foundation for the rounded base of the body. This clever technique allows for a tight, seamless start, perfect for hiding the ghost’s “belly button.” In the first few rounds, you’ll evenly increase the stitch count using single crochet (sc)—a simple yet versatile stitch that ensures a smooth, rounded surface. The structured increases gently widen the ghost’s lower portion, giving it its signature plump shape.

Once the foundation is set, the body grows taller with eight rounds of single crochet worked evenly. These rounds build the smooth, cylindrical “body” of the ghost. At this point, you have the option to insert safety eyes between rounds 6 and 7, spaced neatly apart, or wait to embroider a face once the ghost is complete. Either way, this choice adds delightful personality to the ghostly figure!

When it’s time to taper the body, you’ll begin decreasing the circle, mimicking the earlier increases but in reverse. This shaping process gives the ghost its rounded dome-like top. Stuffing the body with fiberfill is an exciting step, allowing you to see your ghost take its full form! Be sure to stuff firmly but evenly to maintain a smooth shape as you complete the final rounds and close the piece with decreases.

For an optional finishing touch, you can add a fun, flowing “tail” by attaching yarn to the ghost’s base and chaining as long as you’d like. This playful addition gives the ghost a floating appearance, making it look like it’s ready to haunt!
Finally, the decoration step allows you to create a face as spooky or sweet as your heart desires. Use black embroidery thread or yarn to add a smile or a mischievous grin, giving your ghost plenty of character.

Video Tutorial
Step-by-Step Pattern
Materials
To create this Mini Ghost, you’ll need the following materials:
- Yarn: White worsted weight yarn (or any yarn that works for your desired ghost size)
- Hook Size: 3.5 mm (E) crochet hook
- Stuffing: Polyester fiberfill (for shaping the ghost body)
- Eyes (Optional): Safety eyes (6mm) or black embroidery yarn/thread
- Tapestry Needle: To weave in ends and stitch details like a mouth
- Scissors: For cutting yarn
- Stitch Markers (Optional): To keep track of rounds if needed

Pattern Instructions
PART 1: Start the Body of the Ghost
- Foundation Row: Begin by making a magic ring. Insert 6 single crochets (sc) into the ring. (6 sts)
- Round 1: Increase in every stitch around by placing 2 sc into each stitch. (12 sts)
- Round 2: (1 sc, inc in next st) Repeat around. (18 sts)
- Round 3: (2 sc, inc in next st) Repeat around. (24 sts)
- Round 4: (3 sc, inc in next st) Repeat around. (30 sts)
PART 2: Shape the Ghost Body
- Rounds 5-12: Single crochet each stitch for 8 rounds to build height. (30 sts per round)
TIP: At this stage, you can choose to insert safety eyes between Rounds 6 and 7, leaving 4 stitches between each eye. If you’re embroidering a face, leave it for later.
- Round 13: Decrease by (3 sc, dec) repeat. (24 sts)
- Round 14: Decrease by (2 sc, dec) repeat. (18 sts)
PART 3: Close the Body
- Stuff the ghost firmly with fiberfill, making sure to shape it as you stuff.
- Round 15: Decrease by (1 sc, dec) repeat. (12 sts)
- Round 16: (Dec every stitch) Repeat around to close the bottom. (6 sts)
- Fasten off, leaving a small tail. Use a needle to weave the tail through the last round of stitches and pull it tight to close the opening. Secure and weave in the end.
PART 4: Create the Flowing “Tail” (Optional)
- Attach your yarn at the base of the ghost and crochet a chain stitch to form the tail. This step adds a little movement to your ghost and makes it look like it’s floating.
PART 5: Decorate Your Ghost
- Use black embroidery thread or yarn to sew a small spooky smile onto your ghost.
- Happy with the decoration? You’re done!
Troubleshooting and Suggestions
Common Issues:
- Magic Ring Troubles: If the ring doesn’t close tightly, double-check that you’re pulling the initial tail snugly after the first round of stitches. Alternatively, you can start with a simple chain-2 and work stitches into the second chain from the hook.
- Uneven Shaping: Consistent tension is key to smooth, even rounds. Use stitch markers to mark the first stitch of each round to avoid accidentally increasing or skipping stitches.
- Closing Gaps at the Bottom: When weaving through the final stitches to close the bottom, pull slowly and evenly to avoid puckering or gaps.
Creative Modifications:
- Color Variations: Why not try making a ghost in pastel shades or glow-in-the-dark yarn for a unique twist?
- Mini Ghost Garland: Make multiple ghosts and string them together for a festive Halloween garland!
- Extra Embellishments: Add a tiny bow tie, scarf, or mini pumpkin accessory to give your ghost even more character.