
Crochet Floral Scrunchie Pattern with Easy Ruffled Petals
This crochet floral scrunchie turns a simple hair elastic into a full ring of layered petals, giving an everyday accessory a soft, ruffled finish.
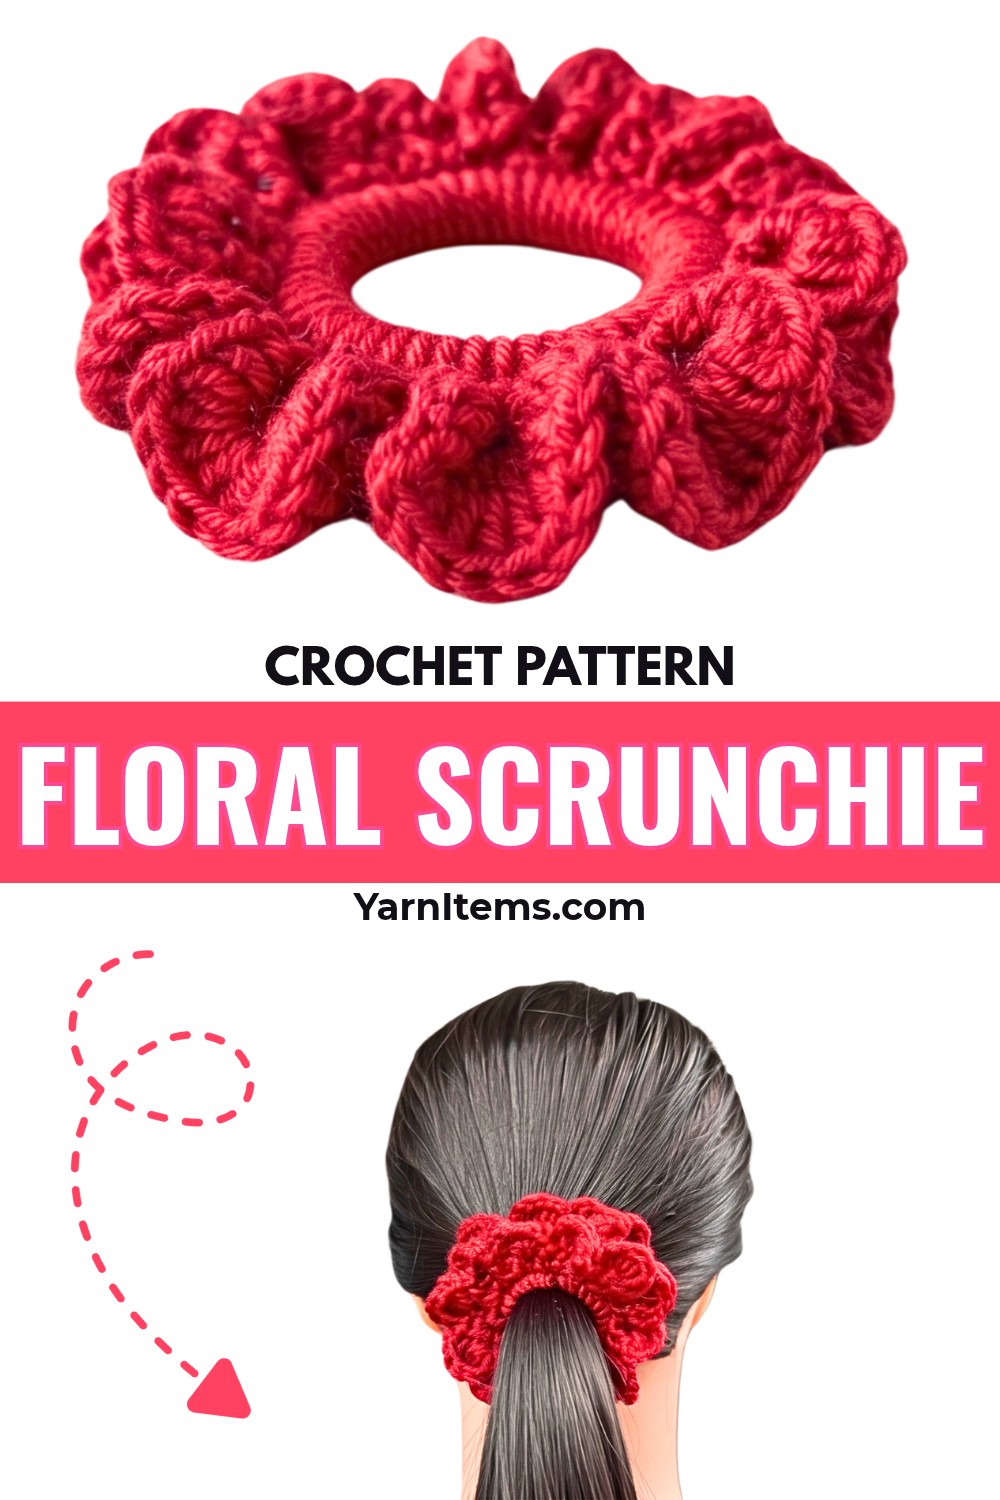
Soft, full petals can transform even a basic hair elastic. This crochet floral scrunchie creates that effect in just three rounds, with the yarn worked directly around the elastic for plenty of volume and texture.
Starting with a tightly covered elastic gives the later rounds a secure foundation, while the second round creates the small arches that separate each petal. The final round fills those arches with double crochets for the floral ruffle. You can follow the sample’s 54-stitch base or adapt the count to another elastic as long as the first round finishes with an even number of crochet stitches.
Credit Rin Crochet
Materials & Tools
- Yarn: 4-ply acrylic or cotton-blend yarn
- Crochet hook: 3.0 mm (Size 5/0)
- Hair elastic: A standard hair tie
- Scissors
- Yarn or tapestry needle: For weaving in ends
- Stitch marker: Optional, for marking the beginning of the rounds
Finished Size & Customization
The pattern creates a medium-to-large, full floral scrunchie. Its final diameter will depend partly on the size of the hair elastic used as the base.
For a different size, simply choose another elastic. The important point is that the completed first round must contain an even number of stitches, since Round 2 skips one stitch between each V-stitch.
Color changes can make the petals stand out even more. Try one color for the covered elastic and Round 2, then switch colors for Round 3. Velvet or sparkly yarn can also give the ruffled accessory a softer or more festive appearance.
Abbreviations
- ch: Chain
- sc: Single crochet
- dc: Double crochet
- sl st: Slip stitch
- st(s): Stitch(es)
- sp: Space
- sk: Skip
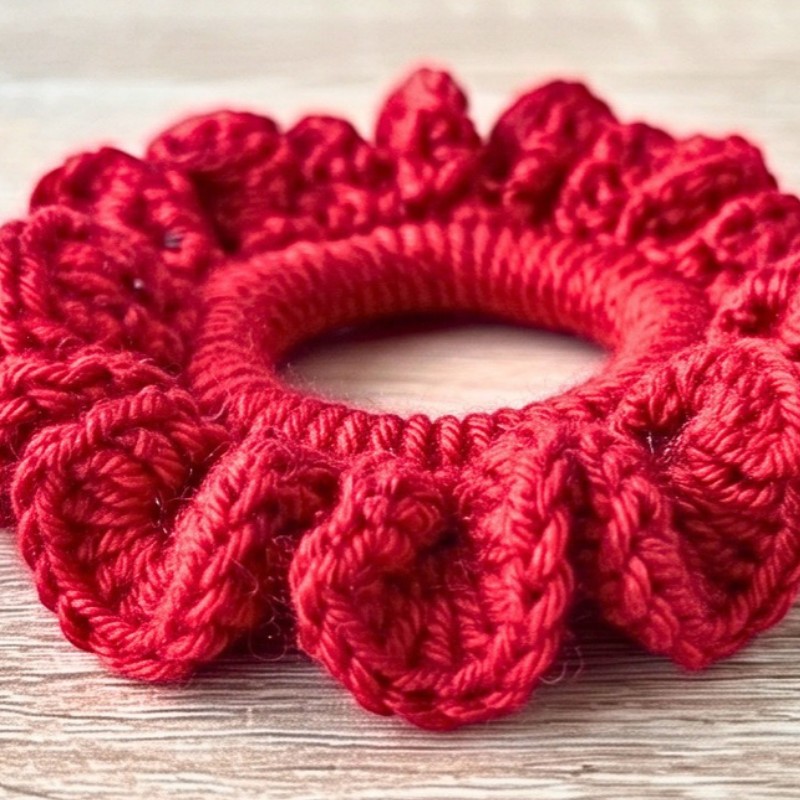
Crochet Floral Scrunchie Pattern
The scrunchie is worked directly around the hair elastic, so there is no separate crocheted band to sew onto it later. Round 1 covers the elastic, Round 2 creates evenly spaced arches, and Round 3 turns those arches into the visible petals.
If you are using a stitch marker, place it in the first sc of each round. This makes the joining point easier to identify when the elastic is crowded with stitches.
Round 1 – Cover the Elastic
The first round forms the foundation for everything that follows. Work the stitches tightly enough that the elastic is covered rather than left exposed, but avoid pulling so tightly that the elastic cannot move.
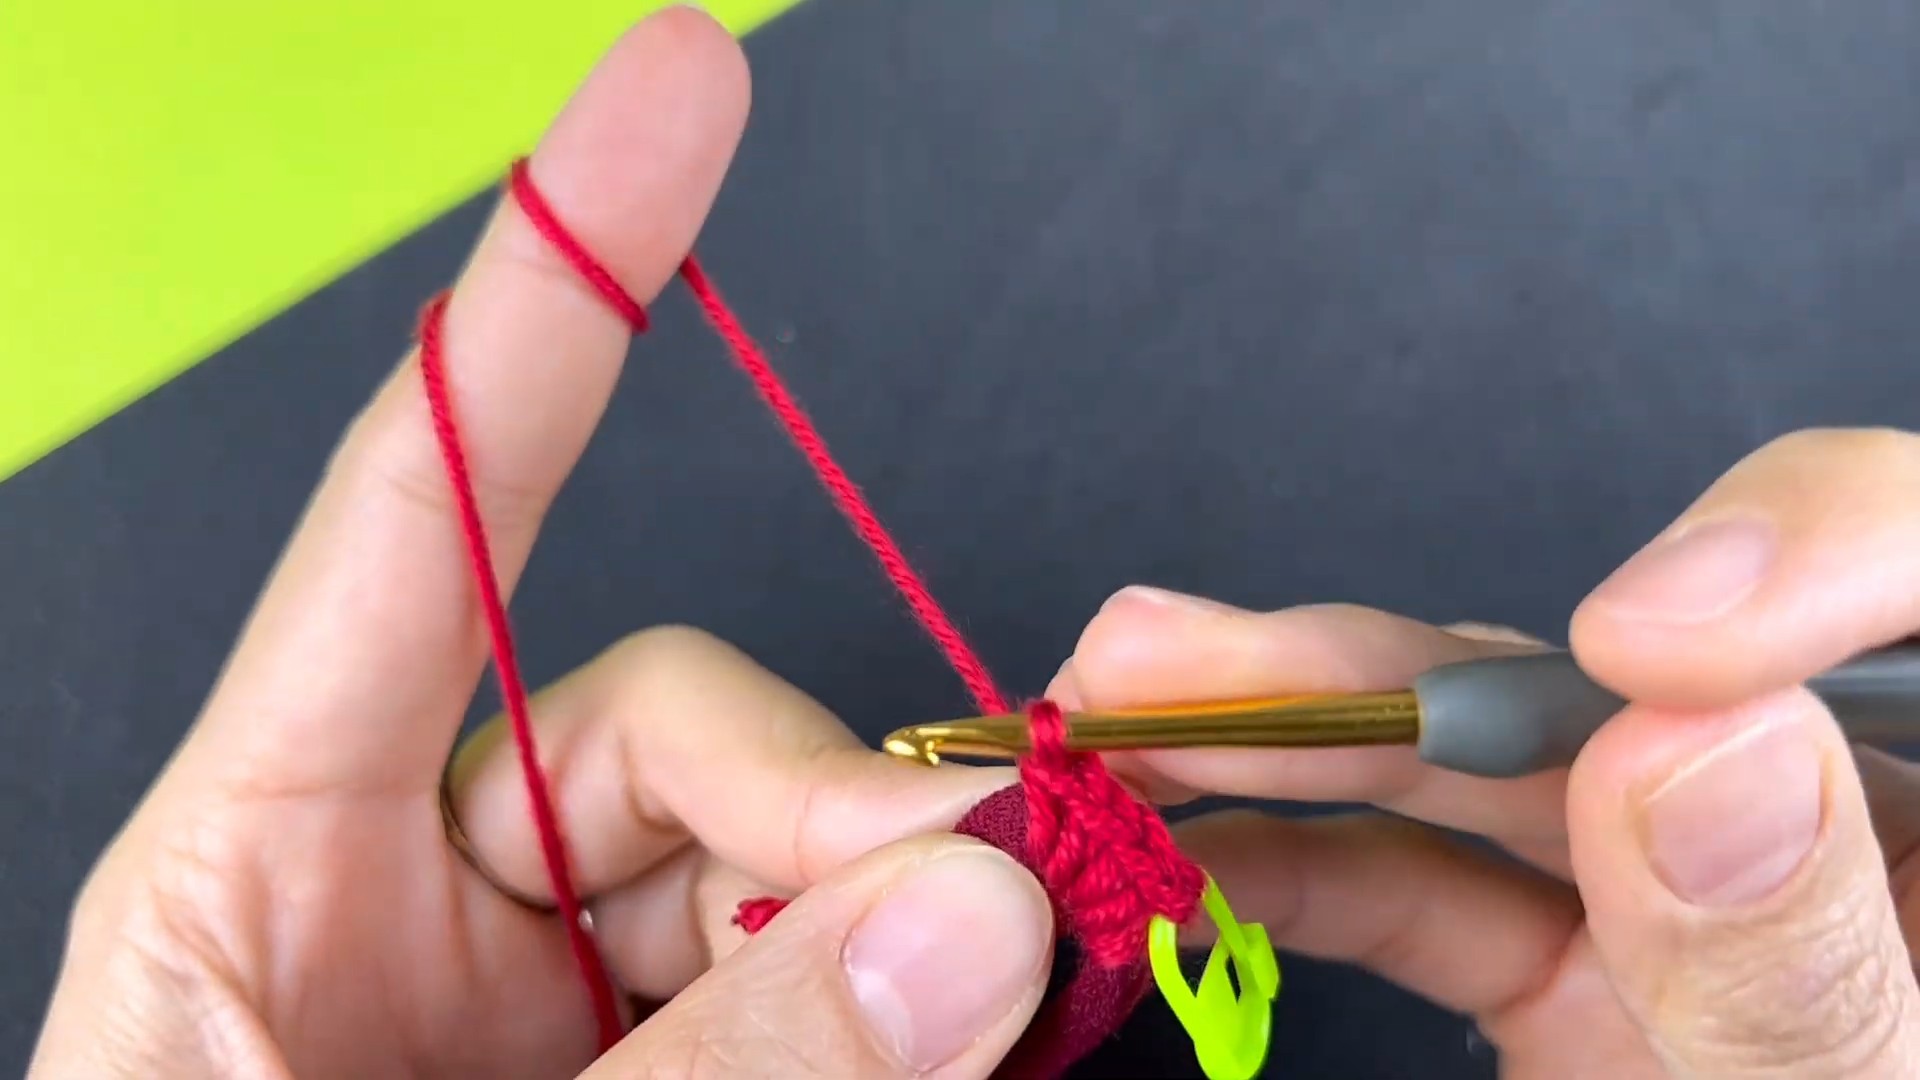
Round 1: Attach the yarn to the hair elastic, work sc stitches tightly around the entire elastic to cover it completely, making 54 sc if following the sample count or another even number appropriate for your elastic, then sl st into the very first sc to join.
The exact number may change with your elastic size and tension. The key check is the final count: it must be even. Once joined, the elastic should look like a completely crocheted ring with no large uncovered sections.
Round 2 – Create the Petal Arches
Round 2 establishes the spaces that will hold the petals. Each V-stitch is separated by a four-chain arch, creating a repeating rhythm around the elastic.
Round 2: Ch 1, in the same first st where you joined, work 1 sc, ch 1, 1 sc, ch 4, sk 1 st, then [(1 sc, ch 1, 1 sc) in the next st, ch 4, sk 1 st] repeat around, then sl st into the first sc to join.
The small ch-1 spaces sit between the two sc stitches of each V-stitch, while the larger ch-4 spaces stretch between neighboring V-stitches. Keep both types of spaces visible because they are used differently in Round 3.
If the arches appear uneven, check that you are skipping exactly one base stitch between V-stitches. Since Round 1 has an even stitch count, the repeat should travel cleanly around the entire elastic.
Round 3 – Build the Floral Petals
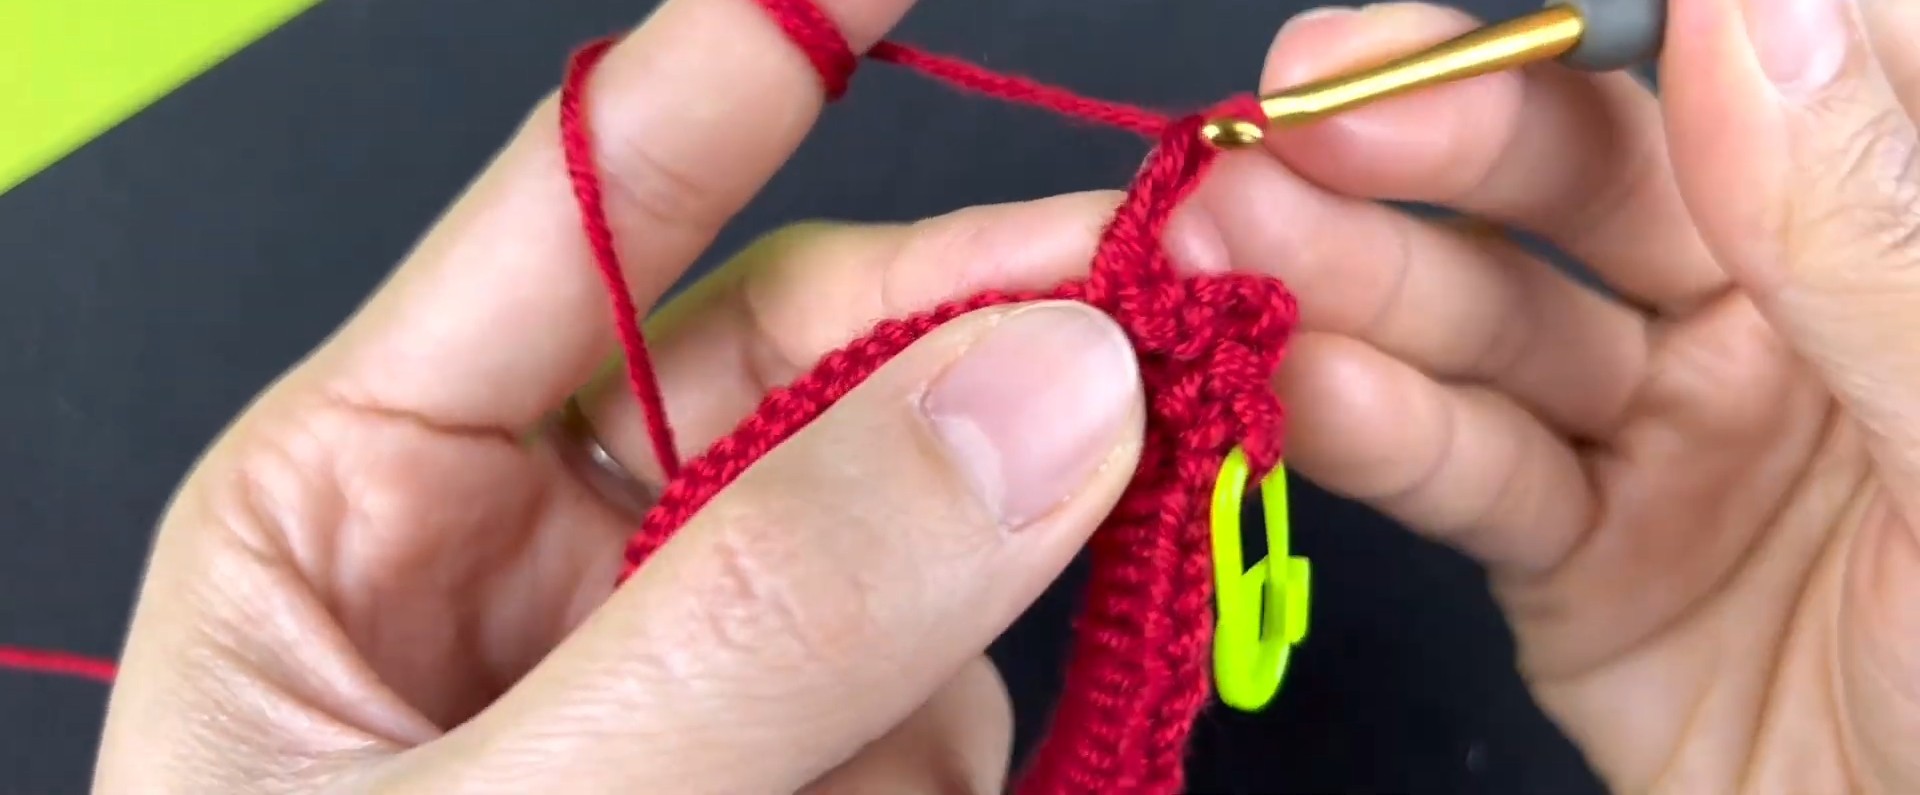
This round creates the fullness that gives the scrunchie its flower-like appearance. The small ch-1 space helps you move between petals, while the large ch-4 space becomes the main body of each petal.
Round 3: Insert your hook into the first ch-1 sp and work 1 sc, ch 2, then work 5 dc in the next ch-4 sp and 1 sc in that same ch-4 sp; repeat [1 sc in the next ch-1 sp, ch 2, 5 dc in the next ch-4 sp, 1 sc in the same ch-4 sp] around, then sl st into the first sc to join.
The 5 dc should fill and curve over the ch-4 arch, creating a rounded petal. The sc worked afterward in that same ch-4 space anchors the petal before you move to the next small ch-1 space.
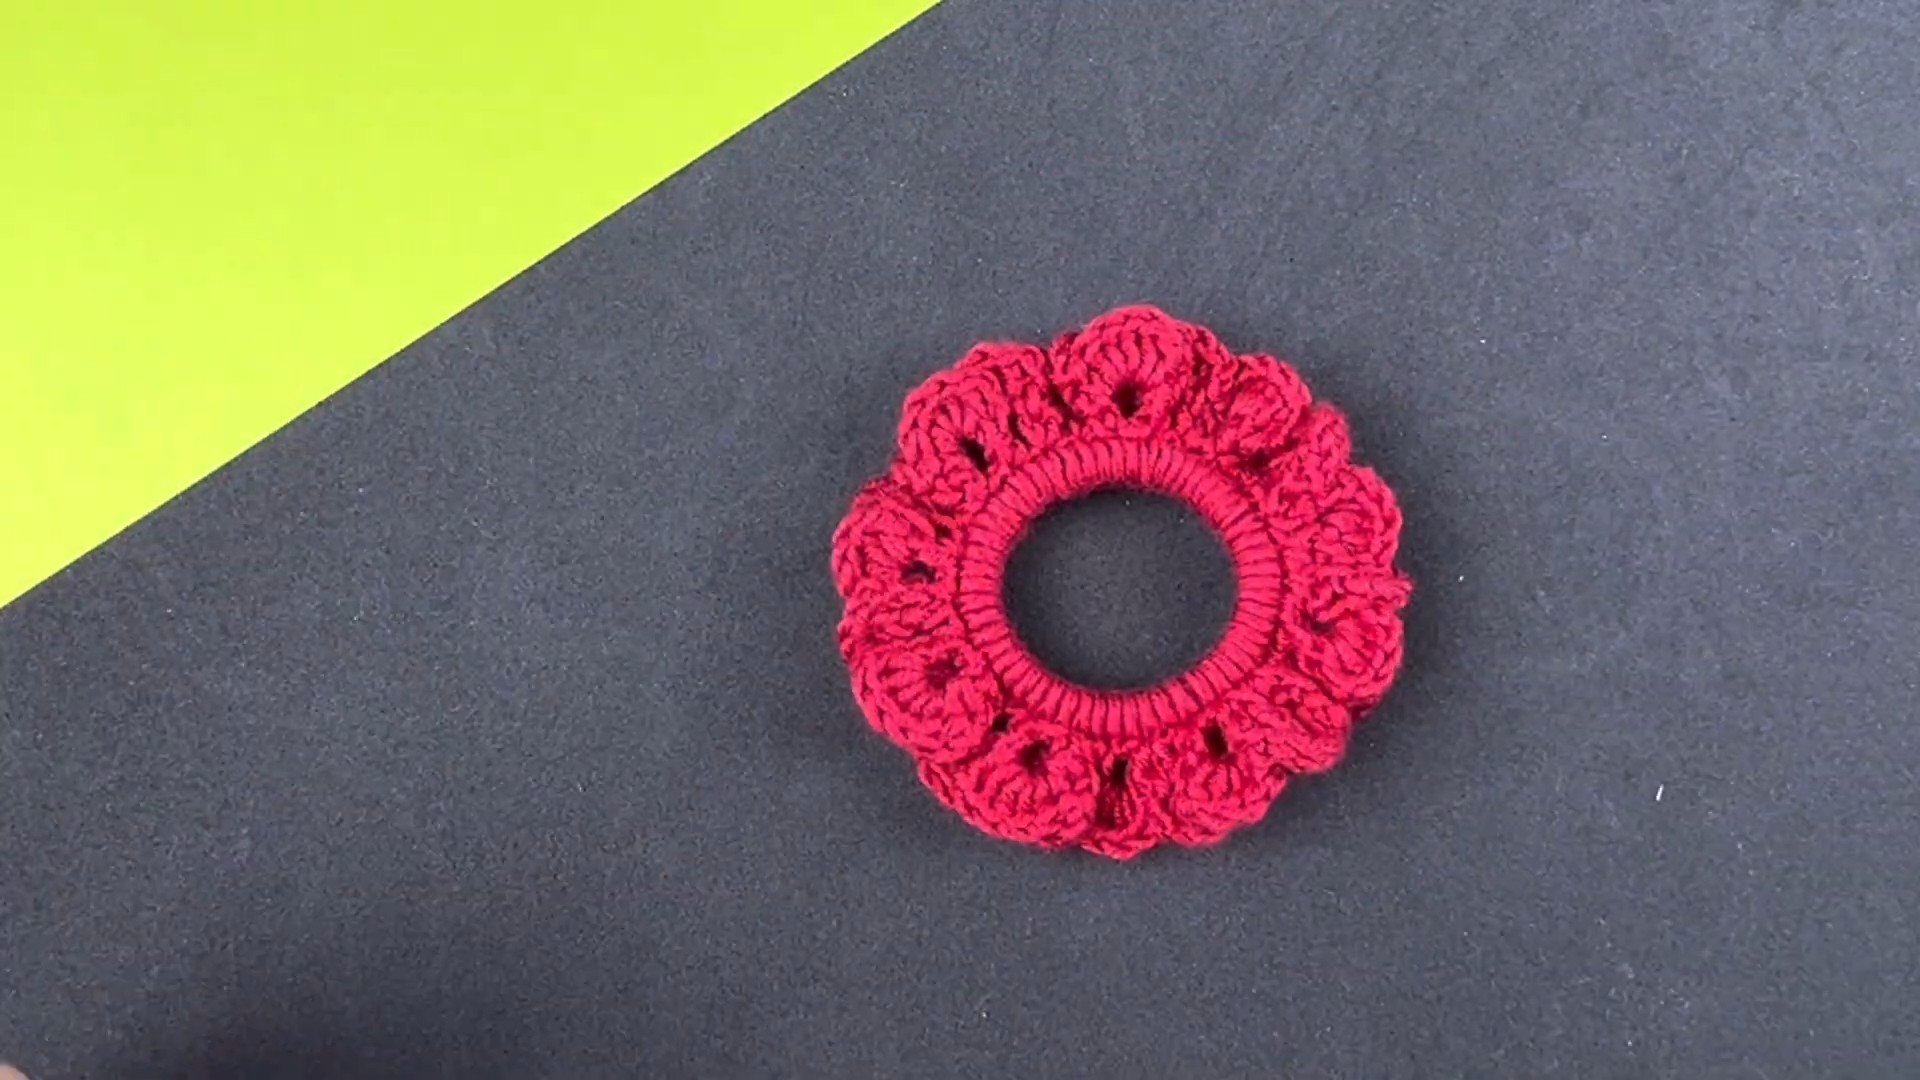
As you continue around the elastic, the petals will begin overlapping and bunching together. That is intentional—the extra fabric is what creates the full floral ruffle rather than a flat crochet ring.
Check the Petal Shape
Once the final repeat is complete, spread the petals gently around the elastic with your fingers. You should see a continuous ring of ruffled, overlapping petals.
If one section looks noticeably flatter, first check that all five dc were worked into the correct ch-4 space. The small ch-1 spaces are only used for the sc and ch-2 transition; the 5 dc belong in the larger ch-4 spaces.
Finish the Scrunchie
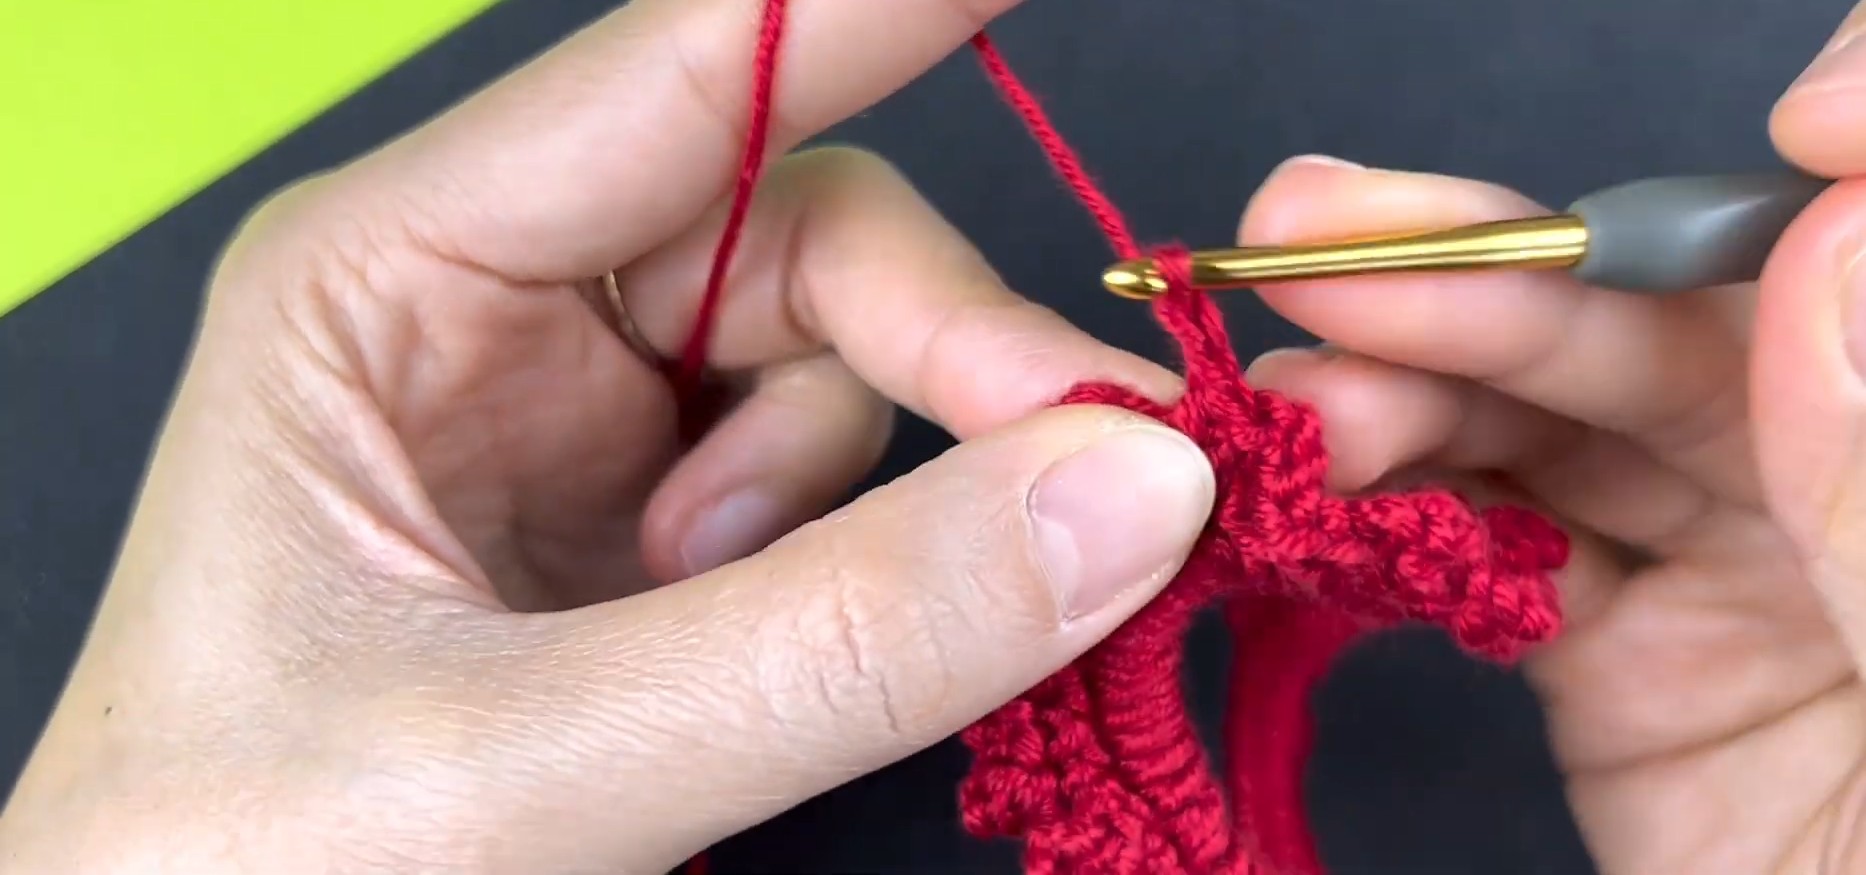
When the last slip stitch is complete, elongate the yarn loop on your hook and leave approximately a 4–6 inch tail.
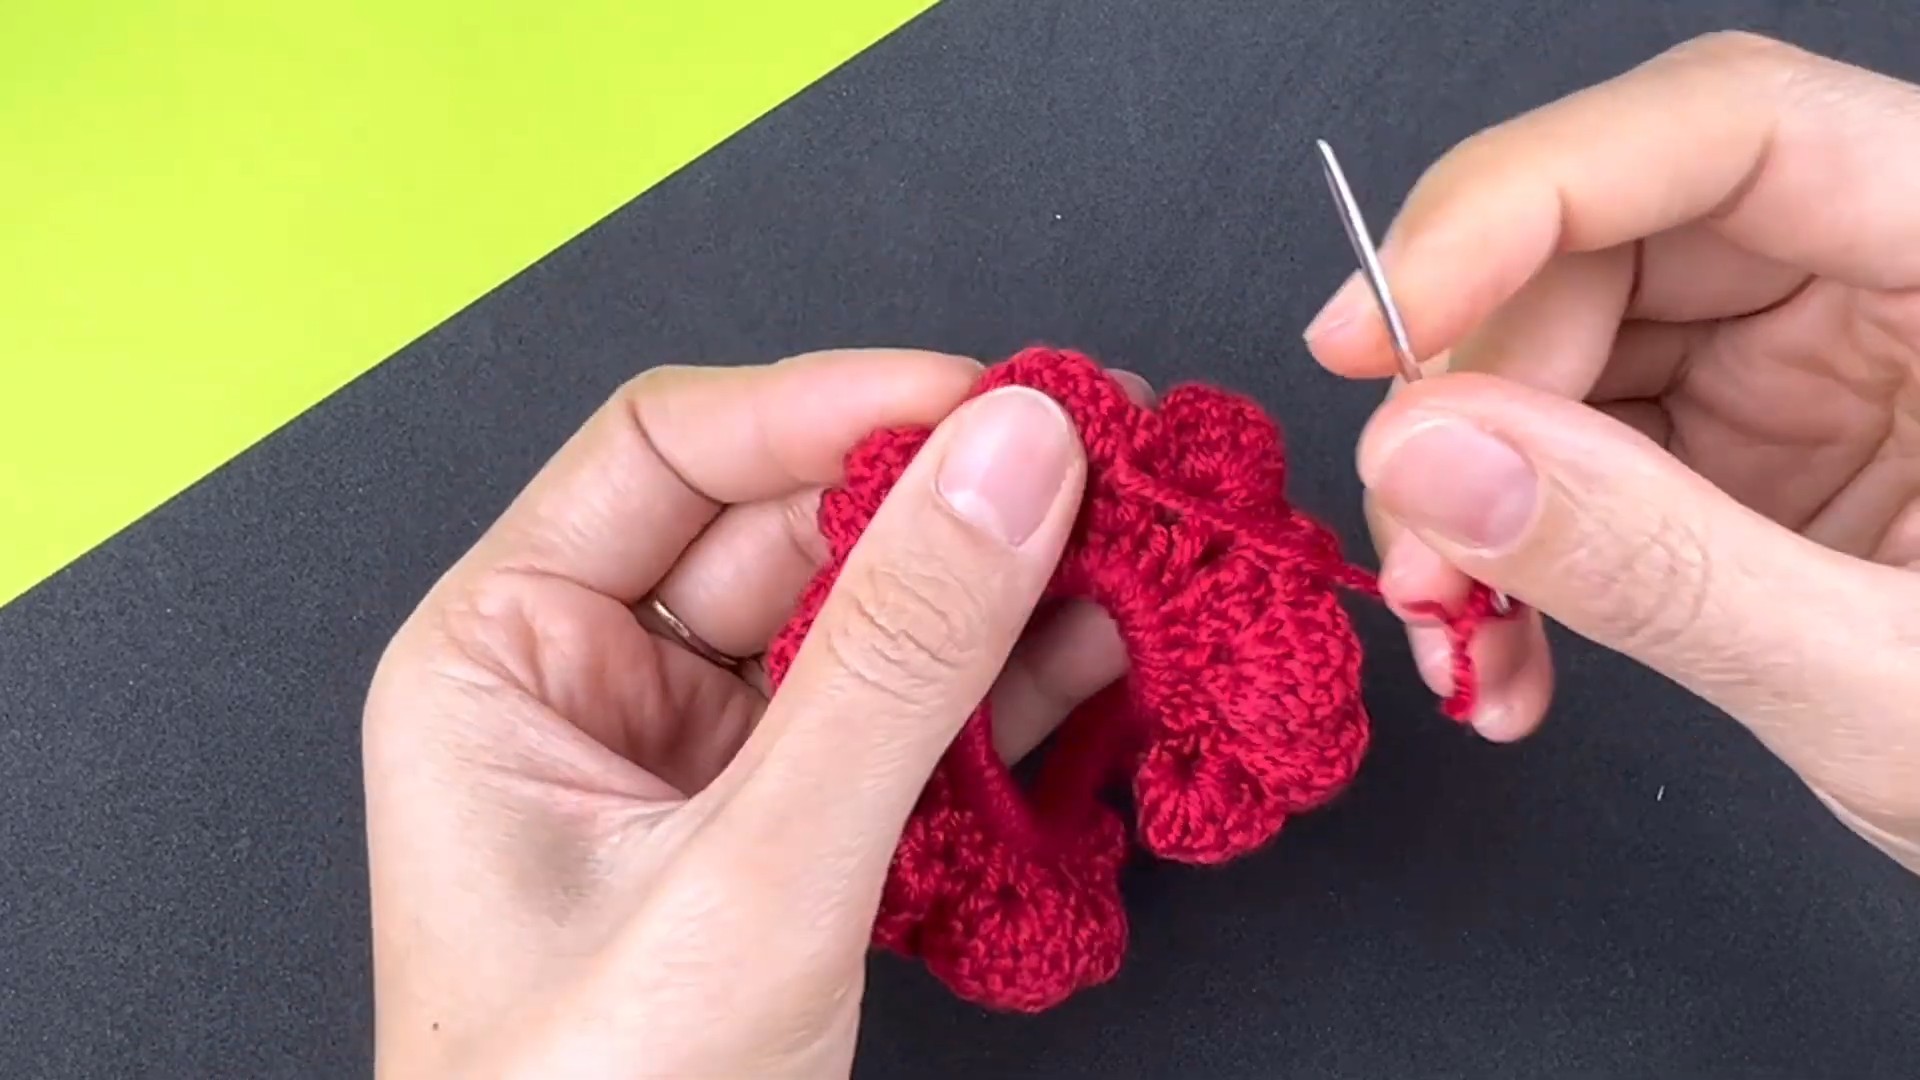
Cut the yarn and pull the tail completely through the loop to fasten off securely. Thread the tail onto your yarn needle and weave it into the stitches on the underside or back of the scrunchie, keeping the end hidden among the crocheted petals.
Repeat for any other loose end, then trim the excess yarn.
Quick Finishing Check
Before using the scrunchie, gently arrange the petals so they are distributed around the entire elastic. The elastic should remain flexible enough to stretch for your hair, while the crocheted outer edge should form a visibly full, flower-like ruffle.
For future versions, changing the elastic size changes the foundation circumference, while changing yarn weight changes the thickness and fullness of the petals. Keeping the first-round count even allows the arch-and-petal repeat to continue working around the ring.



One Comment