
This cozy crochet headband is perfect for keeping you warm and stylish while showcasing a subtle textured design for added flair.

This crochet headband is a perfect combination of style and function. It keeps your hair in place and your ears warm, making it ideal for chilly days. It’s lovely, its ridged texture makes it stand out, offering a classy, handmade look. You can create it in your favorite color using yarn you love, ensuring it matches any outfit.
Elegant Crochet Headband
Creating this headband is easier than you might think. Start by crocheting a long, textured piece that gives it its unique ridged look. When it’s the right length, join the ends to complete the stretchy and comfortable fit. It’s a calming activity and a great way to try your hand at something new with crochet.
Credit madebymara
Key Features & Construction
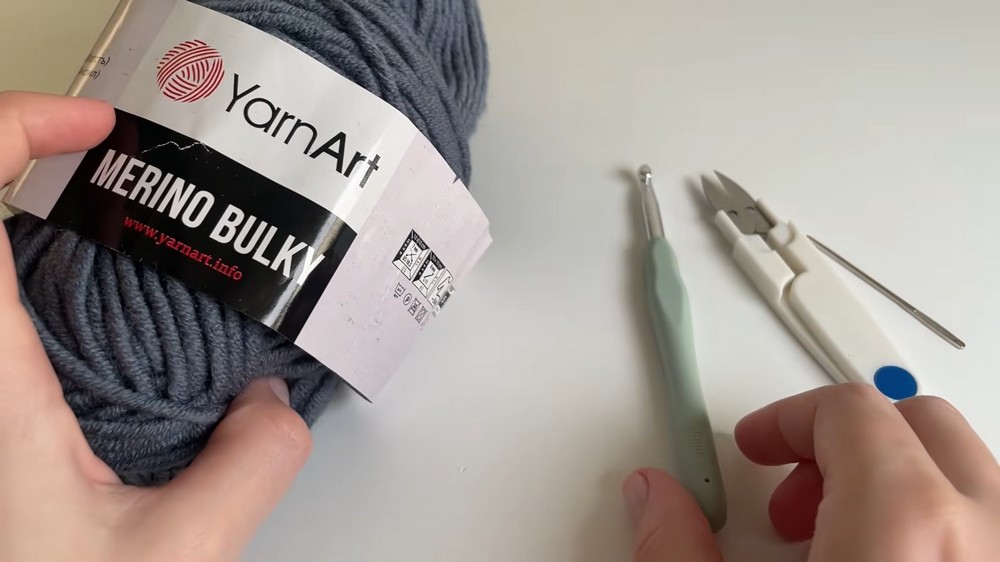
- Materials: Uses bulky size 5 yarn and a size 6 crochet hook.
- Technique: Worked flat in rows using single crochet in back loops only for a ribbed texture.
- Customizable Width/Length: The width is determined by the number of chains, and the length is adjusted to perfectly fit your head.
- Finishing: Seam folded ends with slip stitches for a clean, stretchy join.
- Final Touch: Tails are secured with a yarn needle for a polished result.
Overview
This headband is an enjoyable pattern using simple techniques that yield excellent results. It begins with a foundation chain whose length determines the width of the headband. The YouTube video recommends chaining 11 for a width of approximately 7.5-8 cm but encourages flexibility depending on your yarn thickness or desired look.

The design’s textured ribbing is achieved by working single crochets in the back loop only throughout each row. This creates a stretchy and breathable fabric, perfect for headbands. After chaining one, the work flips to begin the next row, maintaining a consistent, reversible texture as you progress.

Length is entirely customizable, making the pattern easy to adapt to any head size. Regularly wrapping the fabric around your head allows you to determine when to stop crocheting. Given the yarn elasticity, the instructor suggests ensuring a slightly snug fit since the piece naturally loosens with wear.

After reaching your desired length, the ends of the headband are folded and seamed together using slip stitches. The seaming step integrates the textured ribbing seamlessly, ensuring the headband’s join stays sleek and flexible. Loose yarn ends are woven into the back of the pattern with a yarn needle for a clean and durable finish.

This simple yet functional headband has a polished appearance, making it a great accessory for colder weather.

Video Tutorial
Step-by-Step Pattern
Materials
To get started, gather the following materials:
- Yarn: A bulky yarn of size 5 (choose any color or texture you like for customization).
- Crochet Hook: Size 6 mm (J/10).
- Optional Tools:
- Pair of scissors for cutting the yarn.
- Yarn needle for weaving in the ends.
Pattern Instructions
Step 1: Start with a Foundation Chain
- Begin with a slip knot on your hook.
- Chain 11. If you want a wider or narrower headband, feel free to increase or decrease your chain count.
Step 2: First Row of Single Crochet
- Work into the second chain from the hook (skip the first chain).
- Insert your hook, yarn over, pull up a loop (two loops on the hook), yarn over, and pull through both loops to complete a single crochet (sc).
- Continue working one sc into each chain across. By the end of the row, you’ll have 10 single crochets.
Step 3: Work the Remaining Rows in Back Loop Only
- Chain 1, turn your work.
- Look at the top of your work—you’ll see “V” shapes. Insert your hook into the back loop only of each stitch to create texture.
- Complete 1 sc in the back loop only (BLO) of each stitch across for this row.
- Repeat this process: chain 1, turn work, and continue single crocheting in the BLO until your piece is long enough to wrap comfortably around your head.Tip: Always skip the very first stitch after chaining, and make sure to count your stitches to maintain a consistent width.
Step 4: Finishing the Length
- Once your piece reaches the desired length (approximately 21 cm or the circumference of your head), fold it in half lengthwise.
Step 5: Slip Stitch to Join
- Align the two ends of your work and prepare to join them with slip stitches.
- Insert your hook into the first stitch of one end and the first stitch of the opposite end.
- Yarn over, pull through both stitches, then pull through the loop on your hook to create a slip stitch.
- Continue slip stitching across the seam, working through the back loop on one side and the top chain of the opposite side. This will create a secure join.
Step 6: Secure and Weave in Ends
- After completing the slip stitches, chain 1, cut the yarn, and pull the tail through.
- Use a yarn needle to weave in your loose ends. Pass the yarn through the back of the stitches to hide it securely, double back to lock it in place, and trim any excess.
Step 7: Flaunt Your Headband
Turn your work inside out (if needed) to hide the seam and enjoy your finished headband! The ribbed texture, created by working in the back loops, adds a lovely detail to your pattern.
Troubleshooting & Suggestions
Common Issues:
- Curling Ends: Corner stitches can sometimes curl or tighten. Make sure to count 10 stitches per row and work evenly to minimize curling.
- Loose Fit: If the headband is too loose, don’t be afraid to make it extra snug during construction, as bulky yarn tends to stretch over time.
Creative Modifications:
- Colors: Try gradient yarns or alternating stripes for a playful touch.
- Embellishments: Add a crocheted flower or button to the front for personalization.
- Repurpose the Design: Use the same technique to create a matching wrist cuff or ear warmer.


