Step-by-Step Guide on How to Crochet Baby Elf Hats
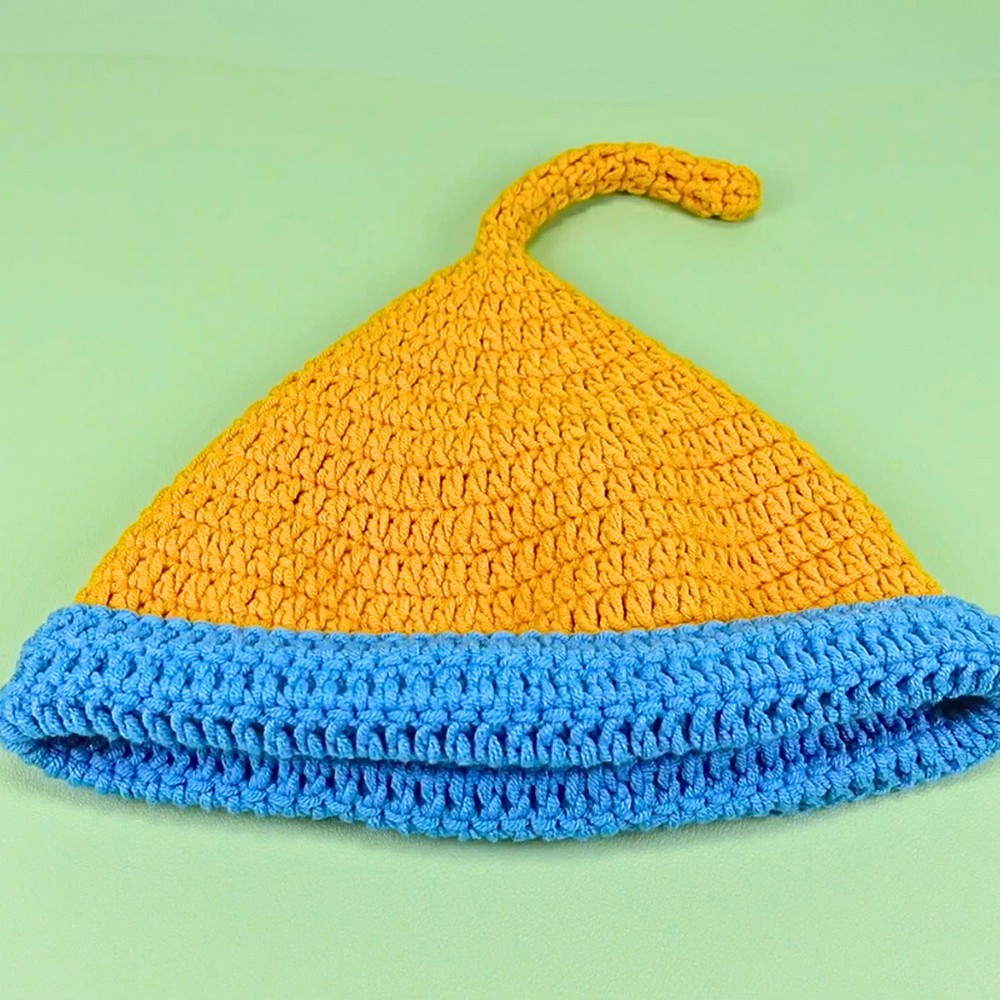
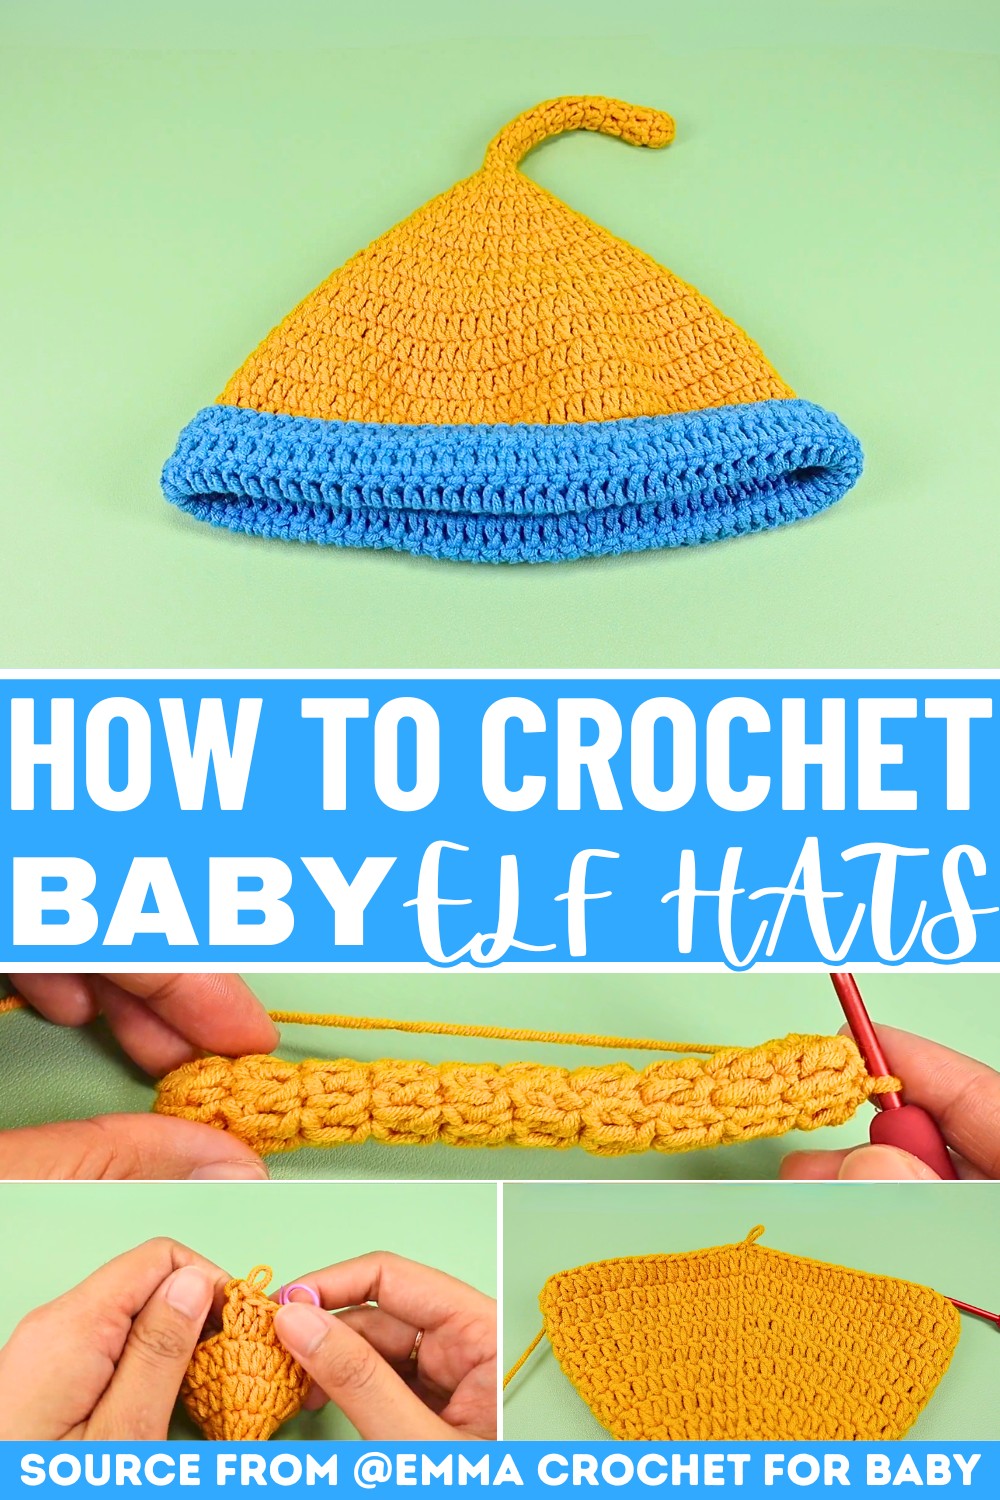
This crochet baby elf hat is a fun way to create a sweet, wearable piece for the little ones in your life. The design features a long, tapering shape that builds into a classic pointy top, which gives the hat its cheerful, seasonal look. A neat, folded brim at the bottom adds extra thickness around the forehead, which helps keep the Crochet hat snug and warm in cool weather. By combining a smooth main body with a flexible ribbed edge, this design balances a clean look with great day-to-day comfort.
How To Crochet Baby Elf Hats
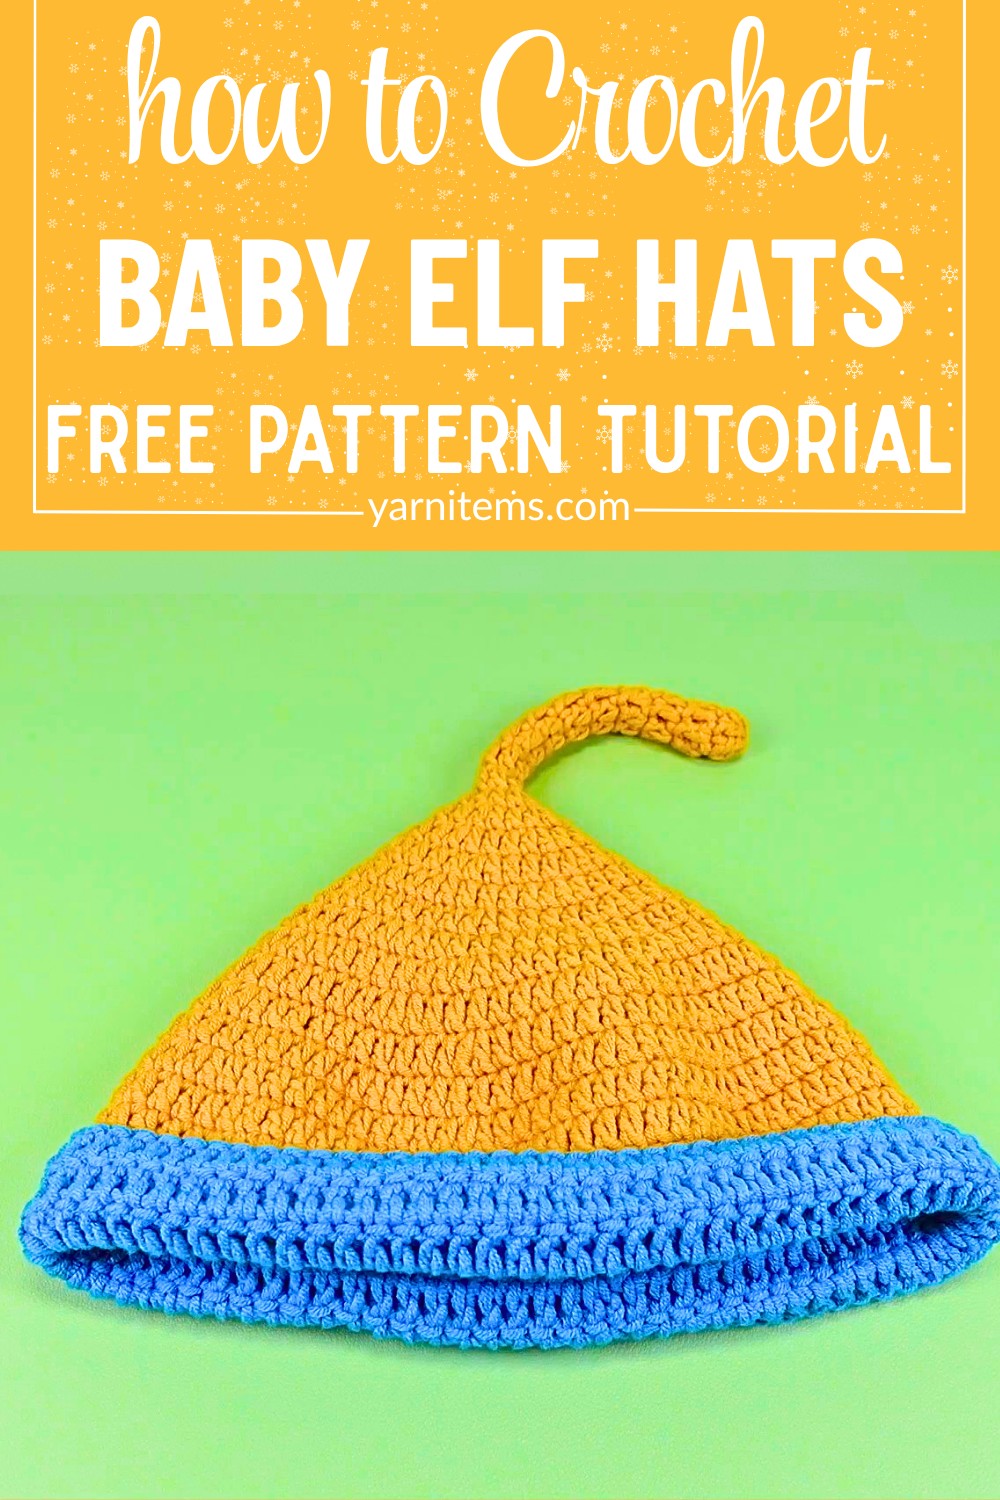
This crochet pattern makes it very easy to solve common sizing problems. It includes a simple measurement chart for different age groups, so you can adjust the height and width to get the right fit as a child grows. You can make smaller versions for newborns or scale the stitches up for toddlers. This flexibility means the same basic steps work for a quick holiday outfit, matching family photo sessions, or just a dependable winter accessory.
Personalizing this crochet hat pattern is simple by changing up your color choices. You can use classic reds and greens for Christmas, bright oranges for Halloween, or soft pastel shades for everyday use. Using a smooth, medium-weight milk cotton yarn and a standard 3.5mm hook keeps the texture soft against sensitive skin. Finishing the tip with a small yarn ball or pom-pom adds a playful touch that gives this simple design its own special character.
Credit Emma Crochet for Baby
Materials & Tools Needed
-
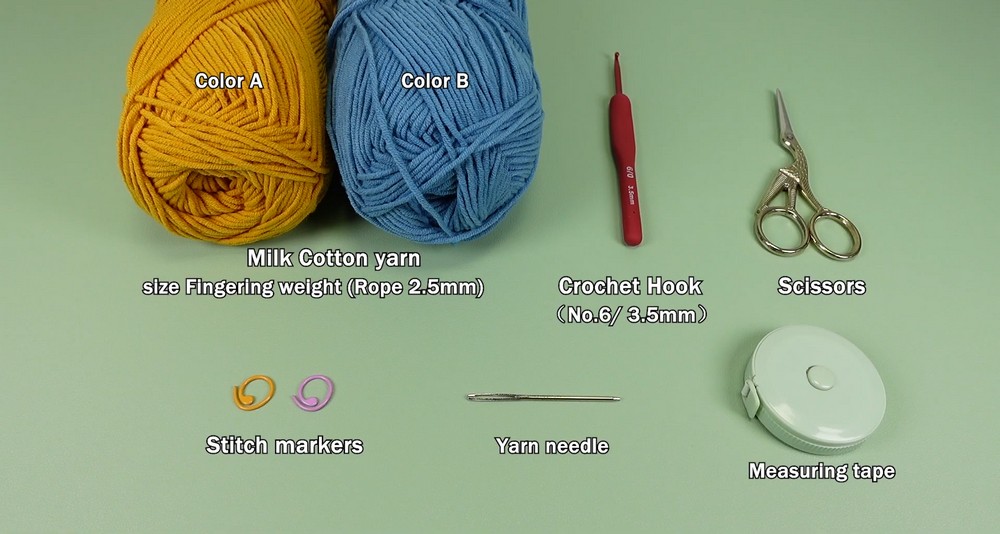
Yarn: Milk Cotton Yarn, size Fingering Weight (Rope diameter approx. 2.5mm). You will need two colors:
-
Color A: Main Hat Color (vibrant golden yellow)
-
Color B: Brim Accent Color (soft sky blue)
-
-
Crochet Hook: Size No. 6 / 3.5mm hook
-
Stitch Markers: 2 markers are highly recommended to track your row starts and steady your stitch counts.
-
Yarn Needle: For weaving in your tails cleanly.
-
Scissors: For cutting your working yarn.
-
Measuring Tape: To check your gauge and ensure a perfect fit.
Pattern Construction & Key Features
-
Top-Down Construction: The hat is built entirely in the round, starting at the narrowest point of the elf tail and progressively expanding down to the head opening.
-
Gradual Shaping: The long tail of the hat is maintained by repeating non-increasing rounds early on, followed by gentle, calculated double crochet increases across subsequent rounds.
-
Seamless Color Transition: A clean slip stitch method is used to swap from the main hat color (Color A) to the brim color (Color B) without jagged lines.
-
Textured Ribbed Brim: The base of the hat features several rounds of uniform double crochets that naturally form a soft, comfortable brim that can be rolled up for that classic elf look.
Step-by-Step Pattern (Round Form)
Phase 1: The Pointy Elf Tail
Using Color A, start by making a Magic Ring.
-
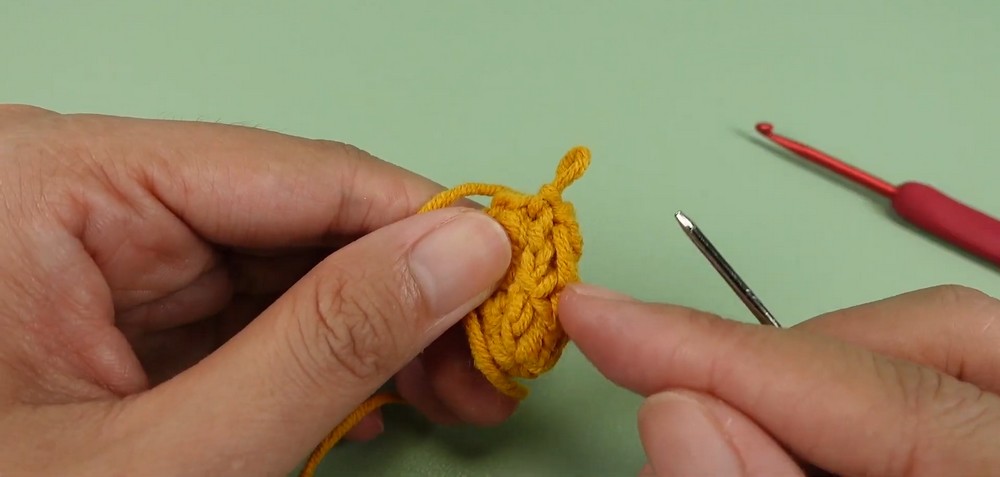
Round 1: Chain 2 (does not count as a stitch here or throughout). Work 6 double crochets (dc) into the ring. Join with a slip stitch (sl st) to the first dc. (6 sts)
-
Round 2: Chain 2. Work 1 dc in each of the next 6 stitches. Join with a sl st to the first dc. (6 sts)
-
Round 3: Chain 2. Work 1 dc in each of the next 6 stitches. Join with a sl st to the first dc. (6 sts)
-
Round 4: Chain 2. Work 1 dc in each of the next 6 stitches. Join with a sl st to the first dc. (6 sts)
-
Round 5: Chain 2. Work 1 dc in each of the next 6 stitches. Join with a sl st to the first dc. (6 sts)
-
Round 6: Chain 2. Work 1 dc in each of the next 6 stitches. Join with a sl st to the first dc. (6 sts)
-
Round 7: Chain 2. Work 1 dc in each of the next 6 stitches. Join with a sl st to the first dc. (6 sts)
-
Round 8: Chain 2. Work 1 dc in each of the next 6 stitches. Join with a sl st to the first dc. (6 sts)
-
Round 9: Chain 2. Work 1 dc in each of the next 6 stitches. Join with a sl st to the first dc. (6 sts)
-
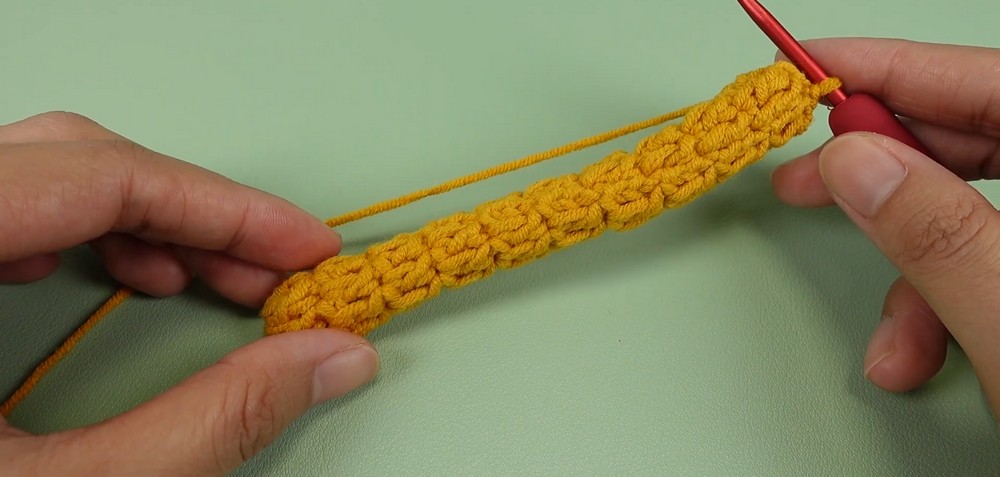
Round 10: Chain 2. Work 1 dc in each of the next 6 stitches. Join with a sl st to the first dc. (6 sts)
Phase 2: Crown Widening & Shaping
-
Round 11: Chain 2. Work 2 dc in each of the next 6 stitches around. Join with a sl st to the first dc. (12 sts)
-
Round 12: Chain 2. Work 1 dc in the next stitch, then work 2 dc in the next stitch. Repeat from * to * a total of 6 times. Join with a sl st to the first dc. (18 sts)
-
Round 13: Chain 2. Work 1 dc in each of the next 2 stitches, then work 2 dc in the next stitch. Repeat from * to * a total of 6 times. Join with a sl st to the first dc. (24 sts)
-
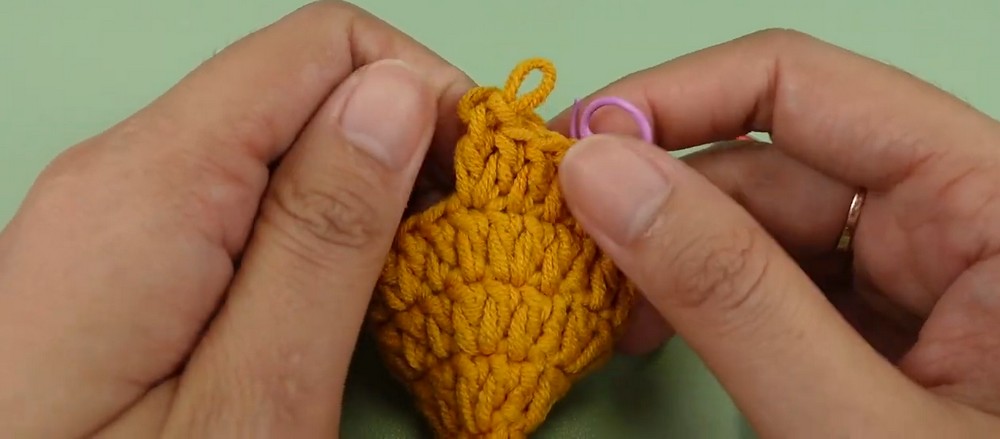
Round 14: Chain 2. Work 1 dc in each of the next 3 stitches, then work 2 dc in the next stitch. Repeat from * to * a total of 6 times. Join with a sl st to the first dc. (30 sts)
-
Round 15: Chain 2. Work 1 dc in each of the next 4 stitches, then work 2 dc in the next stitch. Repeat from * to * a total of 6 times. Join with a sl st to the first dc. (36 sts)
-
Round 16: Chain 2. Work 1 dc in each of the next 5 stitches, then work 2 dc in the next stitch. Repeat from * to * a total of 6 times. Join with a sl st to the first dc. (42 sts)
-
Round 17: Chain 2. Work 1 dc in each of the next 6 stitches, then work 2 dc in the next stitch. Repeat from * to * a total of 6 times. Join with a sl st to the first dc. (48 sts)
-
Round 18: Chain 2. Work 1 dc in each of the next 7 stitches, then work 2 dc in the next stitch. Repeat from * to * a total of 6 times. Join with a sl st to the first dc. (54 sts)
-
Round 19: Chain 2. Work 1 dc in each of the next 8 stitches, then work 2 dc in the next stitch. Repeat from * to * a total of 6 times. Join with a sl st to the first dc. (60 sts)
-
Round 20: Chain 2. Work 1 dc in each of the next 9 stitches, then work 2 dc in the next stitch. Repeat from * to * a total of 6 times. Join with a sl st to the first dc. (66 sts)
-
Round 21: Chain 2. Work 1 dc in each of the next 10 stitches, then work 2 dc in the next stitch. Repeat from * to * a total of 6 times. Join with a sl st to the first dc. (72 sts)
-
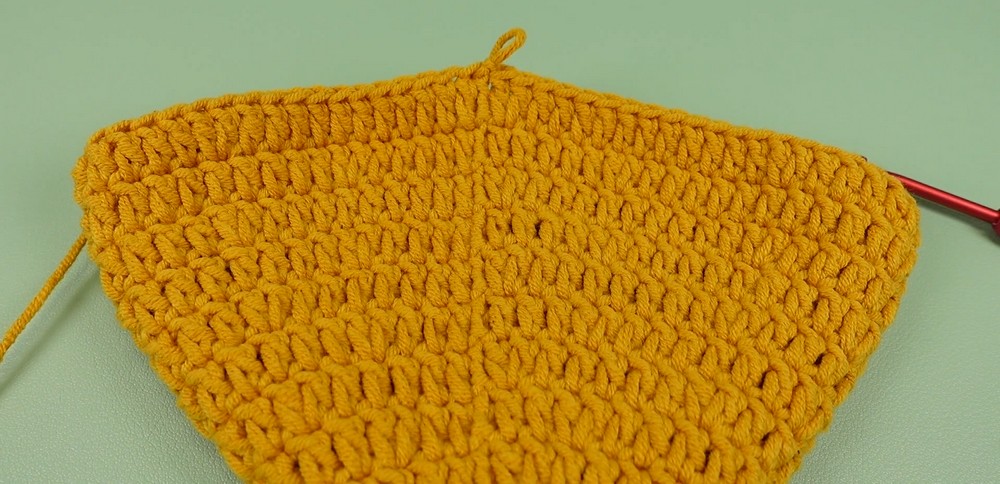
Round 22: Chain 2. Work 1 dc in each of the next 11 stitches, then work 2 dc in the next stitch. Repeat from * to * a total of 6 times. Join with a sl st to the first dc. (78 sts)
Phase 3: Main Hat Depth
-
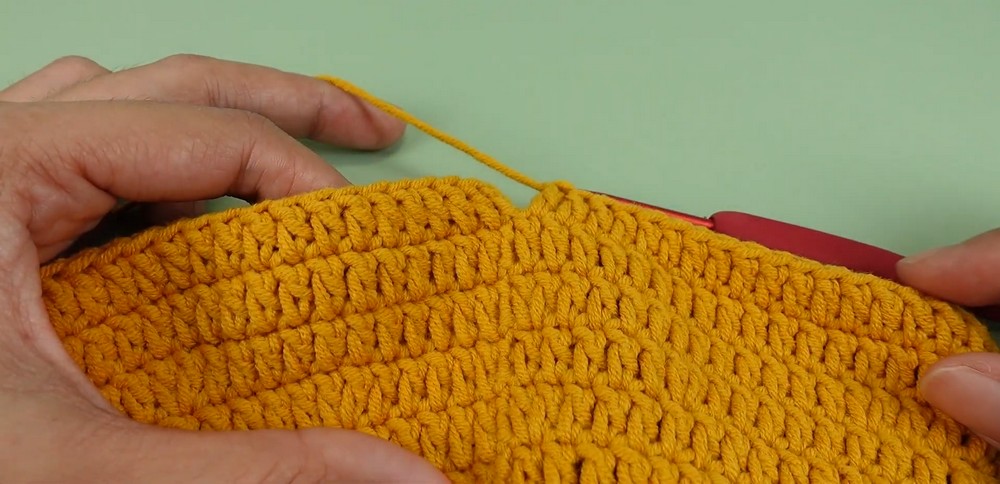
Round 23: Chain 2. Work 1 dc in each of the next 78 stitches around (no increases). Join with a sl st to the first dc. (78 sts)
-
Round 24: Chain 2. Work 1 dc in each of the next 78 stitches around. On the final pull-through of your very last slip stitch, switch to Color B. Cut Color A and tie it off securely. (78 sts)
Phase 4: The Contrast Rolled Brim
-
Round 25: Using Color B, Chain 2. Work 1 dc in each of the next 78 stitches around. Join with a sl st to the first dc. (78 sts)
-
Round 26: Chain 2. Work 1 dc in each of the next 78 stitches around. Join with a sl st to the first dc. (78 sts)
-
Round 27: Chain 2. Work 1 dc in each of the next 78 stitches around. Join with a sl st to the first dc. (78 sts)
-
Round 28: Chain 2. Work 1 dc in each of the next 78 stitches around. Join with a sl st to the first dc. (78 sts)
-
Round 29: Chain 2. Work 1 dc in each of the next 78 stitches around. Join with a sl st to the first dc. (78 sts)
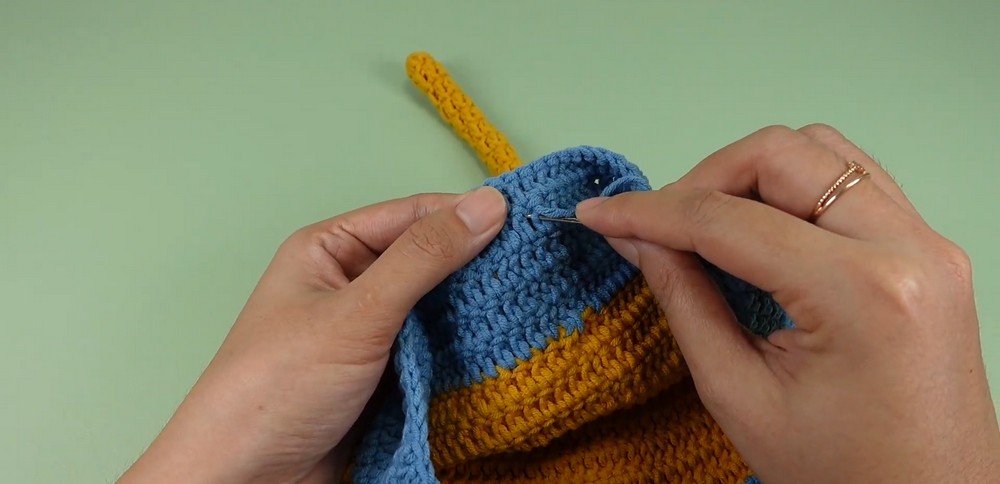
Fasten off your yarn, leave a tail for weaving, and pull it through. Use your yarn needle to weave in all loose ends cleanly on the inside of the hat. Roll up the Color B bottom edge to give it that perfect, cozy elf finish!
Video Tutorial