Crochet Jack Skellington Granny Square Pattern Free
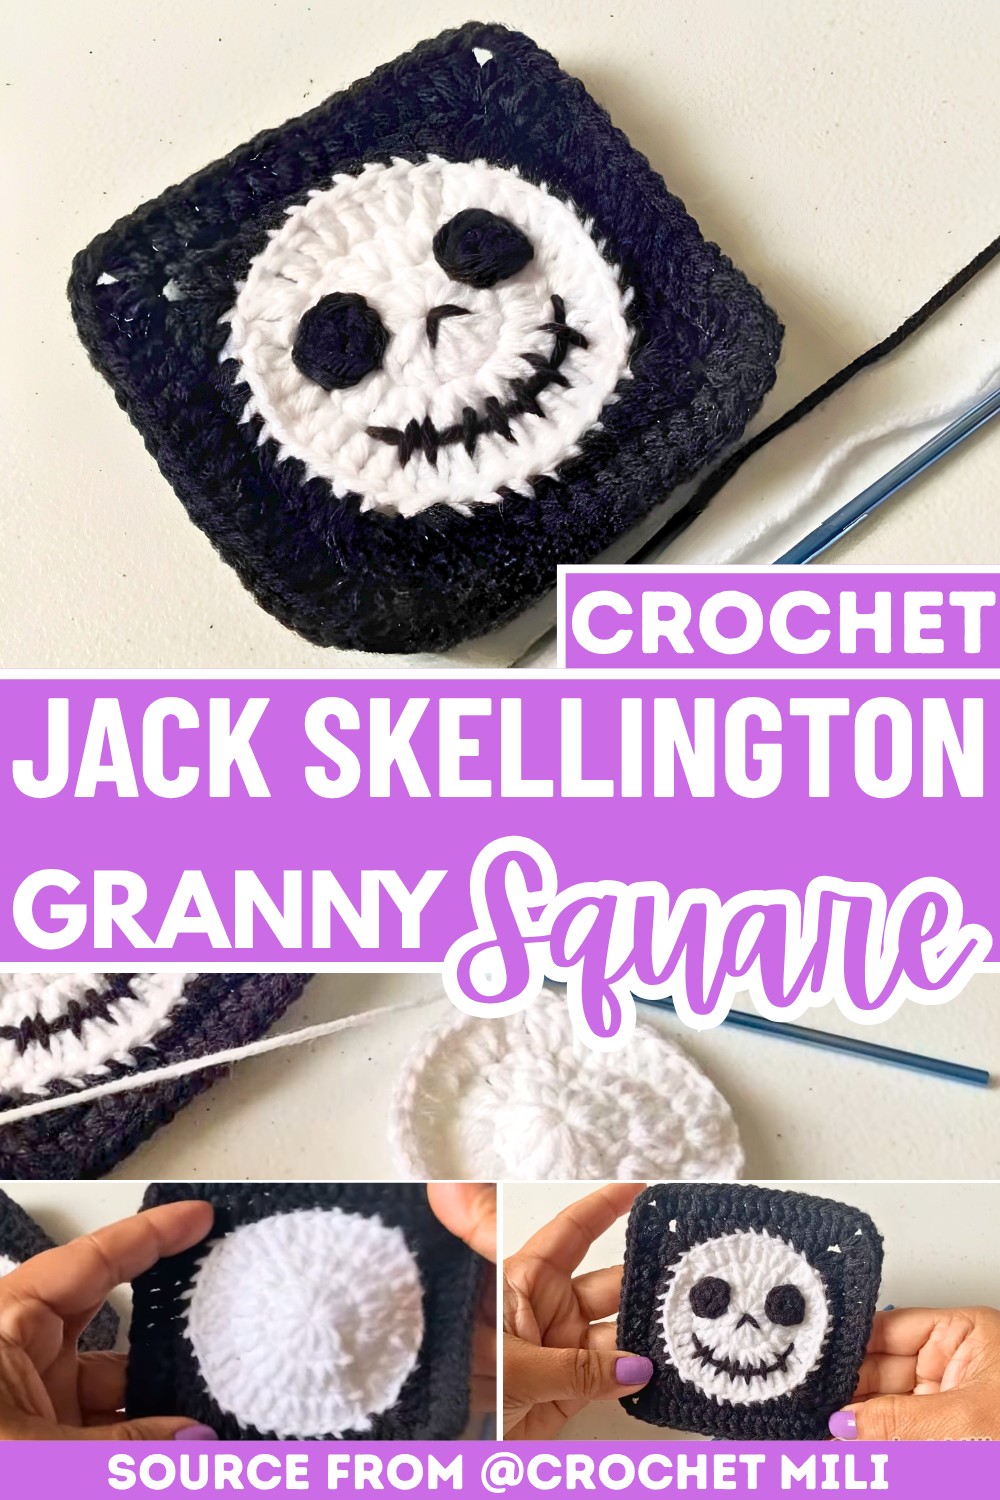
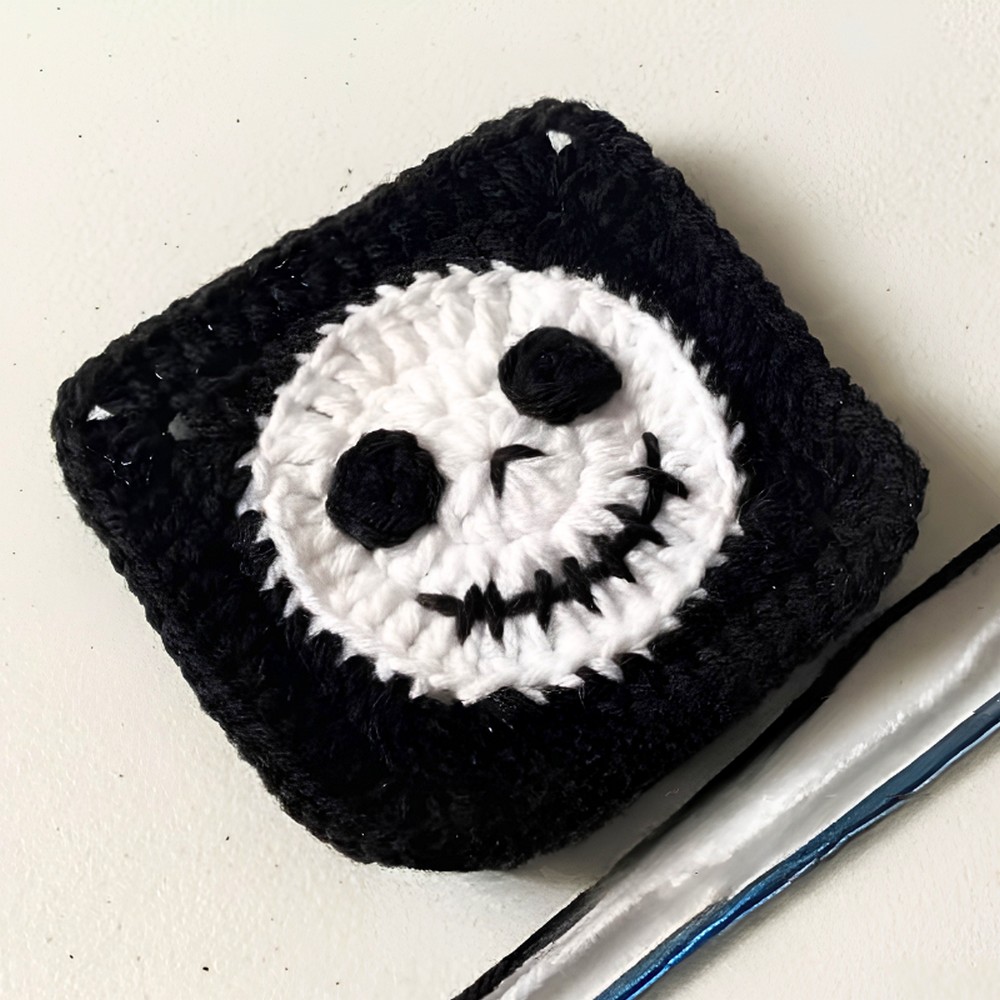
Some granny squares are all about color, while this one instantly grabs attention with a familiar face. The Easy Jack Skellington Granny Square blends a classic crochet shape with a playful Halloween-inspired design.
Making it a fun choice for blankets, pillows, bags, wall hangings, or seasonal décor. If you’ve been looking for a square that stands out the moment it’s finished, this crochet pattern is well worth exploring.
Crochet Jack Skellington Granny Square Pattern
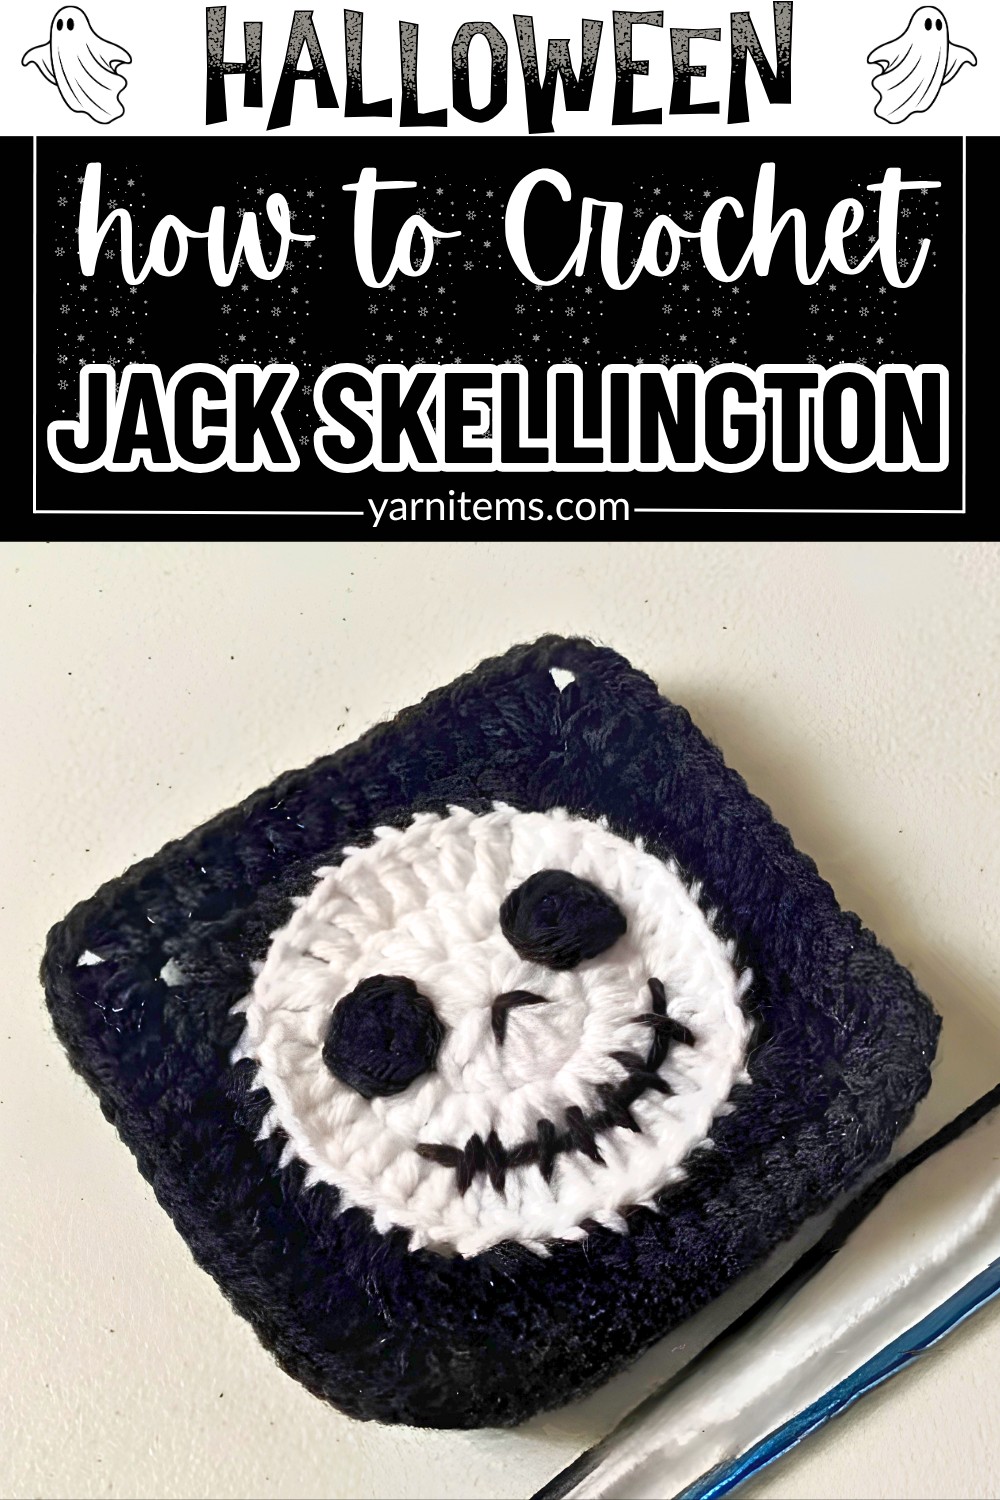
You’ll find clear, step-by-step instructions that show how the square comes together without making the process feel overwhelming. Each crochet section builds naturally on the last, so you can focus on shaping. The crochet design and enjoy watching Jack Skellington’s face appear stitch by stitch.
Credit Crochet Mili
Materials & Tools Needed
- Yarn: Medium weight (Size 4) yarn in two colors:
- White: For Jack’s face.
- Black: For the background and facial features.
- Crochet Hook: 3.75 mm (Size F).
- Other Tools:
- Scissors.
- Yarn needle.
Pattern Abbreviations & Terminology (US Terms)
- MR: Magic Ring
- ch: Chain
- st / sts: Stitch / Stitches
- sc: Single Crochet
- hdc: Half Double Crochet
- dc: Double Crochet
- sl st: Slip Stitch
- BLO: Back Loop Only
Step-by-Step Crochet Instructions
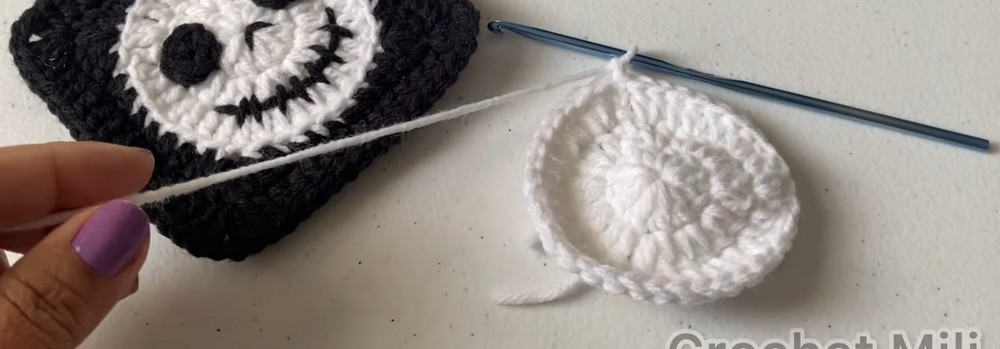
1. The Face (Using White Yarn)
Note: The initial ch-3 at the beginning of rounds counts as a double crochet.
Round 1:
- Start with a magic ring (MR).
- Ch 3, then work 11 dc into the ring.
- Pull the magic ring tight and join with a sl st into the 3rd ch of the beginning ch-3.
(Total: 12 sts)
Round 2:
- Ch 3, then work 1 dc into the same stitch as the join.
- Work 2 dc into every stitch around.
- Join with a sl st into the 3rd ch of the beginning ch-3.
(Total: 24 sts)
Round 3:
- Ch 3, then work 2 dc into the next stitch.
- Continue the following pattern around:
1 dc into the next st, 2 dc into the next st (repeated). - Join with a sl st into the 3rd ch of the beginning ch-3.
- Cut the yarn and fasten off.
(Total: 36 sts)
2. Squaring the Circle (Using Black Yarn & BLO)
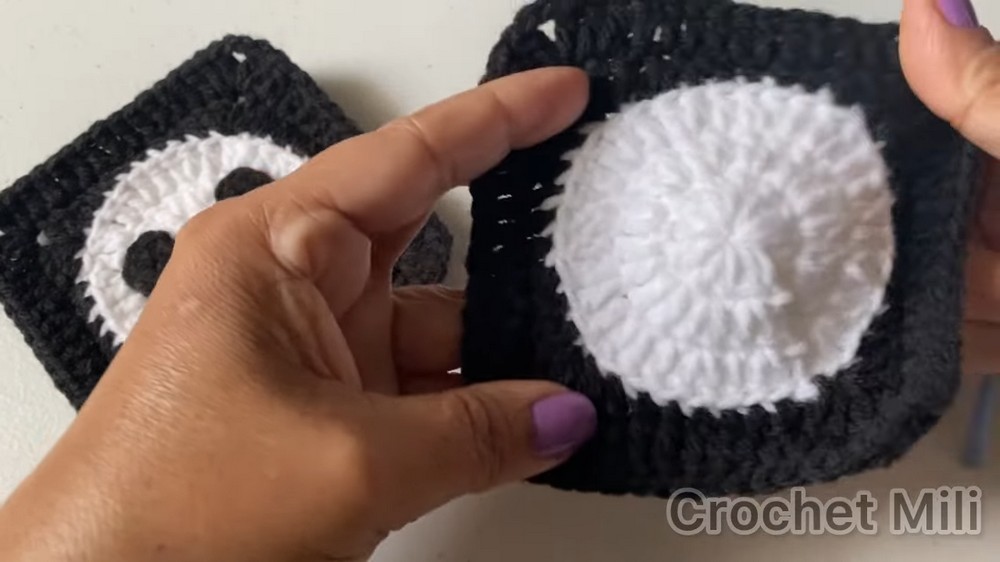
Note: All stitches in Round 4 are worked in the back loop only (BLO) of the white circle to create a distinct border.
Round 4:
- Join black yarn in any stitch from the white circle.
- In the same stitch, work your first corner:
2 dc, ch 2, 2 dc. - Work the following pattern for each side until the next corner:
- 1 dc into the next st.
- 1 hdc into each of the next 2 sts.
- 1 sc into each of the next 2 sts.
- 1 hdc into each of the next 2 sts.
- 1 dc into the next st.
- In the next stitch, work the next corner: 2 dc, ch 2, 2 dc.
- Repeat this sequence for all four sides to form a square.
- Join with a sl st into the 1st dc of the round.
Round 5:
- Ch 3. Then work 1 dc into the next stitch.
- In each corner chain-2 space, work:
2 dc, ch 2, 2 dc. - Work 1 dc into each stitch across the sides, ensuring 12 sts per side.
- Repeat this sequence for all four sides.
- Join with a sl st into the 3rd chain of the beginning ch-3.
- Cut the yarn, fasten off, and weave in your ends.
3. Facial Features (Using Black Yarn)
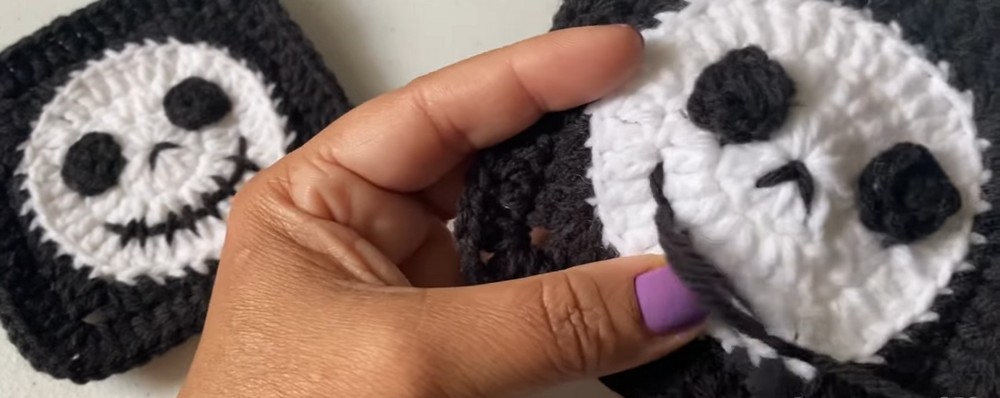
The Eyes (Make 2):
- Create a magic ring (MR).
- Ch 1, then work 6 sc into the magic ring.
- Pull the ring tight and join with a sl st into the first sc.
- Cut the yarn, leaving a long tail for sewing.
- Use the tail to sew the eyes into place on the center of the white circle.
The Nose & Mouth:
- Thread a long piece of black yarn onto your yarn needle.
- Nose:
- Create two small, vertical parallel stitches close together in the middle of the face (positioned between and slightly below the eyes).
- Mouth:
- Sew a long, curved, horizontal stitch across the lower third of the face to form Jack’s signature eerie smile.
- Add small, evenly spaced vertical stitches across this curve to create the classic stitched mouth.
Finished Size & Customization Ideas
- Size: Using a 3.75 mm hook and medium weight yarn, the square will measure approximately 4–4.5 inches.
- Projects:
- Assemble multiple squares to create:
- A Halloween-themed blanket.
- A spooky tote bag.
- Alternating black-and-white decorative pillows.
- Assemble multiple squares to create:
- Customizations:
- For a larger square, add another round:
- Round 6: Work standard dc stitches around
- Following the same corner pattern: 2 dc, ch 2, 2 dc.
- For a larger square, add another round: