Crochet Skull Earrings with Bow – Fun Halloween Accessory
Some Halloween accessories are bold, while others win attention with the smallest details. These crochet skull earrings do exactly that, pairing a tiny skull with a sweet little bow for a playful mix of spooky and cute.
They’re fun to wear, easy to personalize, and just the right size to add a handmade crochet Halloween touch without overwhelming your outfit.
Crochet Skull Earrings Pattern
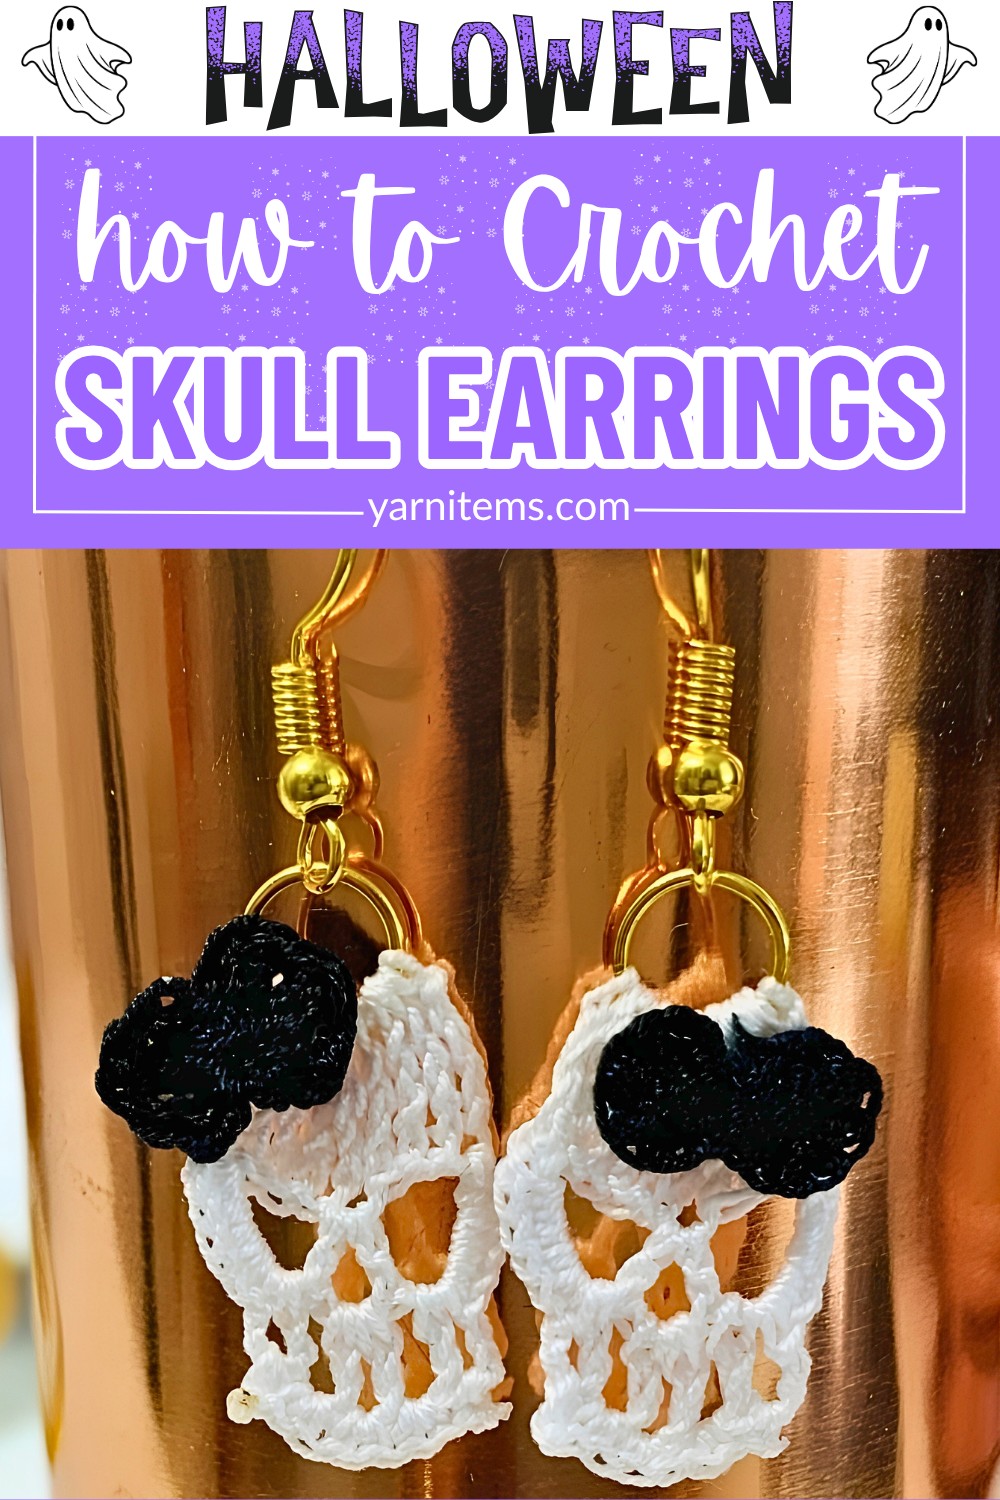
If you’d like to make a pair, this pattern walks you through each step from crocheting the miniature skull to adding the bow and earring hooks. You can easily switch the bow color to match your Halloween style or favorite outfit. Creating a handmade crochet accessory that’s both festive and uniquely yours.
Materials & Tools Needed
- Polyester Yarn – Suggested colors are pink or black, but you can use any color based on your preference.
- Crochet Hook – Size appropriate for your chosen yarn (details from the video suggest a small-sized hook for delicate work).
- Jump Rings and Earring Hooks – For attaching the finished pieces to earrings.
- Scissors – For cutting yarn tidily.
- Lighter (optional) – To melt and secure polyester yarn ends.
- E6000 Glue – For attaching the bow securely to the skull (optional, depending on preference).
- Tapestry Needle – For weaving ends (optional).
Finished Size & Customization Ideas
- Size: The finished skull and bow work up to approximately 1 to 1.5 inches, depending on yarn weight and hook size.
- Customization Ideas:
- Use glow-in-the-dark yarn for a spooky effect.
- Decorate the skull with glitter or rhinestones for extra flair.
- Experiment with various bow colors to complement your outfit.
- Create mirror image skulls (one facing left and one facing right) for symmetry on earrings.
Pattern Abbreviations & Terminology
- ch – Chain
- sc – Single Crochet
- dc – Double Crochet
- tr – Triple Crochet
- ex-dc – Extended Double Crochet
- sl st – Slip Stitch
- mr – Magic Ring
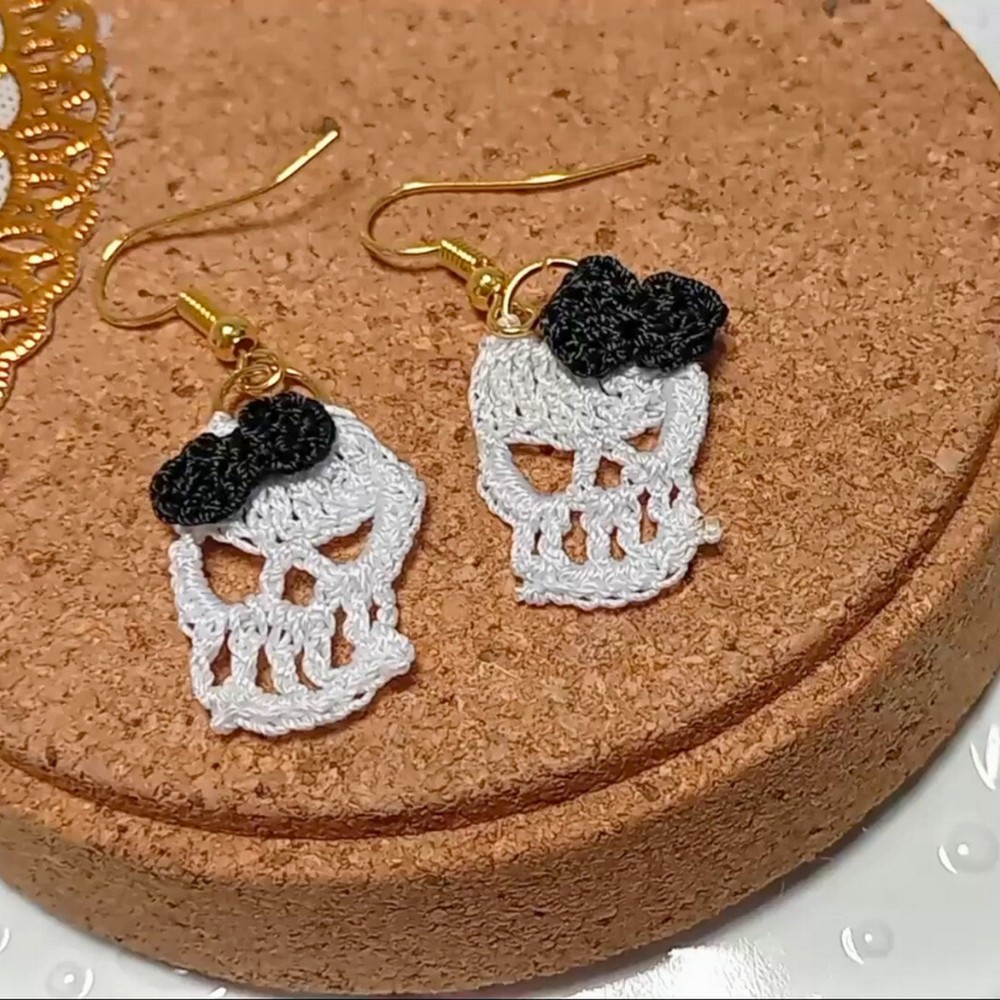
Step-by-Step Detailed Crochet Instructions
This includes how to make the skull and bow, broken into clear steps and rounds.
Part 1: Skull
- Start with a Slip Knot:
- Make a slip knot with a short tail (since it will be secured later).
- Chain 1 to secure the slip knot.
- Work Into a Jump Ring (or Magic Ring Alternative):
- Pull up a loop in the jump ring and make one single crochet.
- Create the Skull Base:
- Chain 4 (counts as the first triple crochet).
- Yarn over twice and insert into the ring.
- Complete a triple crochet by pulling through the loops in sets of two.
- Repeat for a total of 9 triple crochets (including the chain-4).

- Forming the Eyes:
- Chain 4 to create the first eye.
- Locate the fifth stitch (center of the skull) and crochet a V-stitch:
- Dc into the fifth stitch, chain 2, and dc again into the same stitch.
- Finish the Eye Area:
- Chain 5.
- Slip stitch into the last base dc, ensuring you grab both loops while joining.
- Shape the Skull (turn your work):
- Chain 1. Into the first eye:
- Work 5 sc.
- Chain 3.
- Begin extended double crochet: Pull up a loop, yarn over, and complete the stitch in two passes.
- Chain 1. Into the first eye:
- Nose & Second Eye:
- Chain 1 between each extended double crochet.
- Work the nose and second eye with extended double crochet and chain spacing.
- Finish with 5 sc in the second eye.
- Finalize Jawline:
- Slip stitch into the bottom of the skull.
- Work along the chain space of the jaw:
- Work 1 sc in the first chain space.
- Work 2 sc into each chain space until the last.
- Place just 1 sc in the final chain space.
- Fasten Off:
- Cut yarn, weave in the ends, and optionally melt them using a lighter for security.

Part 2: Bow
- Start with a Magic Ring:
- Wrap yarn around your finger and pull up a loop with the crochet hook.
- First Side of the Bow:
- Chain 3 and work 4 extended double crochets:
- Pull up a loop, yarn over once, pull through the first loop, and complete in stages of two loops each.
- Chain 3 and slip stitch into the magic ring.
- Chain 3 and work 4 extended double crochets:
- Second Side of the Bow:
- Chain 3 and repeat 4 extended double crochets and chain 3.
- Slip stitch back into the magic ring.
- Secure and Shape the Bow:
- Chain 1 and fasten off.
- Trim the yarn and adjust the bow to a symmetrical shape.
- Attach to Skull:
- Using threads left on the bow or glue (E6000), secure the bow at the top of the skull.
- Ensure both earrings are mirror images for symmetrical wear.

Assembly & Finishing
- Attach jump rings through the skull.
- Add earring hooks to the jump rings.
- Ensure all parts are securely fastened before use.
Tips from the Tutorial
- Adjust tension for small, intricate stitches.
- Black yarn looks spooky but is difficult to see while working; lighter colors show stitch definition better.
- Use mirror images for earrings to ensure a balanced look when worn.