Easy Crochet Lily of the Valley With Simple Pattern
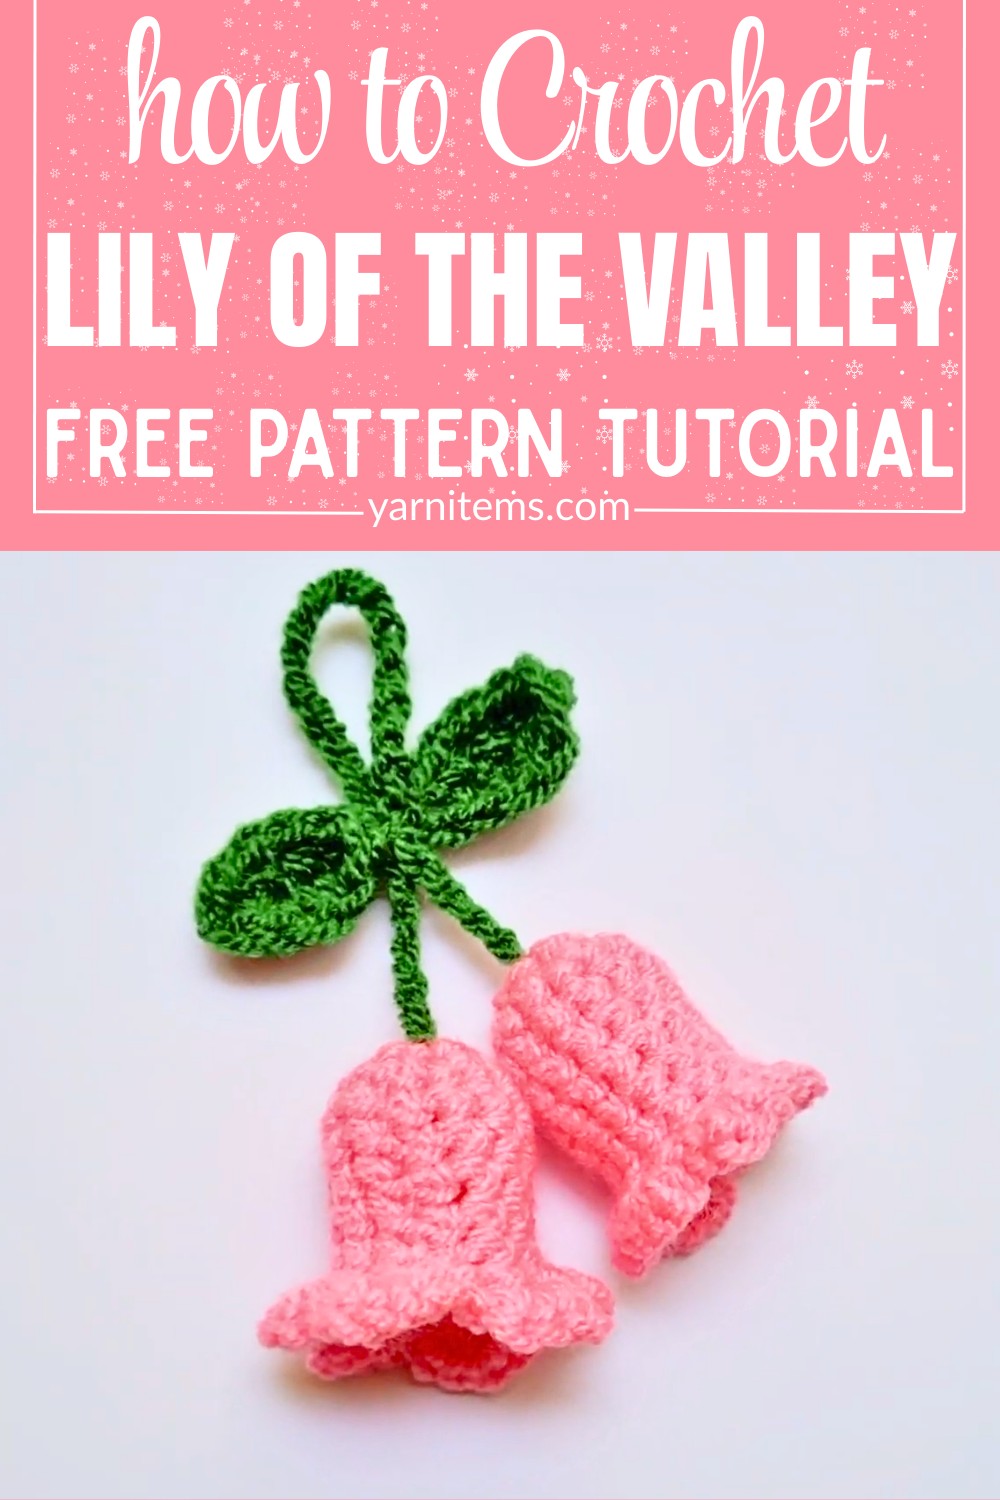
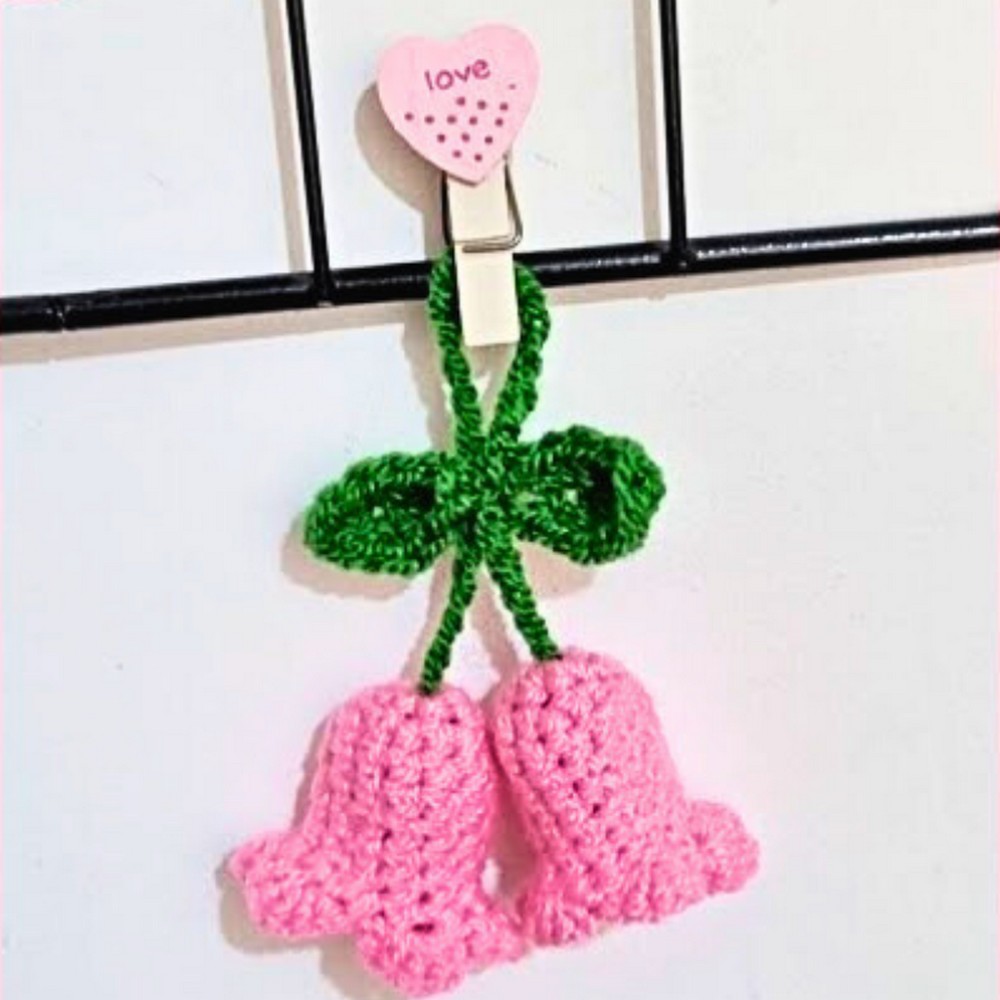
A crochet lily of the valley captures the quiet beauty of one of spring’s most recognizable flowers. Its tiny bell-shaped blooms and slender stem create a graceful design.
It looks lovely on its own or as part of a handmade crochet bouquet. You can also use it to decorate gifts, brighten your home, or add a delicate touch to bags, hats, and other accessories.
Free Crochet Lily of the Valley Pattern

This crochet pattern builds the flower one simple piece at a time. That makes the process easy to follow from start to finish. The blooms, leaves, and stem come together to create a realistic result without difficult techniques. With clear step-by-step instructions and basic crochet stitches, you’ll be ready to turn a few strands of yarn into a flower that stays in bloom all year long.
Credit Furry Yarn
Materials & Tools Needed
- Yarn: Any yarn of your choice (the tutorial does not specify, but medium-weight yarn works well for flowers and leaves).
- Crochet Hook: 3 mm crochet hook.
- Scissors.
- Optional: Needle for weaving ends.
Finished Size & Customization Ideas
- The finished size of the Lily of the Valley depends on the yarn thickness and hook size, but using a 3 mm hook should produce small, delicate blooms.
- You can customize the pattern by adding more flowers to your stem or creating longer chains for taller foliage.
- Use multiple colors (e.g., white flowers with green stems and leaves) or experiment with other shades to mimic different flower varieties.
Pattern Abbreviations & Terminology
Below are common abbreviations used:
- CH: Chain
- SC: Single Crochet
- HDC: Half Double Crochet
- DC: Double Crochet
- SL ST: Slip Stitch
- MR: Magic Ring
- YO: Yarn Over
Step-by-Step Detailed Crochet Instructions
Part 1: Crochet the Flowers
Flower Pattern:
- Start with a Magic Ring:
- Make a magic ring: Loop the yarn around your fingers. Insert the hook into the ring, YO, pull through, YO, pull through the loop.
- Round 1 – SC into the Magic Ring:
- Crochet 6 SC into the magic ring.
- Pull the tail of the magic ring to close the center tightly.
- SL ST into the first SC to join the round.
- Round 2 – 2 SC into Each Stitch:
- Starting in the same stitch, crochet 2 SC.
- Repeat in each stitch (6 stitches × 2 SC = 12 stitches total).
- SL ST into the first stitch to join the round.
- Round 3 to 7 – SC into Each Stitch:
- Crochet 1 SC in each stitch around (12 SC total).
- Repeat this pattern for five total rounds (Rounds 3–7).
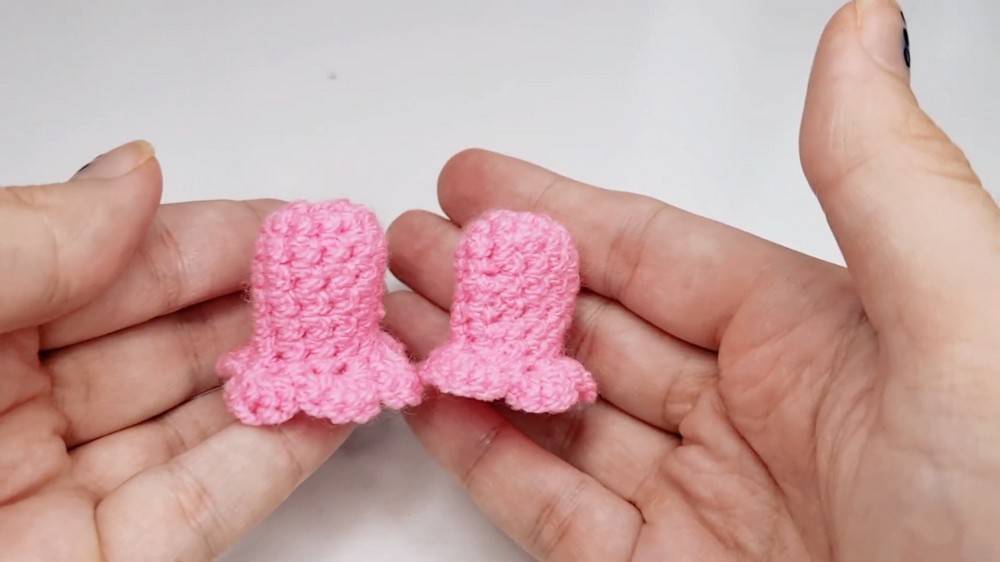
- Round 8 – Create Petals:
- In one stitch, make 5 SC into the same stitch (this forms a petal).
- SL ST into the next stitch.
- Repeat: 5 SC into the next stitch, then SL ST into the next stitch.
- Continue this pattern around the flower.
- Finish Off:
- At the end of the round, SL ST into the last stitch.
- CH 1, tie the yarn, cut with scissors, and weave in the ends.
- Repeat:
- Make two flowers using this same process.
Part 2: Crochet the Leaves
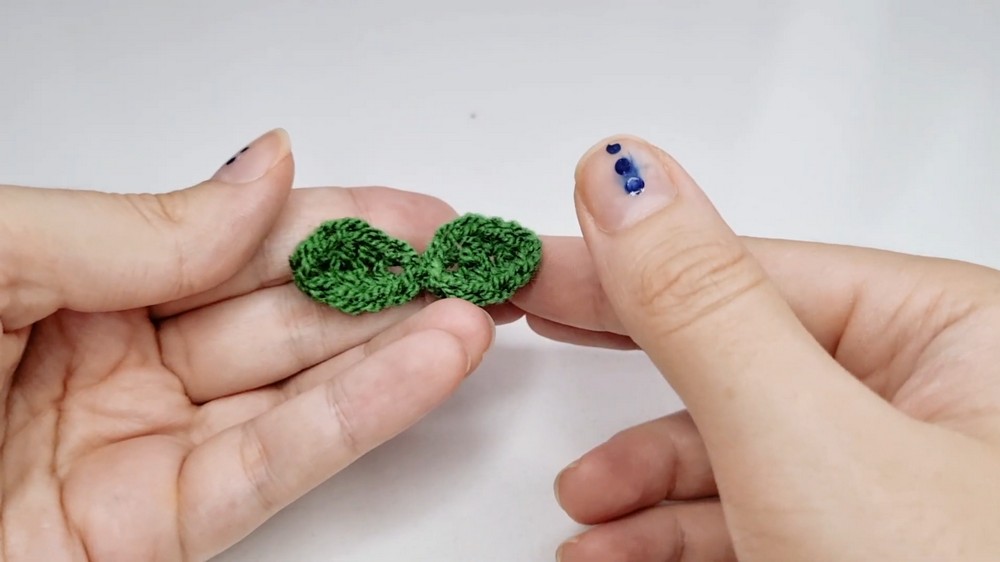
Leaf Pattern:
- Start with a Slip Knot & Chain:
- Create a slip knot on your hook.
- Crochet 6 CH (base chain).
- Work Back into the Chain:
- Skip the first CH. Starting in the second CH, work the following stitches:
- SC into the chain.
- HDC into the next chain.
- DC into the next chain.
- HDC into the next chain.
- SC into the last chain.
- Skip the first CH. Starting in the second CH, work the following stitches:
- Turn & Work Back:
- Turn your work to crochet on the other side of the base chain:
- SC into the first stitch.
- HDC into the next stitch.
- DC into the next stitch.
- HDC into the next stitch.
- SC into the last stitch.
- Turn your work to crochet on the other side of the base chain:
- Finish with a SL ST:
- SL ST into the base of the leaf to finish.
- Tie the yarn off securely and cut it.
- Repeat for the Second Leaf:
- Make another leaf by repeating the pattern above.
Part 3: Crochet the Flower Stem
Stem Pattern:
- Start with a Slip Knot:
- Create a slip knot on your hook.
- Chain for Length:
- Crochet 50 CH (or customize the length as desired).
- Finish Off:
- Tie the yarn, cut with scissors, and weave in the ends.
Part 4: Assembly
- Attach Flowers to the Stem:
- Insert the yarn tail from the base of the flower into the stem chain using your hook.
- Tie the flowers to the chain securely.
- Attach Leaves:
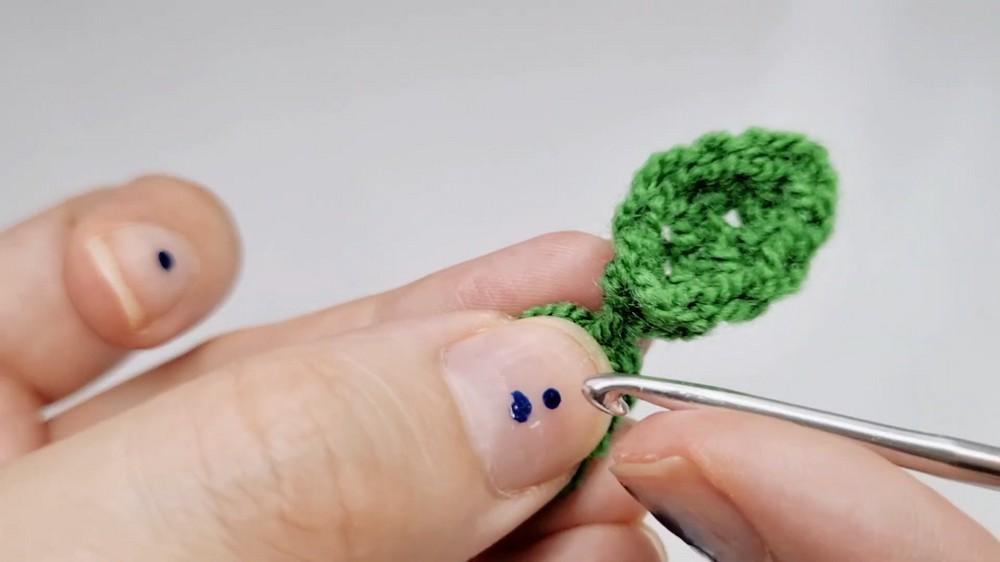
- Insert the yarn tail from the base of the leaf into the stem chain.
- Tie each leaf securely to the chain.
- Finishing Touches:
- Weave in all yarn ends.
- Adjust the flowers and leaves to make them look natural.
Finishing Techniques
- Hiding Ends: Weave in the yarn ends using a needle or your hook for a cleaner look.
- Optional Stiffening: Use fabric stiffener or starch if you want the flowers and leaves to stay upright.
Notes
- The tutorial does not specify exact yarn types, so you have flexibility. Experiment with what works best for your desired look.
- You can increase or decrease chain counts or stitch rounds to modify petal shapes, stem length, or leaf size.