Crochet Pumpkin Coaster For Thanksgiving Table Décor
A Thanksgiving table feels even more inviting when every little detail celebrates the season. These crochet pumpkin coasters bring that festive touch with a classic pumpkin shape that looks right at home beside mugs of cider, coffee, or tea.
They’re decorative enough to brighten your table and practical enough to protect it from everyday spills and heat. Keep reading to see how this simple crochet piece comes together stitch by stitch.
Free Crochet Pumpkin Coaster Pattern
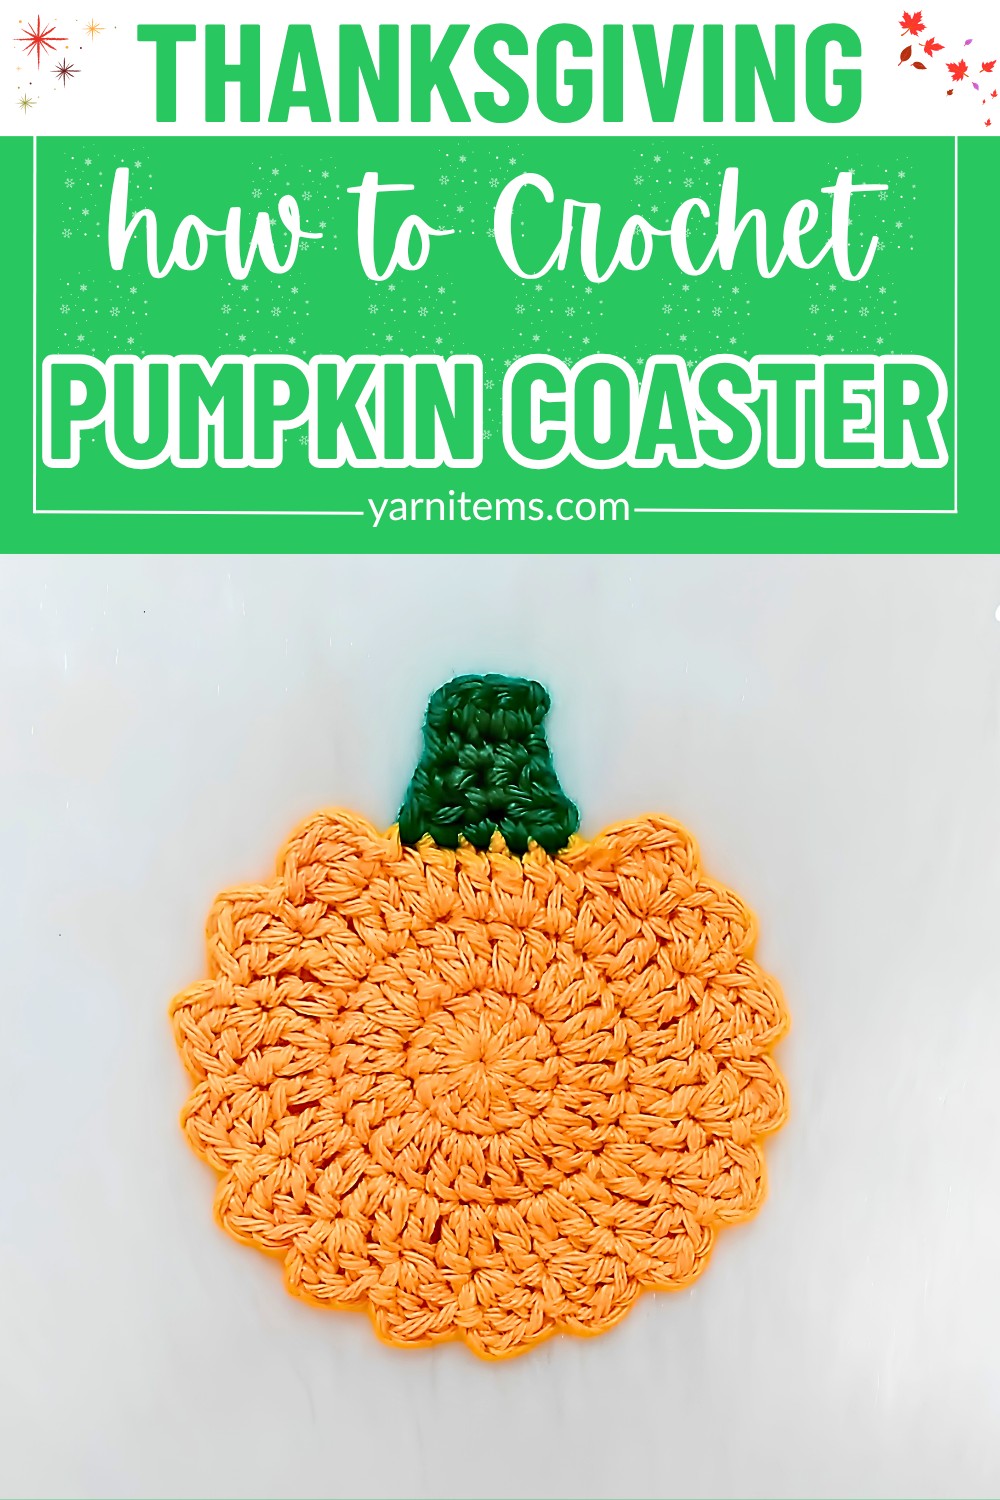
This crochet pumpkin pattern is designed to be enjoyable from the very first round. Using easy stitches to create a coaster that’s both functional and full of autumn charm. Whether you’re making a matching set for your holiday table or a few handmade gifts, you’ll find the steps clear and satisfying. By the end, you’ll have crochet pumpkin coasters that are as useful as they are festive.
Credit Pora Pora Crochet
Materials & Tools Needed
- Yarn: Medium-weight 4 cotton yarn
- Orange for the body
- Green for the stem
- Crochet Hook: 3.75 mm
- Tools:
- Tapestry needle (for weaving in ends)
- Scissors
Finished Size & Customization Ideas
- Finished Size: Approximately 4 inches (10 cm) in diameter. Ideal for mugs, cups, or autumn-themed table decor.
- Customization Ideas:
- Colors: Use cream, mustard, or sage green for a rustic farmhouse vibe.
- Garland: String multiple pumpkins together with twine to make a cozy Thanksgiving mantel garland.
Pattern Abbreviations & Terminology (US Terms)
-
Ch: Chain
-
St / Sts: Stitch / Stitches
-
Sl st: Slip stitch
-
Sc: Single crochet
-
Dc: Double crochet
-
2sctog: Single crochet two together (decrease)
-
Beg: Beginning
-
* to *: Repeat instructions between asterisks the specified number of times.

Step-by-Step Detailed Crochet Instructions
Part 1: Main Pumpkin Body (Orange Yarn)
- Round 1: The Foundation (Stitch Count: 12 dc)
- Create a Magic Ring.
- Ch 2 (does not count as a stitch).
- Work 12 dc inside the ring.
- Pull the tail tight to close the ring.
- Sl st into the very first dc of the round to join.
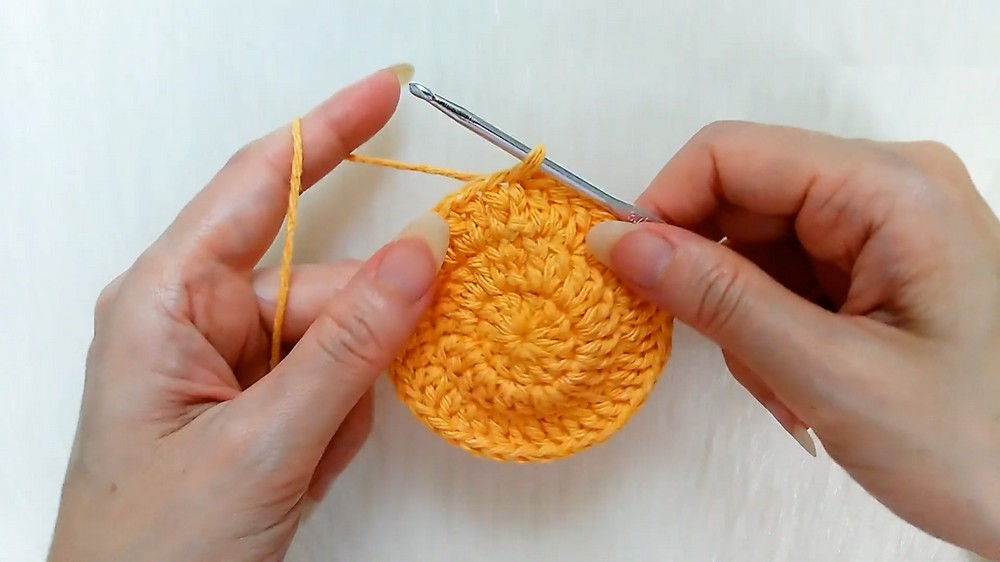
- Round 2: The First Increase (Stitch Count: 24 dc)
- Ch 2 (does not count as a stitch).
- Work 2 dc in each stitch around.
- Sl st into the first dc of the round to join.
- Round 3: The Second Increase (Stitch Count: 36 dc)
- Ch 2 (does not count as a stitch).
- *Work 1 dc in the next stitch, then 2 dc in the following stitch.*
Repeat from * to * all the way around. - Sl st into the first dc of the round to join.
- Round 4: Scalloped Pumpkin Ridges (Stitch Count: 15 scallops)
- *Ch 2, work 2 dc in the same stitch.
Skip the next stitch, then sl st into the following stitch.**
Repeat from * to * 15 times around to create the scallopd shell border. - Fasten off and pull the yarn through.
- *Ch 2, work 2 dc in the same stitch.

Part 2: The Stem (Green Yarn)
- Row 1: Attach & Base Row (5 sts)
- Locate the top edge of your pumpkin. Any sl st space between the scalloped shells works well.
- Tie a slipknot on your hook with green yarn and join with a sl st.
- Ch 1, then work 1 sc in each of the next 5 stitches along the edge.
- Row 2: Tapered Decrease (3 sts)
- Ch 1 and turn.
- Work a 2sctog (single crochet decrease) over the first two stitches.
- Work 1 sc in the middle stitch.
- Work a 2sctog over the last two stitches.
- Row 3: Straight Row (3 sts)
- Ch 1 and turn.
- Work 1 sc in each of the next 3 stitches.

- Row 4: Final Stem Extension (3 sts)
- Ch 1 and turn.
- Work 1 sc in each of the next 3 stitches.
- Ch 1, cut your yarn leaving a small tail, and pull it through to secure.
- Finishing Touches: Clean Up
- Using your tapestry needle, carefully weave all loose yarn tails (from the magic ring, body, and stem) into the back of your coaster stitches.
- Snip excess yarn flush.