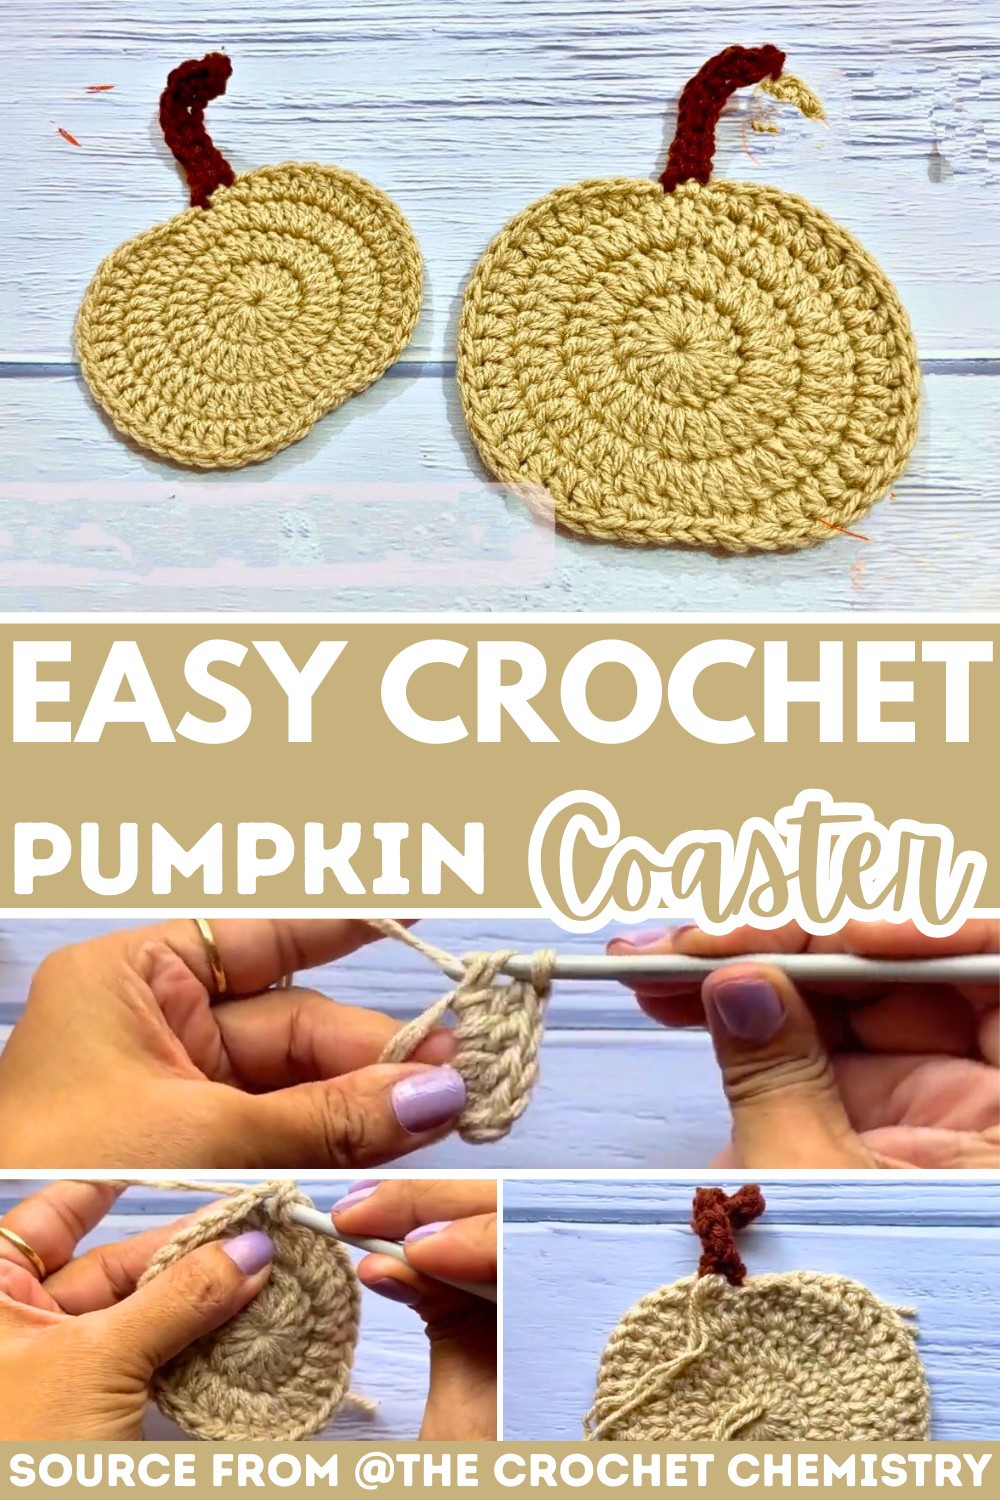
Crochet Pumpkin Coaster Tutorial – Easy Fall Decor for Beginners
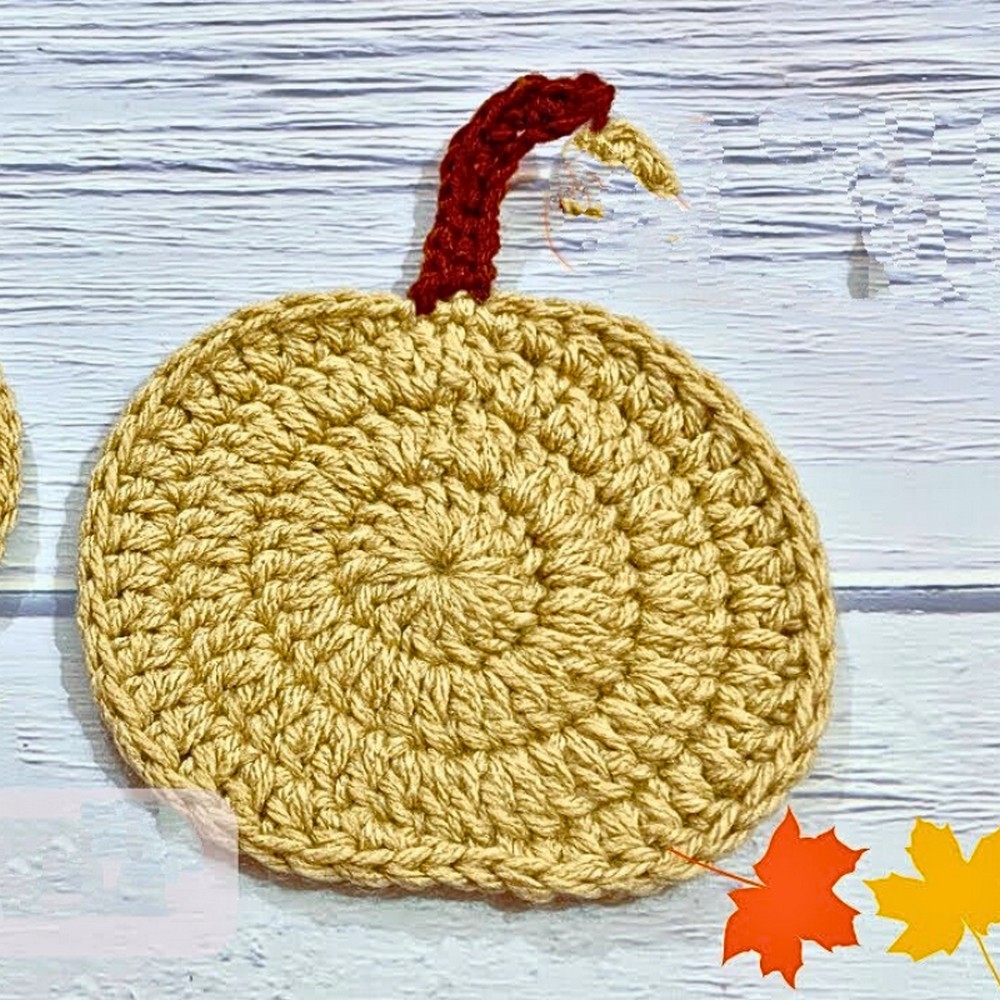
A charming pumpkin coaster can instantly bring the warmth of autumn to any table setting. Featuring a textured pumpkin shape with a neatly curved stem, this crochet piece combines seasonal style with everyday practicality.
Its simple construction makes it approachable for beginners while still offering a polished finish that experienced crocheters will appreciate. The result is a functional item that adds a cozy handmade touch to your home throughout the fall season.
Crochet Pumpkin Coaster Pattern
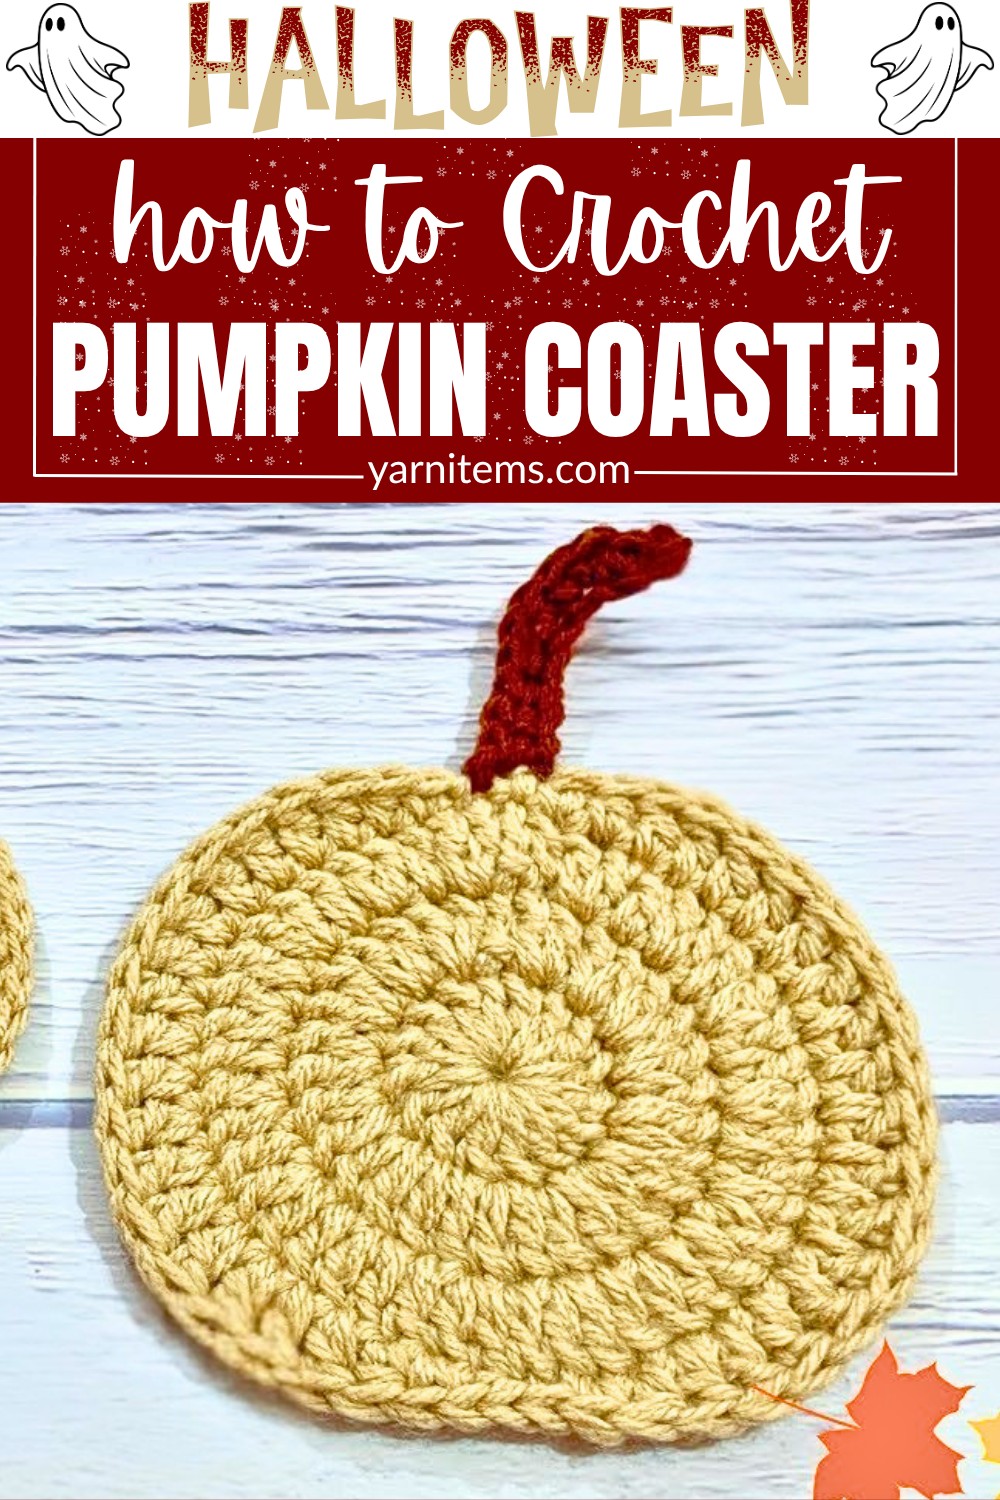
Thoughtful shaping techniques transform basic stitches into a crochet coaster that is both decorative and useful. The guide below includes the required materials, pattern notes, stitch abbreviations, finished size, customization ideas, detailed instructions, and finishing tips to help you complete each piece with confidence. Whether placed beneath a favorite mug or arranged as part of an autumn table display, this crochet item blends beauty and function with ease. It also makes a wonderful handmade addition to seasonal gift baskets and festive home décor.
Credit The Crochet Chemistry
Materials
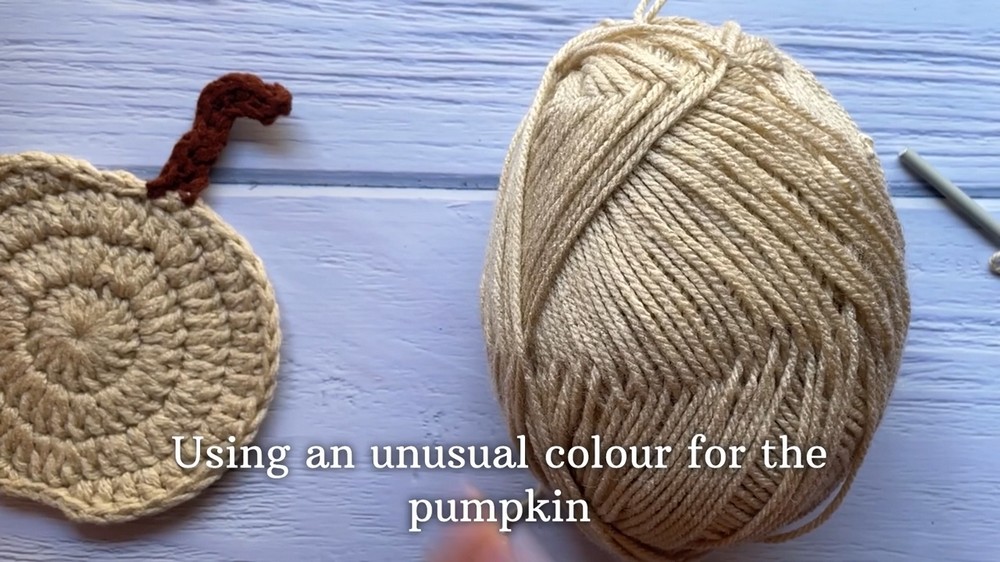
- Yarn: Light worsted weight yarn in two colors:
- Cream / Beige: Pumpkin Body
- Brown: Stem/Stalk
- Hook: 5.00 mm (H-8) crochet hook
- Additional Tools:
- Tapestry / Yarn Needle
- Scissors
Pattern Notes
- Pumpkin Body:
- Worked in continuous rounds using double crochet increases.
- Final shaping round creates two separations that mimic the classic pumpkin curves.
- Stem:
- Worked separately by:
- Joining brown yarn at the top center (dip) of the pumpkin body.
- Creating a chain from there.
- Working back down the chain.
- Securing the chain back to the pumpkin body.
- Worked separately by:
- Chains at Round Starts:
- Beginning Chain 2 at the start of rounds does not count as a stitch, unless it’s explicitly stated.
Find Your Ideal Finish Size Today
- Dimensions: Approximately 4.5–5 inches (11.5–12.7 cm) in diameter (excluding stem).
Why Most People Miss This Customization Step
- Colors:
- Experiment with a variety of colors to fit your aesthetic or seasonal decor:
- Traditional orange for a classic pumpkin vibe.
- Burnt rust or mustard yellow for warm, autumnal tones.
- White for a modern farmhouse look.
- Olive green for a rustic, earthy touch.
- Experiment with a variety of colors to fit your aesthetic or seasonal decor:
- Coaster to Placemat:
- Use chunky yarn and a larger crochet hook (6.0mm–7.0mm) to scale up the pattern:
- Create functional trivets.
- Make placemats for table decor.
- Use chunky yarn and a larger crochet hook (6.0mm–7.0mm) to scale up the pattern:
The Complete A–Z of Key Terms
- Ch / Chs: Chain / Chains
- SC: Single Crochet
- HDC: Half Double Crochet
- DC: Double Crochet
- SL ST: Slip Stitch
- St / Sts: Stitch / Stitches
- MR: Magic Ring / Magic Circle
Step-by-Step Pattern
Component 1: Pumpkin Body (Cream/Beige Yarn)
Round 1: Center Foundation
-
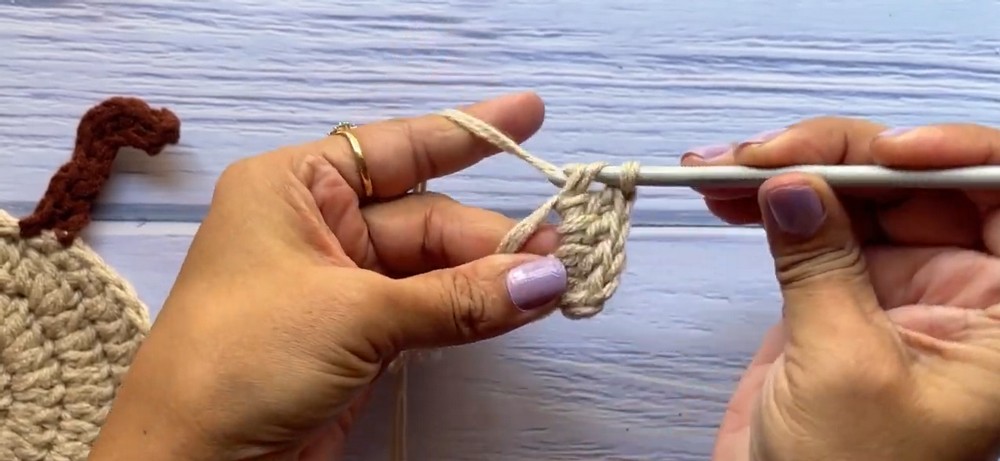
- Form a Magic Ring (MR).
- Ch 2 (does not count as a stitch).
- Work 15 DC directly into the magic ring
- Pull the tail of the magic ring tight to close the center hole.
- Join: SL ST into the top of the first DC of the round
- Stitch Count: 15 DC
-
Round 2: First Increase Round
- Ch 2, work 2 DC into the same stitch as the join.
- Work 2 DC in every stitch around.
- Join: SL ST into the top of the first DC
- Stitch Count: 30 DC
-
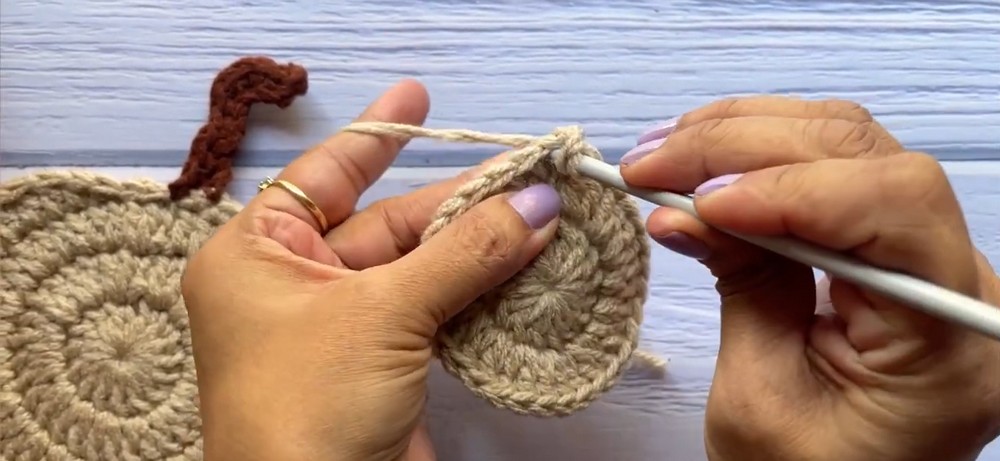
Round 3: Second Increase Round
- Ch 2, work 2 DC into the same stitch as the join.
- Work 1 DC into the next stitch
- Repeat Pattern: [2 DC in next st, 1 DC in next st] across all remaining stitches
- Join: SL ST into the top of the first DC
- Stitch Count: 45 DC
-
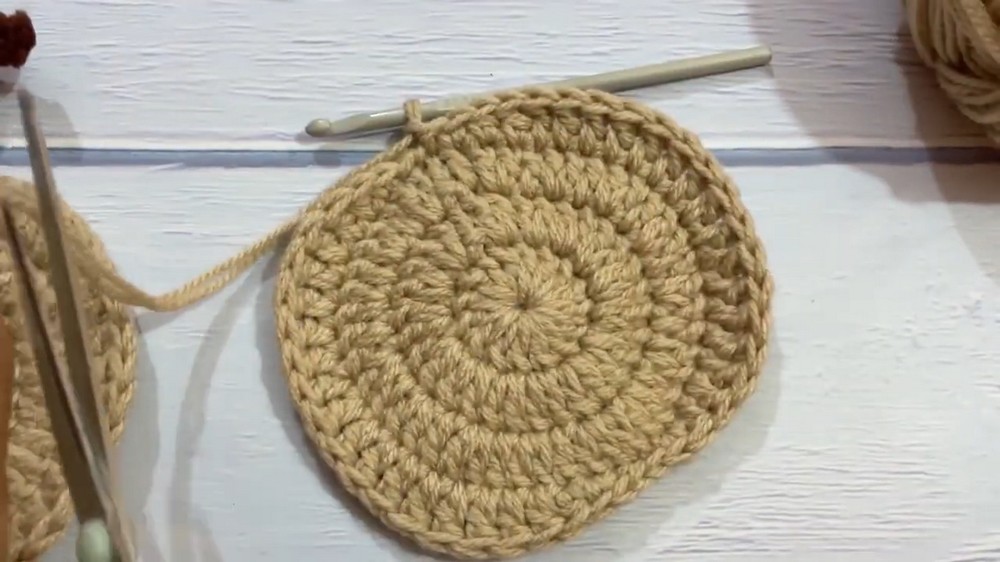
Round 4: Pumpkin Shaping (Curves)
- This round is divided into two symmetrical curves separated by slip stitches to form the top/bottom dips of the pumpkin.
Curve 1 (First Half):
- Work 1 SL ST into the next st
- Work 1 SC into the next st.
- Work 1 HDC into the next st
- Work 1 DC in each of the next 16 stitches
- Work 1 HDC into the next st
- Work 1 SC into the next st
- Work 3 SL ST across the next 3 stitches (creates the bottom dip).
Curve 2 (Second Half):
- Work 1 SC into the next st
- Work 1 HDC into the next st.
- Work 1 DC in each of the next 16 stitches.
- Work 1 HDC into the next st.
- Work 1 SC into the next st.
- Work 1 SL ST into the next st (aligns with the top dip).
Fasten Off Body:
- Ch 1, cut the yarn leaving a 4-inch tail, and pull through to secure
Component 2: Pumpkin Stem (Brown Yarn)
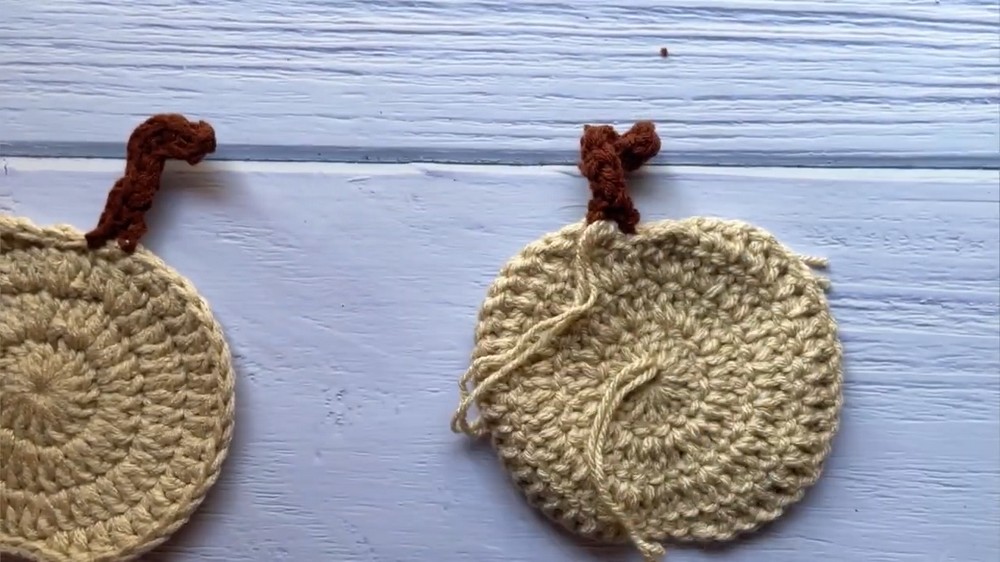
- Join Color: Insert hook into the center SL ST at the top dip of the pumpkin body. Pull up a loop of Brown yarn
- Chain Out: Ch 10.
- Working Down the Chain:
- Stitches 1 & 2: Work 1 SC in the 2nd chain from the hook, and 1 SC in the next chain
- Stitches 3 & 4: Work 2 SC into the next chain, and 2 SC into the following chain [10:39] (creates a natural slight curve in the stem).
- Stitches 5 to 8: Work 1 SC in each of the remaining 4 chains
- Anchor to Body: Work 1 SL ST back into the same top stitch on the pumpkin body where you joined the brown yarn
- Fasten Off: Ch 1, cut yarn leaving a tail for weaving
The Pro’s Guide to Finishing Touches
- Weave in Ends:
- Thread your tapestry needle with the yarn tails.
- Weave in all loose ends securely on the back (wrong side) of the coaster
- Trim Excess Yarn: Trim yarn close to stitches.
- Optional Blocking: Gently press or steam-block the coaster if needed to lay completely flat.