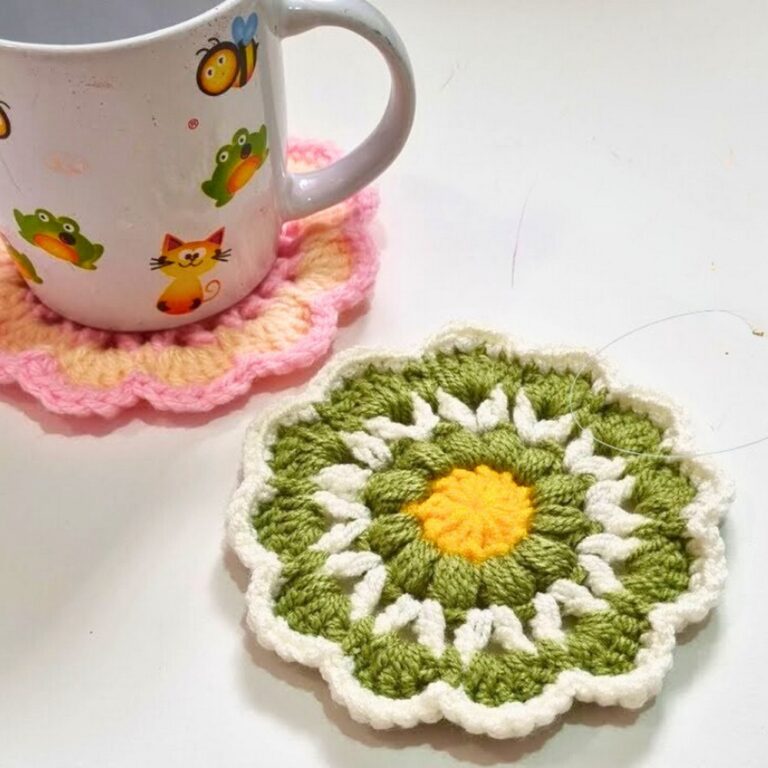
How to Crochet a Christmas Spiral Wind Spinner Ornament
Bring Christmas color to your tree with a crochet spiral wind spinner made from white, green, and red strips, finished with pearl beads, a tassel, and a hanging loop.

Some Christmas decorations are all about shape and movement, and this spiral wind spinner has plenty of both. Three crocheted sections in white, green, and red are layered into a twisting spiral, then finished with faux pearls and a small white tassel for a festive hanging decoration.
The design uses several familiar crochet stitches, but the unusual part is how the strips are joined and twisted at the end.
Keeping the colored sections attached at their intended loop points is important because those connections determine how the finished spiral sits. Follow each section in order, leave the joining tails available, and wait until all three crochet pieces are complete before shaping the final wind-spinner form.
Credit Crochet Patterns Free
Materials & Tools Needed
- Yarn: 3-ply yarn in white, green, and red
- Crochet hook: 3.0 mm
- Embellishments: 2 small white or cream faux pearls or beads
- Scissors
- Tapestry needle: For finishing and weaving in ends
Pattern Abbreviations & Terminology
- ch: chain
- st(s): stitch(es)
- sl st: slip stitch
- sc: single crochet
- hdc: half double crochet
- dc: double crochet
- tr: treble crochet
- cluster: treble crochet cluster; 2 tr worked together
- fpdc: front post double crochet
- bpdc: back post double crochet

How the Spiral Wind Spinner Is Formed
This ornament is built from three crocheted spiral sections. The white section forms the base, followed by green and red sections that are attached into designated loop or anchor points.
Each section develops through the same general sequence: small chain-and-cluster loops, a row of half double crochets, an expanding double crochet row, alternating front and back post stitches, and a twisted single crochet edge.
The individual strips are not meant to remain flat. Once all three colors are finished, they are gently twisted and coiled together to create the characteristic spiral shape.
White Spiral Base
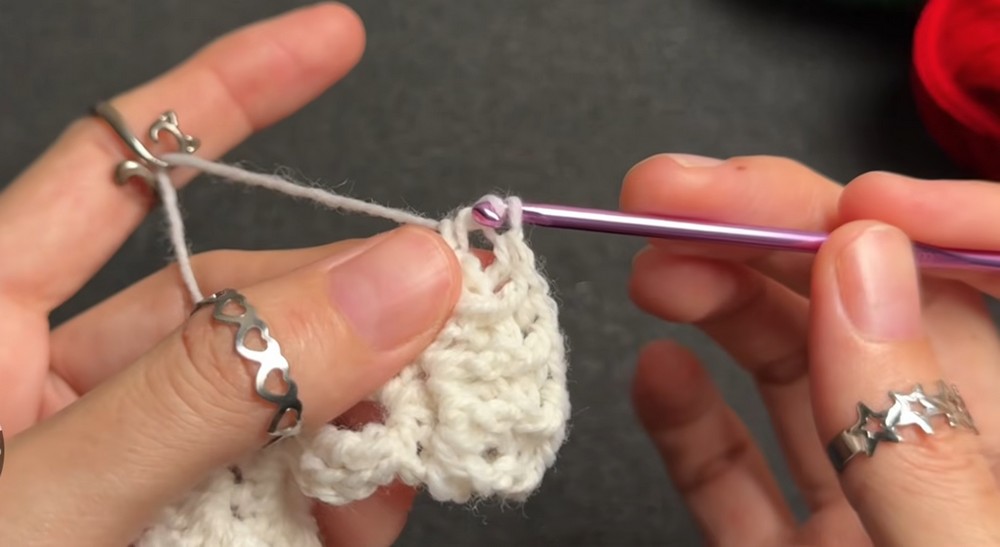
Begin with white yarn and a 3.0 mm crochet hook.
Foundation: Chain 5 (5 ch).
Cluster Loop 1: Work a 2-treble crochet cluster in the 5th chain from the hook.
Cluster Loops 2–4: Repeat 5 ch, 2 tr cluster in the 5th ch from the hook 3 times total to form the base loops.
These open loops provide the spaces that will later receive the half double crochets. Keep the loops open and easy to identify as you work rather than pulling them tight.
First Turning Ridge
Row: 2 ch, then work 6 hdc into each corresponding chain/cluster space along the strip.
Work into each designated space carefully so the sections remain evenly formed. These groups of half double crochets establish the fuller strip that will receive the following rows.
Second Row: Double Crochets
Row: 3 ch, turn, work 2 dc in the first st, then work 3 dc in each remaining st across.
The increase at the beginning and the groups of 3 dc across the remaining stitches create the expanding shape needed for the spiral section.
Third Row: Post Stitches
Row: 3 ch, turn, work alternating 1 fpdc, 1 bpdc across the row.
The front and back post stitches add texture and help distinguish the surface of the strip. Keep the alternation consistent from one stitch to the next.
Final Edge: 1 ch, turn, work a back twist single crochet in each st across, then fasten off and leave a tail for joining.
Do not cut away the joining tail completely. It will be used when the spiral sections are brought together.
Green Spiral Section
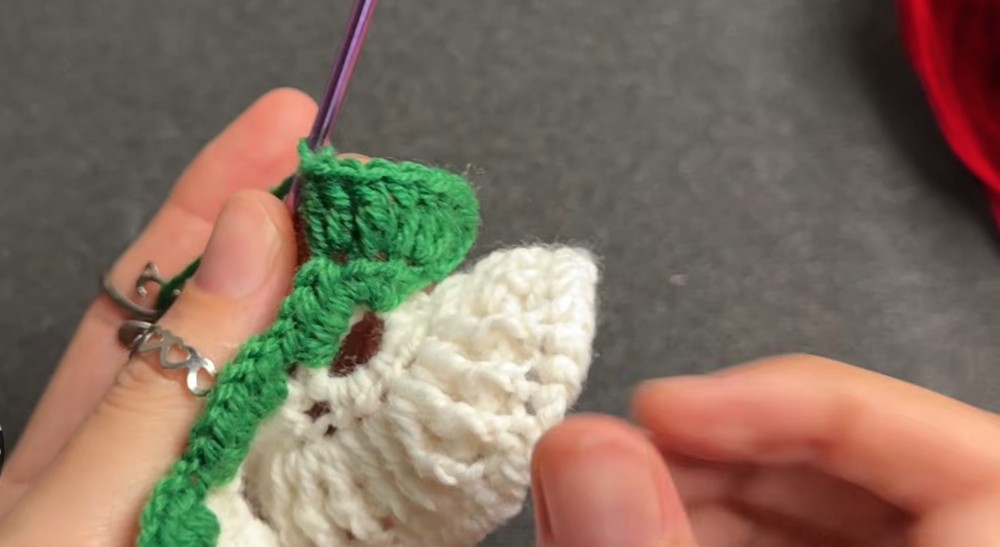
Attach green yarn into the middle open loop or space of the completed white spiral base.
Green Clusters and Hdc Rows
Foundation: Attach green yarn into the middle open loop/space of the white spiral base, then work the cluster formation corresponding to the base loop structure.
Hdc Row: Work 6 hdc into each designated space, following the same space-by-space formation as the white strip.
The key point here is the attachment location. The green section needs to begin at the specified middle opening of the white base so that the three colors can later interlock into the intended spiral.
Green Upper Rows
Double Crochet Row: 3 ch, turn, work 2 dc in the first st, then 3 dc in each st across.
Post-Stitch Row: 3 ch, turn, alternate 1 fpdc and 1 bpdc across.
Final Edge: 1 ch, turn, work back twist single crochet across, then fasten off.
Leave the green yarn tail available for joining.
Red Spiral Section
The red section completes the three-color arrangement and follows the same general stitch sequence as the green section.
Attach red yarn into the next designated loop slot along the upper or middle anchor points.
Red Spiral Sequence
Foundation: Attach red yarn into the designated loop slot along the upper/middle anchor points and work the corresponding cluster formation.
Hdc Row: Work 6 hdc in each designated space, following the established spiral-section structure.
Double Crochet Row: 3 ch, turn, work 2 dc in the first st, then 3 dc in each st across.
Post-Stitch Row: 3 ch, turn, alternate 1 fpdc and 1 bpdc across.
Final Edge: 1 ch, turn, work back twist single crochet across, then fasten off.
Keep the red tail for the joining and finishing stage.
Pattern note: The supplied instructions describe the green and red sections as following the corresponding loop and stitch structure of the earlier section, but do not provide separate numerical stitch counts for every step. For that reason, no additional counts have been added here.
Twisting the Three Spiral Sections
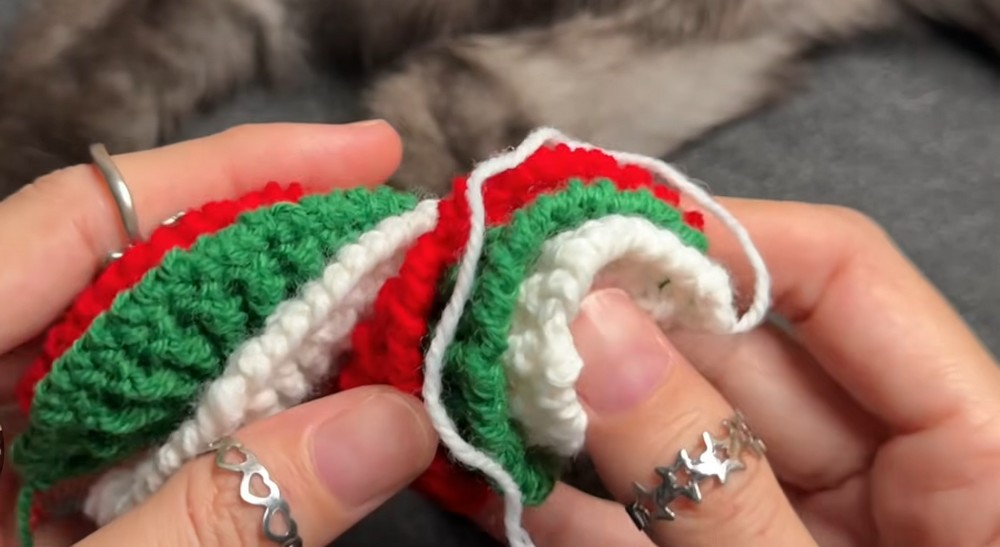
Once the white, green, and red sections are complete, gently twist and coil the crocheted strips together.
The goal is for the three colors to interlock rather than simply stack on top of one another. Work gradually along the length of the strips, adjusting the coils as needed so the colors remain visible and the finished shape develops into a balanced spiral wind spinner.
Avoid pulling aggressively on the crocheted strips. The shape should come from gently twisting and arranging the completed sections.
Joining the Ends
Use the remaining yarn tails to securely join the starting and ending ends of the respective color sections.
A hook or tapestry needle can be used to bring the tails through the appropriate sections and secure the spiral arrangement. Check the shape before trimming the tails so you do not accidentally remove yarn that is still needed to hold the spiral together.
Make the White Tassel
The tassel adds a soft finishing detail to the bottom of the ornament.
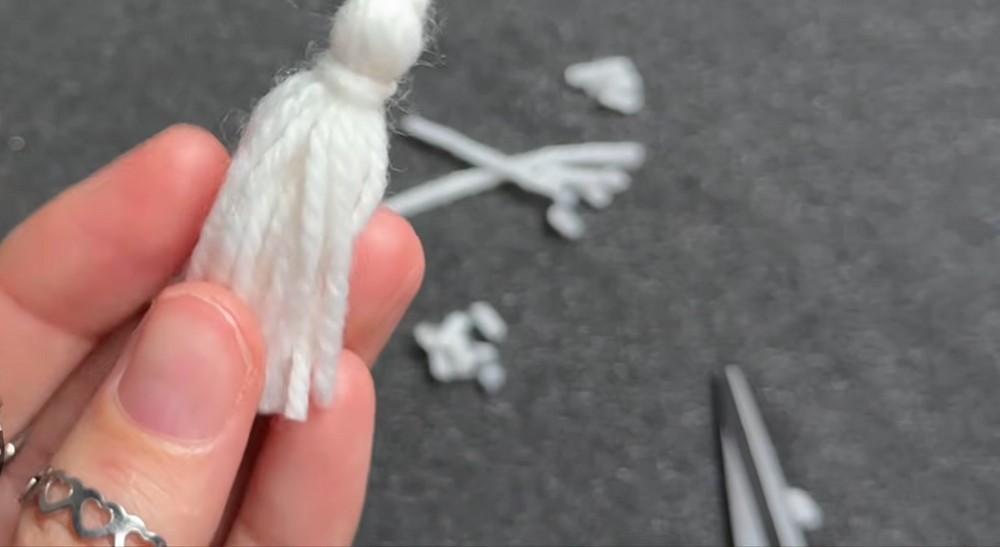
Tassel: Wrap white yarn multiple times around your fingers to create a small bundle, tie the top securely to form a neat head, then trim the bottom ends evenly.
Keep the tassel compact so it complements the spiral without overwhelming the crocheted sections.
Add the Pearls and Hanging Loop
Thread the top hanging strand through the 2 faux pearls or beads.
Attach the tassel at the bottom end, then create the multi-strand hanging loop at the top using leftover red and green yarn strands.
Hanging Loop: Secure the red and green strands together with a firm knot to form the hanging loop.
Before trimming any excess yarn, check that the loop is centered and securely attached. This is the point that will carry the ornament’s weight when it is displayed.
Final Finishing Check
Before hanging the completed ornament, check each connection:
- The white, green, and red sections should remain interlocked in the spiral.
- The joining points should hold the colored sections securely.
- The two faux pearls should be positioned on the hanging strand.
- The white tassel should hang neatly from the bottom.
- The top loop should be firmly knotted and centered.
- The remaining yarn ends should be woven in or trimmed neatly.
The finished spiral wind spinner combines textured crochet, bold Christmas colors, beads, and a tassel into a decoration with plenty of movement and visual interest.