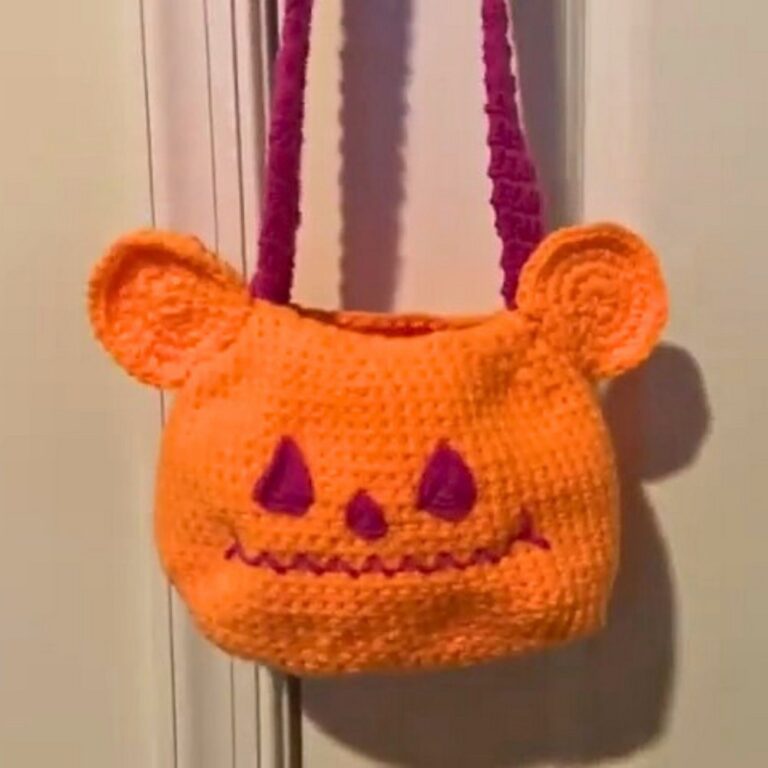
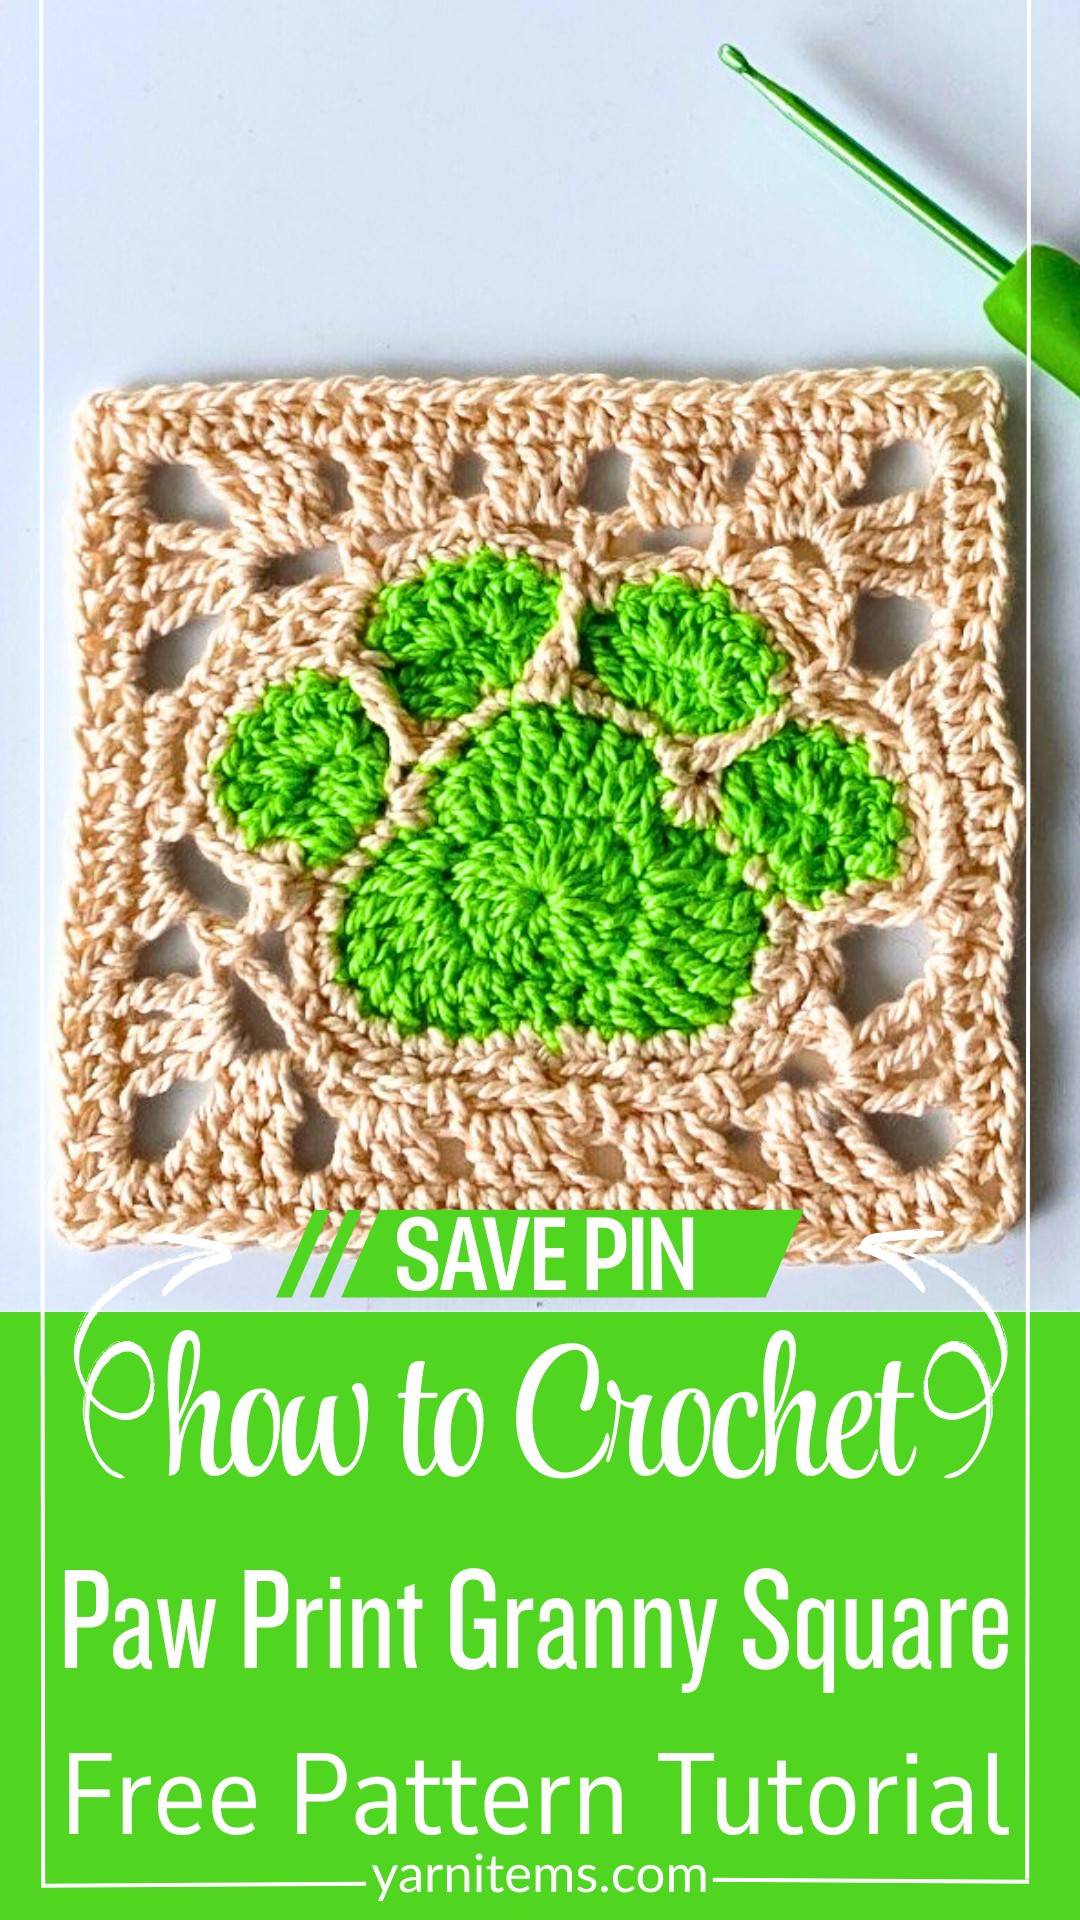
This crochet paw print granny square is a creative, pet-themed square that can be used for blankets, cushions, bags, or any pattern needing a touch of paw-some charm.

If you’re an animal lover, you’ll adore this crochet pattern. The Paw Print Granny Square is a charming way to incorporate a playful and heartfelt nod to pets into your creations. If you’re making cozy blankets, cute pet accessories, decorative pillows, or even unique bags, this granny square design adds personality and warmth to your handiwork. Its timeless paw print motif makes it perfect for anyone who loves animals.
Crochet Paw Print Granny Square
What makes this crochet square special is its fun mix of shapes and colors. The granny square pattern uses simple crochet techniques to create a detailed paw print in the center, surrounded by a neat square border. You can customize it to fit your favorite colors, making it truly your own. With just a hook, some cotton yarn, and a little time, you can create adorable squares to use in all your crochet design. This crochet pattern is also great for beginners who want to try something fun and creative.
Credit Hook & Loop Crochet Tutorials
Pattern Highlights:
- Materials: Uses two colors of 100% cotton yarn, a 2mm crochet hook, scissors, and a tapestry needle.
- Construction Technique: Begins with a paw-shaped center made through a magic ring, then transitions into a granny square frame.
- Paw Print Detailing: The paw print is crocheted with careful stitch combinations like single crochet (sc), half double crochet (hdc), double crochet (dc), treble crochet (tr), and decreases for shaping.
- Square Formation: The granny square is built around the paw with classic granny-style clusters and corners.
- Finishing Touches: Includes options for blocking the square for clean edges and even stitches.
The pattern begins by creating the paw print design. Using a magic ring, you work simple stitches like double crochets to form the foundation of the paw. From there, strategic increases and stitch combinations, like sc, hdc, dc, and tr, shape the rounded paw pads. This part stands out for its texture and detail, making it the centerpiece of the square.

Next, the second color is introduced to outline and define the paw print. This step involves working in the round, crafting smooth transitions with single crochet decreases (sc3tog) to shape the toes. This stage requires attention to detail to ensure the paw shape remains precise and symmetrical.
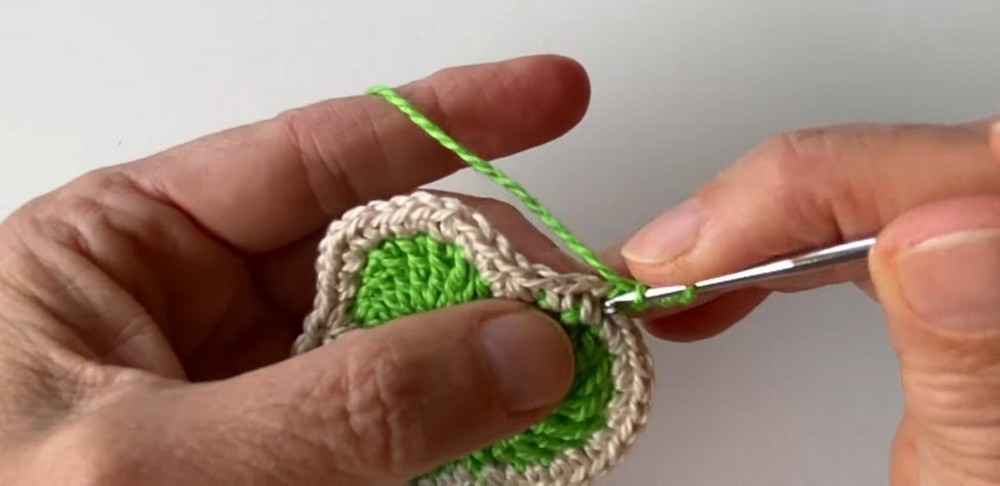
Once the paw is complete, the granny square base is formed. By switching back to the first color, you begin building the square’s structure with classic granny clusters—groups of three double crochets separated by chain spaces. This gives the pattern its traditional granny square aesthetic, blending beautifully with the paw design.

The final step involves working an additional round using the second color to add a polished border. The corners are built by working treble crochet clusters separated by chains, giving the square a neat and finished look. If desired, you can block the square to stretch and shape it evenly, ensuring crisp edges and perfect stitch work.
This versatile square can remain as-is for coasters or be joined with others to create larger patterns like pet blankets, scarves, or home décor!
Video Tutorial
Step-by-Step Pattern
Materials
To get started, gather the following materials:
- Yarn: 100% cotton yarn in two colors (Color A for the paw print and Color B for the background).
- Hook: 2mm crochet hook.
- Tapestry Needle: For sewing in ends and finishing.
- Scissors: To cut yarn as needed.

Pattern Instructions
The Paw Print
- Round 1:
- Begin with a magic ring and chain 3.
- Work 16 double crochets (dc) into the ring.
- Join with a slip stitch (sl st) on top of the first double crochet.
- Round 2:
- Chain 1 and make 1 single crochet (sc) in the same stitch.
- Follow this sequence:
- 1 hdc + 1 dc, 2 tr, 2 tr, 2 dc + 1 hdc, 1 sc, repeat around.
- Insert the hook through the 2 loops of the last hdc and cut the yarn tail.

- Round 3:
- Use the second color.
- Chain 1, make 1 sc in the same stitch.
- 1 sc in the next 2 stitches, 2 sc in the next 5 stitches, 1 sc in the next 2 stitches, 1 sc3tog, 2 sc in the next 6 stitches, 1 sc3tog, 1 sc in the next 2 stitches, 2 sc in the next 5 stitches, 1 sc in the next 3 stitches.
- Slip stitch to join and weave in the tails.
- Round 4:
- Count 2 stitches backward before the first sc3tog and insert the hook to rejoin the first color.
- Chain 2 (counts as 1 hdc), then follow this pattern:
- 2 dc in the same stitch, 3 dc in the next stitch, skip 3 stitches, 3 dc in the 4th stitch, repeat as shown in the video.
- Finish by cutting the yarn and pulling it tight.
- Round 5:
- Insert the second color into the sc stitch and follow this sequence:
- 1 sc in the next 4 stitches, 2 sc in the next 2 stitches, 1 sc in the next 2 stitches, 1 tall dc in the back post under the space, repeat.
- Slip stitch, chain 1, pull, and cut the yarn.
- Insert the second color into the sc stitch and follow this sequence:
If you want to turn the paw print into a square, continue with the next steps.
The Square
- Round 1 & 2:
- Chain 1, make 1 sc in the same stitch.
- Chain 3, skip 3 stitches, 1 sc in the 4th stitch, repeat twice.
- Continue as shown in the video with steps for spacing, turning, and adding treble crochets and chains for corners.
- Round 3:
- Add corners: Work 3 tr + ch 3 + 3 tr into the corner space, then 3 dc + ch 1 in each space. Repeat corners and stitches to form the square frame.
- Round 4:
- Final round for the border:
- 2 hdc + ch 2 + 2 hdc, repeat around the corners.
- Pull up the yarn and close with a seamless stitch.
- Final round for the border:
Finally, block your square to give it a polished look.
Finishing Touches
Block your completed square to ensure a neat, professional finish. Use it as a coaster, bag panel, cushion cover, or blanket piece. The possibilities are endless.
Troubleshooting and Suggestions
- Common Issues:
- Struggling to maintain the paw shape? Pay extra attention to stitch count and placement, as small missteps can distort the design.
- Uneven edges? Blocking the square after finishing can work wonders for achieving clean lines and stitch consistency.
- Creative Modifications:
- Experiment with color! Try a variegated yarn for the paw for a fun, multicolored effect.
- Add embellishment by stitching initials or patterns around the square to customize for your pet.
- Combine multiple squares to create a themed blanket or even a tote bag for pet lovers.