
Crochet Granny Squares with Heart Motifs Tutorial for Beginners
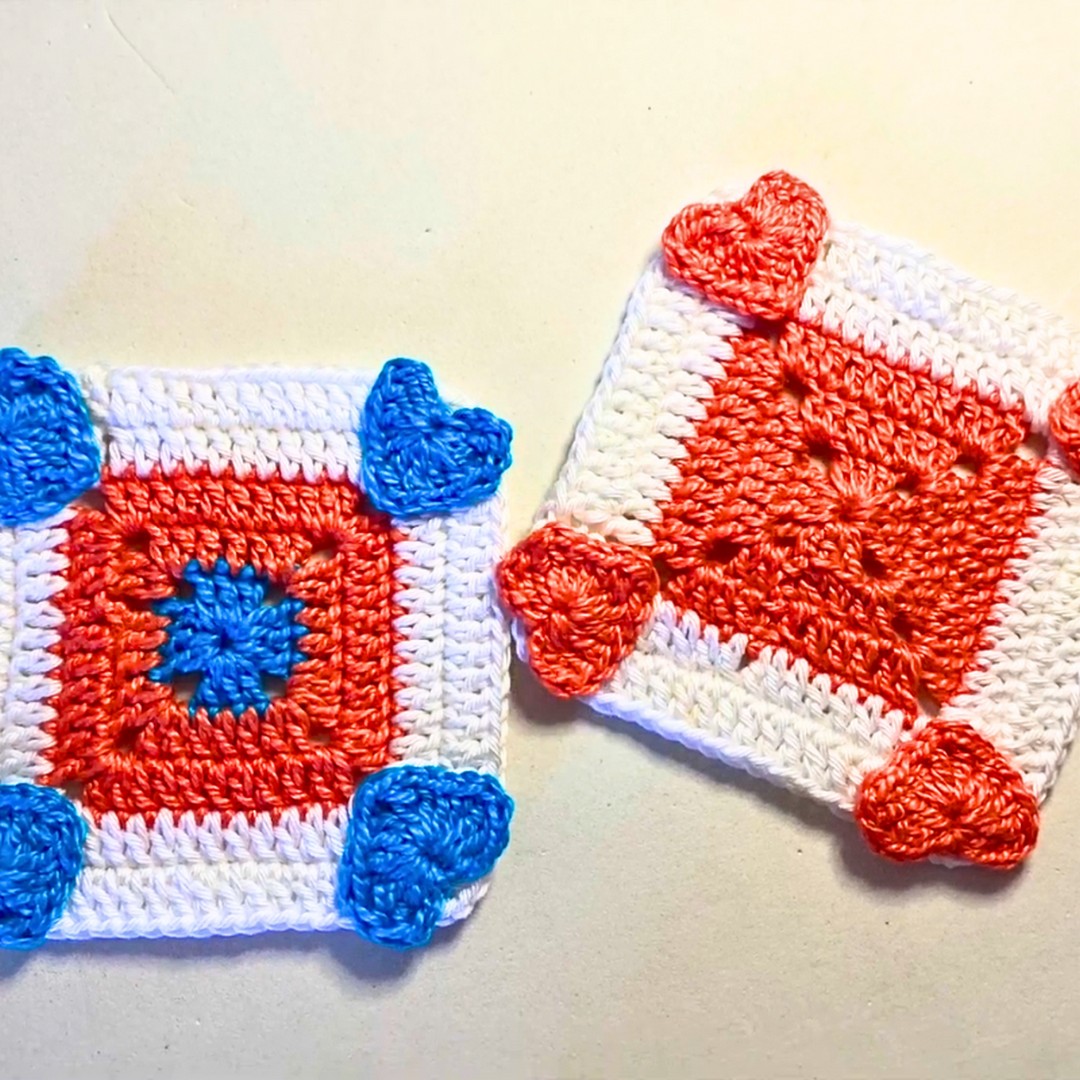
A single heart tucked inside a granny square can completely transform an ordinary crochet piece into something full of warmth and personality. These charming motifs blend timeless granny square styling with a sweet decorative touch that instantly catches the eye.
Soft color combinations make every piece feel unique while adding a cozy handmade look. Even the smallest crochet heart detail creates a beautiful finish that stands out.
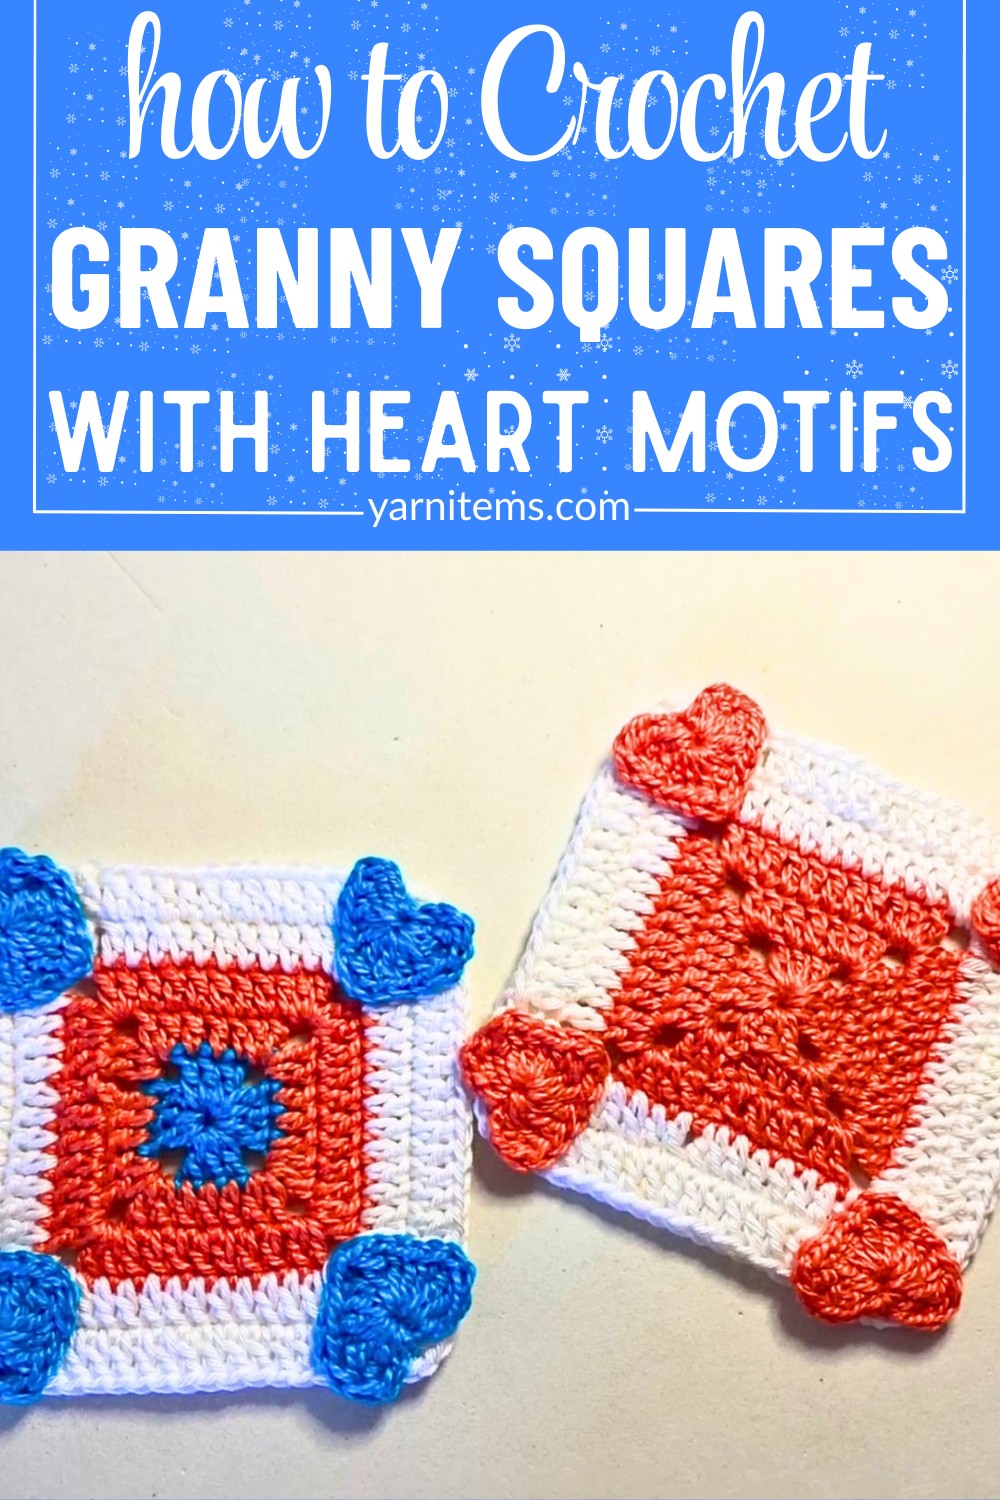
Crochet granny squares with heart motifs are wonderful for making blankets, cushion covers, table runners, coasters, and many other handmade items. They are simple enough for beginners while still offering plenty of room to experiment with colors and layouts.
Each finished crochet piece can be joined with others to create something larger or enjoyed on its own as a lovely accent. The heart design adds a thoughtful touch that makes every creation feel extra special.
Credit Hook & Loop Crochet Tutorials
Materials & Tools Needed
To create granny squares with heart motifs, you’ll need the following:
- Yarn: 100% cotton yarn in at least three colors (one for each round and optional heart color).
- Crochet Hook: 2 mm hook (adjust according to your yarn weight for proper tension).
- Tapestry Needle: For weaving in ends and sewing the hearts onto the squares.
- Scissors: To cut yarn.
Finished Sizes & Customization Ideas
- Finished Size: Each granny square measures approximately 3–4 inches, depending on tension and materials used.
- Customization Tips:
- You can mix and match yarn colors for the granny square rounds and the heart motifs to create custom designs.
- Combine several squares to create blankets, cushion covers, scarves, or wall hangings.
Pattern Note
- The granny square is created with five rounds in total—beginning with a central motif and building outwards.
- A tiny heart motif is crocheted separately and sewn onto each square.
- The pattern is written in US terminology.
Pattern Abbreviations & Terminology
Here are the standard abbreviations used in these instructions:
- ch: Chain
- sl st: Slip Stitch
- dc: Double Crochet
- tr: Treble Crochet
- st(s): Stitch(es)
- sp: Space
- ( ): Instructions in parentheses are worked in the same stitch or space.
- [ ]: Sequence within brackets is repeated as indicated.
Tips Before You Start
- Practice Basic Crochet Stitches
- If you are new to crocheting, take time to practice basic stitches that form the foundation of this pattern:
- Chain (ch): A simple loop that forms the base for most crochet patterns.
- Double Crochet (dc): A versatile stitch used for the granny square layers.
- Treble Crochet (tr): A taller stitch required for the heart motifs.
Practicing these stitches ahead of time will build your confidence and make the pattern easier to follow.
- If you are new to crocheting, take time to practice basic stitches that form the foundation of this pattern:
- Maintain Consistent Tension
- Even tension is critical for uniform granny squares. Avoid pulling the yarn too tightly or leaving the stitches too loose.
- A consistent tension ensures all your squares are the same size, making assembly smooth.
- Change Colors with Care
- When changing colors between rounds, secure the yarn by tying a small knot or using a slip stitch to fasten the new color.
- Leave a short tail of 4–6 inches when changing colors, and weave these ends into your stitches using a tapestry needle to achieve a neat, polished finish.
- Count Stitches Regularly
- Count your stitches at the end of each side and round to ensure accuracy and symmetry.
- If you’re short or have extra stitches, it’s best to identify and fix the issue immediately.
- Use the Right Hook Size for the Yarn
- Ensure the crochet hook is appropriately sized for the yarn you’re using.
- Using the recommended hook size will help maintain the square’s proportions and the motif’s shape.
- Prepare a Comfortable Workspace
- Crocheting can be time-intensive, so set up a comfortable workspace with good lighting and all your materials within reach.
- This will make your pattern more enjoyable.
Step-by-Step Detailed Crochet Instructions
The pattern is divided into two parts: the granny square and the tiny heart.
Part I: Crochet the Granny Square
- Round 1 (Center of the Square – Color 1):
- Start with a slip knot.
- Ch 5, then join with a sl st to form a ring.
- Create a 1st dc cluster:
- Ch 3 (counts as first dc) + 2 dc into the ring.
- Ch 3, then make another dc cluster (3 dc) into the ring.
- Repeat this two more times.
- You should have 4 dc clusters separated by chains.
- Join with a sl st to the top of the beginning ch 3.
- Cut the yarn, pull through, and secure.
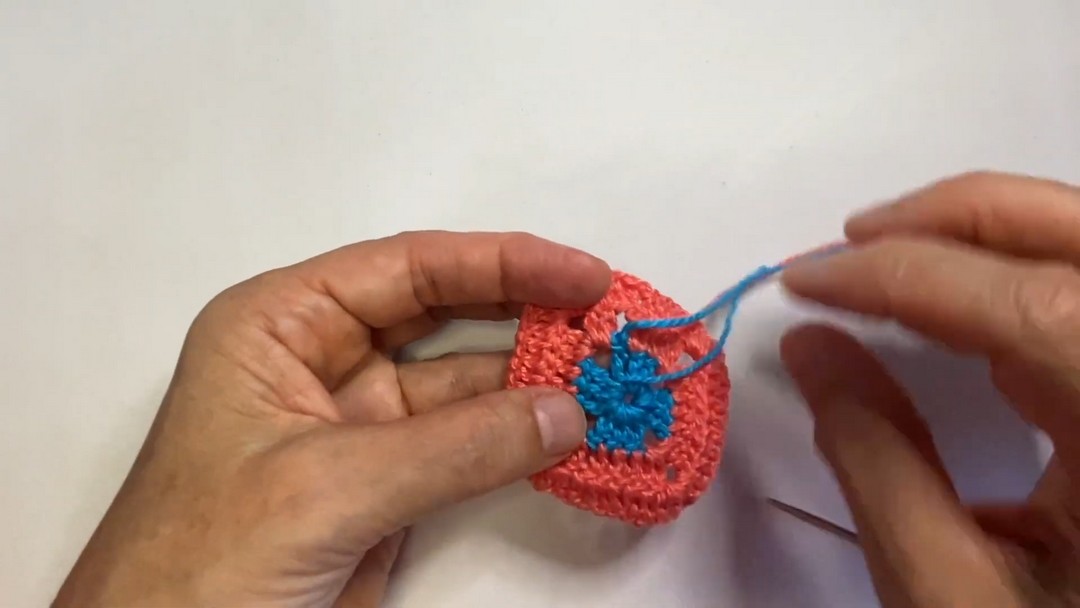
- Round 2 (First Border – Color 2):
- Attach the 2nd color with a standing dc: Yarn over, insert the hook into the top of the ch-3 from the previous round, yarn over and pull through, yarn over, pull through 2 loops, yarn over, pull through 2 remaining loops.
- Work 1 dc in each of the next 2 sts.
- Into each ch-3 space (corners), work 2 dc, ch 2, 2 dc.
- Continue working 1 dc into each dc of the previous round, and repeat the corner instructions for each ch-3 space.
- Join with a sl st to the top of the standing dc. Cut the yarn, pull through, and secure.
- Round 3 (Second Border – Color 2):
- Ch 3 (counts as 1 dc), then work 1 dc into the next 4 sts.
- In each corner sp, work 2 dc, ch 2, 2 dc.
- After each corner, you should now have 7 dc along each side of the square.
- Join with a sl st, cut the yarn, pull through, and secure.
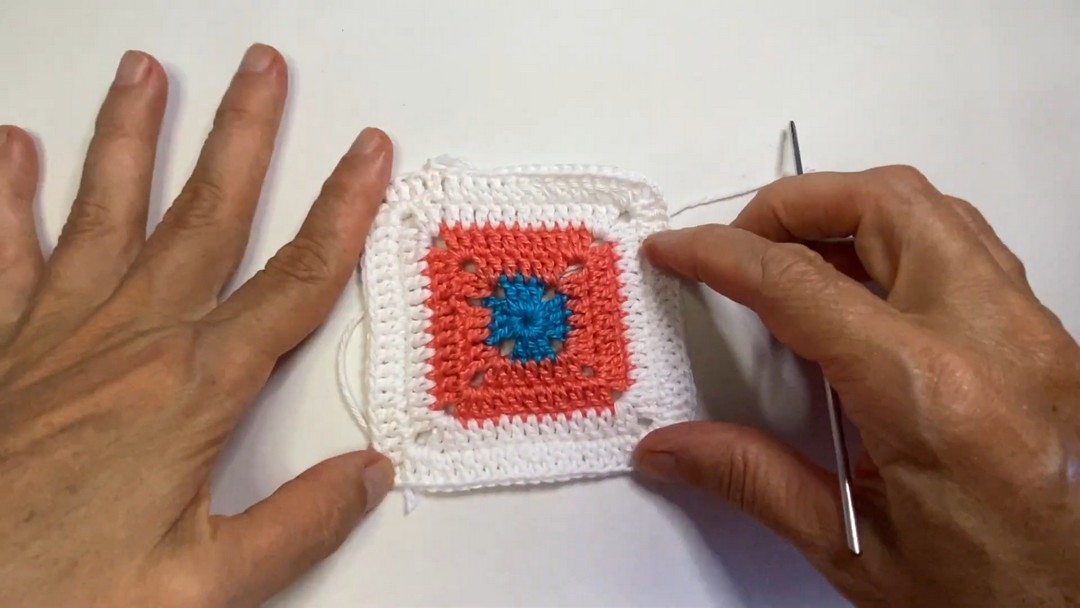
- Round 4 (Outer Border – Color 3):
- Join the 3rd color using a standing dc into any corner space.
- In the same space, create the corner: 2 dc, ch 2, 2 dc.
- Work 1 dc into each dc of the previous round along the sides.
- You should now have 11 dc along each side after completing a corner.
- Repeat the process for all sides.
- Join with a sl st, but do not cut the yarn if you plan to add another round.
- Round 5 (Optional Extra Border):
- Continue working another round similar to Round 4, adding 4 extra dc per side.
- In this round, you should have a total of 15 dc per side.
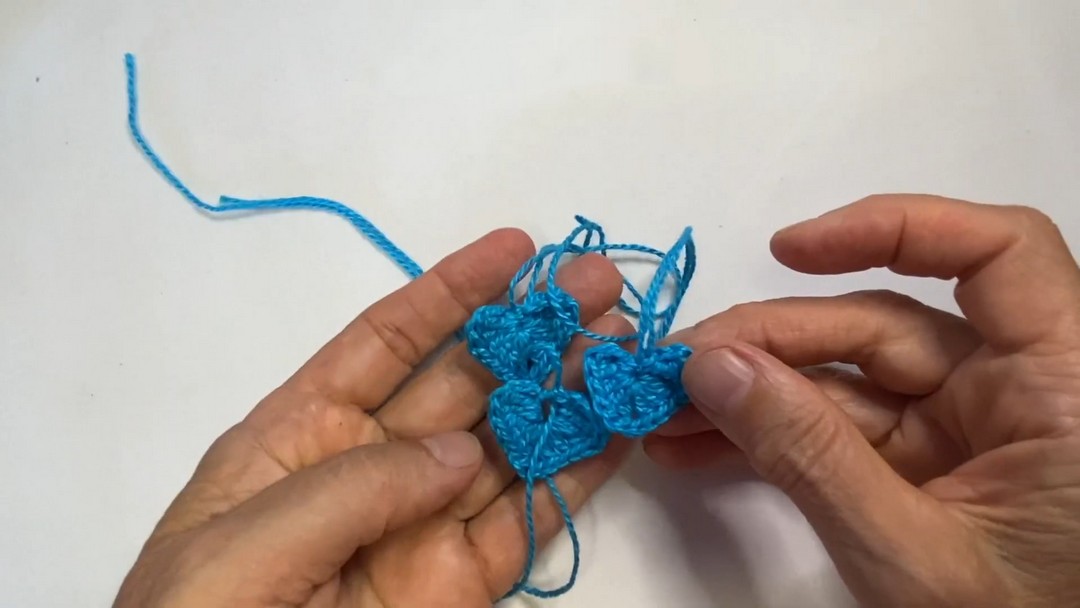
Part II: Crochet the Tiny Heart
- Use a magic ring to start the heart.
- Into the ring:
- Ch 3.
- Work 2 tr (treble crochet), followed by 3 dc.
- Ch 1, work 1 tr, ch 1.
- Work 3 dc, then 3 tr.
- Ch 2, and slip stitch into the ring.
- Secure the heart and leave a long tail for sewing later.
- Tie a small knot and trim excess yarn if needed.
- Repeat the process to create 4 hearts for each square.
Final Assembly
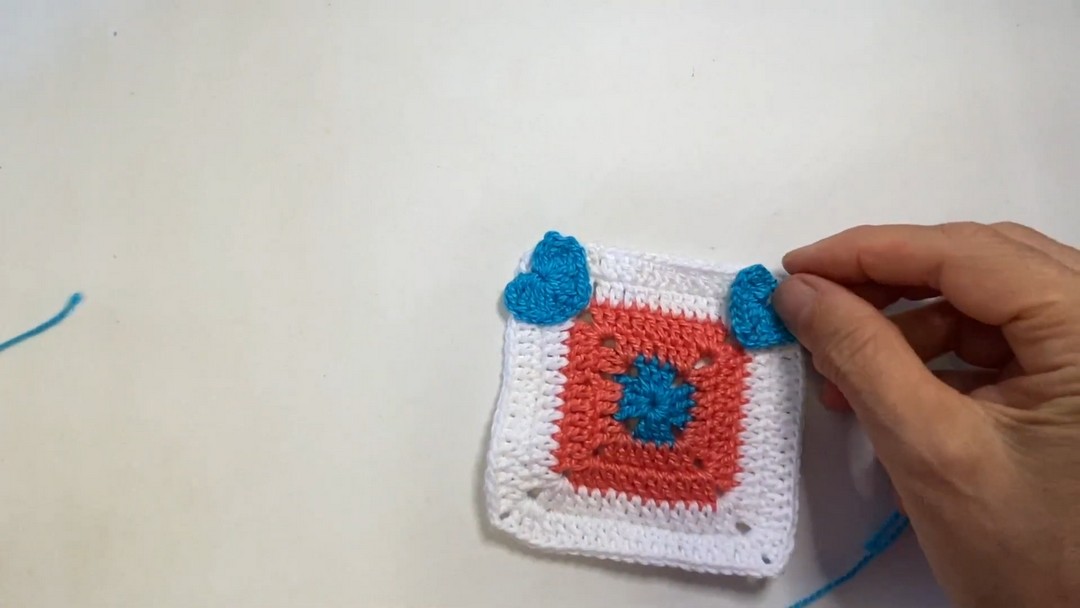
- Position the Hearts:
- Arrange the hearts in the corners or other preferred locations on each granny square.
- Sew the Hearts:
- Using the tapestry needle and the tail left from each heart, sew the hearts securely onto the granny square.
- Weave in the tail ends firmly on the back.
Conclusion
Congratulations! You have successfully created a handmade granny square with adorable heart motifs. These versatile squares can be customized in any color combination and joined together to create larger pieces of crochet art like blankets, table runners, or cushion covers.
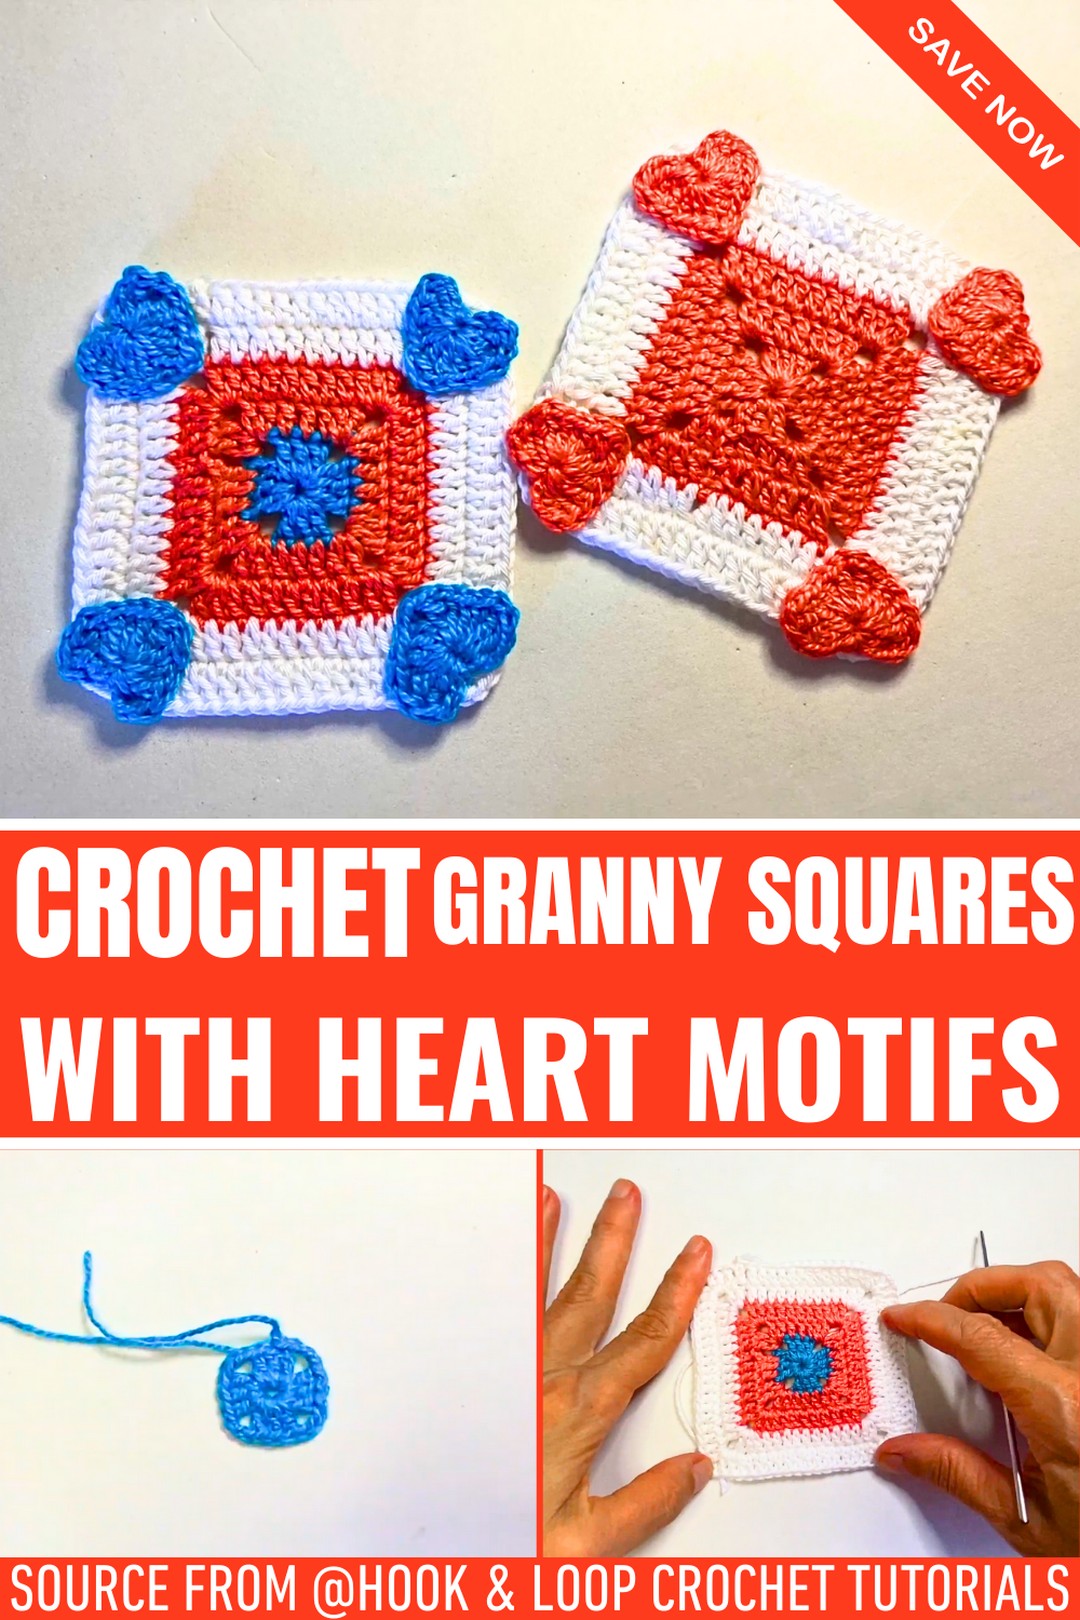
Feel free to experiment with sizes and colors to create a variety of beautiful combinations. Don’t forget to block your finished squares for a more polished look.


