Crochet Ribbed Scarf with Tassels Pattern
Wrap up in a cozy ribbed crochet scarf with rich texture, easy HDC rows, and simple tassels that give this classic handmade accessory a polished finish.
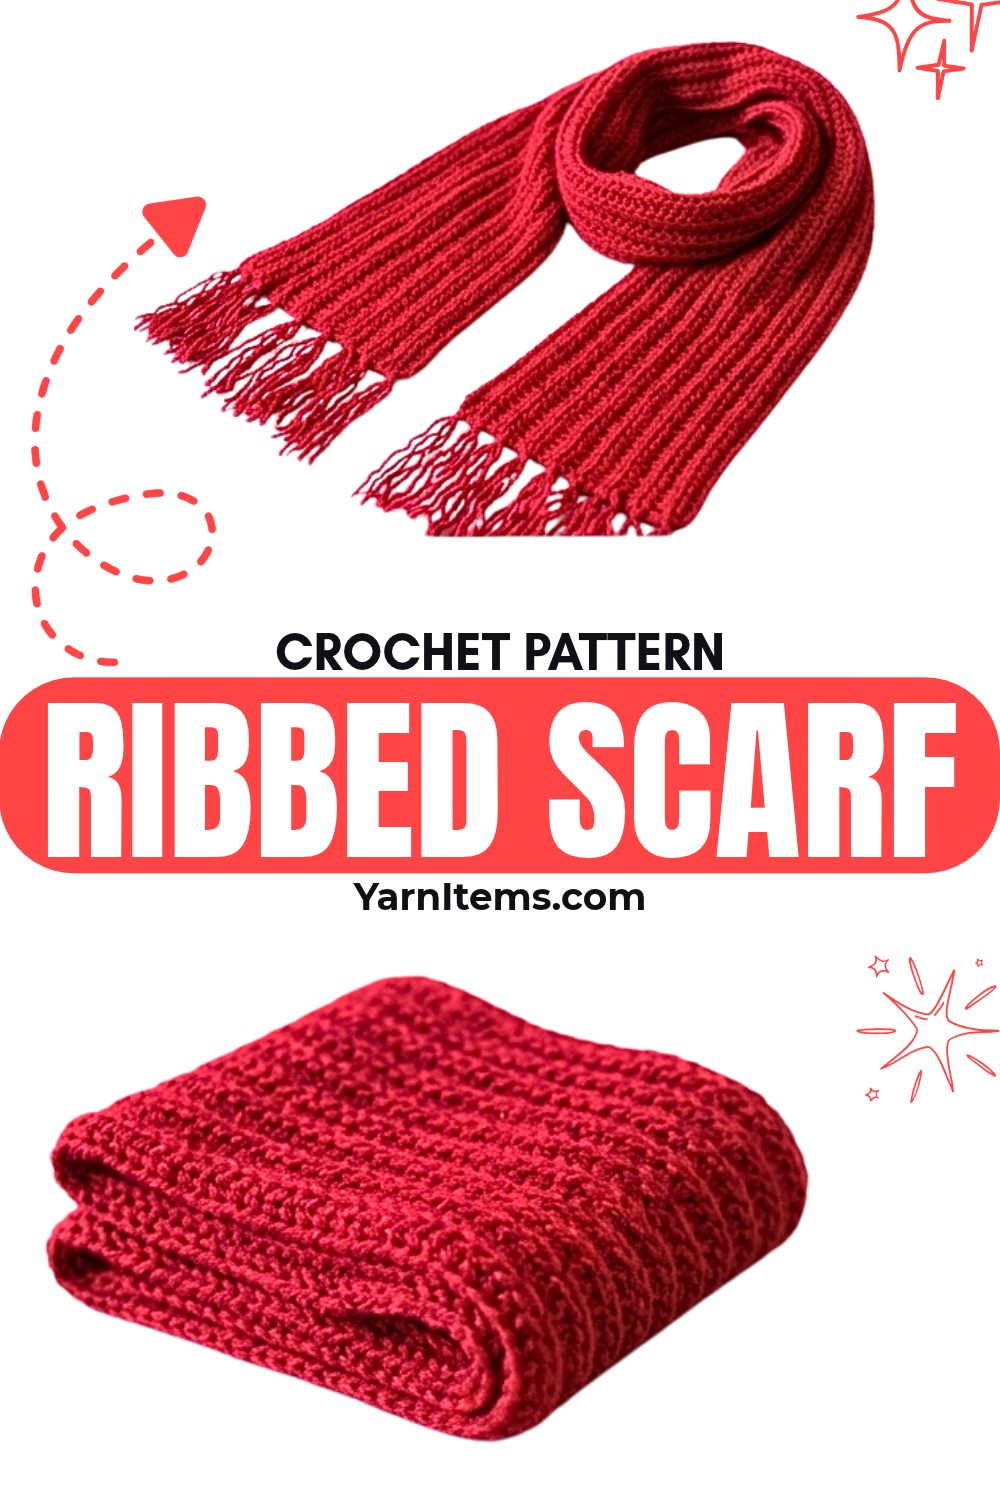
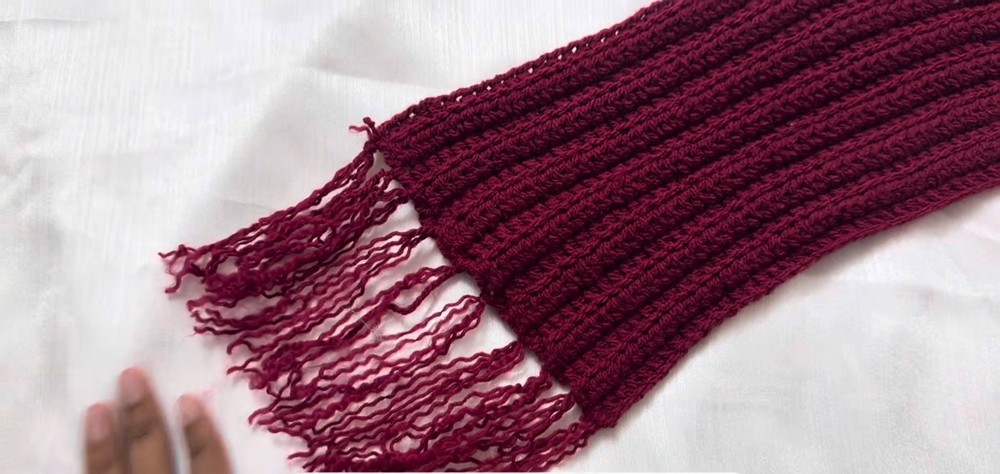
Deep burgundy yarn gives this crochet scarf a rich, dramatic finish, while the rows of raised ribbing create a bold texture across its long, classic shape.
The simple color and deep ridges keep the crochet scarf striking without making it complicated, and the evenly spaced tassels at both ends add the distinctive finishing touch that makes it especially eye-catching when worn.
From the first 200-chain foundation through 45 rows of half double crochet worked in the back loop only, this tutorial walks you through the length, ribbed texture, and final fringe step by step.
You’ll also see where to adjust the starting chain for a longer scarf, how consistent BLO placement keeps the ridges even, and how to add 10 tassels to each end for a balanced finish.
Credit The Crochet noire
Materials & Tools
- Yarn: Ganga Acrowool “Olivia,” wool-like acrylic, Double Knit Yarn
- Yarn Shade: OLV012, Deep Burgundy/Red
- Crochet Hook: 4.0 mm
- Scissors: For cutting yarn and trimming tassels
- Yarn Needle: For hiding the yarn tail and finishing the scarf
Finished Size & Customization
The pattern begins with a base of 200 chains.
If you want a longer scarf, add more chains at the very beginning before working the foundation row. This lets you adjust the finished length without changing the repeated ribbed rows.
Pattern Abbreviations
- ch: Chain
- hdc: Half Double Crochet
- blo: Back Loop Only
- sl st: Slip Stitch
- st: Stitch
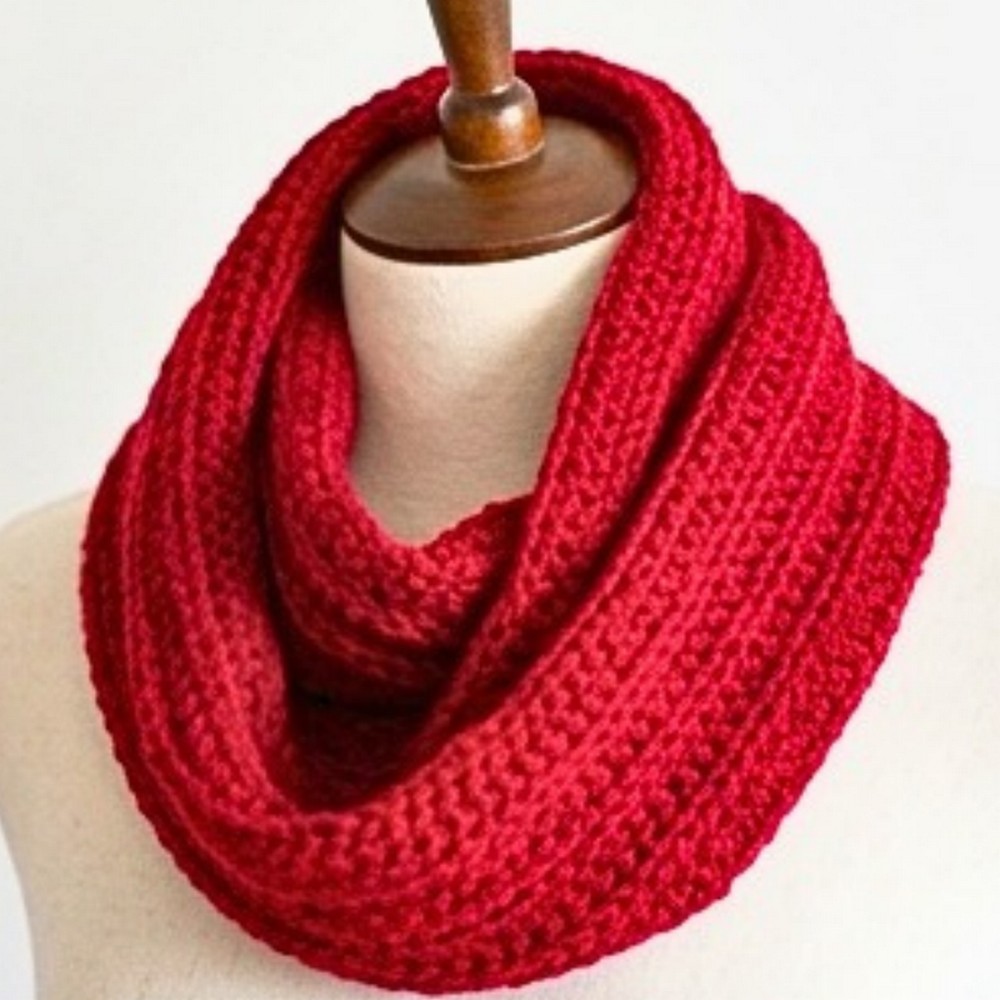
Crochet the Ribbed Scarf
Start the Foundation
Make a slip knot and insert your 4.0 mm crochet hook.
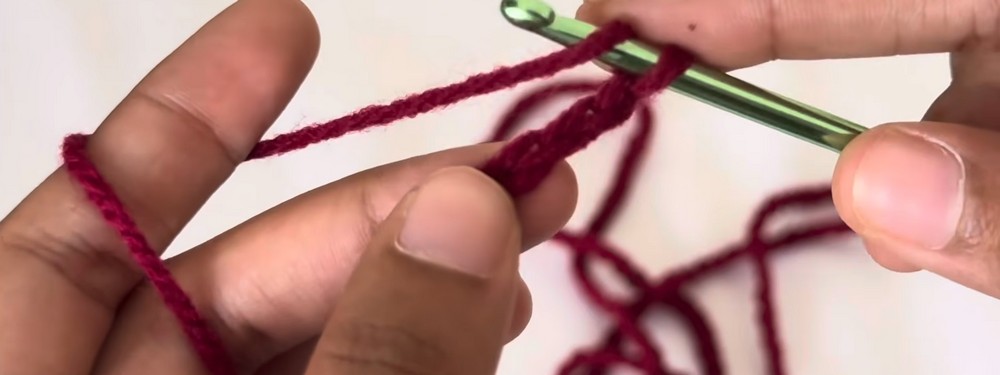
Foundation: Ch 200. If customizing the length, chain your desired amount here, then add 2 more chains to your final count to act as the turning chain.
Work the First Row
Round 1: Skip the first 2 chains from the hook. Make 1 hdc into the 3rd chain. To make the hdc, yarn over, insert the hook into the chain, pull up a loop, yarn over, and pull through all three loops on your hook. Continue with 1 hdc in every chain across until you reach the end of the foundation chain.
Build the Ribbed Body
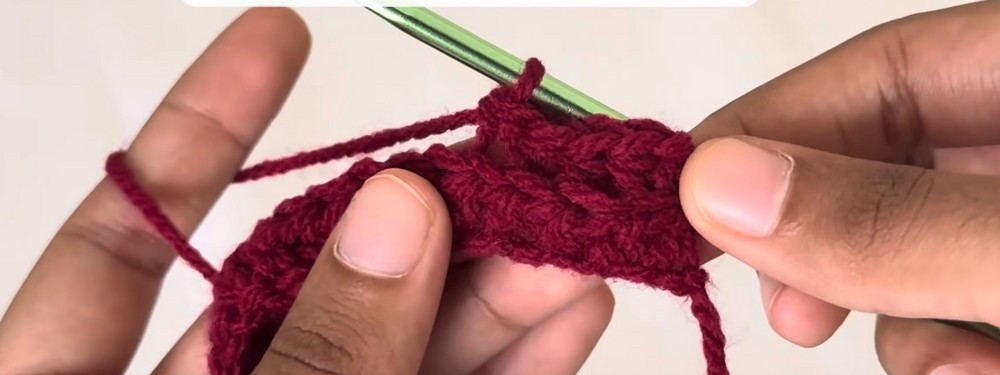
The texture develops from working each hdc into the back loop only. This leaves the other loop visible across the surface, creating the raised horizontal ridges that give the scarf its ribbed appearance.
Rounds 2-45: Ch 2 and turn your work. Make 1 hdc blo in the very first stitch, then place 1 hdc blo in every remaining stitch across the row. Repeat this sequence for each subsequent row until you complete Round 45.
Keep the same back-loop placement throughout the body so the ridges remain consistent from one side of the scarf to the other.
Finish the Scarf Body
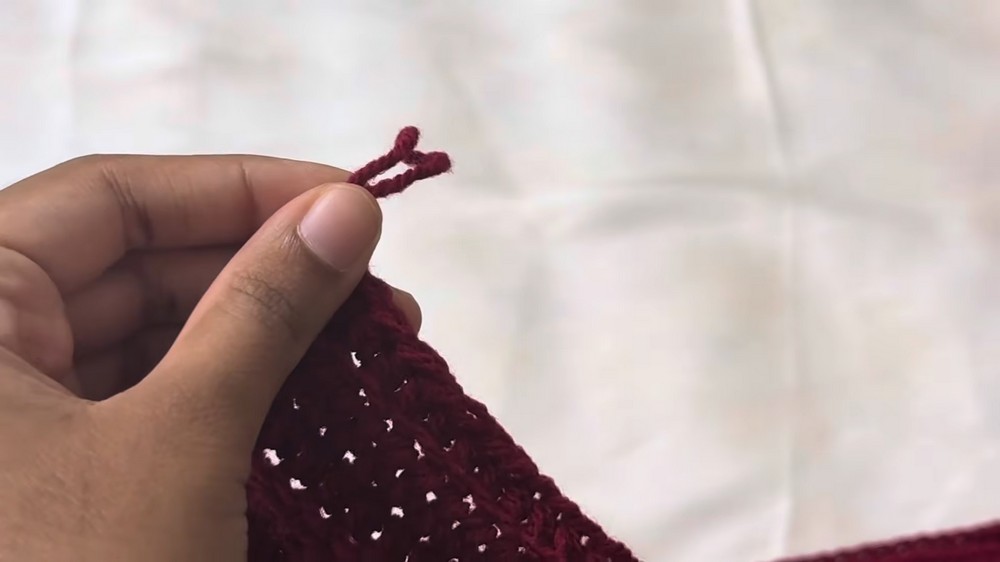
Finishing: After reaching the end of Round 45, make 1 sl st to secure the edge. Cut the yarn, leaving a small tail, and pull it through the loop to tie it off.
Thread the tail through a yarn needle, or use your hook, to hide the loose thread along the edge of the scarf. Snip off the excess.
Add the Tassels
The tassels are added to both short ends of the finished scarf.
Prepare the Fringe
Decide how long you want the tassels to be and cut the yarn to that length.
You will add 10 threads to each side, so cut 20 equal-length threads in total.
Attach the First Tassel
Fold one strand exactly in half.
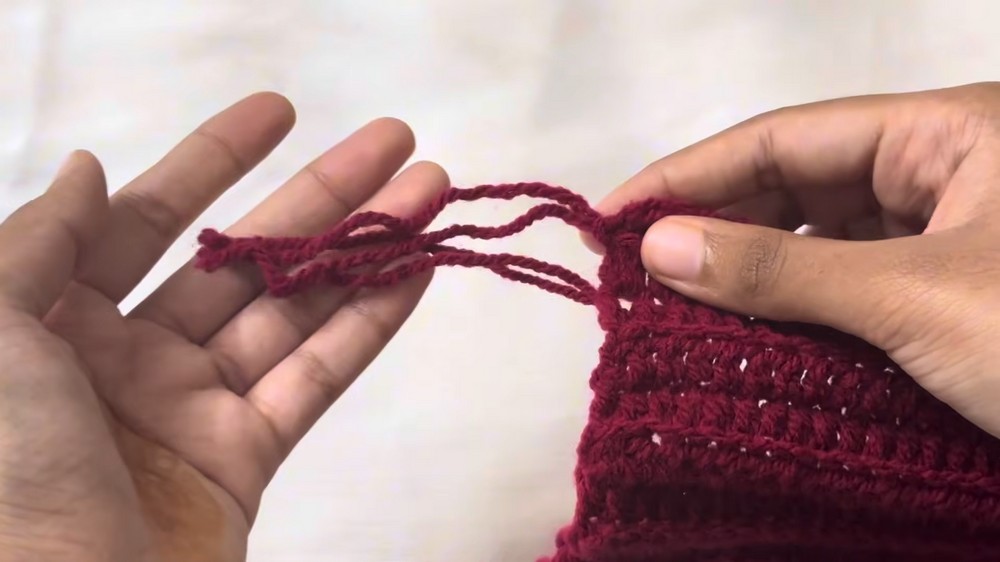
Insert your crochet hook into the corner edge of the scarf. Hook the folded center of the tassel thread and pull it slightly through the scarf to create a loop.
Pull the two loose ends of the thread through the center of that loop, then pull tightly to secure the tassel to the edge.
Finish Both Ends
Repeat the same attachment process 9 more times, spacing the tassels evenly across the bottom edge of the scarf.
Repeat the same process to add 10 tassels to the opposite end.
Tassel Check
Before trimming the finished fringe, lay the scarf flat and look across each end. Make sure the 10 tassels are spaced evenly and that their lengths are reasonably consistent.
If one tassel looks longer than the others, trim only the uneven ends rather than cutting the whole fringe again. This small check helps the finished scarf look much neater against the clean ribbed texture.
Once the tassels are secured and trimmed, your burgundy ribbed scarf is ready to wear. The simple HDC ribbing gives it a classic texture, while the fringe adds just enough detail to make the finished scarf feel special.