Crochet a Functional Flower Hat That Combines Style and Comfort
A crochet hat that blooms like a flower instantly becomes the center of attention. This beautiful piece blends cozy comfort with a playful floral design that feels fresh and cheerful.
Soft textures and eye-catching petals give it a charming look for every season. It is a delightful item for anyone who enjoys wearing something creative and unique.
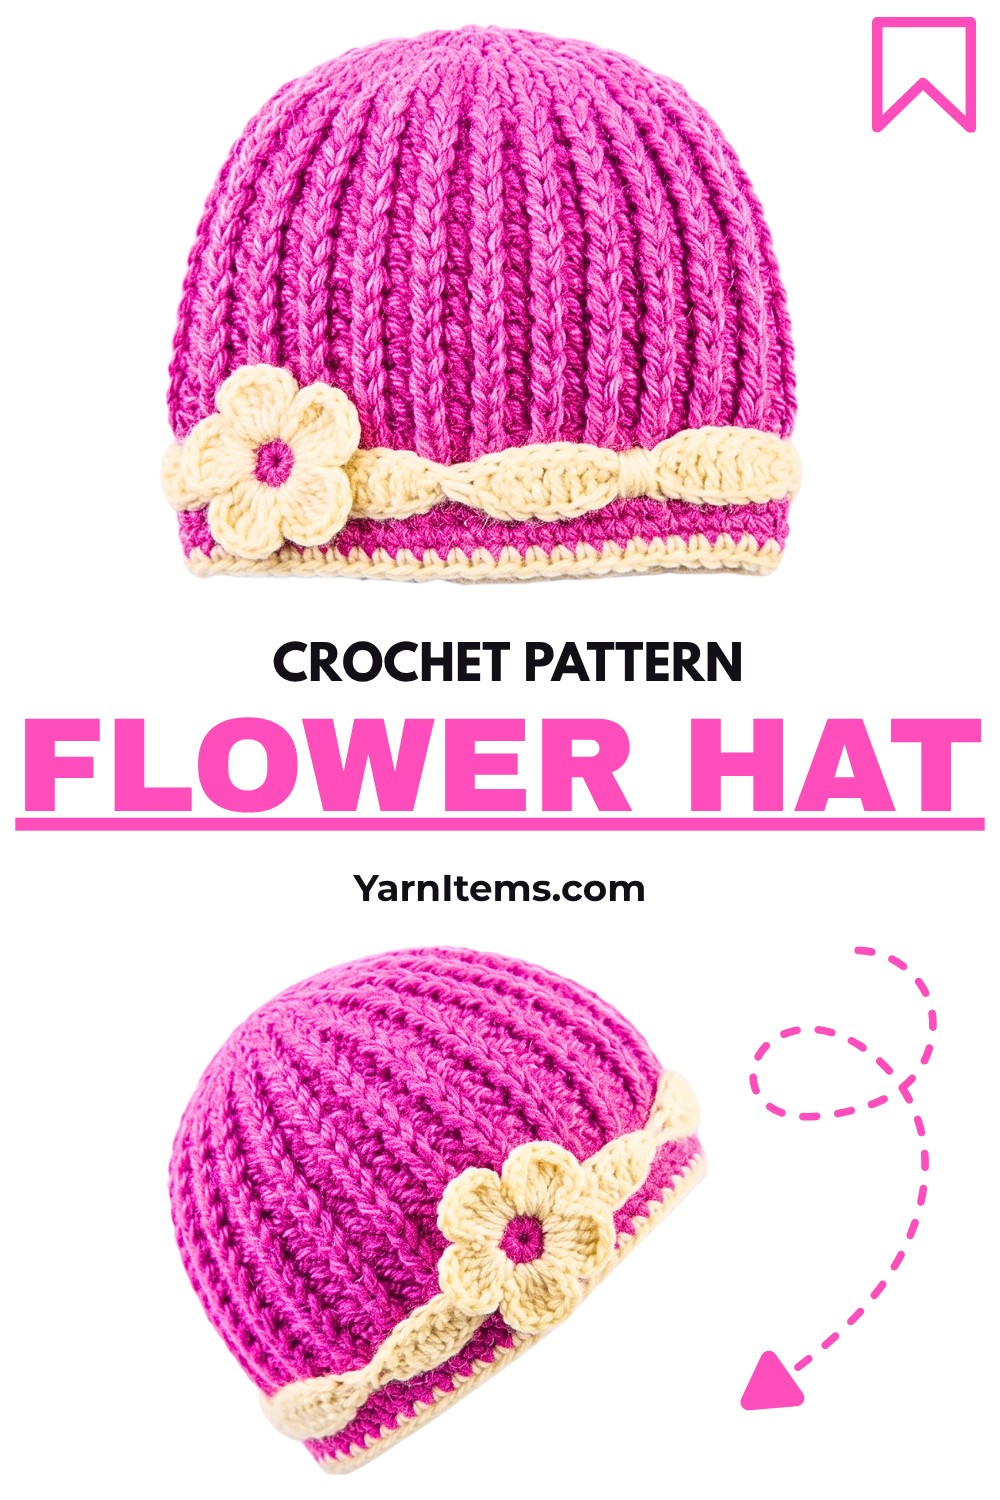
Nothing brightens an outfit quite like a wearable crochet flower inspired by nature. This lovely hat fits beautifully into casual outings, garden gatherings, and thoughtful handmade gifts.
It also makes a wonderful decorative piece when displayed with other crochet creations. The combination of style, warmth, and floral beauty makes it a design that is enjoyable from the first stitch to the final touch.
Credit anxin_crochet
Materials & Tools Needed
- Main Yarn (Color A): Dark Bean Paste / Purple-Pink plush fuzzy yarn (squirrel yarn or equivalent worsted/bulky yarn).
- Contrast Yarn (Color B): Beige / Light Cream yarn (for brim detail & flower petals).
- Crochet Hook: 4.5 mm.
- Stitch Markers: To mark the first stitch in each round.
- Darning / Tapestry Needle & Scissors.
Finished Size & Customization Ideas
- Adult Standard Size:
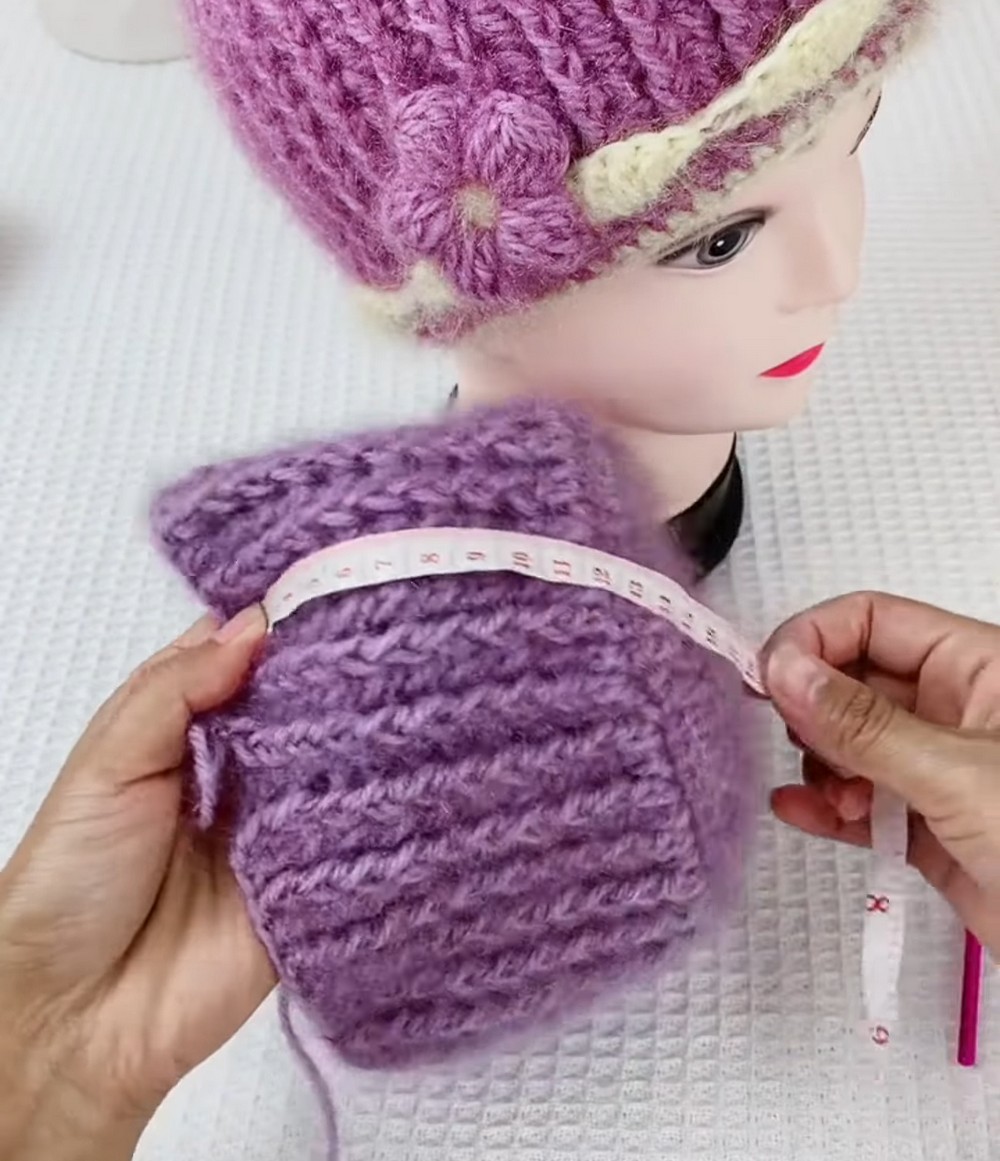
- Hat Crown Diameter: ~15 cm.
- Hat Body Height: ~17–18 cm.
- Customization Ideas:
- For larger sizes, add 1 extra round to the crown or an additional body round.
- Swap contrast colors for different seasonal aesthetics.
Pattern Notes
- Joining Method: Each round ends with a slip stitch (sl st) into the first stitch or chain top, followed by turning or standing chains.
- Special Stitches:
- Front Post Double Crochet (fpdc): Insert hook around the post of the double crochet from front to back to front, then complete the double crochet as normal.
- Clusters: The flower petals use a 3-double crochet cluster (3dc cluster) worked across stitches to create puffy petals.
Pattern Abbreviations (US Terms)
- mr: Magic Ring.
- ch: Chain.
- sl st: Slip Stitch.
- sc: Single Crochet.
- dc: Double Crochet.
- fpdc: Front Post Double Crochet.
- FLO: Front Loop Only.
- sk: Skip.
Tips Before You Start
- Use a stitch marker to mark the first stitch or top of the chain of each round for accuracy.
- Maintain relaxed tension when crocheting with plush yarn to ensure soft, stretchy ribbing.
Step-by-Step Crochet Instructions
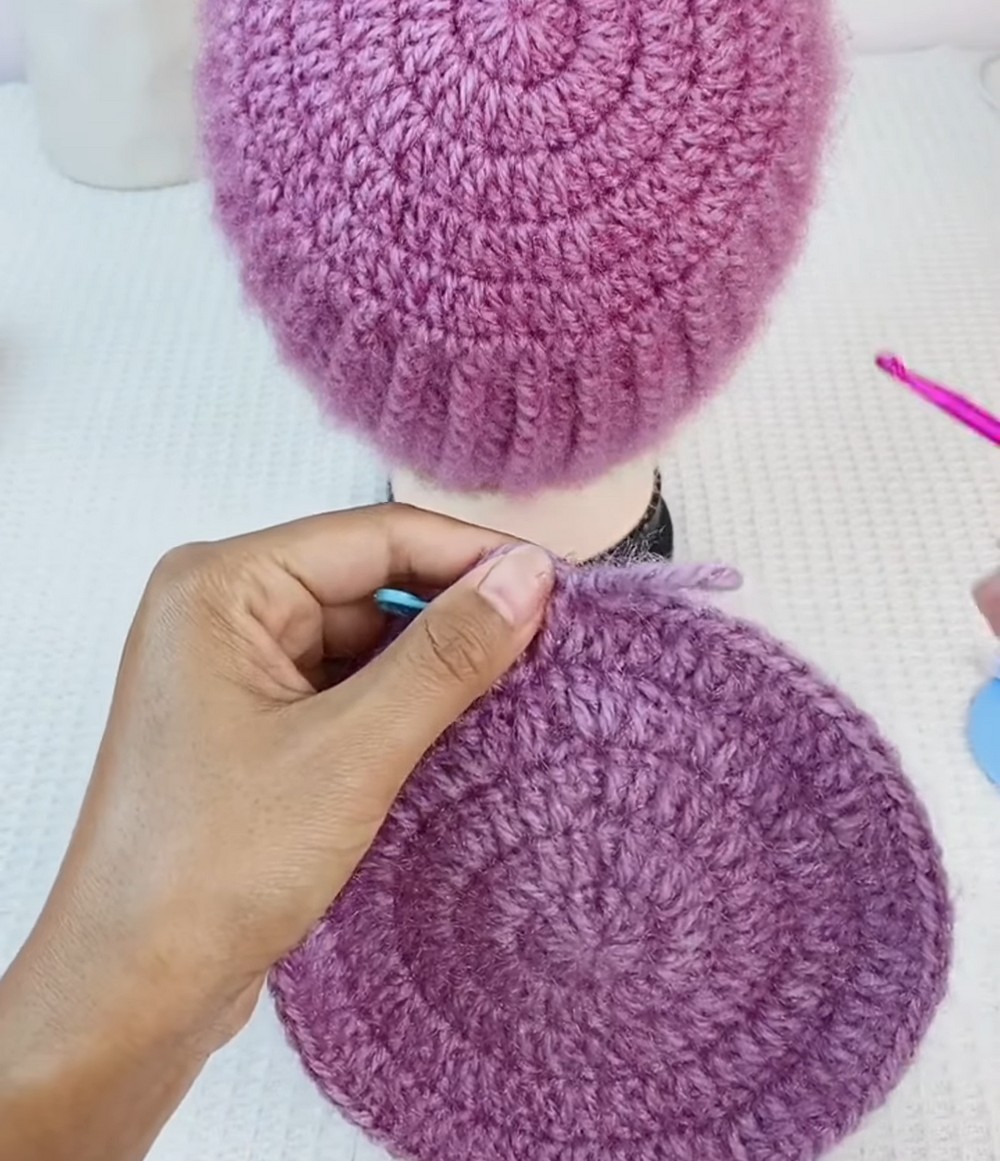
1. Hat Crown (Main Color A)
- Round 1:
- Start with a Magic Ring using Color A.
- Ch 3 (counts as 1st dc).
- Work 11 dc into the magic ring.
- Pull the yarn tail to tighten the ring and sl st into the top of the starting ch-3.
(Total: 12 dc)
- Round 2:
- Ch 3 (counts as 1st dc).
- 1 dc in the same stitch.
- Work 2 dc in each of the remaining 11 stitches around.
- Sl st to top of ch-3.
(Total: 24 dc)
- Round 3:
- Ch 3 (counts as 1st dc).
- 2 dc in next stitch (increase).
- Repeat [1 dc, 2 dc] around.
- Sl st to top of ch-3.
(Total: 36 dc)
- Round 4:
- Ch 3 (counts as 1st dc).
- 1 dc in next stitch.
- Work 2 dc in next stitch.
- Repeat [1 dc in each of next 2 sts, 2 dc in next st] around.
- Sl st to top of ch-3.
(Total: 48 dc)
- Round 5:
- Ch 3 (counts as 1st dc).
- 1 dc in each of next 2 stitches.
- Work 2 dc in next stitch.
- Repeat [1 dc in each of next 3 sts, 2 dc in next st] around.
- Sl st to top of ch-3.
(Total: 60 dc; Crown measures ~15 cm across)
2. Hat Body (Ribbed Texture)
- Round 1:
- Ch 3 (counts as 1st dc).
- Work 1 dc in each stitch around.
- Sl st to top of ch-3.
(Total: 60 dc)
- Round 2:
- Ch 3 (counts as 1st dc).
- Work 1 fpdc around the post of the next stitch.
- Repeat [1 dc in next stitch, 1 fpdc around next stitch] around.
- Sl st to top of ch-3.
(Total: 30 dc + 30 fpdc = 60 sts)
- Rounds 3–12:
- Repeat Round 2 for 10 additional rounds.
- Maintain the 1 dc over normal dc and 1 fpdc over every fpdc.
- End with sl st to top of ch-3.
(Hat height: ~17–18 cm)
3. Hat Brim & Scalloped Lace Edge
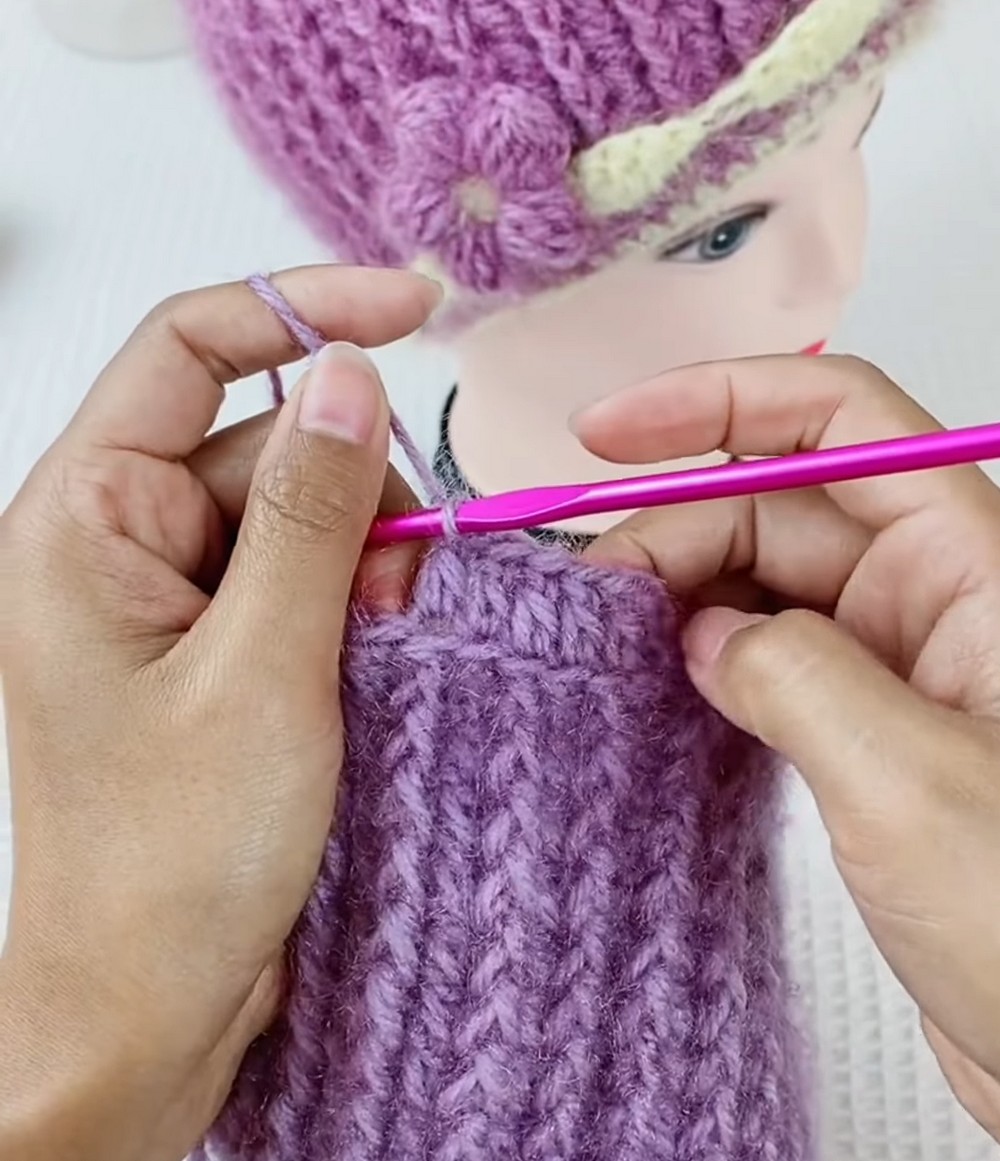
- Brim Round 1 (FLO Setup):
- Ch 3 (counts as 1st dc).
- Work 1 dc in FLO of each stitch around.
- Sl st to join. Cut Color A and fasten off.
(Total: 60 dc in FLO)
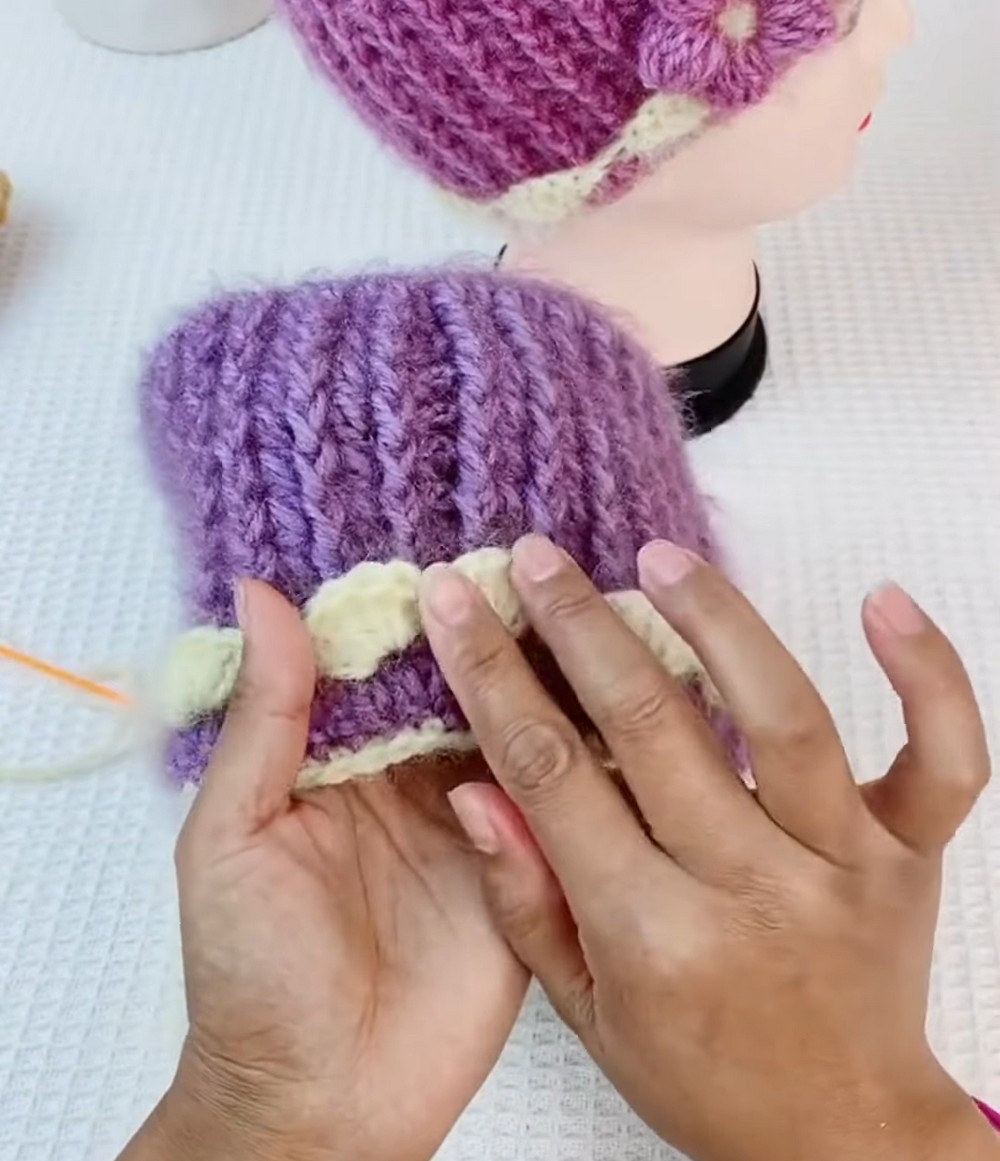
- Brim Round 2 (Color Change to Beige – Color B):
- Join Color B with a sl st.
- Ch 1, work 1 sc in each stitch around.
- Sl st to join. Cut yarn and weave in ends.
(Total: 60 sc)
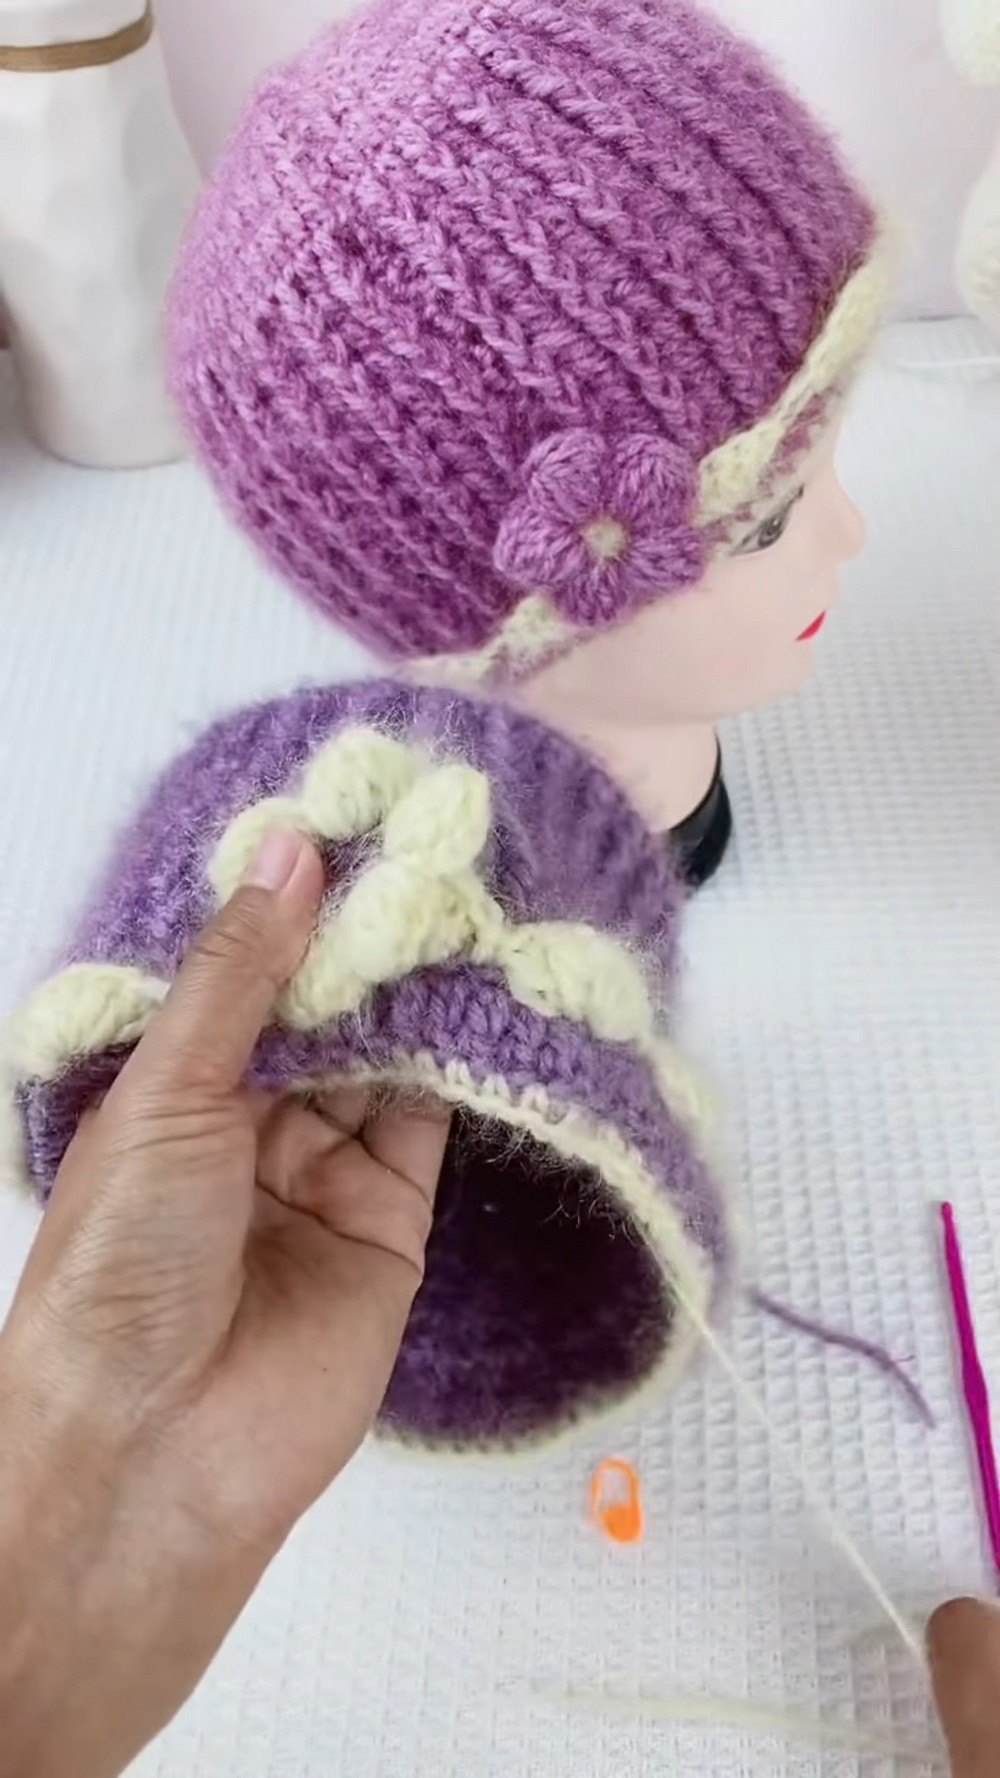
- Brim Round 3 (Scalloped Lace Overlay):
- Attach Color B in the unused back loops behind Round 1.
- Ch 2 (counts as 1 dc).
- Work 5 dc in the same starting stitch (1st shell).
- Sk 2 sts, sl st into next st.
- Repeat [sk 2 sts, 6 dc in next st, sk 2 sts, sl st in next st] around.
- Sl st to join, cut yarn, and weave in ends.
4. Puff Flower Accessory
- Flower Core (Color A):
- Make a Magic Ring with Color A.
- Ch 1, work 10 sc into the ring.
- Pull the ring tight and sl st to the 1st sc. Fasten off.
- Flower Petals (Color B):
- Attach Color B with a sl st in any sc of the center.
- For each petal:
- Ch 3.
- Work a 3dc cluster across the next 2 stitches.
- Ch 3, sl st in the next stitch.
- Repeat this sequence to create 5 petals.
- Fasten off, leaving a long tail (~20–25 cm) for sewing.
Final Assembly
- Use the long tail from the puff flower to position and sew it securely onto the side of the hat, just above the scalloped lace edge.
- Knot the yarn inside the hat and weave in all loose ends.
Conclusion
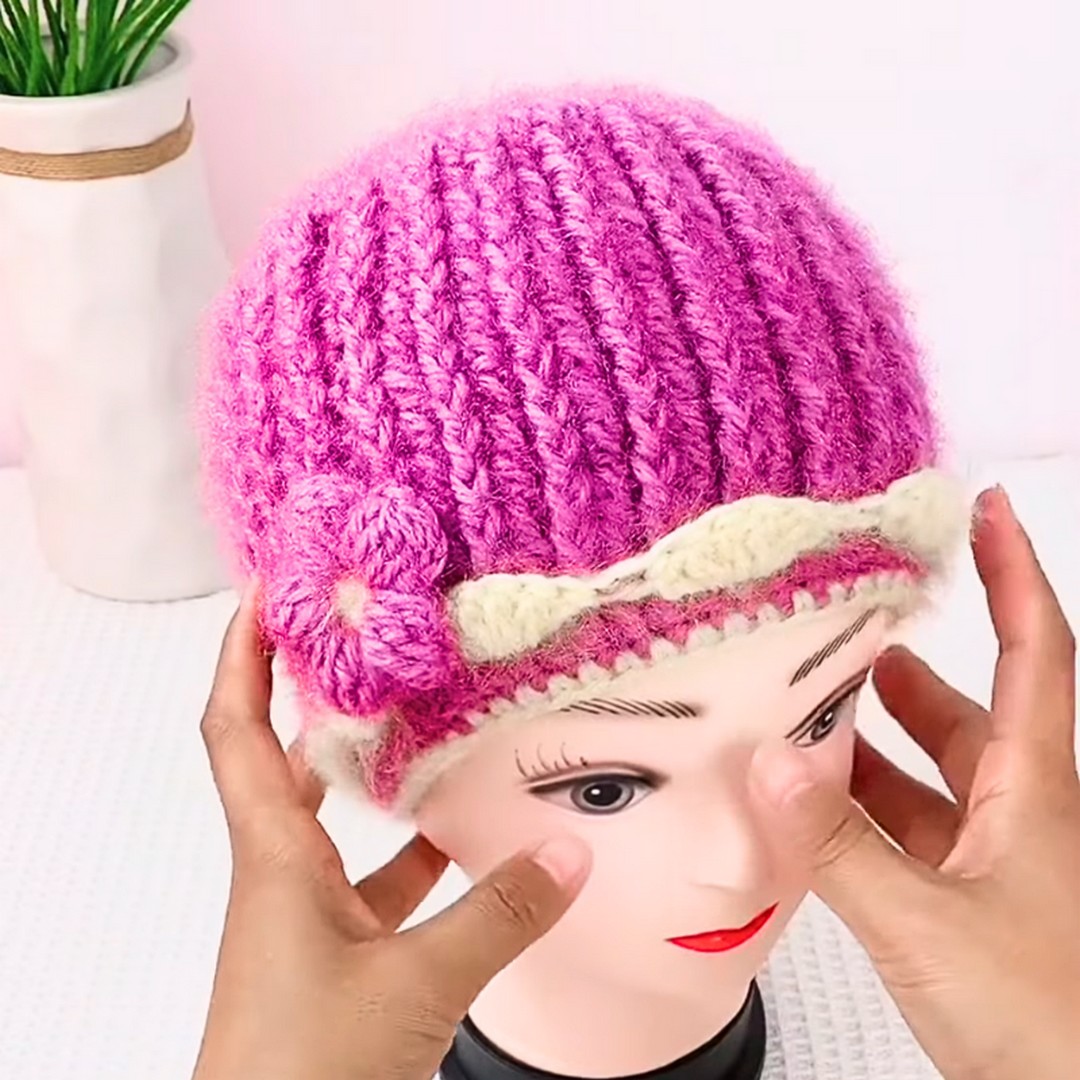
Your Functional Flower Hat is complete! It features:
- A warm, ribbed body,
- A contrasting scalloped brim,
- A charming puff flower detail.