
Flirty and fun, these handmade ruffle shorts combine cozy comfort with playful style, offering a trendy DIY addition to any wardrobe that’s perfect for summer lounging.

Crochet ruffle shorts are fun, stylish, and comfortable clothing that stands out with their playful layer of frilly edges. These shorts are perfect for warm days and can be customized with vibrant colors to match your personality. If you’re relaxing at home, heading to the beach, or looking for cute outfit ideas, these crochet shorts make a great addition to your wardrobe.
Stylish Crochet Ruffle Shorts Tutorial
Making these ruffle shorts involves simple steps like crocheting a waistband, creating a body that fits comfortably, and adding decorative ruffles at the hem. The process is approachable for beginners, with basic stitches forming the structure of the shorts. You even get to add a waist tie for a snug fit and a stylish finish. Their flexibility makes them a wonderful crochet idea for experimenting with colors and soft yarns.
Credit Playful Regal
Key Features and Construction Steps
- Materials: Size 3 acrylic yarn, 4mm crochet hook, scissors, measuring tape, and stitch markers.
- Construction: Starts with a fitted waistband made of double crochet rows tailored to your hip size.
- Design Elements: Includes color changes for a chic two-tone effect, a simple body crocheted with single and double crochet, and ruffled edges for a feminine flare.
- Special Details: A crotch section is added seamlessly to shape the shorts, and a drawstring tie is woven through the waistband for an adjustable fit.
- Customization: Add rows for longer leg openings or adjust colors to suit personal preferences.
Pattern Overview
The tutorial begins with crocheting the waistband, which is worked flat in rows of double crochet. You’ll make the band slightly smaller than your hip size (hip size minus 7 inches), ensuring it stretches for a snug yet comfortable fit. Once the waistband reaches the correct size, the ends are joined neatly with single crochet stitches to form a circular shape, creating a seamless base for the shorts.
Next comes the body, where single crochets are worked into the double crochet spaces of the waistband before transitioning into rounds of smooth double crochet stitches. This pattern creates a simple but solid fabric for the shorts. The tutorial uses yellow yarn for this section, though any color combination can add your own flair! This part is fitted to low-waist length, but you can easily extend the height for a mid- or high-waisted design.

The crotch area introduces shaping. By measuring chains to customize for your size, you’ll add depth and structure to the shorts. Once the crotch chains are connected, stitches flow around the leg hole, ensuring symmetry between the left and right sides. Extra rows can be added to balance coverage or extend the leg length based on your needs.

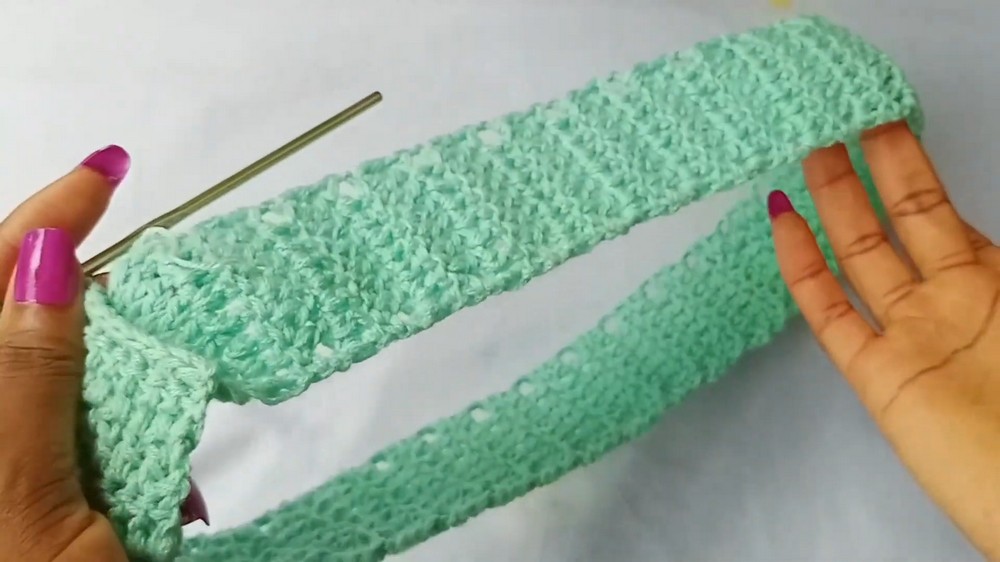
The finishing detail is the ruffle edging, worked in mint green yarn to contrast beautifully with the body of the shorts. This decorative touch is achieved by adding clusters of three double crochet stitches in each stitch around the leg openings. The ruffles are playful and feminine, adding the perfect flare to an otherwise cozy pair of shorts.

Finally, the waist tie is made with a long chain (about 250 chains) and woven through the waistband’s double crochet rows. This clever embellishment lets you adjust the fit easily while maintaining the casual, stylish vibe of the design.

Video Tutorial
Materials and Key Crochet Techniques:
- Size three acrylic yarn (Colors: Mint Green and Yellow)
- 4 mm crochet hook
- Scissors
- Measuring tape
- Stitch marker
Key Techniques:
- Slip Knot
- Chain Stitch
- Double Crochet
- Single Crochet
- Slip Stitch
- Measurements and Adjustments
Detailed Pattern
- Waistband:
- Make a slip knot and chain 10.
- Place one double crochet in the third chain from the hook and continue with double crochets across. You should have eight double crochet stitches.
- Chain three, turn your work, and place one double crochet in each stitch across. Continue this pattern until the waistband measures your hip size minus 7 inches (e.g., hip size 37 inches – 7 inches = 30 inches).
- Connecting the Waistband:
- Chain one, turn your work, and connect both ends of the waistband using single crochet stitches, ensuring the waistband is not twisted.
- Turn your work inside out to keep the seam on the inside.
- Body of the Shorts:
- Attach yellow yarn and chain one.
- Work two single crochets in each double crochet space around the waistband.
- Multiply the number of rows of the waistband by 2 for the total single crochet stitches (e.g., 60 rows x 2 = 120 stitches).
- Round Pattern:
- Chain one (does not count as a stitch), place one double crochet in each stitch around.
- Continue this pattern for nine rows (approx. 7 inches for a low-waist design). Adjust the length based on your preference.
- Crotch Area:
- Locate the stitch opposite the starting stitch, place a stitch marker.
- Count stitches to ensure both sides are equal.
- Make chains measuring 3.5 inches for small/medium size (e.g., 16 chains).
- Attach the chain to the marked stitch, place one double crochet in each chain, and join with a slip stitch.

- Leg Hole and Ruffles:
- Repeat the round pattern for desired length, then chain one, fasten off.
- Attach mint green yarn, chain three, and place three double crochets in each stitch around for ruffles.
- For the second leg hole, follow the same steps ensuring symmetry.
- Finishing:
- Create a waist tie with 250 chains.
- Weave the tie through the waistband.
Troubleshooting and Suggestions
Common Issues:
- Stitch consistency: Ensure stitches are evenly sized, especially when working the waistband, as uneven tension can affect the stretch.
- Color changes: Securely tie off yarn tails to prevent unraveling and weave them neatly into the fabric for a polished look.
- Seams and connections: Double-check that the waistband seam isn’t twisted when joining.
Creative Modifications:
- Try using gradient yarns or variegated yarns for an ombre effect.
- Replace the drawstring with an elastic band for simpler wear.
- Add embellishments like buttons, beads, or a decorative applique to personalize the shorts further.
Adaptability:
- Turn these shorts into swimwear-like beachwear by swapping the yarn for a cotton blend or moisture-wicking fibers.
- Lengthen the ruffles for a flared-leg design or trim them for a sporty finish.


