Spooky Crochet Witch Granny Square Pattern
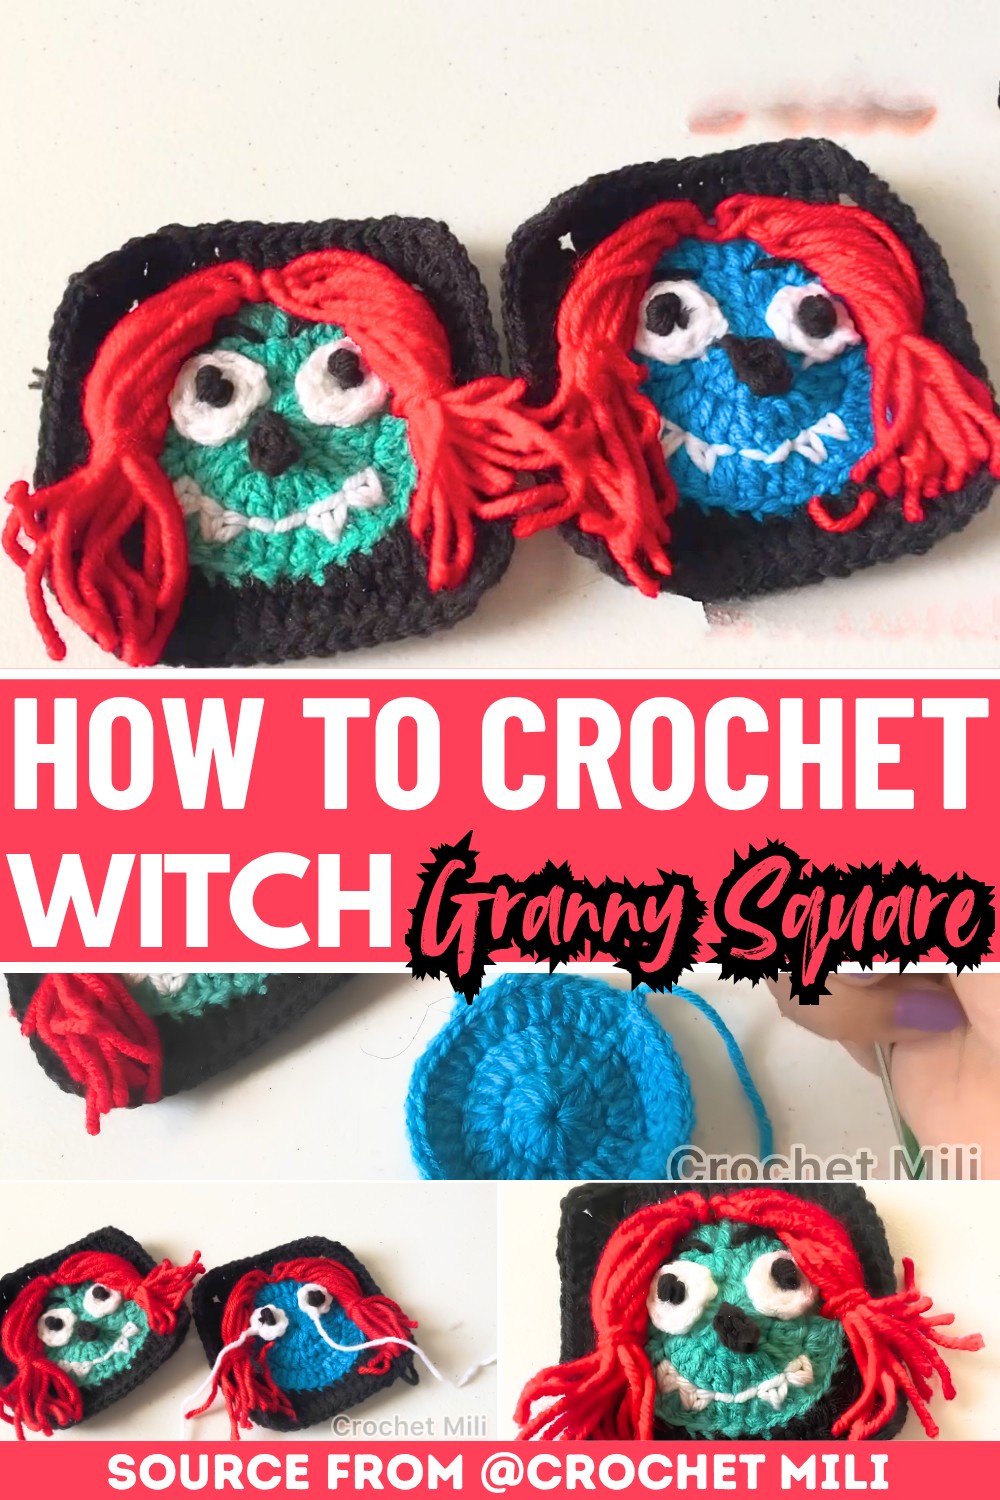
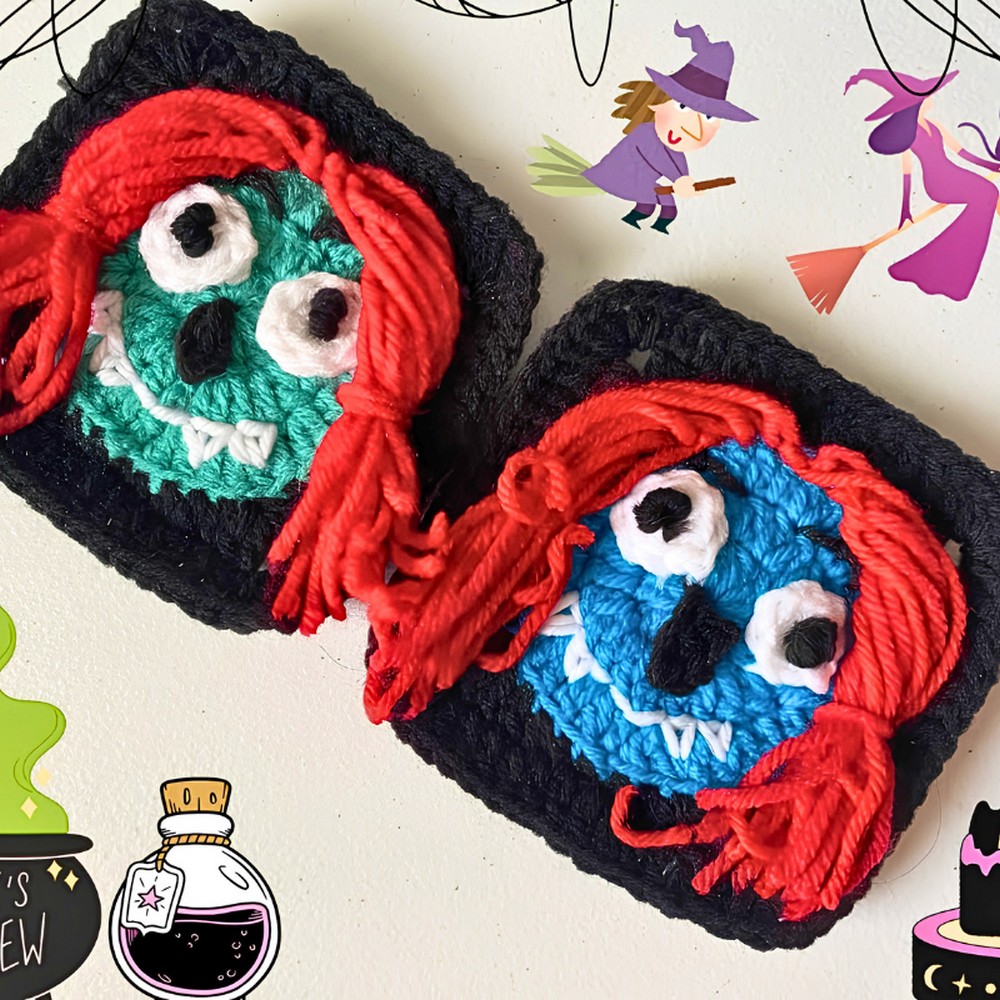
A classic granny square gets a magical Halloween twist with this adorable crochet witch design. From the tiny pointed hat to the playful details, every stitch adds a little spooky personality without being scary.
It’s the kind of square that instantly catches the eye and makes you wonder. What you could create with a whole crochet collection of them.
Crochet Witch Granny Square Pattern
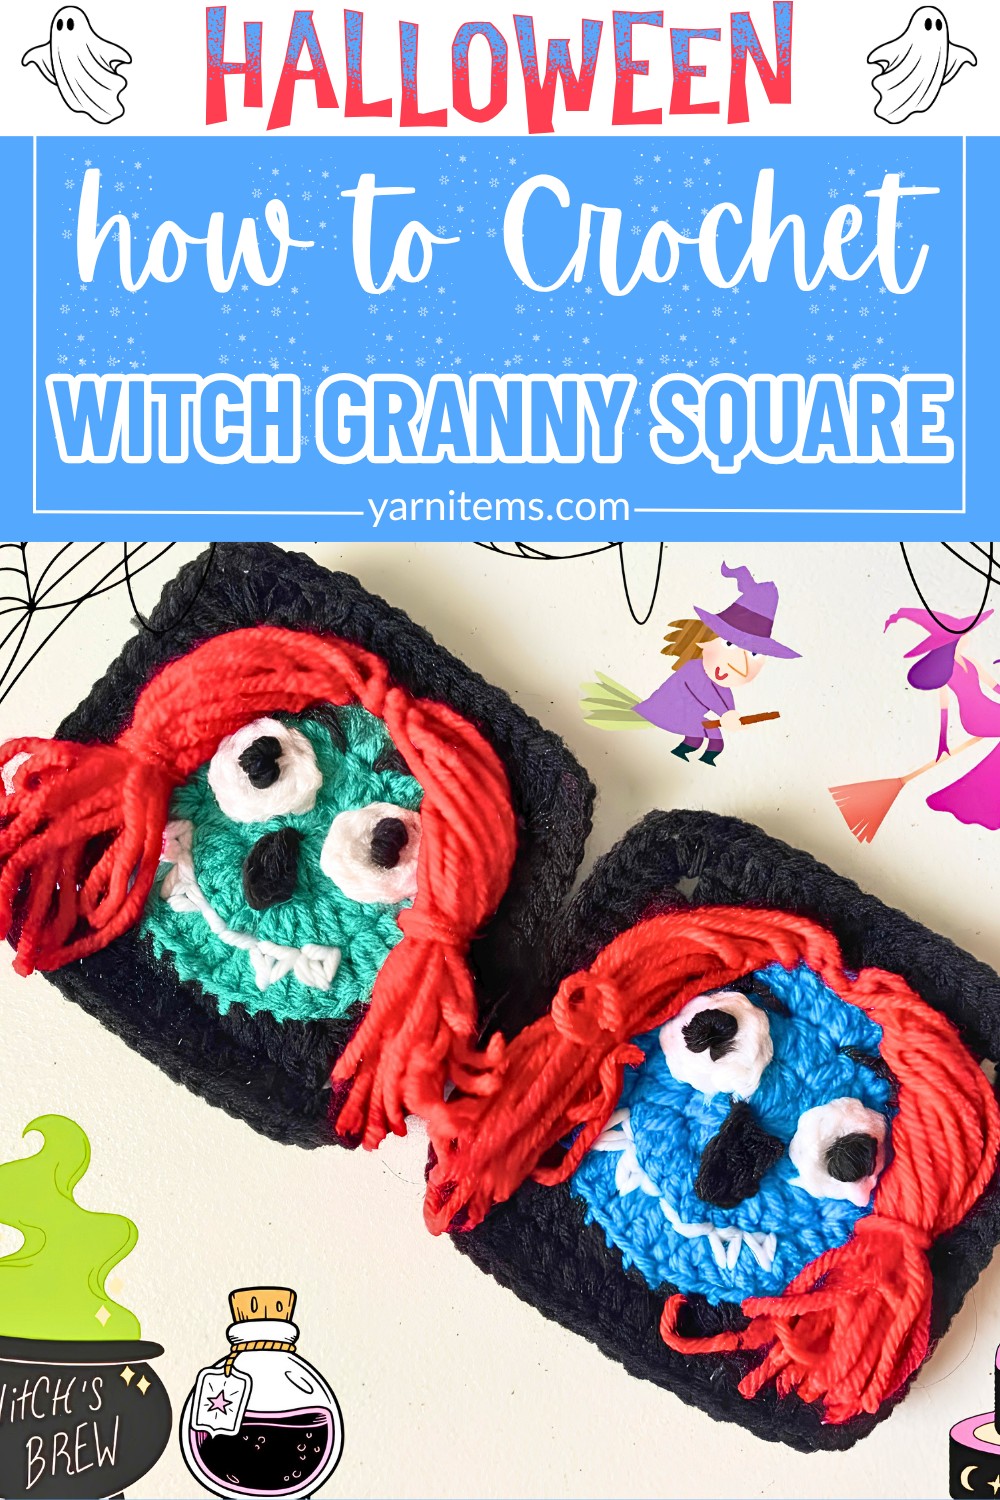
This crochet pattern shows you how to make the witch square step by step. making it easy to follow whether you’re creating one feature block or planning a larger Halloween piece. Mix several squares into blankets, bags, pillows, or festive wall décor, and watch an ordinary crochet piece turn into something full of seasonal charm.
Credit Crochet Mili
Materials & Tools Needed
- Yarn (4 colors):
- Green/Teal: For the witch’s face
- Black: For the granny square background, nose, and eyebrows
- Red: For spooky hair strands
- White: For eyes and mouth embroidery
- Crochet Hook: 3.75 mm
- Scissors
- Yarn Needle: For assembly, weaving in ends, and embroidery
Finished Size & Customization Ideas
- Estimated Size: Approximately 4.5″ x 4.5″ to 5″ x 5″ depending on your personal tension.
- Customization Ideas:
- Switch hair to bright purple or orange for extra vibrance.
- Use these squares for a Halloween garland, gothic tote bag, or a spooky throw blanket!
Pattern Abbreviations & Terminology
- MR: Magic Ring
- ch: Chain
- st / sts: Stitch / Stitches
- sl st: Slip Stitch
- sc: Single Crochet
- hdc: Half Double Crochet
- dc: Double Crochet
- BLO: Back Loop Only
- FLO: Front Loop Only
Step-by-Step Instructions
Part 1: The Witch’s Face (Green/Teal Yarn)
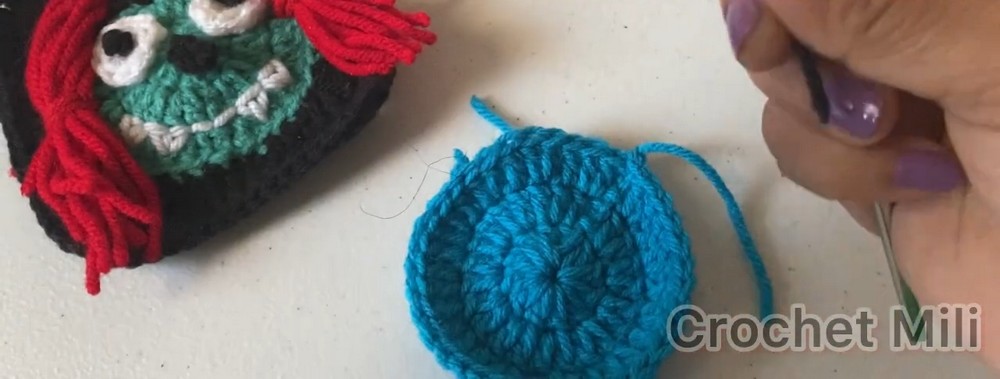
- Round 1: Face Center Base
- Make a magic ring, ch 3 (counts as 1st dc).
- Work 11 dc into the ring.
- Join with a sl st into the 3rd ch of the starting chain.
- Total: 12 dc
- Round 2: Increasing the Circle
- Ch 3. Work 1 dc into the same st.
- Work 2 dc into every remaining st around.
- Join with a sl st into the 3rd ch of the starting chain.
- Total: 24 dc
- Round 3: Final Face Round
- Ch 3. Work 2 dc into the next st.
- Repeat pattern: 1 dc into the next st, 2 dc into the next st.
- Join with a sl st into the 3rd ch of the starting chain.
- Fasten off and cut the green yarn.
Part 2: Squaring It Off (Black Yarn)
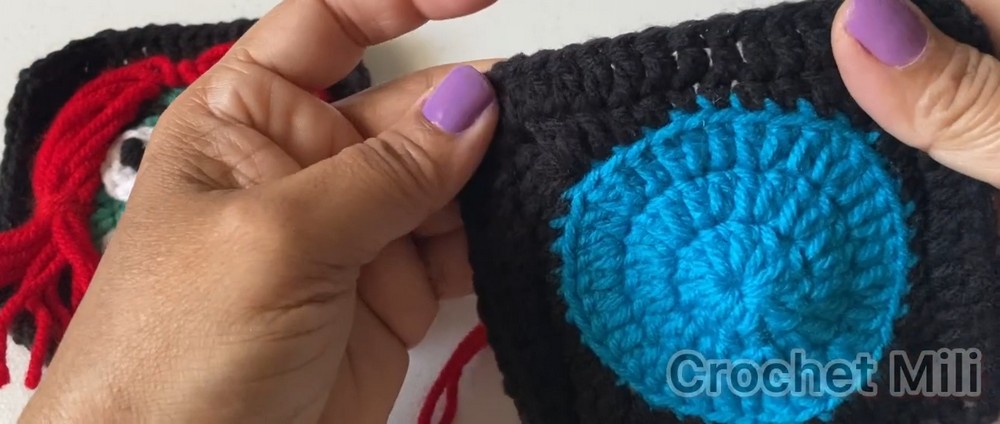
- Round 4 (BLO Only): Forming the Corners
- Join black yarn into BLO of any st.
- Work [2 dc, ch 2, 2 dc] into the same st (corner).
- Side Pattern:
- 1 dc into the next st.
- 1 hdc into the next 2 sts.
- 1 sc into the next 2 sts.
- 1 hdc into the next 2 sts.
- 1 dc into the next st.
- Work [2 dc, ch 2, 2 dc] into the next st for the second corner.
- Repeat around.
- Join with a sl st into the 1st dc.
- Round 5: Final Border Frame
- Ch 3. Work 1 dc into the next st.
- Work [2 dc, ch 2, 2 dc] into each corner ch-2 space.
- Work 1 dc into each of the next 12 sts along the side.
- Repeat around.
- Join with a sl st into the 3rd ch of the starting chain. Fasten off and cut yarn.
Part 3: Features & Assembly
- Adding the Hair (FLO Only)
- Cut red yarn strands to desired length.
- Attach strands onto FLO from Round 3 (upper half of face).
- Knot securely and trim to shape the witch’s bangs and sides.
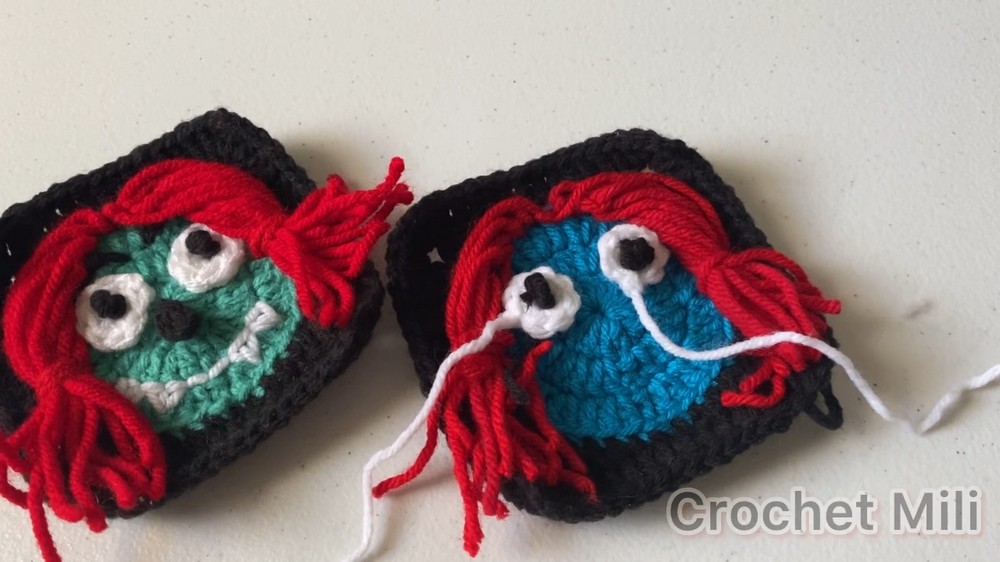
- The Eyes (Make 2)
- Using white yarn, ch 2. Work 8 sc into the 1st chain.
- Join with a sl st into the 1st sc.
- Fasten off, leaving a tail for sewing.
- Sew a small black pupil into each eye center with black yarn.
- Attach eyes to the face using your needle.
- The Nose
- Using black yarn, ch 4.
- Work 1 sc into the 2nd chain from hook.
- Work 1 hdc into each of the next 2 chains.
- Fasten off and sew the nose securely between and slightly below the eyes.
- Final Touches: Mouth & Eyebrows
- Use white yarn to embroider a jagged, “stitched-up” smile below the nose.
- Use black yarn to stitch slightly angled lines above the eyes to form eyebrows.