
Easy & Cute Crochet Chicken Drawstring Pouch Pattern
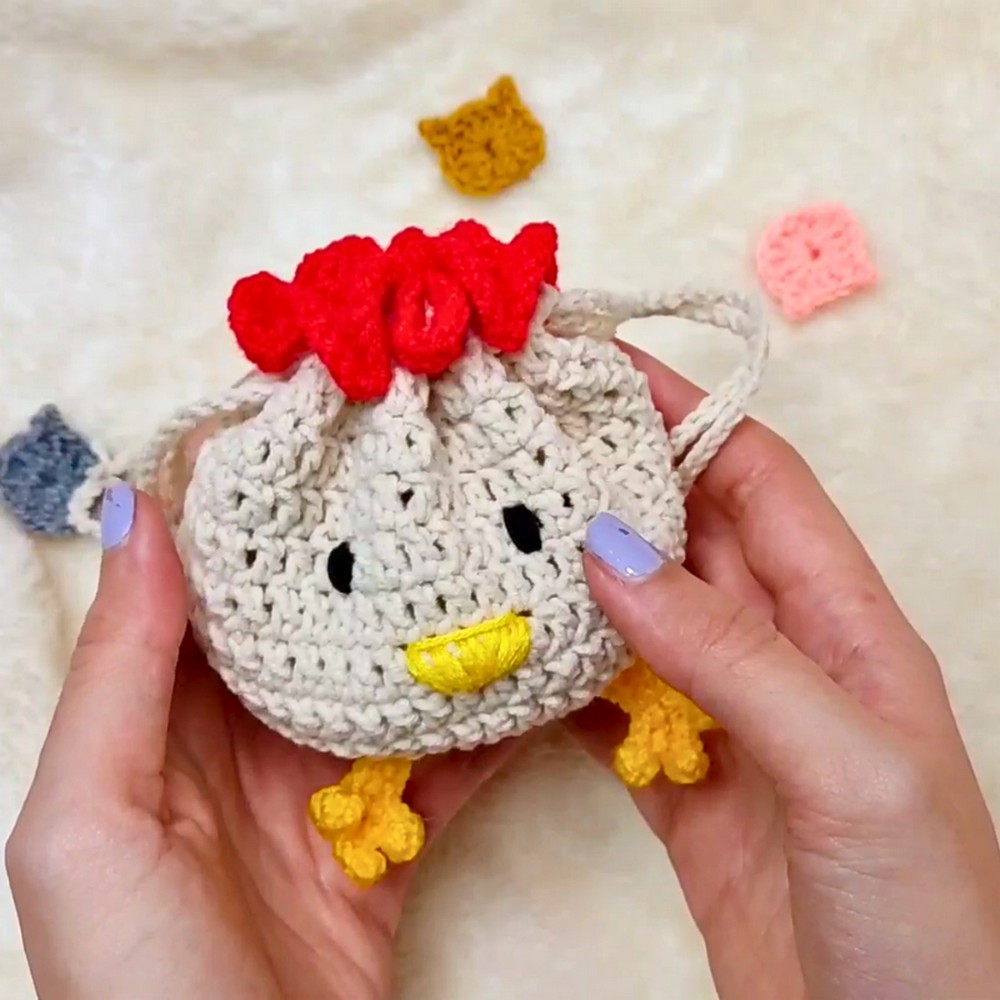
At first glance, this crochet piece looks like a cheerful little chicken, but its playful appearance hides a practical everyday pouch. The rounded body, tiny beak, bright comb, and dangling legs create an adorable character that stores coins, jewelry, earbuds, or other small essentials. Compact enough for a handbag yet charming enough to brighten a desk or shelf, it blends decoration with everyday usefulness. The best surprise comes with the final touch, as one gentle pull of the drawstring reveals the hidden crochet pouch and brings the little chicken to life.
Crochet Chicken Drawstring Pouch Pattern Free
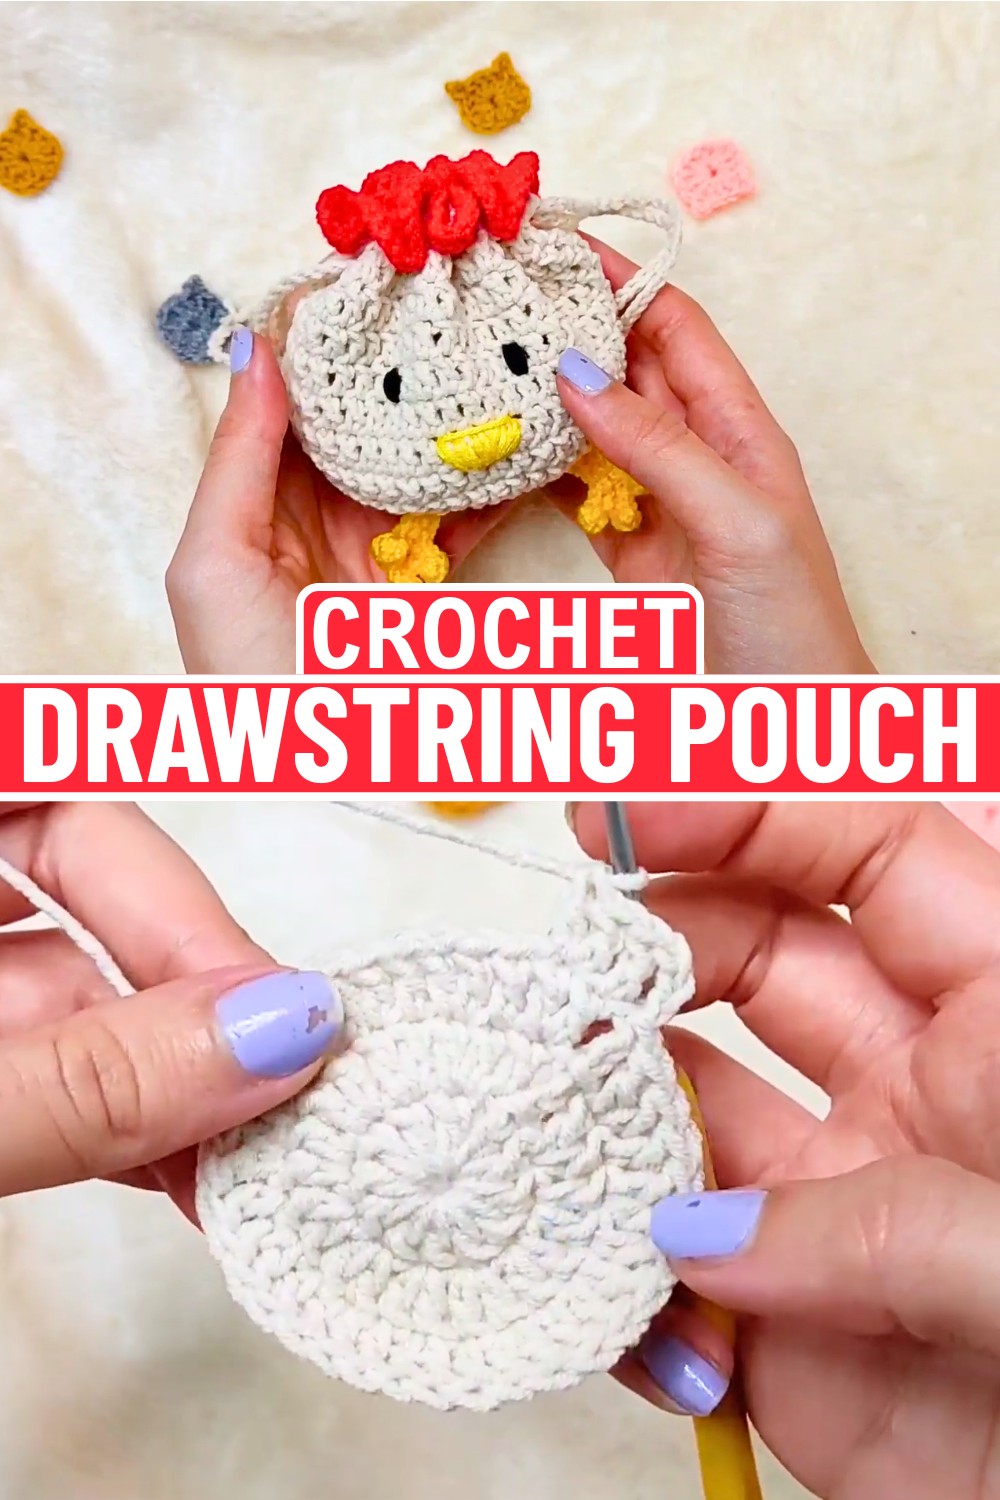
The piece begins by crocheting a sturdy pouch over 13 rounds, creating the hidden foundation before the decorative features take shape. Once the base is complete, the eyes, beak, comb, and feet are added one by one, allowing the chicken’s personality to develop naturally. The crochet drawstring is then woven through the top edge, providing a secure closure while completing the playful design. By the final stitch, you’ve created far more than a cute crochet chicken. You’ve made a practical organizer whose clever purpose is fully revealed once the piece is complete.
Credit Silva Crochet
Materials & Tools Needed
- Yarn:
- Base Color (e.g., cream or another light shade)
- Red (for decorative edging)
- Yellow (for feet)
- Black or other colors (for facial features like eyes)
- Crochet Hook: 2mm
- Scissors
- Tapestry Needle
Finished Size and Customization Ideas
- Finished Size: Approx. 4-5 inches in height, depending on yarn weight and hook size.
- Customization Ideas:
- Add beads or embellishments.
- Use gradient or variegated yarn for more texture.
- Adjust the size by increasing or decreasing the number of rounds in the base or sides.
Pattern Abbreviations & Terminology
- ch: Chain
- sl st: Slip Stitch
- dc: Double Crochet
- sc: Single Crochet
- st(s): Stitch(es)
- inc: Increase (2 stitches into 1 stitch)
- US Terminology: All instructions use US crochet terms.
Step-by-Step Detailed Crochet Instructions
PART 1: Starting the Base
- Magic Ring: Create a magic ring.
- Round 1: Ch 3 (counts as 1 dc). Work 11 dc into the magic ring. (Total: 12 dc)
- Pull the tail to tighten the ring.
- Join with sl st to the top of the starting ch-3.
- Round 2: Ch 3, work 1 dc in the same st. Then work 2 dc in each st around. (Total: 24 dc)
- Join with sl st to the top of the starting ch-3.
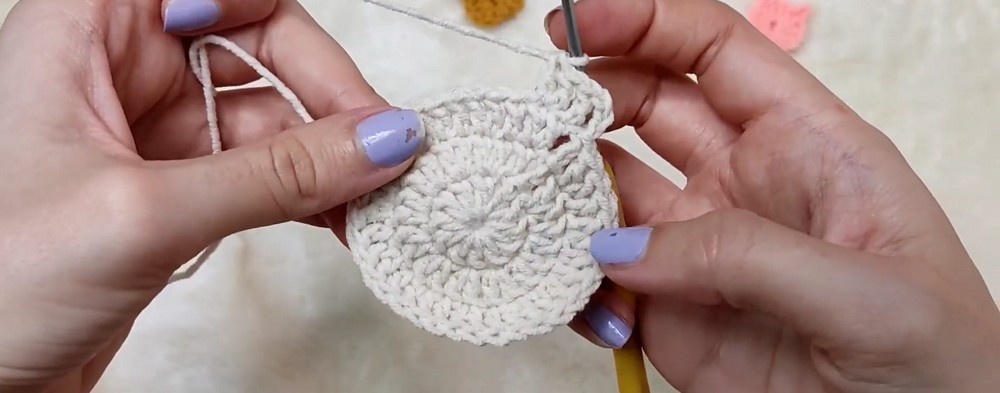
- Round 3: Ch 3, 1 dc in the next st, then 2 dc in the next st. Repeat (1 dc, 1 dc, 2 dc) around. (Total: 36 dc)
- Join with sl st to the top of the starting ch-3.
- Round 4: Ch 3, 1 dc in each of the next 2 sts, then 2 dc in the next st. Repeat (1 dc, 1 dc, 2 dc) around. (Total: 48 dc)
- Join with sl st to the top of the starting ch-3.PART 2: Creating the Body
- Rounds 5-13: Ch 3, then work 1 dc in each st around (no increases). (Still 48 dc per round)
- Join with sl st at the end of each round.
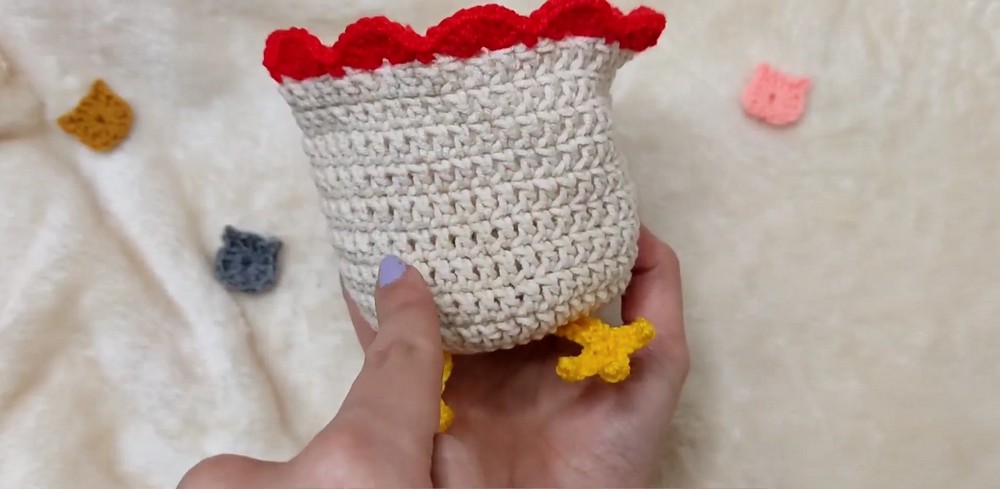
- After finishing 9 such rounds, fasten off the yarn and cut the tail.PART 3: Decorative Edging (Scallop Pattern)
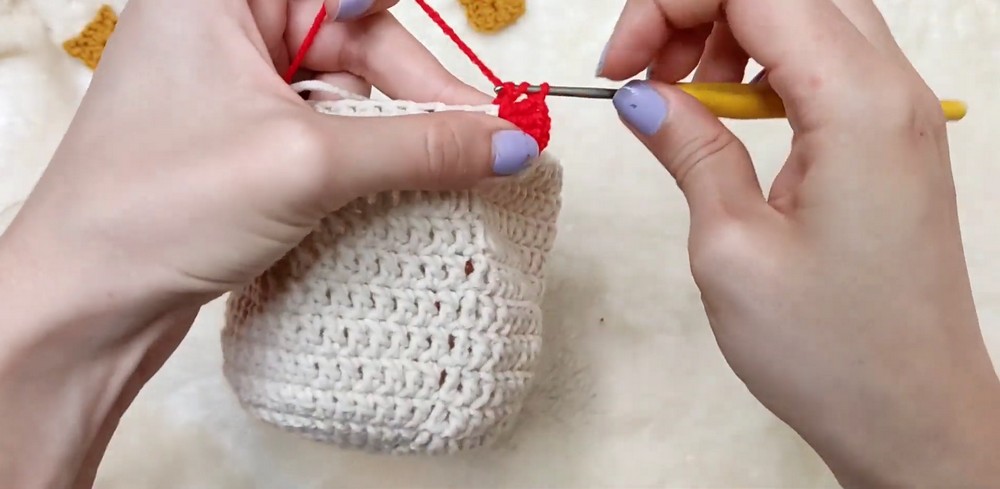
- Switch to Red Yarn:
- Join red yarn with sl st to the top of any st from the previous round.
- Ch 1, sc in the same st, skip 1 st, work 7 dc in the next st, skip 1 st, sc in the next st.
- Repeat the sequence (sc, skip 1, 7 dc, skip 1) around fully.
- Join with sl st to the first sc.
- Fasten off, secure the end, and cut the yarn.
PART 4: Making and Attaching the Feet
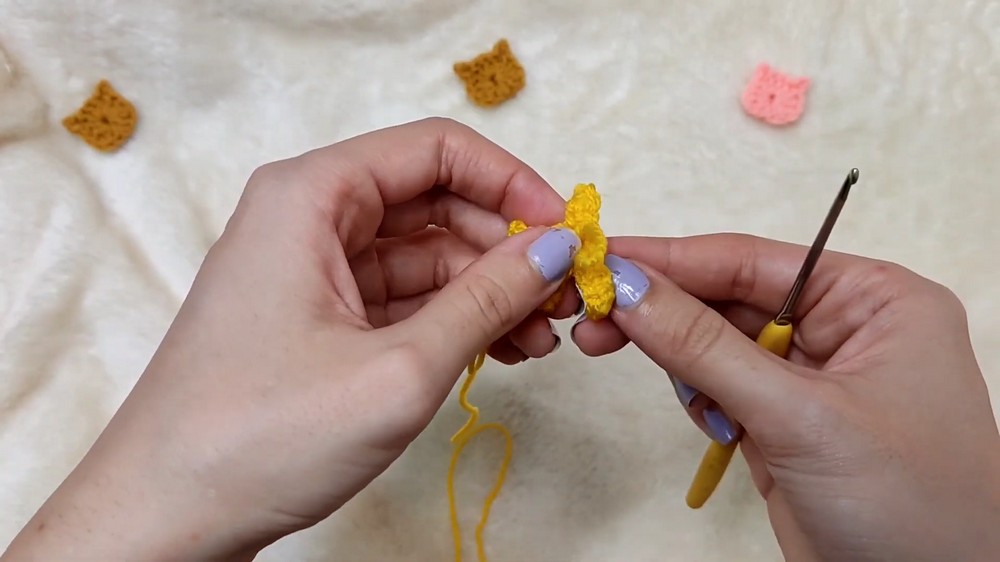
- Using Yellow Yarn:
- Make a slip knot, and ch 7.
- Starting in the 2nd ch from the hook, sc into each ch. (Total: 6 sc)
- Ch 4, starting in the 2nd ch from the hook, sc in the next 3 chs.
- Sl st into the bottom of the main body section.
- Repeat the process twice more to create a “three-toed” foot.
- Fasten off and weave in the ends.
- Make a second foot and attach both feet to the bottom of the pouch using the tapestry needle. Position them near the edges for balance.
PART 5: Adding Eyes and Beak
- Using black and red (or orange) yarn:
- Sew on small black circles for eyes.
- Add a triangle or small pointed section in orange/red for the beak.
PART 6: Creating the Drawstring
- Use the base color to make two long strings:
- Make a slip knot and ch 100.
- Fasten off and repeat for the second string.
- Weaving the Strings:
- Start at one side of the pouch. Weave the string in and out of the double crochets from Round 13.
- Repeat the process in the opposite direction with the second string, ensuring it crosses over the first.
Finishing Steps
- Pull both strings to close the pouch tightly.
- Make small knots at the string ends for a tidy finish.
- Trim excess yarn and secure any loose ends.


