Two-Color Crochet X-Stitch Pattern – Step-by-Step Tutorial
Create a beautiful two-tone crochet texture with crossed X-shaped stitches, alternating colors, and a simple repeat that works for blankets, bags, and garments.
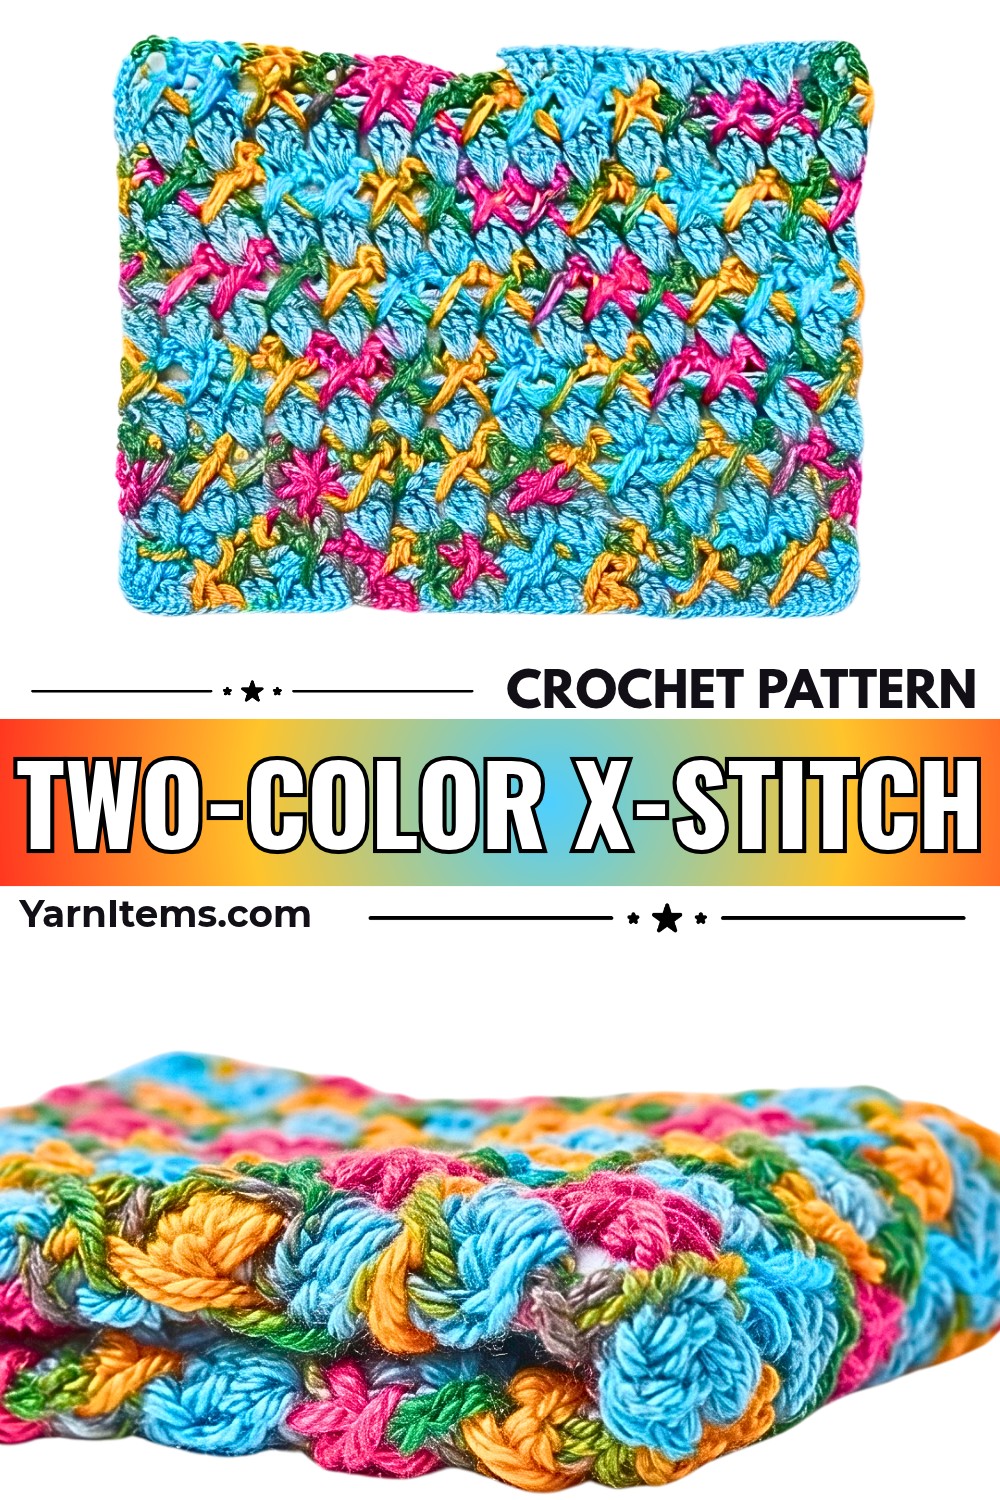
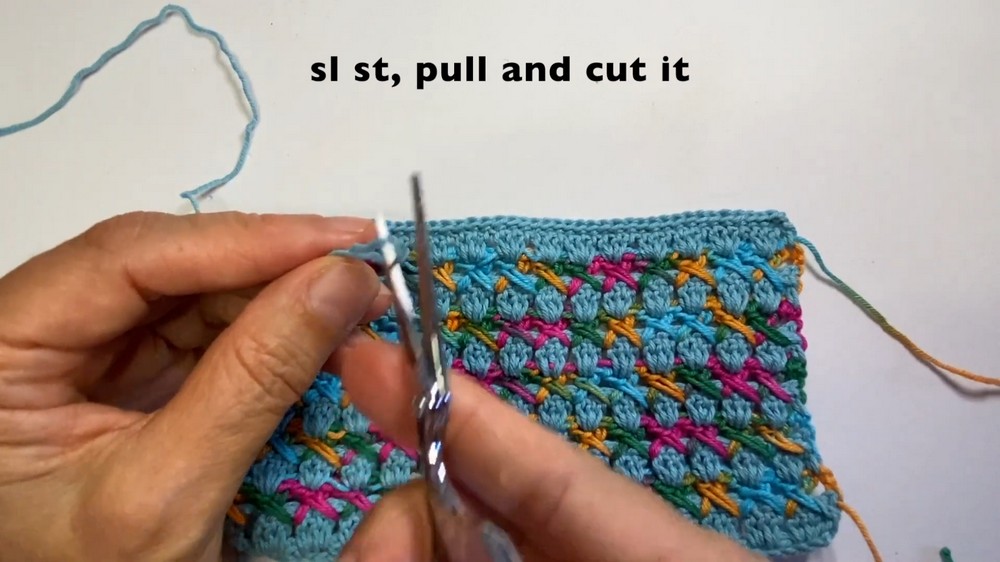
Alternating colors and crossed stitches give this crochet pattern a distinctive textured appearance. The combination of chain spaces, double crochet clusters, and X-shaped stitches creates a decorative fabric that can add interest to both simple and more detailed handmade pieces.
This tutorial explains how to prepare the foundation chain, work the cluster rows, form the X-stitch crochet pattern, and alternate yarn colors as you build the fabric. Adjust the width and length to suit different uses, including sweaters, cardigans, blankets, and bags.
Credit Hook & Loop Crochet Tutorials
Materials & Tools Needed
- Yarn: Two contrasting yarn colors are recommended for the two-tone X-stitch effect.
- Crochet Hook: 2 mm crochet hook.
- Finishing Tools: Yarn needle or tapestry needle for weaving in ends, and scissors.
Finished Size & Customization Ideas
The finished dimensions depend on the foundation chain and the number of rows you work. You can adjust both measurements to create a piece that suits your intended use.
Customize the Width
- Begin with a foundation chain that is a multiple of 3.
- Add 5 extra chains at the end of the foundation chain.
- The tutorial uses 42 chain stitches plus 5 additional chains, giving a total of 47 chains.
For a wider or narrower piece, adjust the starting multiple of 3 while keeping the additional 5 chains.
Customize the Length
Continue repeating the cluster-style rows and X-stitch rows until the fabric reaches your preferred length or height. Follow the color-changing sequence used in the tutorial as you work.
Ideas for Using This Stitch
The textured fabric is suitable for several handmade items, including:
- Sweaters
- Cardigans
- Blankets
- Bags
Crochet Abbreviations & Terminology
- ch / chs: Chain / chains
- st / sts: Stitch/stitches
- sc: Single crochet
- dc: Double crochet
- sl st: Slip stitch
- nxt: Next
- rep: Repeat
Step-by-Step Crochet Instructions
Row 1: Foundation Row
Begin with a slip knot and prepare the foundation chain using your 2 mm crochet hook.
- Make a slip knot on your crochet hook.
- Chain a multiple of 3 stitches. The tutorial uses 42 chain stitches.
- Add 5 additional chains, bringing the total to 47 chains.
- Work 1 single crochet into the 6th chain from the hook.
- Ch 2, skip 2 chain stitches, and work 1 single crochet into the 3rd chain.
- Repeat the sequence of ch 2, skip 2 chains, and 1 sc in the next chain across the entire row until you reach the end.
This creates the chain spaces that will be used for the following rows.
Row 2: Double Crochet Cluster Row
Turn the foundation row into a series of double crochet clusters worked into the chain spaces.
- Ch 3 and turn your work.
- Work 3 double crochets (dc) into the first chain space.
- Continue working 3 dc into each chain space across the row.
- At the end, work 1 chain and 1 double crochet into the 2nd chain stitch.
The groups of three double crochets create the cluster texture between the chain spaces.
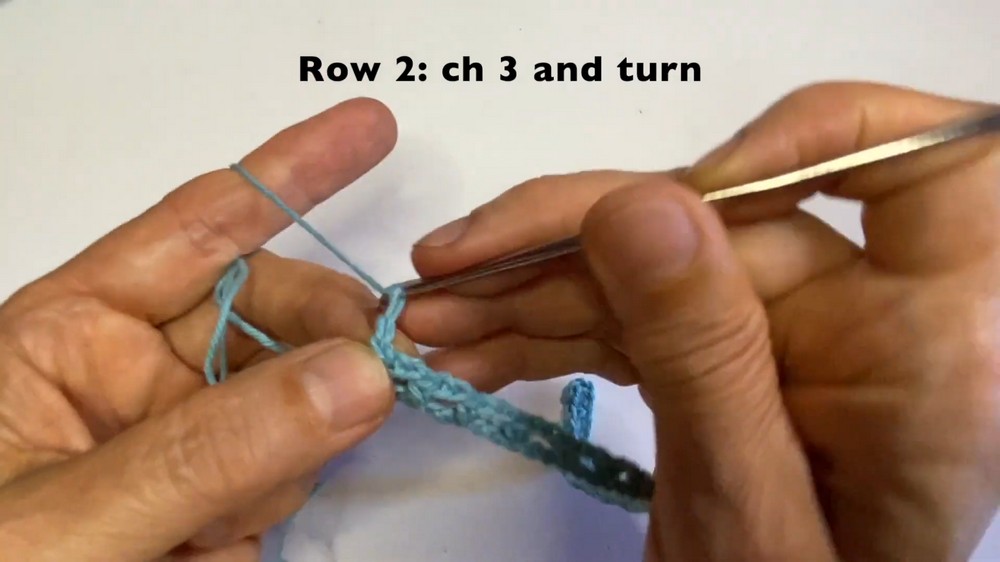
Row 3: Color Change and X-Stitch Base
This row introduces the crossed X-stitch pattern. Use your second yarn color if you are following the two-tone version.
- Drop the first color and switch to your second yarn color. If you are making a single-color version, continue with the same yarn.
- Ch 2 and turn your work. If needed, work along the yarn tail to bring it over to the other side while managing the color transition.
- Work 1 dc into the space, then ch 1.
- Work 1 dc into the first space.
- Work 1 dc in the next space, ch 1, and work 1 dc into the second space to complete the criss-cross X-stitch structure.
- Repeat the X-stitch sequence across the row until you reach the end.
- Finish by working 1 dc into the top of the turning chain stitches.
Keep the stitches and chain spaces consistent as you work across the row so the crossed pattern remains even.
Row 4: Double Crochet Cluster Row
Switch back to your first yarn color if you are working with two colors.
- Ch 3 and turn your work.
- Work 3 dc directly into the space of each X-stitch across the row.
- Finish by working 1 dc into the top of the chain stitch.
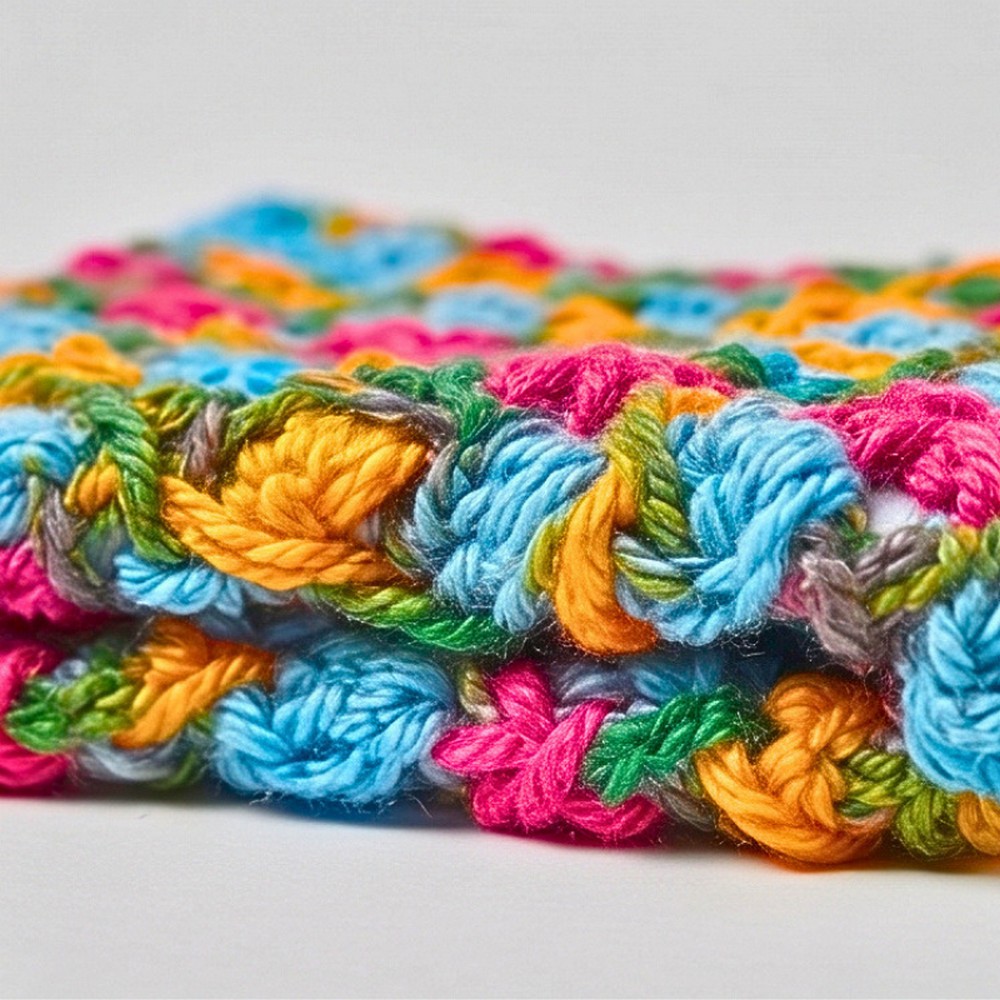
This row creates the cluster texture over the previous X-stitch row.
Row 5 and Beyond: Repeat the Pattern
Continue alternating between the cluster-style rows and the X-stitch rows to build the fabric.
- Switch back to your second yarn color.
- Ch 3 and turn your work.
- Repeat the instructions from Row 3 to create another X-stitch row.
- Continue alternating the cluster-style row instructions from Row 2 or Row 4 with the X-stitch instructions from Row 3 or Row 5.
- Change yarn colors according to the alternating sequence until your piece reaches the desired size.
Keep the row structure consistent throughout the fabric. The repeated combination of clusters and crossed stitches creates the textured two-tone effect.
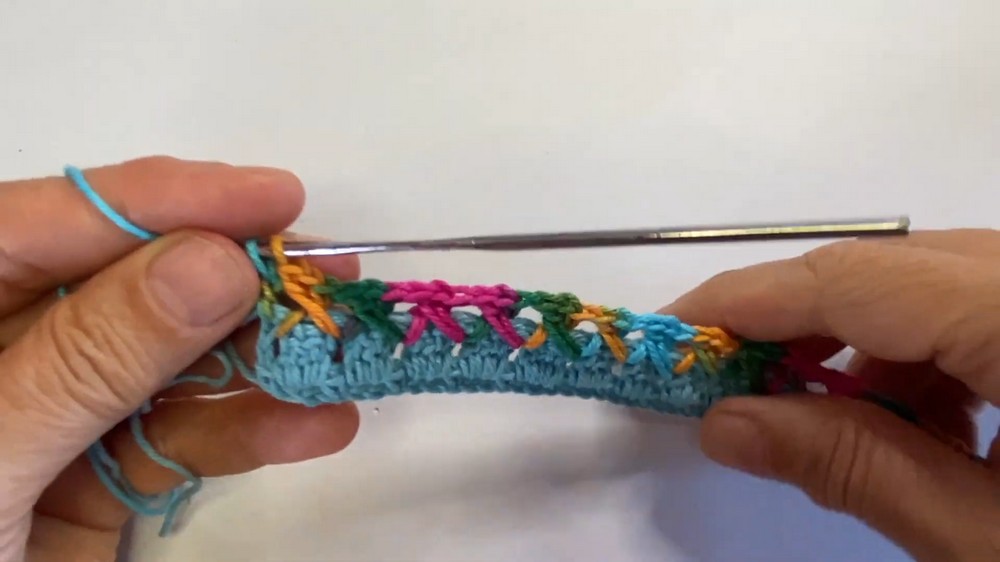
Border and Finishing Techniques
Once your crochet piece reaches the desired length, finish the final edge and secure the yarn ends.
Work the Final Edge
- Turn your work.
- Work 1 slip stitch evenly across the final row.
- Continue along the edge to complete the finishing pass.
Fasten Off
- Secure the final stitch by working a slip stitch.
- Pull the yarn through tightly.
- Cut the working yarn.
Weave in the Loose Ends
- Thread a remaining yarn tail through your yarn needle.
- Weave the tail securely into the fabric using a zig-zag motion.
- Repeat with the remaining yarn ends.
- Trim any excess yarn after securing the tails.
Your two-color X-stitch crochet fabric is now finished and ready to use in your chosen handmade item.
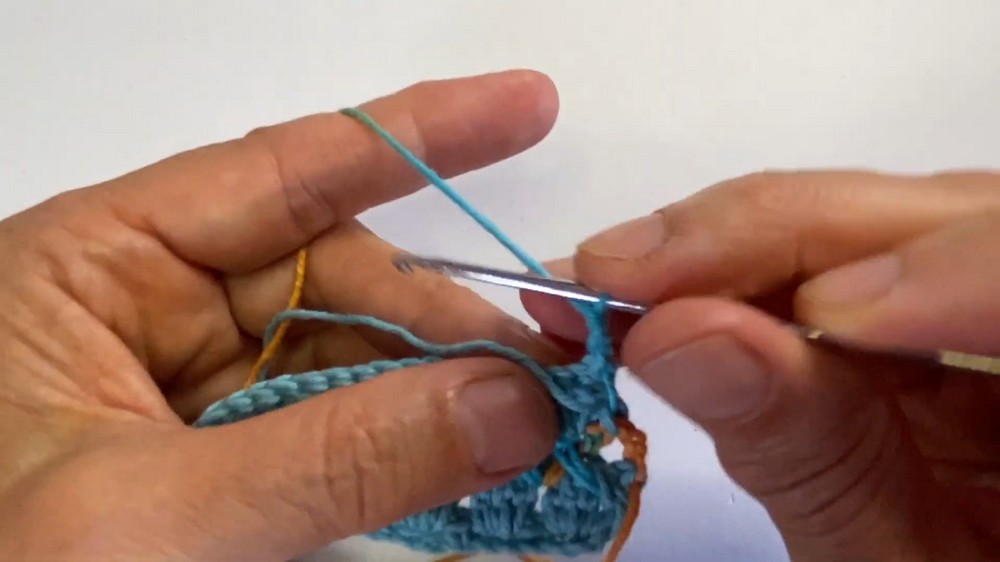
Helpful Technique Tips
- Keep the foundation chain consistent: Make sure the starting chain follows the multiple-of-3 rule before adding the 5 extra chains.
- Work into the correct spaces: For the cluster rows, place the 3 double crochets into the chain spaces rather than randomly into the stitches.
- Keep the X-stitches defined: Follow the stated sequence of double crochets and chain spaces carefully so the crossed texture remains visible.
- Manage color tails as you work: Keep the yarn tails on the side where they can be secured neatly, rather than allowing them to become tangled in the stitch pattern.
- Check the fabric as it grows: Lay the work flat occasionally to check that the edges remain even and the stitch pattern is consistent.