Crochet Granny Stripe Square – Fresh Take on Rows and Colors
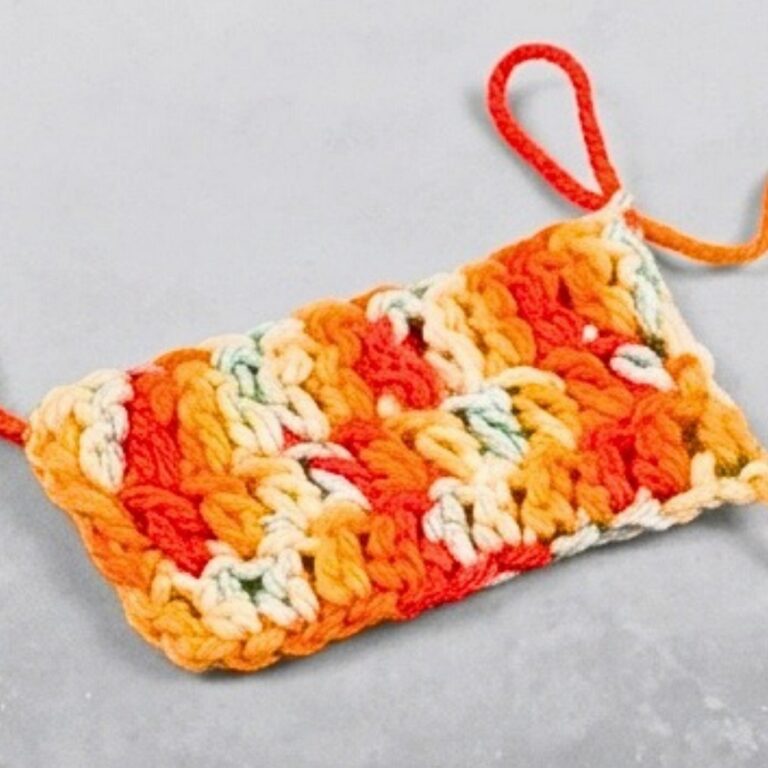
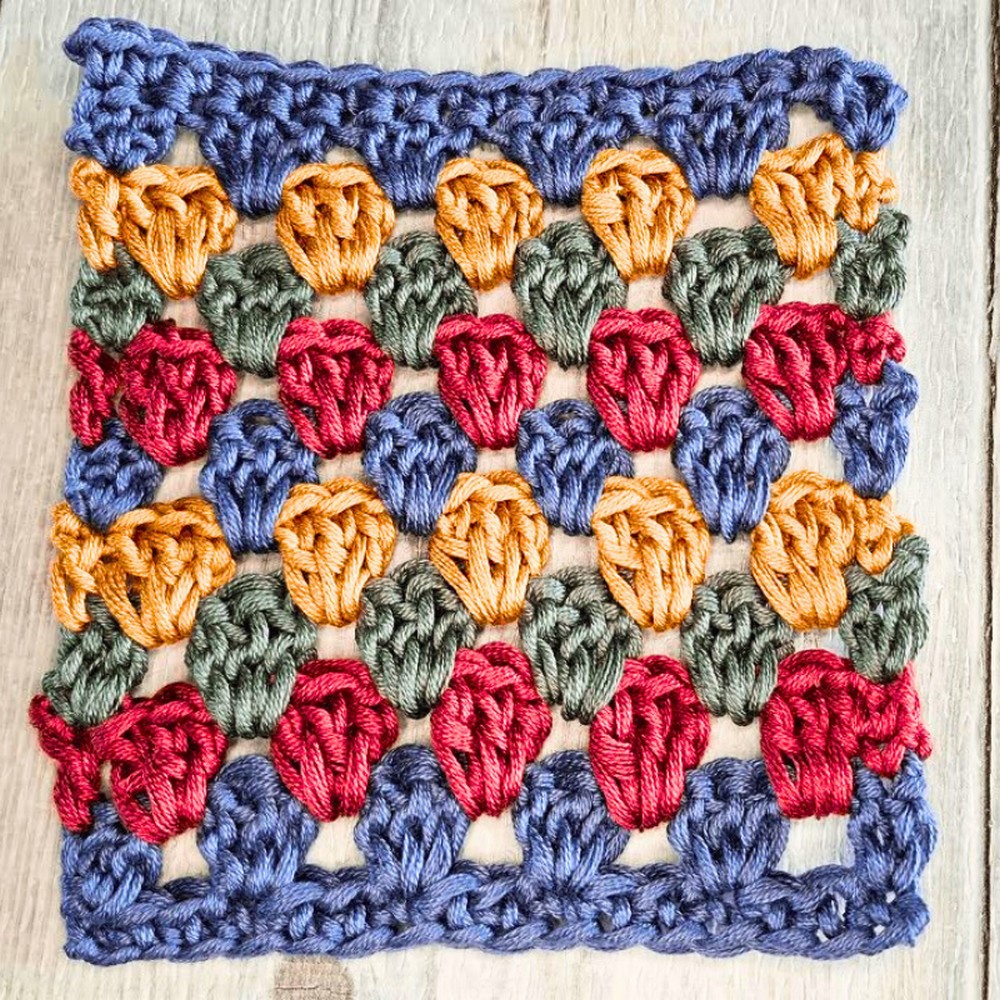
A fresh twist on the classic granny square makes this design impossible to ignore. The crochet Granny Stripe Square replaces traditional rounds with tidy rows of granny clusters, creating a clean and eye-catching look.
Soft color changes bring extra charm to every piece, making each section feel bright and lively. Its simple structure offers a beautiful balance of texture and style.
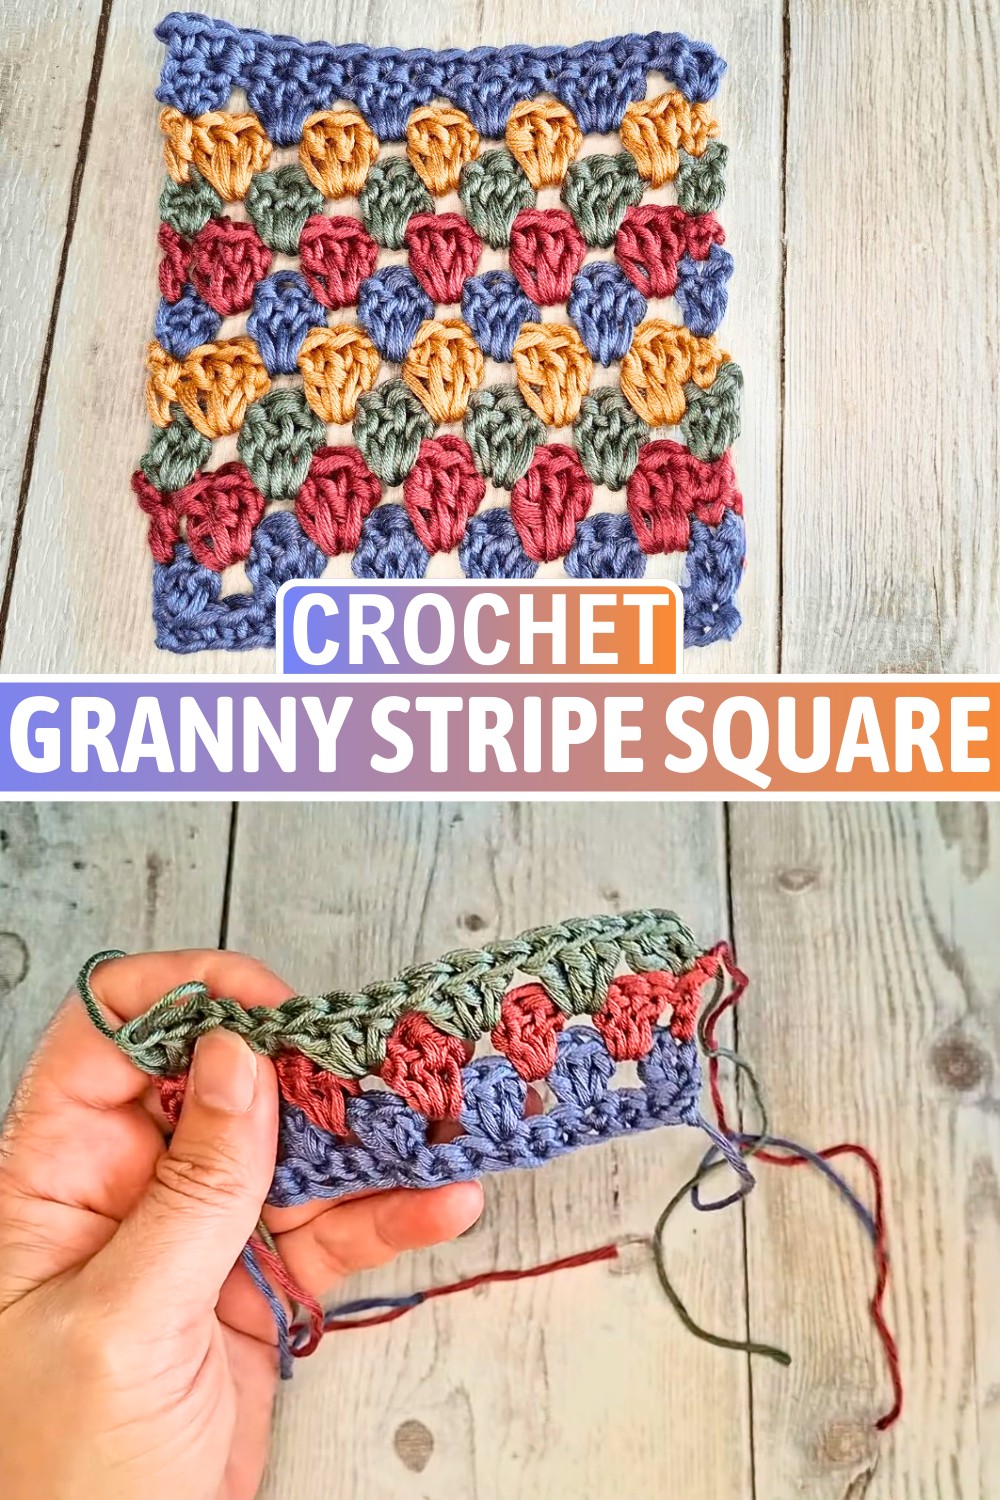
Every row builds smoothly, making the crochet pattern enjoyable to follow from start to finish. This versatile piece works beautifully for blankets, cushion covers, coasters, or decorative home accents.
Beginners can enjoy the relaxing repeat, while experienced crocheters can explore playful stripe combinations with confidence. A neat border gives the finished piece a polished appearance that stands out wherever it is used.
Credit Crochet And Coffee
Materials & Tools Needed
- Yarn: Multiple colors of your choice for variation in stripes.
- Crochet Hook: Use the size recommended for your yarn.
- Scissors.
- Tapestry Needle: For weaving in ends.
Finished Size & Customization Ideas
- Default Size (from the tutorial): The tutorial example uses 9 rows, and completed square dimensions depend on the yarn and hook size used.
- Customization:
- For larger squares or projects like blankets, chain a longer foundation chain in a multiple of 3 + 2.
- Adjust the number of rows by repeating Rounds 3 and 4 as needed.
Pattern Note
- The Granny Stripe Square is worked in rows, not rounds.
- Color changes are optional. If using a single color, simply turn your work without fastening off.
Pattern Abbreviations & Terminology (US Standard)
- ch: Chain
- sl st: Slip Stitch
- sc: Single Crochet
- dc: Double Crochet
- cluster: Group of 3 Double Crochets
- yo: Yarn Over
Tips Before You Start
- Foundation Chain: Begin with a chain in a multiple of 3, then add 2 more chains.
- Optional Chain Substitute: Use the “stitch-stacking” method instead of the traditional chain 3 to start rows. This makes edges neater.
- Avoid Tight Stitches: Maintain consistent tension, especially in single crochet rows, to prevent the square from distorting.
- Color Changes: For clean edges, switch yarn colors after completing a row before turning.
Step-by-Step Crochet Instructions
Foundation Chain
- Make a slip knot and chain a multiple of 3 + 2. (In the tutorial, this is 17 chains.)
- Example: Chain 17 for a smaller square or chain a longer multiple (e.g., 302 for a blanket).
Row 1: Single Crochet Base
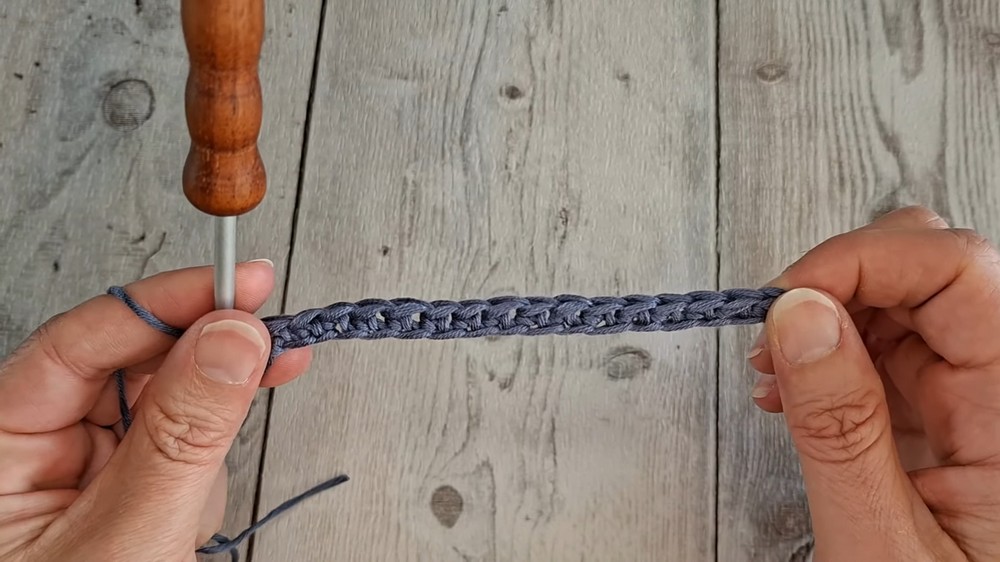
- Skip the first chain, and work 1 sc in the back loop of the second chain from the hook.
- Continue working 1 sc in each chain across.
- You should have 16 sc (or the foundation chain length – 1).
- Chain 1 and turn your work.
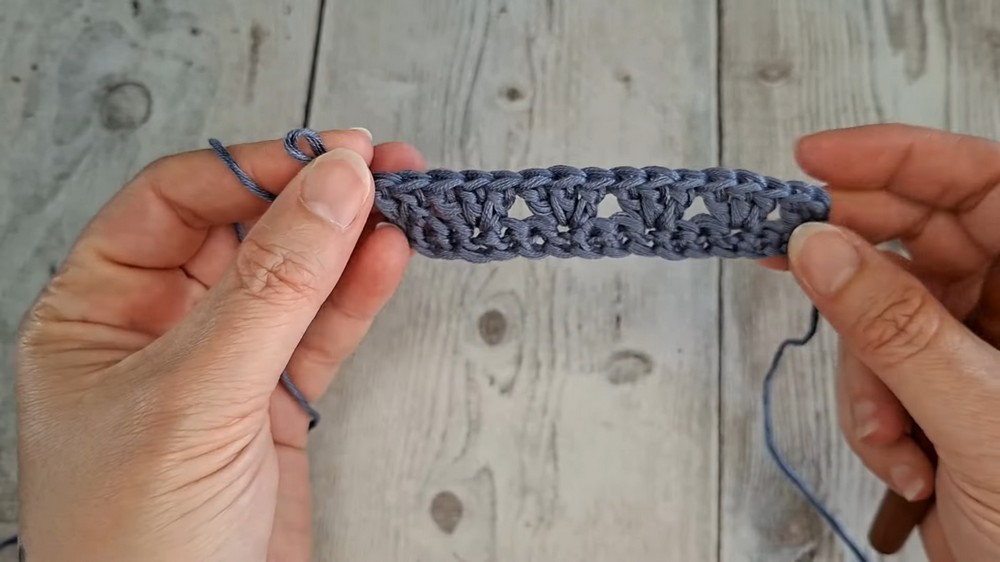
Row 2: Double Crochet and Clusters
Method 1: Chain 3 Start
- Chain 3 (counts as your first dc).
OR Method 2: Stitch-Stack Method
- Instead of chaining 3, make 1 sc in the first stitch, then insert the hook in the front left loop of the same sc, pull up a loop, and complete 1 dc.
- Work into the first stitch: Add 1 dc in the same stitch (you now have 2 dc in the first stitch).
- Repeat the following pattern across the row:
- Skip 2 stitches, and make a cluster (3 dc) in the 3rd stitch.
- Continue until 3 stitches remain.
- In the very last stitch, make 2 dc.
- Fasten off (if changing colors), or chain 1 and turn.
Row 3: First Row of Granny Stripe
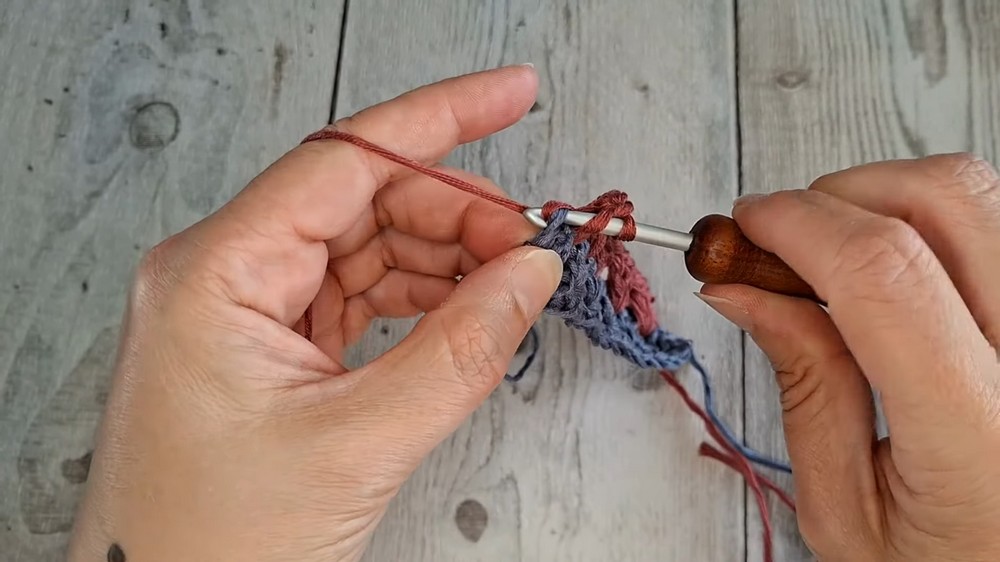
- Attach a new yarn color (if changing) and secure it with a slip knot.
- Use your chosen starting method (Chain 3 or Stitch-Stack).
- In this row:
- Make 1 dc in the first stitch.
- Work the clusters (3 dc) into the spaces between previous row’s clusters (not into the tops of stitches).
- Continue the clusters until the end, and in the final stitch, make 1 dc.
- Fasten off if changing colors, or chain 1 and turn.
Row 4 and Beyond: Alternating Rows
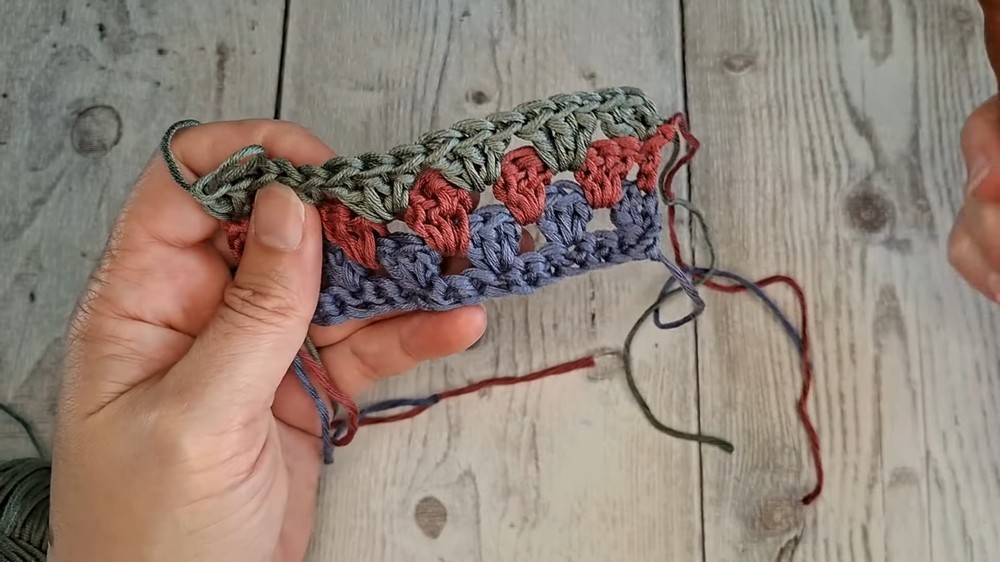
Continue working alternating rows. Here’s the pattern structure for Rows 4+:
- Even Rows (like Row 2): Begin and end with 2 dc. Work clusters into the chain spaces.
- Odd Rows (like Row 3): Begin and end with 1 dc. Work clusters into the chain spaces.
- Repeat until the square reaches your desired size.
Final Row: Single Crochet Border
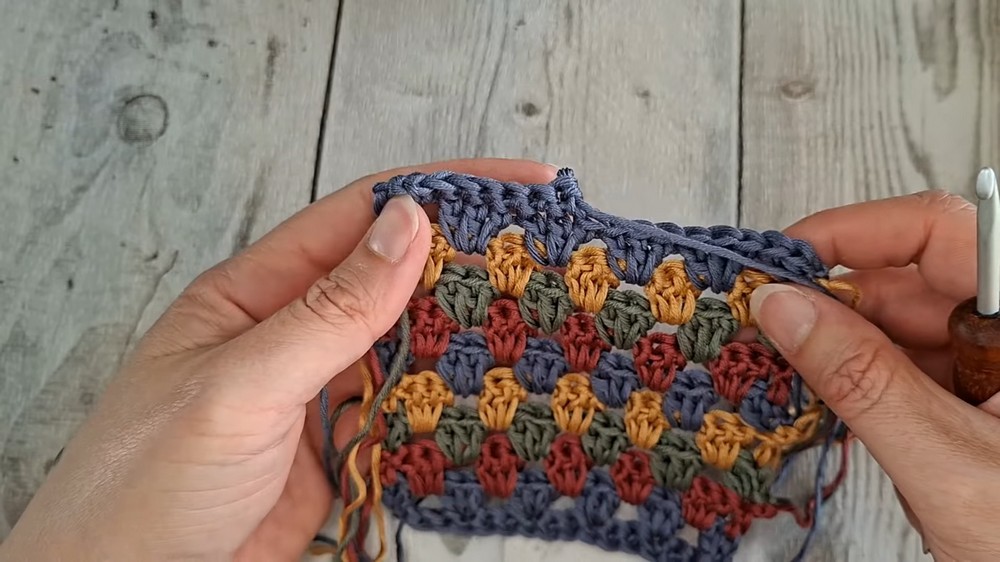
When your square is the right size:
- Chain 1 and turn.
- Work 1 sc into each stitch across the row, maintaining consistent tension.
- Fasten off and weave in all the yarn tails.
Final Assembly
- If turning this square into a blanket, join multiple squares with methods like whip stitch, slip stitch join, or single crochet join.
- Add a border around the entire blanket or each square if desired.
Conclusion
The Granny Stripe Square is a versatile and beginner-friendly pattern, perfect for projects like blankets, pillow covers, or even scarves. Play with color changes for striking effects, and enjoy the meditative process of cluster stitches.