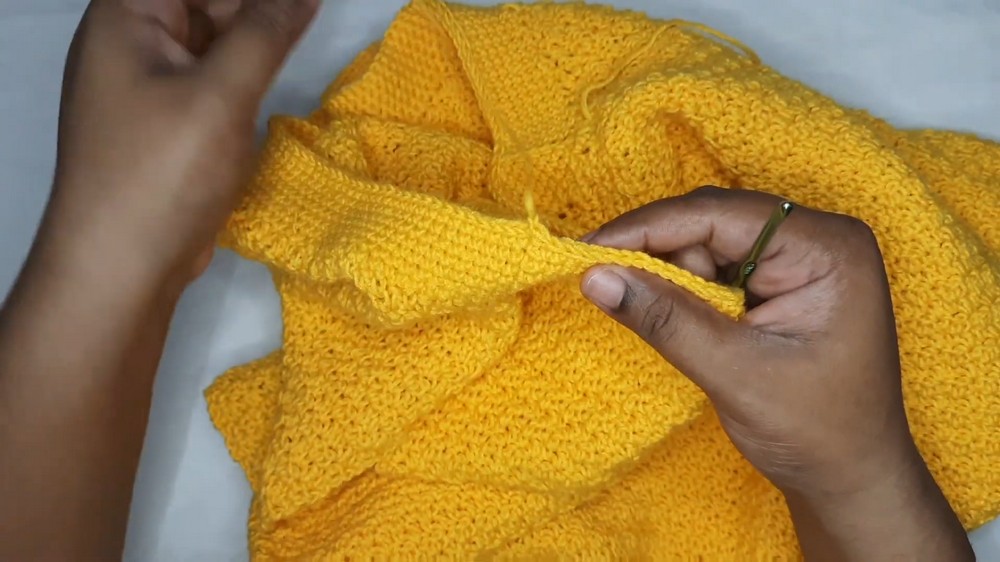
How to Crochet a V-Neck Vest Pattern
Looking for a versatile handmade layer? This V-neck crochet vest features a textured stitch pattern, a neat ribbed hem, and customizable sizing for a comfortable fit.
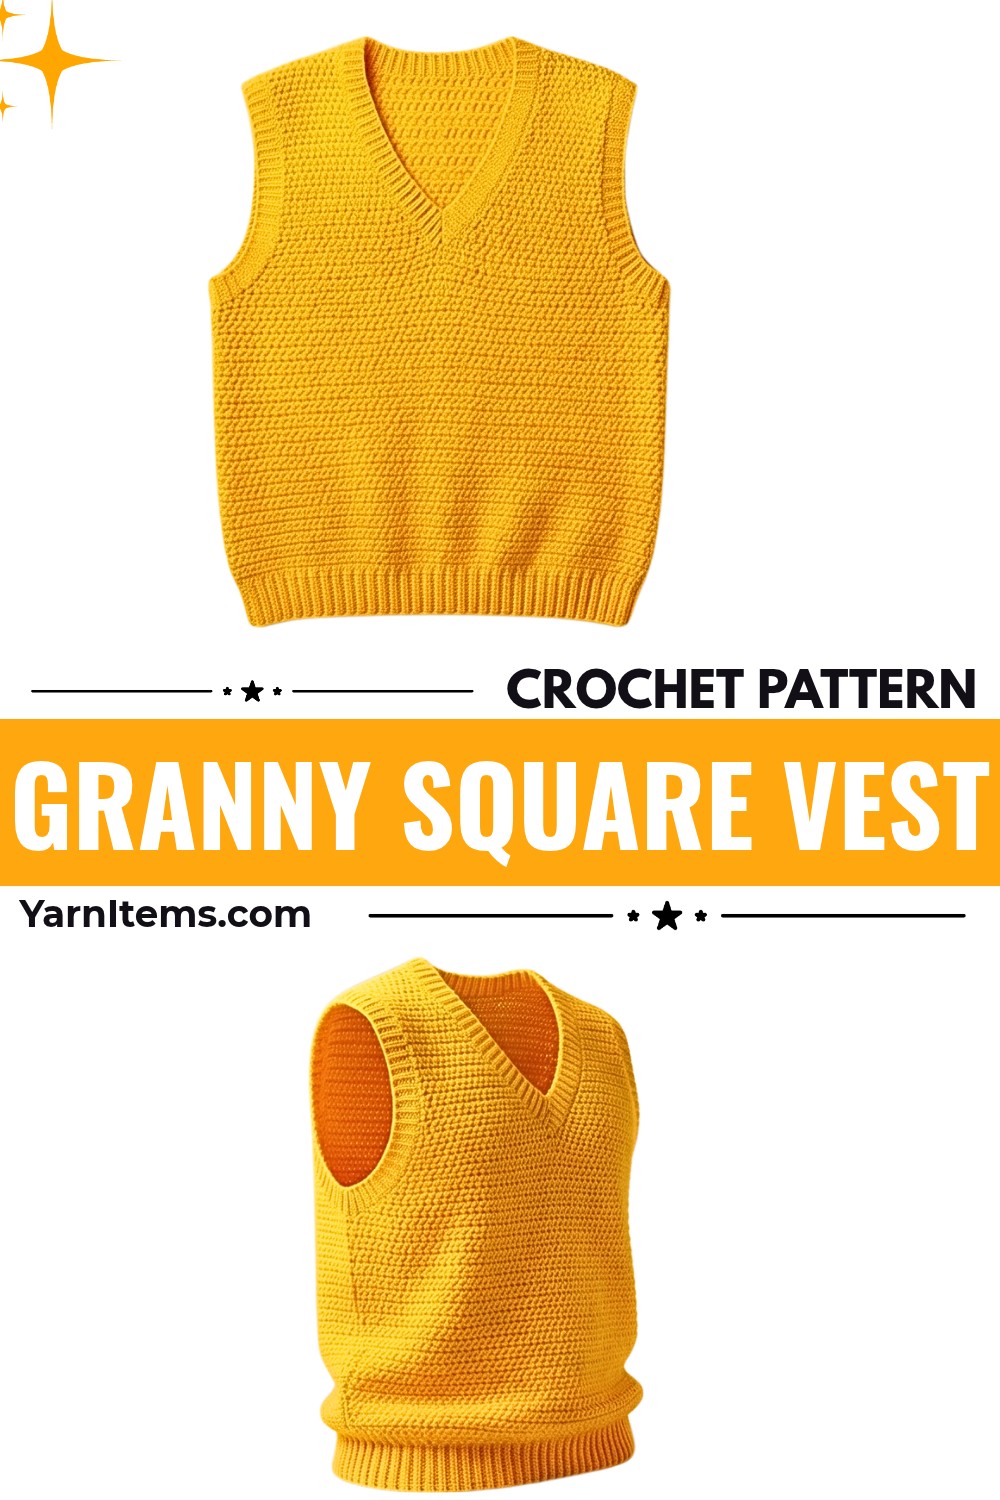
Soft yarn and a simple mix of single and double crochet stitches give this V-neck vest a lovely texture. Its sleeveless shape makes it easy to layer over shirts, while the V-shaped neckline adds a flattering detail. With a relaxed fit and a ribbed bottom edge, this crochet handmade vest is a practical wardrobe addition.
Inside this tutorial, you’ll learn how to make the back and split V-neck front panels, shape the armholes, and join the shoulders and sides. You’ll also work neat crochet edging around the neckline and armholes before adding the vertical ribbed hem. Follow the measurements and shaping instructions below to create your own wearable crochet vest.
Credit Vima’s Crochet
Materials & Tools Needed
Gather the following supplies before starting so you have everything ready for the body panels, neckline, armholes, and bottom ribbing.
- Yarn: Soft 3-ply yarn or an equivalent lightweight/DK sweater yarn. The demonstrator uses a gifted soft yarn.
- 4.0 mm Crochet Hook: Used for the main body panels, neckline edging, and armhole edging.
- 3.5 mm Crochet Hook: Used exclusively for the bottom ribbed band.
- Measuring Tape: Use to check your chest circumference, panel length, and armhole depth.
- Stitch Markers: For marking important positions, including the armholes and center of the V-neck.
- Tapestry Needle: For sewing the shoulder and side seams and weaving in loose yarn ends.
- Scissors: For cutting the yarn during finishing.
Finished Size & Customization Ideas
The demonstrated vest measures approximately 44 inches in circumference and 27 inches in total height. The foundation chain measures 22 inches before you work the body.
Here are the demonstrated measurements:
- Circumference: 44 inches.
- Foundation Chain Length: 22 inches.
- Total Height: 27 inches.
- Armhole Depth: 10 inches.
Adjusting the Size: This stitch pattern requires an even number of stitches. To make a smaller or larger vest, measure half of your desired chest circumference and work a foundation chain until it reaches that measurement without stretching.
For example, the demonstrated 44-inch circumference uses an 80-chain foundation plus 1 extra turning chain, for a total of 81 chains. Keep the stitch count even by adding 1 extra turning chain.
Changing the Length: Add rows to lengthen the vest, or work fewer rows for a shorter fit. Measure your panels as you go to keep the front and back sections properly aligned.
Adjusting the Edgings: Make the neckline and armhole bands wider or narrower by adding or removing single-crochet rounds before the final slip-stitch edging round.
Pattern Abbreviations & Terminology
- Ch / Chs: Chain / Chains
- St / Sts: Stitch / Stitches
- Sl St: Slip Stitch
- Sc: Single Crochet
- Dc: Double Crochet
- BLO: Back Loop Only
- Sc2tog: Single Crochet Decrease. Insert your hook into the first stitch and pull up a loop. Insert the hook into the next stitch and pull up another loop. Yarn over and pull through all 3 loops on the hook.
- Dc2tog: Double Crochet Decrease. Yarn over, insert your hook into the first stitch, and pull up a loop. Yarn over, insert your hook into the next stitch, and pull up another loop. Yarn over and pull through 3 loops, then yarn over and pull through the remaining 2 loops.
Step-by-Step Detailed Crochet Instructions
The vest is made in separate front and back sections. You’ll begin with the main alternating single and double crochet stitch pattern, shape the back armholes, and then divide the front into two sections to form the V-neck. Once both panels are ready, join the shoulders and sides, then add the neckline, armhole, and bottom edging.
Part 1: Main Stitch Pattern Foundation
Begin by measuring your desired circumference and preparing the foundation chain. The main stitch pattern alternates single crochet and double crochet stitches across each row.
Step 1 – Measure and Make the Foundation Chain: Use your measuring tape to measure half of your desired chest circumference. For the demonstrated size, this measurement is approximately 22 inches.
With your 4.0 mm hook and soft yarn, make a slip knot and chain in multiples of 2 until your foundation chain reaches the required length without stretching.
For the 44-inch demonstrated size, work 80 chains and add 1 extra chain for turning, for a total of 81 chains.
Step 2 – Row 1: Work into the back humps of the foundation chain rather than the usual top loops.
Place 1 single crochet (sc) into the second chain from your hook. Work 1 double crochet (dc) into the next chain.
Continue alternating 1 sc and 1 dc across the entire foundation chain. Make sure the row ends with a double crochet.
Chain 1 and turn your work.
Part 2: Back Panel Construction
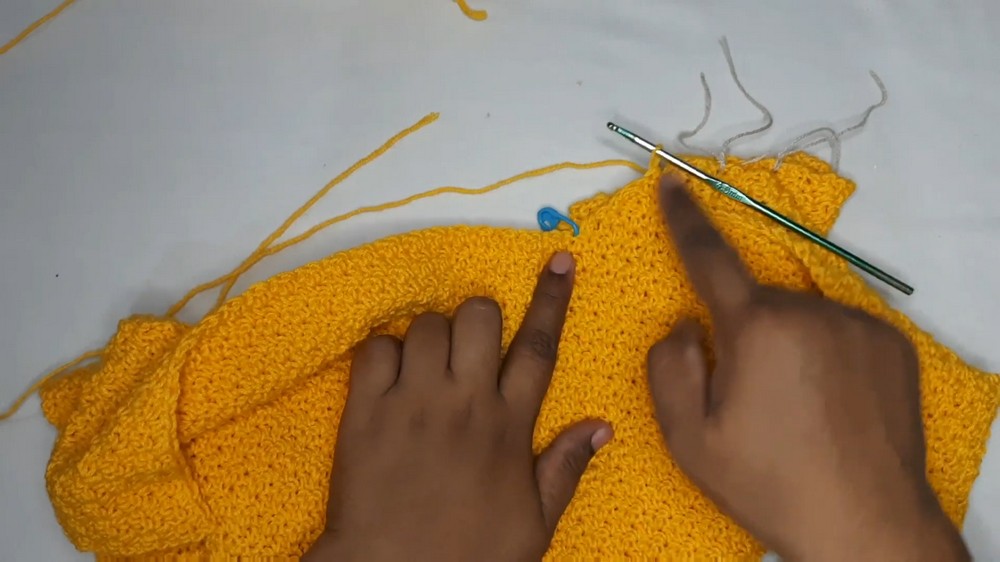
The back panel uses the same alternating stitch pattern throughout the lower body. When you reach the armhole area, leave stitches unworked at both outer edges to shape the openings.
Step 1 – Work the Repeating Body Rows: Since the previous row ended with a double crochet, begin the next row with a single crochet.
Work 1 sc into the top of each previous-row dc, followed by 1 dc into the top of each previous-row sc.
Continue alternating these stitches across the row. Always begin with a single crochet and finish with a double crochet.
At the end of each row, chain 1 and turn your work.
Step 2 – Measure the Back Panel Height: Continue repeating the same one-row stitch pattern until the panel reaches the bottom of the armhole.
For the demonstrated 27-inch total vest height, the lower body section measures approximately 24.5 inches, leaving around 2.5 inches for the shoulder length.
Use scrap yarn or stitch markers to mark intervals every 10 rows. This will help you keep track of your progress and make it easier to match the front panel later.
Step 3 – Begin the Armhole Split: Once the lower body reaches the required height, start shaping the armholes.
At the beginning of the next row, work slip stitches across the first 6 stitches. Then work another slip stitch into the 7th stitch, chain 1, and make a single crochet into that same stitch.
Continue the alternating single and double crochet pattern across the row until 6 stitches remain unworked at the opposite end.
Turn your work, leaving those final 6 stitches unworked.
Step 4 – Work the Shoulder Rows: Continue crocheting back and forth across the central stitches, maintaining the established alternating stitch pattern.
The tutorial says to continue until the armhole section reaches about 10 inches. Fasten off when the required section is complete.
Part 3: Front Panel Construction – V-Neck & Armholes
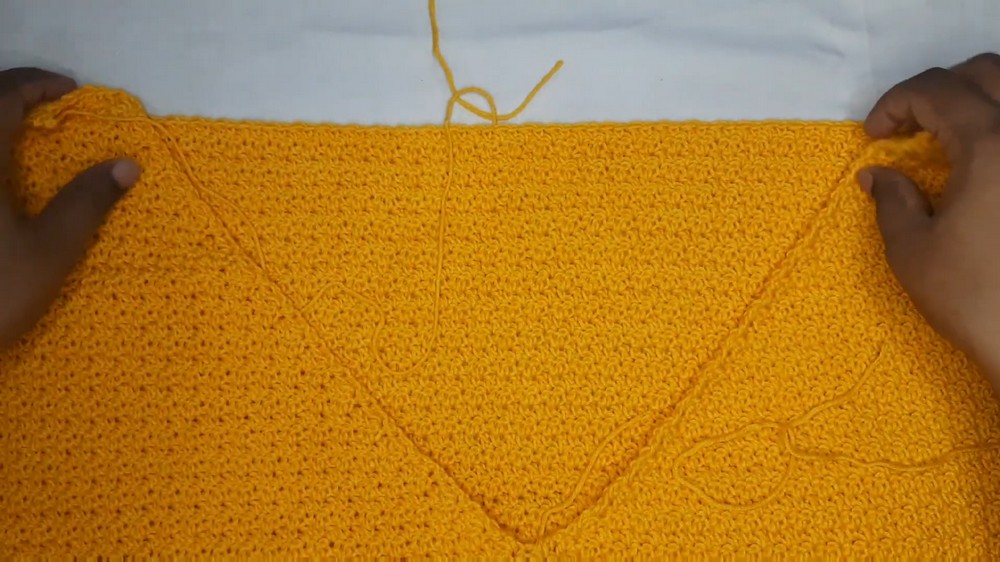
Work the lower section of the front panel just like the back. The main difference starts at the armhole area, where the center stitches split into two sections to create the V-shaped neckline.
Step 1 – Work the Lower Rectangle: Repeat the same foundation-chain instructions used for the back panel.
Work the alternating single crochet and double crochet rows until the front reaches the same height as the back, approximately 24.5 inches for the demonstrated size.
Step 2 – Shape the Armhole Edge: Begin the armhole shaping by working 6 slip stitches at the beginning of the next row.
Continue following the tutorial’s stitch pattern and prepare to divide the remaining active stitches into two equal sections.
Step 3 – Mark the Center of the V-Neck: Count the active stitches and divide them exactly in half.
Place a stitch marker at the center split point. This marker identifies the beginning of the V-neck shaping and helps keep both front sides balanced.
Left Side Shaping & V-Neck Decreases
Step 4 – Work Toward the Center Neck: Start at the armhole edge and crochet toward the center stitch marker, following the alternating single and double crochet pattern.
When 2 stitches remain before the center marker, work a decrease using sc2tog or dc2tog, depending on the stitch pattern alignment.
Chain 1 and turn your work.
Step 5 – Decrease at the Neck Edge: On the return row, begin with a decrease at the neckline edge. Continue working across toward the armhole edge, then chain 1 and turn.
Step 6 – Continue Shaping the Left Side: Repeat the same process, decreasing 1 stitch at the neck edge on every row.
Keep the outer armhole edge straight while gradually forming the sloping V-neckline.
Continue until the left side matches the back panel’s required row count. The demonstrated tutorial uses 33 rows.
Fasten off the yarn.
Right Side Shaping & V-Neck Decreases
Step 7 – Attach the Yarn at the Center: Attach your yarn at the center neck stitch marker to begin working the opposite side.
Step 8 – Work Toward the Outer Armhole: Follow the same alternating stitch pattern, working from the center neckline toward the outer armhole edge.
Make a decrease at the very beginning of the row (the neck edge of this section).
Step 9 – Complete the Right Side: Continue working back and forth, decreasing 1 stitch at the neckline on every row while keeping the outer armhole edge straight.
Match the left side’s row count so both halves of the V-neck remain symmetrical.
Fasten off securely.
Part 4: Assembly – Joining the Front and Back Panels
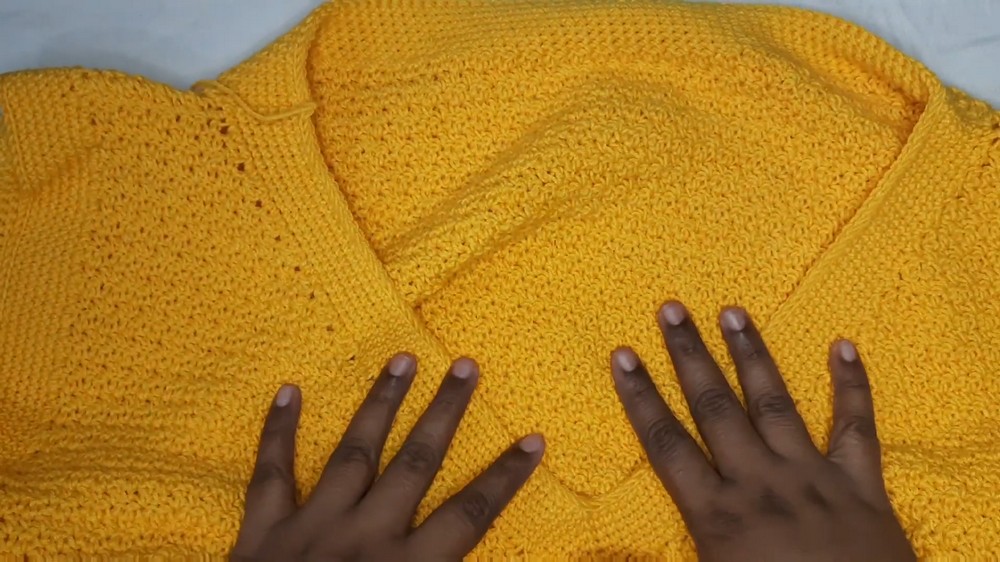
With both panels complete, join the shoulders and sides to give the vest its wearable shape. Check that the front and back pieces are aligned before sewing.
Step 1 – Sew the Shoulder Seams
Lay the front and back panels flat with their matching sides facing each other.
Using a tapestry needle and matching yarn, whip-stitch across the top shoulder straps to join the two panels.
Sew both shoulder sections securely, keeping the center neckline opening free.
Step 2 – Mark the Armhole Openings
From each shoulder seam, measure down both sides and skip 3 rows to mark the armhole.
Use stitch markers to identify where the side seams should stop. Make sure both sides have matching armhole positions.
Step 3 – Join the Side Seams
Align the side edges of the front and back panels.
Using your tapestry needle and matching yarn, whipstitch the sides together, starting at the bottom hem and working up toward the armhole markers.
Secure the yarn with tight knots and trim the excess.
Repeat on the other side. Count 5 squares inward from the edge to help align the rounded armhole shape if required by the tutorial.
Part 5: Edgings & Finishing Techniques
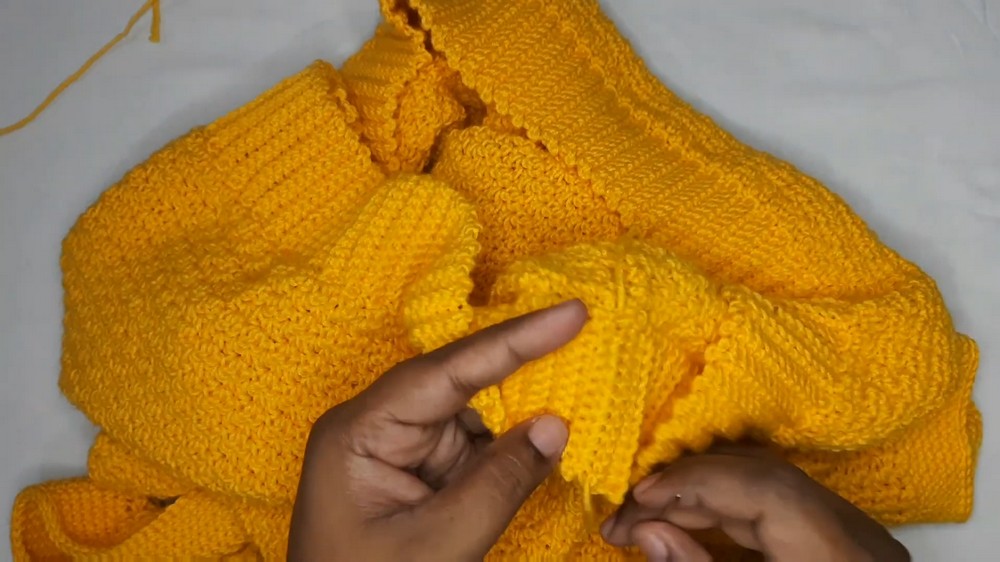
Once you join the main panels, add finishing details to the neckline, armholes, and bottom hem. Use the 4.0 mm hook for the neckline and armhole rounds, then switch to the smaller 3.5 mm hook for the ribbed bottom band.
Part 1: Neckline Edging (8 Rounds Total)
Finish the neckline with 7 rounds of single crochet, then a final loose slip-stitch round. Decreases at the center of the V-neck help keep it pointed.
Round 1: Attach your yarn at one shoulder seam using the 4.0 mm hook. Chain 1 and work single crochet stitches evenly around the entire neckline opening.
When you reach the bottom center V-point, where the two neck panels meet, work a 4-loop decrease over the center stitches to help lock in the sharp V shape.
Slip stitch to join the round.
Rounds 2-7: Chain 1 and work 1 single crochet into each stitch around the neckline.
At the center V-point, decrease by 2 stitches on every round to preserve the neckline shape.
Slip stitch to join at the end of each round.
Round 8 – Final Edge: Chain 1 and work loose slip stitches into each stitch around the entire collar.
At the center V-neck, incorporate a 2-stitch slip-stitch decrease to keep the point sharp.
Slip stitch to join, fasten off, and leave a yarn tail for weaving in.
Part 2: Armhole Edging (8 Rounds Total)
Both armholes receive the same eight-round finishing treatment. This creates a neat edge around the openings and gives the vest a more polished look.
Round 1: Attach your yarn at the underarm seam using the 4.0 mm hook. Chain 1 and work single crochet stitches evenly around the armhole opening.
For the row ends:
- Work 2 single crochet stitches into a row-end space that finishes with a double crochet.
- Work 1 single crochet stitch into a row-end space that finishes with a single crochet.
Continue around the opening and slip stitch to join.
Rounds 2-7: Chain 1 and work 1 single crochet into each stitch around the armhole.
Slip stitch to join at the end of every round.
Round 8 – Final Edge: Chain 1 and work a round of loose slip stitches into each stitch around the entire armhole opening.
Slip stitch to join, fasten off, and weave in the loose yarn tail.
Repeat the same eight rounds around the second armhole.
Part 3: Bottom Ribbed Band – Vertical Ribbing
The bottom hem uses vertical ribbing worked in single crochet through the back loops only. Switch to the smaller 3.5 mm hook for this section.
Step 1 – Set Up the Ribbed Band: Join your yarn at the bottom hem seam using the 3.5 mm hook.
Chain 12, then add 1 extra turning chain for 13 chains total.
Step 2 – Row 1: Work 1 single crochet into the back hump of each of the 12 chains.
After completing the 12 stitches, work slip stitches into the next 2 stitches along the bottom edge of the vest body to anchor the band.
Turn your work.
Step 3 – Row 2: Working in the Back Loop Only (BLO), make 1 single crochet into each of the 12 stitches, continuing upward toward the top edge of the ribbing.
Chain 1 and turn.
Step 4 – Row 3: Continue working in the BLO, making 1 single crochet into each of the 12 stitches as you crochet back down toward the bottom edge.
Work slip stitches into the next 2 stitches along the bottom edge of the vest body to anchor this row.
Turn your work.
Step 5 – Repeat the Ribbing: Continue repeating Rows 2 and 3 around the entire bottom circumference of the vest.
Keep working the BLO single crochet rows, anchoring each section with slip stitches along the bottom hem, until you reach your starting point.
Step 6 – Join the Ribbed Band: Bring the starting and ending edges of the ribbed band together.
Using your tapestry needle, whip stitch the two edges together to close the band neatly.
Fasten off securely.
Step 7 – Final Finishing: Check the inside of the vest for any remaining loose yarn tails. Use your tapestry needle to weave them securely into the seams and trim away excess yarn.
Your handmade V-neck crochet vest is now complete, with a textured stitch pattern, a shaped neckline, neatly edged armholes, and a vertical ribbed hem.