Sakura Blossom Crochet Crop Top Pattern Free
Want a crochet crop top with floral squares, scalloped lace, and an adjustable back? This Sakura Blossom design combines shaping with a customizable fit.
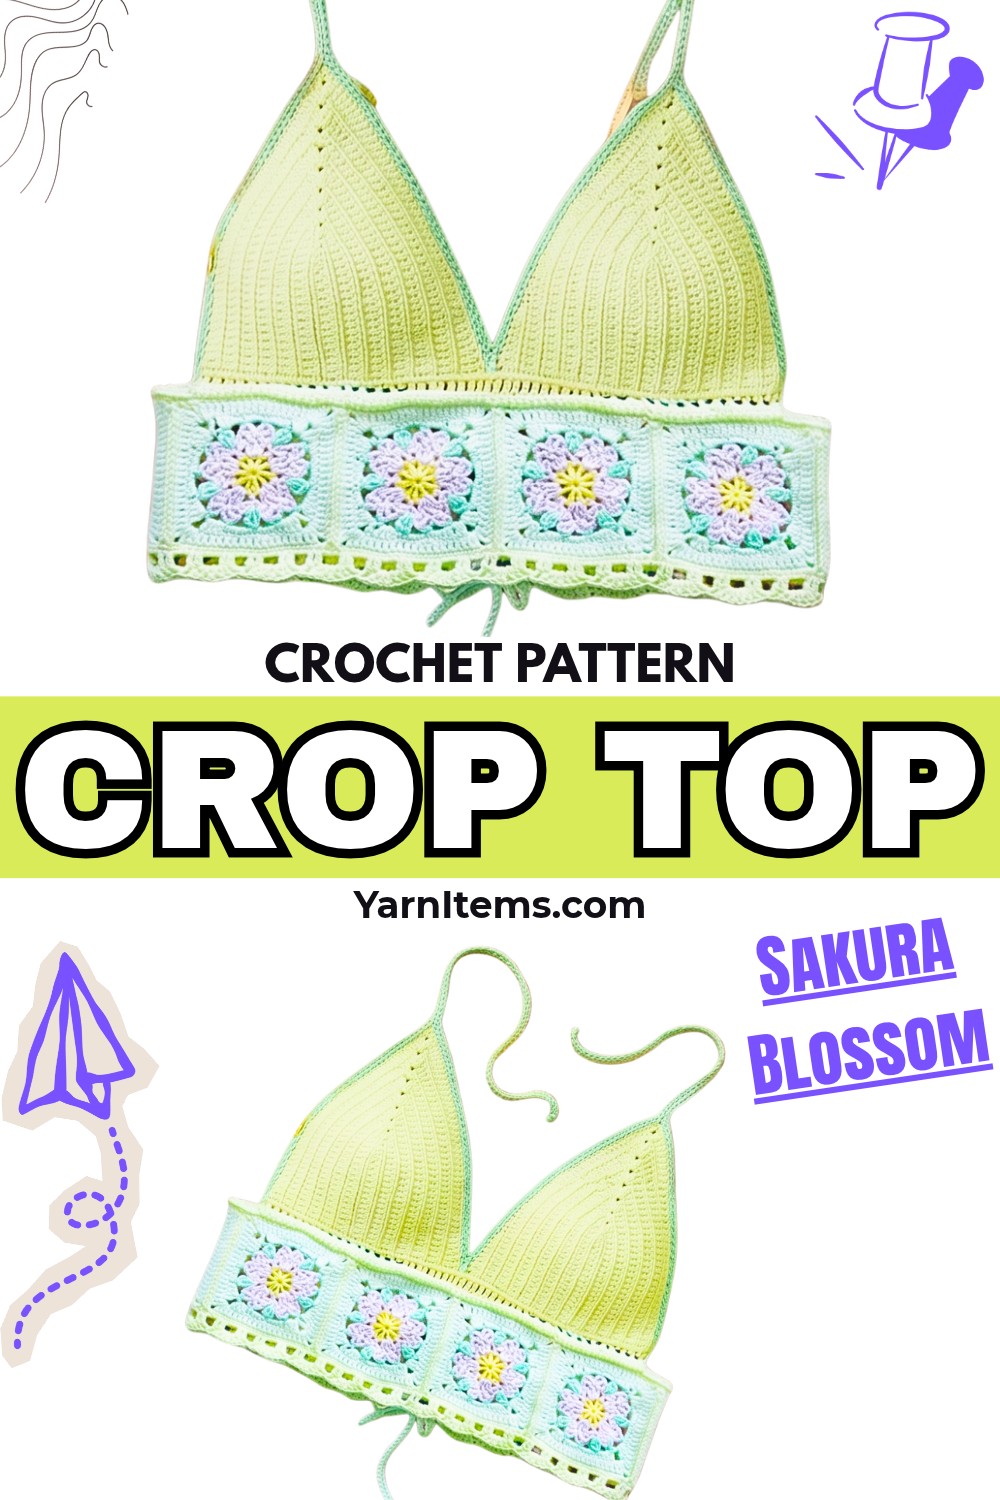
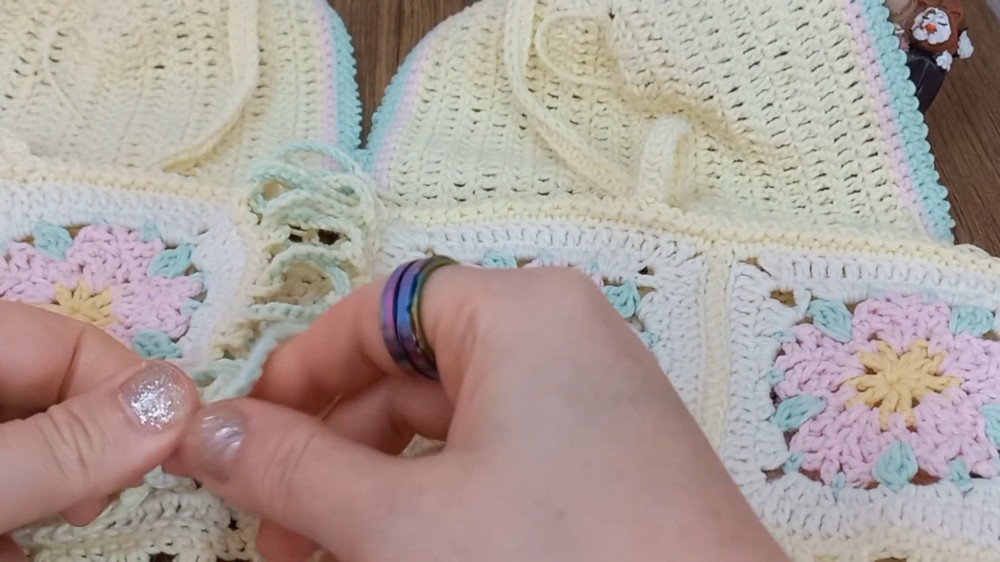
Sizing comes first with this crochet crop top because the breast cups and Sakura square strip need to meet at specific points for the finished top to sit correctly. The cups are shaped with double crochet, while the floral squares create the decorative lower section, and the lace-up back gives you room to adjust the fit.
Before starting, you’ll decide the cup width, number of Sakura squares, back style, and overall length. The tutorial below follows the making order from the two crochet cups through their borders, square joining, lower lace, button holes, straps, and two-color lacing, with the less-obvious stitch placements called out where they matter.
Credit Simple Crochet
Start With Your Measurements
The most important choice comes before crocheting the first chain: decide the width of each breast cup.
Measure your full breast circumference and divide that measurement by 4. The result is the target width for one breast cup. The tutorial uses 23 chains for the starting chain and makes 9 rounds of double crochet for a size 44, producing approximately a 45 cm half-round.
For a smaller cup, reduce the starting chains. For a larger cup, increase them. The number of cup rounds can also be continued until the desired width is reached.
Your back can remain open for a lace-up corset-style finish, or the back squares can be sewn together for a closed-back version. If you want more length through the body, continue the double crochet mesh section beneath the squares before adding the final shell border.
For the square section, the tutorial uses 8 pre-made Sakura squares for size 44, with 4 squares on each side.
Materials & Tools
- Multiple colors of medium-weight yarn
- Main color for the cups
- Contrast colors for borders and ties
- Yarn for the pre-made Sakura squares
- Crochet hook appropriate for your yarn weight
- Tapestry or yarn needle
- Scissors
- Stitch markers or pins
- Pre-made Sakura crochet squares
- 8 squares are used in the size 44 example: 4 on the left and 4 on the right
Abbreviations
- ch: Chain
- st(s): Stitch(es)
- sl st: Slip stitch
- sc: Single crochet
- hdc: Half double crochet
- dc: Double crochet
- BLO: Back Loop Only
- FLO: Front Loop Only
- 3rd loop: Back bump of a chain or third loop of a half double crochet
- Crab Stitch: In this tutorial, the creator’s custom version is [sl st, ch 1] into the indicated stitch
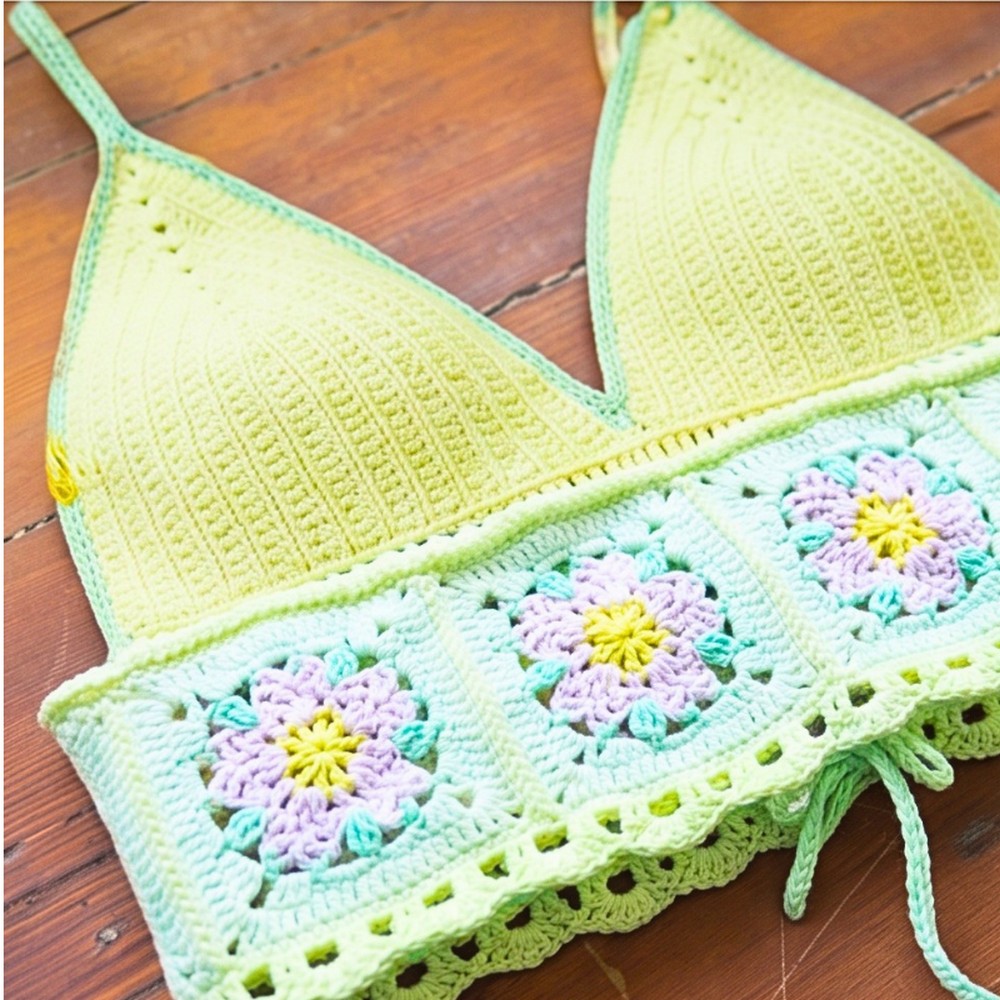
Crochet the Breast Cups
Make 2 identical cups. Each cup begins as a long foundation chain and expands around the pointed top, so the center of the cup is created at the chain-1 space rather than through increases scattered across the round.
Cup Round 1: Chain 23: 20 chains provide the base width, and 3 chains count as the first dc. Yarn over, insert the hook into the 4th chain from the hook through the front loop, and make 1 dc. Continue with 1 dc in each stitch until the final 20th chain.
In that final chain at the top, work 4 dc, ch 1, 4 dc all into the same chain space. This creates the top turning point of the cup. Work back down the opposite side of the foundation chain with 1 dc in each of the next 19 stitches.
You should now have a curved cup base with the chain-1 space clearly marking its top center.
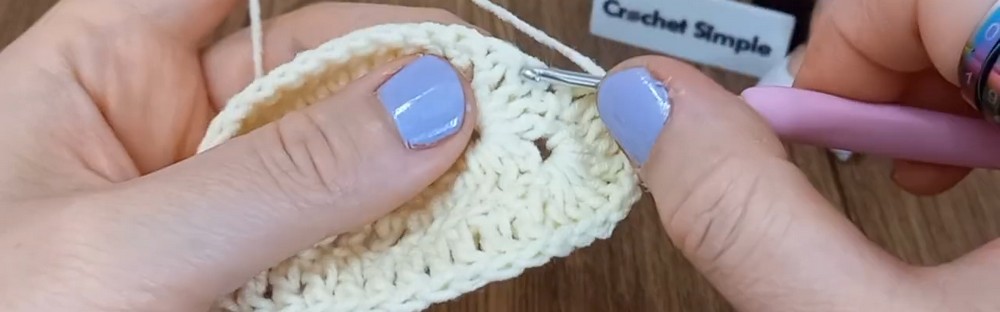
Round 2: Ch 3 and turn; work 1 dc in the BLO of each of the 20 sts until you reach the top ch-1 space; work 3 dc, ch 1, 3 dc into that space; continue with 1 dc in the BLO of each st down the opposite side.
The BLO is important only for this round because it creates the particular edge texture used by the tutorial. Keep the top ch-1 space visible; this remains the turning point for the cup.
Rounds 3–9: Ch 3, turn; work 1 dc into every stitch using both loops, continue to the top ch-1 space; work 3 dc, ch 1, 3 dc in the space; then work 1 dc in each stitch down the opposite side.
From Round 3 onward, return to the full stitch rather than BLO. Continue for 9 rounds for the tutorial’s size 44 example, or stop/continue according to your required cup width.
Shape check: As the rounds build, the two sides should rise toward the central ch-1 point while the cup gradually becomes wider and deeper. If the center point starts shifting sideways, check that the 3 dc, ch 1, 3 dc group is being worked into the correct top space every round.
Make the second cup using the same process.
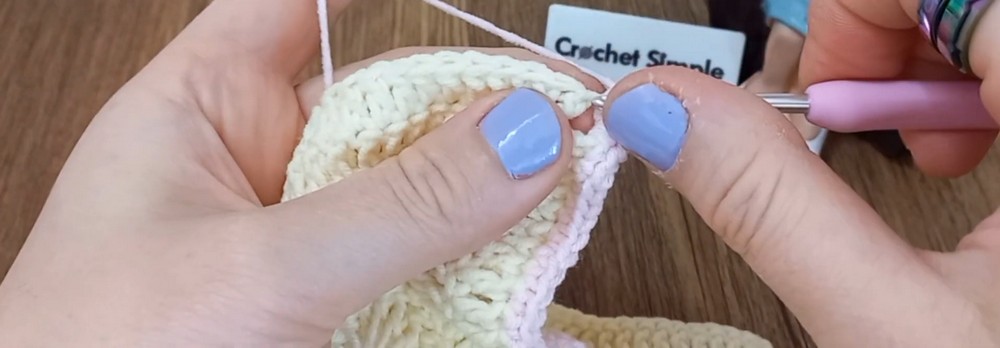
Border the Cups and Join Them
The cup borders give the raw edges a cleaner finish and also create the point where the two cups are joined.
Optional Inner Border
Attach a new color at the bottom corner, using the 3rd chain of the first stitch as the attachment point.
Inner Border: Ch 1; work 1 sc in each st up the cup to the top ch-1 space; work 3 sc, ch 1, 3 sc into the space, or use 2 sc, ch 1, 2 sc if preferred; continue with 1 sc in each stitch down the opposite side; cut yarn and fasten off.
This optional border can add another color around the inner cup edge without affecting the main joining sequence.
Outer Border
Attach a third color to the bottom corner. Make a sl st, ch 1, then work 1 sc in each stitch up to the top ch-1 space.
In the top space, work 2 sc, ch 1, 2 sc, then continue with 1 sc in each stitch down the other side.
Work the border around the second cup as well, but do not cut the yarn when finishing the second cup. That continuous yarn will be used to join the cups.
Join the Cups
Place the two cups side by side and bring their inner edges together.
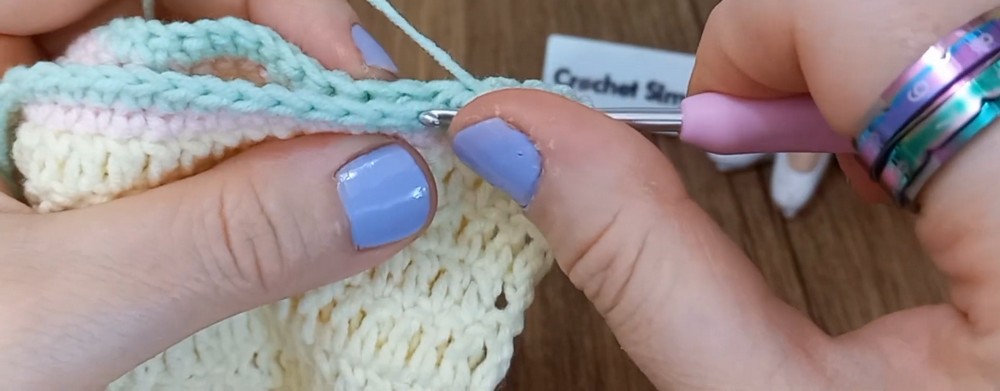
Insert the hook through the first bottom stitch of both cups. Using the back loops is optional. Make sl st, ch 1, then repeat this joining sequence for approximately 7–10 stitches upward to connect the center cleavage area.
Keep both cups aligned while joining. The lower corners should remain at the same level; if one cup is higher than the other, stop and reposition before continuing.
Continue the Border
Once the cups are joined, continue the creator’s custom crab stitch, [sl st + ch 1], around the remaining perimeter.
When reaching each top ch-1 space, work ch 2, skip the ch-1 space, and continue with the sl st + ch 1 sequence down the other side. Fasten off when the border is complete.
Create the Base for the Sakura Squares
The next section turns the lower edge of the cups into a workable strip for attaching the pre-made squares.
Row 1: Attach yarn at the bottom outer corner; ch 3, which counts as 1 dc + ch 1; work 1 dc in the next stitch space, ch 1, and repeat [1 dc, ch 1] evenly across the rough bottom edge.
When you reach the center join between the cups, pay attention to the joining stitches: work 1 dc in the pink sc, ch 1, 1 dc in the joining line, ch 1, 1 dc in the next pink sc, ch 1. Continue the [1 dc, ch 1] sequence across the second cup; ch 2 and turn.
Row 2: Work 1 sc into each dc and 1 sc into each ch-1 space across the entire bottom edge. Cut yarn.
This second row creates a more stable line for attaching the floral square strip.
Join the Sakura Squares
Before joining, decide which side of each square should face outward. Lay the squares down in their intended order so the floral arrangement remains consistent.
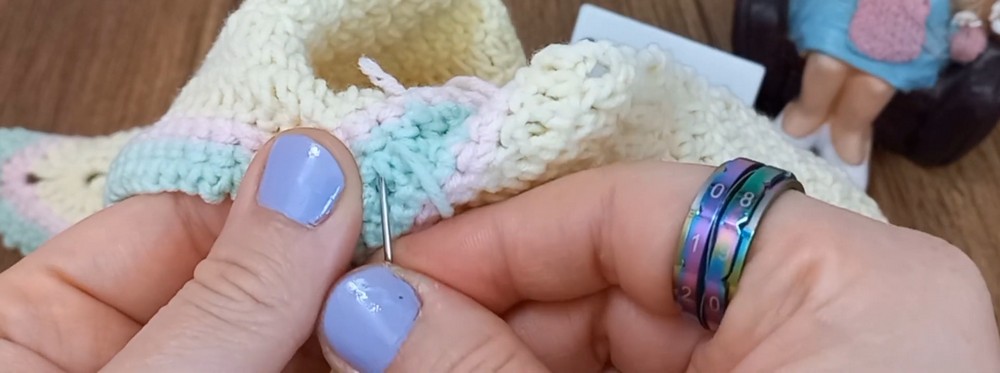
Place two squares side by side. Insert the hook into the 2nd chain, front loop of both squares, then make sl st, ch 1.
Continue [sl st + ch 1] down the side using the front loops to join the squares. Repeat until all the squares form one long rectangular strip.
For the tutorial’s size 44 example, use 8 squares, arranged as 4 on each side. If you want an open lace-up back, leave the two end squares unjoined where the back will open.
Once the strip is complete, add a top border:
Square Strip Border: Work 1 sc in each stitch, 1 sc in each chain space, and 1 sc through the joining seams across the strip.
The strip should now have a defined upper edge ready to meet the bottom of the cups.
Attach the Square Strip to the Cups
This is one of the places where careful alignment matters more than speed.
Find the exact center of the square strip and mark it with a pin. Find the center join between the two breast cups and match these two points.
Pin the rest of the strip along the bottom edge of the cups before crocheting the join. This prevents the squares from gradually shifting to one side as you work.
Attach yarn and work [sl st + ch 1] through the stitches of the squares until you reach the cup edge.
At the overlap, insert the hook through the stitch on the square and the corresponding stitch on the breast cup, using the back loops, then make sl st, ch 1. Repeat across the full joining area.
Alignment check: Before moving on, the center of the floral strip should sit directly beneath the center join of the cups. If the center is off, correct it now rather than trying to disguise the difference with the lower lace.
Add the Bottom Lace
The lower lace is worked beneath the Sakura squares in four rows, changing from an open mesh to a fuller shell border.
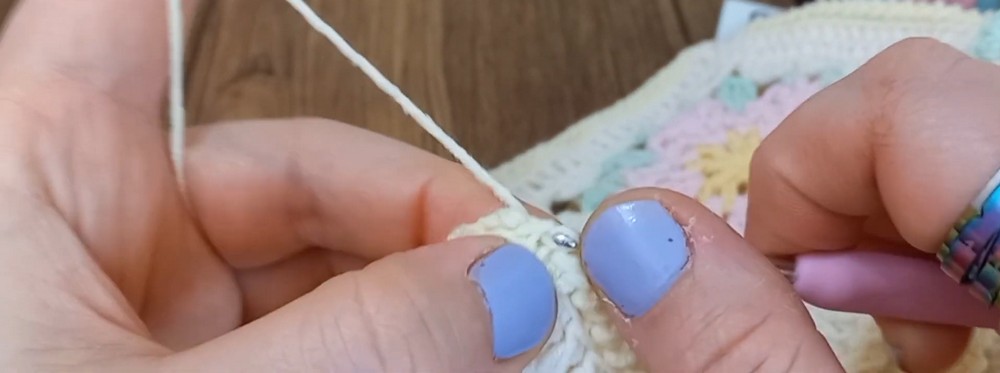
Row 1: Attach yarn at the bottom; ch 2, 1 dc in the next st; repeat [ch 2, skip 2 sts, 1 dc in the 3rd st] across to the end.
Row 2: Work 1 dc into each dc and 2 dc into each ch-2 space across.
Row 3: Ch 1, 1 sc in the next st; repeat [ch 2, skip 2 sts, 1 sc in the 3rd st] across; join with sl st.
Row 4: Sl st into the first ch-2 space, ch 1, 1 sc; in the next ch-2 space work 5 dc, or 7 dc for a fuller shell; then 1 sc in the next ch-2 space. Repeat across to create the scalloped border. Fasten off.
The fourth row is where the open mesh becomes visibly decorative. Keep the shell groups consistent so the lower edge does not become uneven.
Add the Open Back Button Holes
This section is for the open lace-up back. If you are making a closed back, this step can be omitted.
Work along the vertical raw edges of the back squares.
Attach yarn and ch 4, then sl st back into the same chain space to establish the first loop.
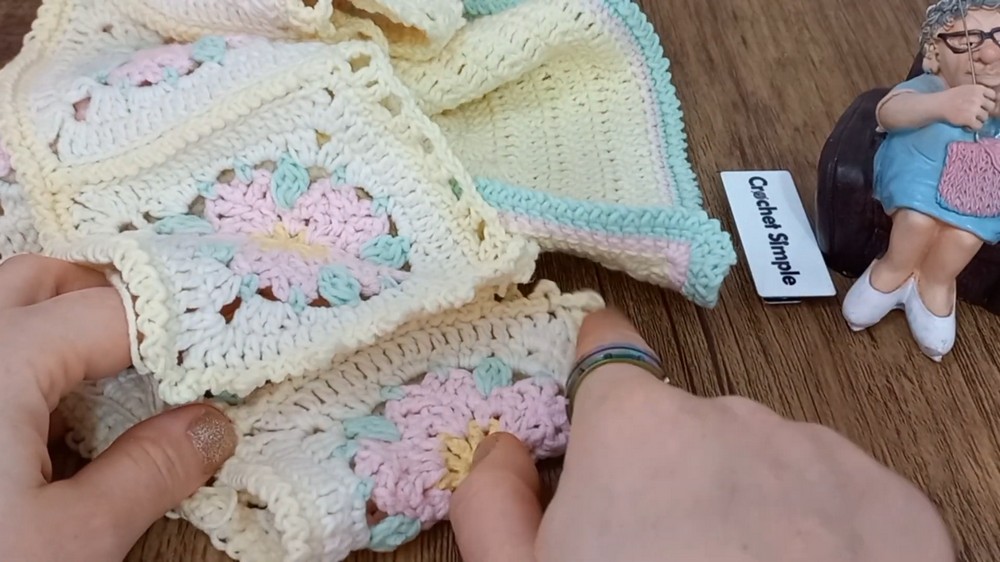
Continue the following sequence evenly down the side: [sl st + ch 1] into the next 3 sts; in the 4th st work [sl st, ch 4, sl st] to create a buttonhole loop.
Repeat the same buttonhole arrangement on the opposite back panel.
The loops need to remain at similar heights on both sides because the two-color cord will cross between them when the back is laced
Crochet the Straps
Make 2 straps.
Leave a long starting tail for sewing, then ch 74: 72 chains provide the strap length, and 2 additional chains are included as specified in the tutorial.
Insert the hook into the 3rd loop/back bump of the 3rd chain from the hook and make 1 hdc. Continue with 1 hdc into the 3rd loop of every chain across.
Cut the yarn, leaving a long tail for sewing.
Repeat for the second strap.
The long tails are intentional because they will later secure each strap directly to the top and back of the garment.
Make the Two-Color Lace-Up Cord
Take two strands of yarn in different colors.
Make a slip knot using both strands together, then hold the strands separately. Wrap Color A around the hook and use Color B to form the chain, pulling the working loop through both loops. Continue alternating the two colors as you make the cord.
The alternating strands give the finished lace a two-color appearance while the paired yarn creates a stronger cord for the back closure.
Attach the Straps and Lace the Back
Now the main pieces are ready to be connected.
Secure the Front Strap Ends
Pin one strap to the top ch-2 space of a breast cup. Use its long yarn tail and a tapestry needle to sew the strap securely into the top two rounds.
Hide the sewing end neatly, then repeat with the second strap.
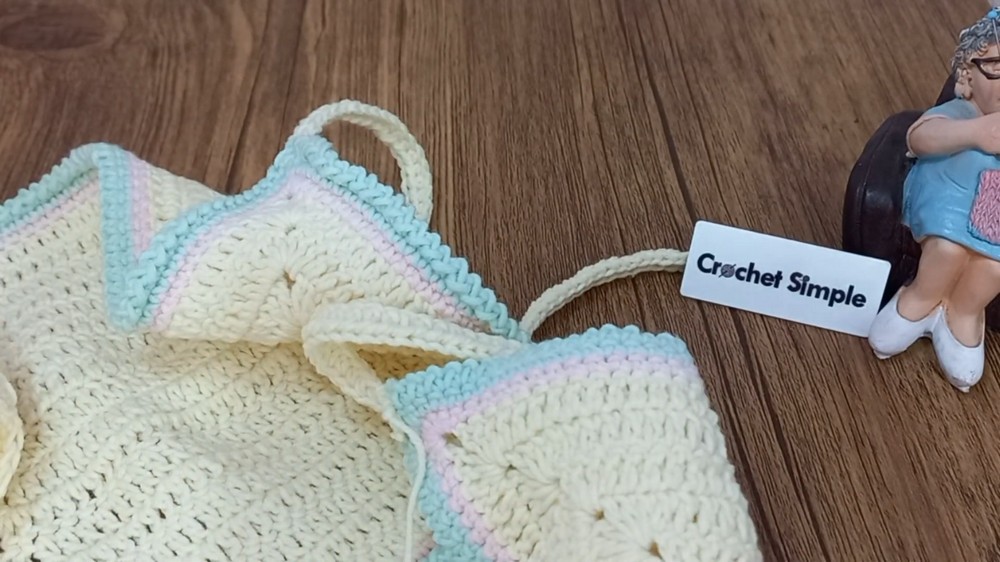
Position the Back Strap Ends
Try the top on, or measure the placement before sewing. Position each strap approximately two fingers outward from the center back.
Pin the ends in place first and check that both straps sit evenly before sewing them securely. Once the position feels right, use the long tails to attach the straps and weave in the ends.
Lace the Back
Thread the two-color cord onto a yarn needle and weave it through the buttonhole loops on both back panels, following the same alternating path you would use when lacing a shoe.
Pull the cord to the desired fit and tie a bow at the bottom.
The lace-up opening lets you make small fit adjustments after the top is finished, so there is no need to force the back panels into a fixed position.
Choosing the Back and Length
For an open back, keep the end squares separate and add the buttonhole loops so the two-color cord can lace the panels together.
For a closed back, sew the back squares together instead and omit the lace-up buttonhole section.
To make the top longer, add more rounds of the double crochet mesh below the squares before working the final shell border. This changes the vertical length without requiring you to alter the breast cup shaping.