Crochet a Classic Santa Hat For Warm Holiday Cheer
Some holiday traditions never lose their charm, and a classic crochet Santa hat is one of them. With its bright red body, soft white brim, and fluffy pom-pom. It instantly brings the cheerful spirit of Christmas to any celebration.
If you’re looking for a festive piece that stays stylish year after year, this crochet pattern is a wonderful place to begin.

Crochet a Classic Santa Hat Pattern
This step-by-step guide shows you how to crochet a hat with a neat finish and a timeless design that’s easy to enjoy every holiday season. As each section comes together, you’ll see how a few simple stitches create a hat full of festive character.
Keep scrolling to discover the crochet pattern and make a Christmas accessory you’ll look forward to wearing every winter.
Credit Molina DIY
Materials & Tools Needed
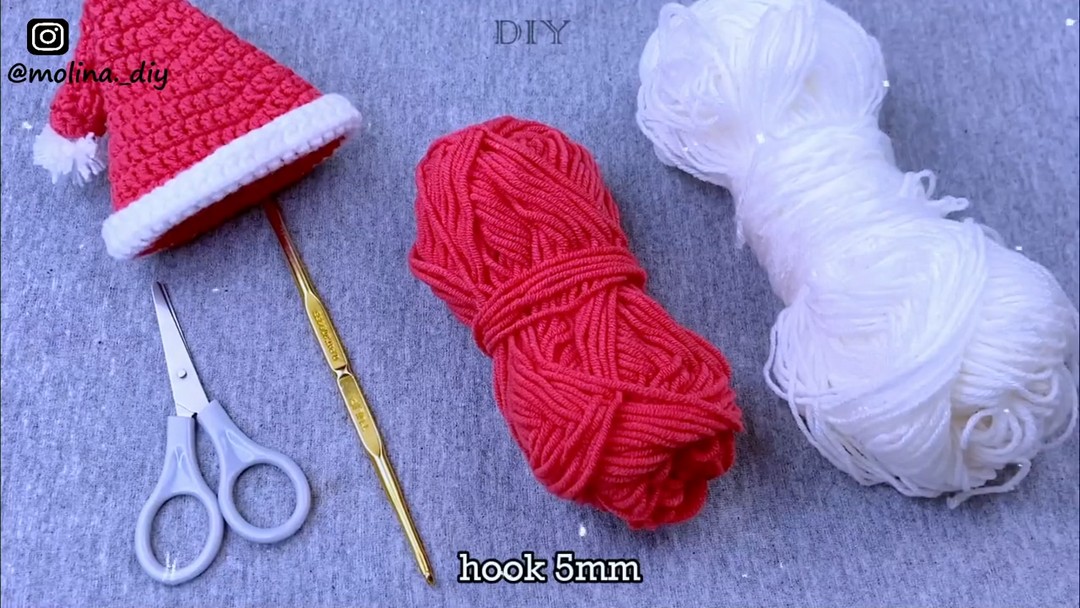
- Yarn: Medium-weight cotton yarn (Red and White)
- Crochet Hook: 5.0 mm (Size H-8)
- Other Tools:
- Scissors
- Marker or pen (used as a guide for the pom-pom)
Finished Size & Customization Ideas
- Approximate Size: 3.5 to 4 inches tall
- Ideas for Customization:
- Garland/Ornaments: Attach a loop of metallic thread or yarn to convert it into a hanging tree ornament.
- Color Variations: Replace red with modern holiday colors like mint green, forest green, or soft pink.

Pattern Abbreviations & Terminology
- Ch: Chain
- Sl St: Slip Stitch
- SC: Single Crochet
- DC: Double Crochet
- In.DC: Double Crochet Increase (2 DC in the same stitch)
- St / Sts: Stitch / Stitches
Step-by-Step Crochet Instructions
Component 1: The Red Hat Cone
- R1: Create a magic ring.
- Ch 2 (does not count as a stitch).
- Work 8 DC into the ring, pull it tight, and join with a Sl St to the first DC. (8 sts)
- R2–R5:
- Ch 2. Work 1 DC in each stitch around.
- Join with a Sl St. (8 sts)
- From R6 to R17, gradually increase the number of stitches each round as follows:
- Repeat the pattern “(X number of DC, In.DC) three times, then 1 DC in the last stitch.”
- Increase X by 1 in each round.
Example Progression:
- R6: (1 DC, In.DC), … (11 sts)
- R7: (2 DC, In.DC), … (14 sts)
- Continue this until R17, ending with 44 sts.
- Fastening Off: Cut the red yarn and fasten off.

Component 2: The White Brim
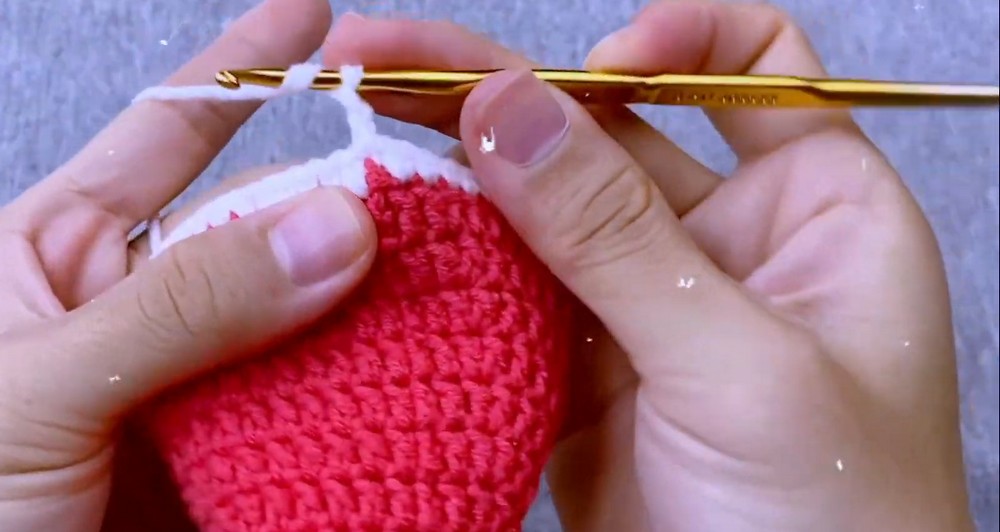
- Attach white yarn to the first stitch of R17.
- R18:
- Work 1 SC in every stitch around.
- Join with a Sl St. (44 sts)
- R19:
- Ch 2. Work 1 DC in every stitch around.
- Join with a Sl St. (44 sts)
- Final Touch: Cut the yarn, fasten off, and weave in loose ends.
- Fold the white brim upward slightly to create a classic folded effect.
Component 3: The Mini Pom-Pom
- Wrap the Yarn:
- Wrap white yarn around a pen/marker (or your fingers) 12 times.
- Tie the Center:
- Slide the yarn off and tie tightly in the center with an 8-inch piece of white yarn.
- Cut the Loops:
- Use scissors to cut both ends of the loops open.
- Trim for Shape:
- Trim the ends to create a dense, round pom-pom, leaving the securing tails uncut.
- Attach to the Hat:
- Insert your crochet hook inside the hat, up through the top magic ring.
- Pull the pom-pom tails into the hat, tie a double knot on the inside, and trim any excess yarn.
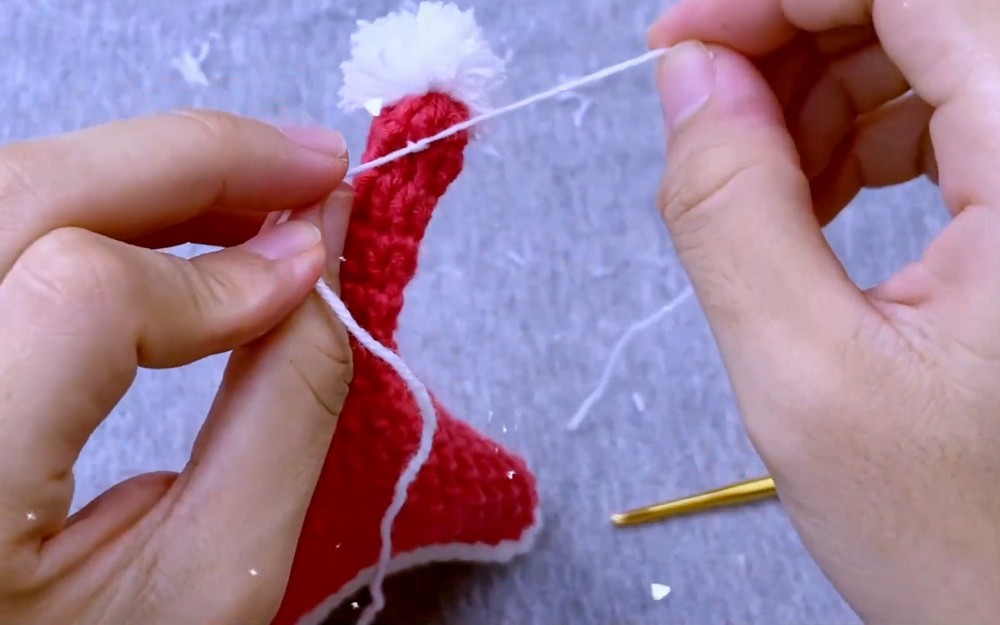
Your Mini Santa Hat Is Complete!
You can now use the finished product as:
A festive holiday ornament.
A cute gift topper.
A decorative garland piece.