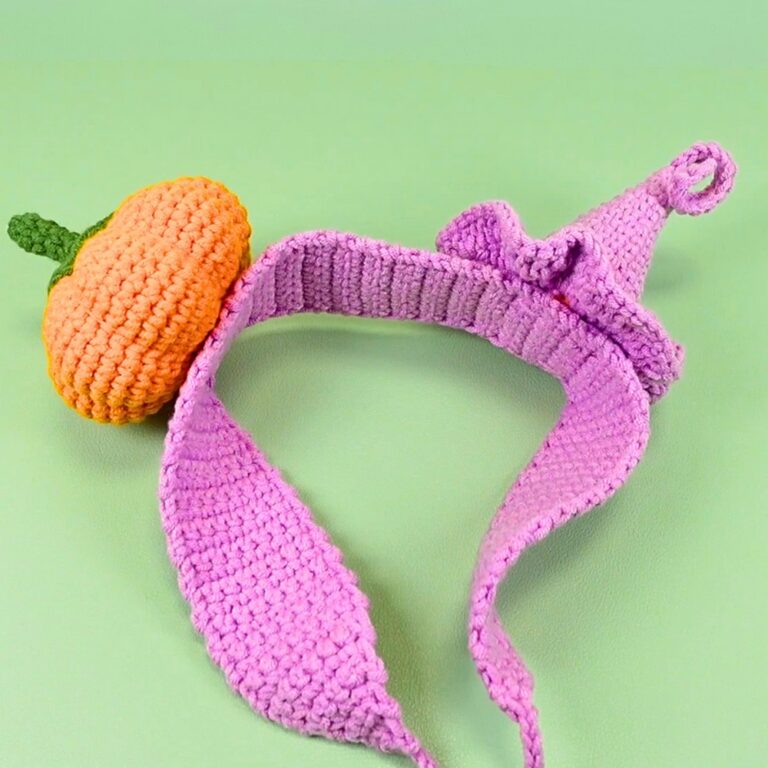
Festive Crochet Pumpkin Bag Pattern for Labubu
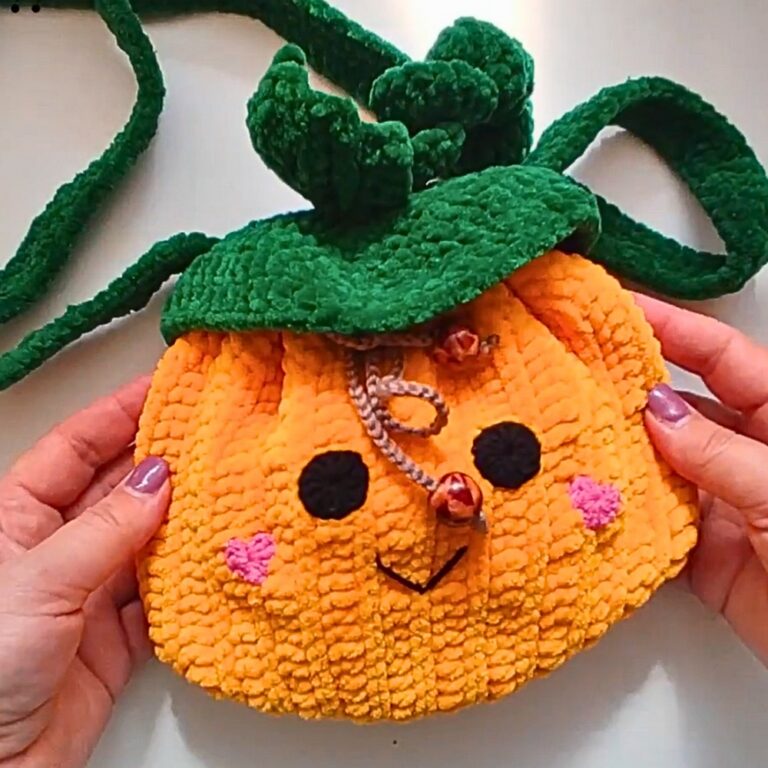
A tiny pumpkin bag made just for Labubu is the kind of piece that instantly brings Thanksgiving charm to your crochet collection. Its round shape, little stem, and festive style make it perfect for dressing up your favorite figure. Displaying on a holiday shelf, or hold tiny treats and surprises. This crochet pattern focuses on creating a fun seasonal accessory that’s as delightful to make as it is to show off.
Crochet Labubu Pumpkin Bag Pattern
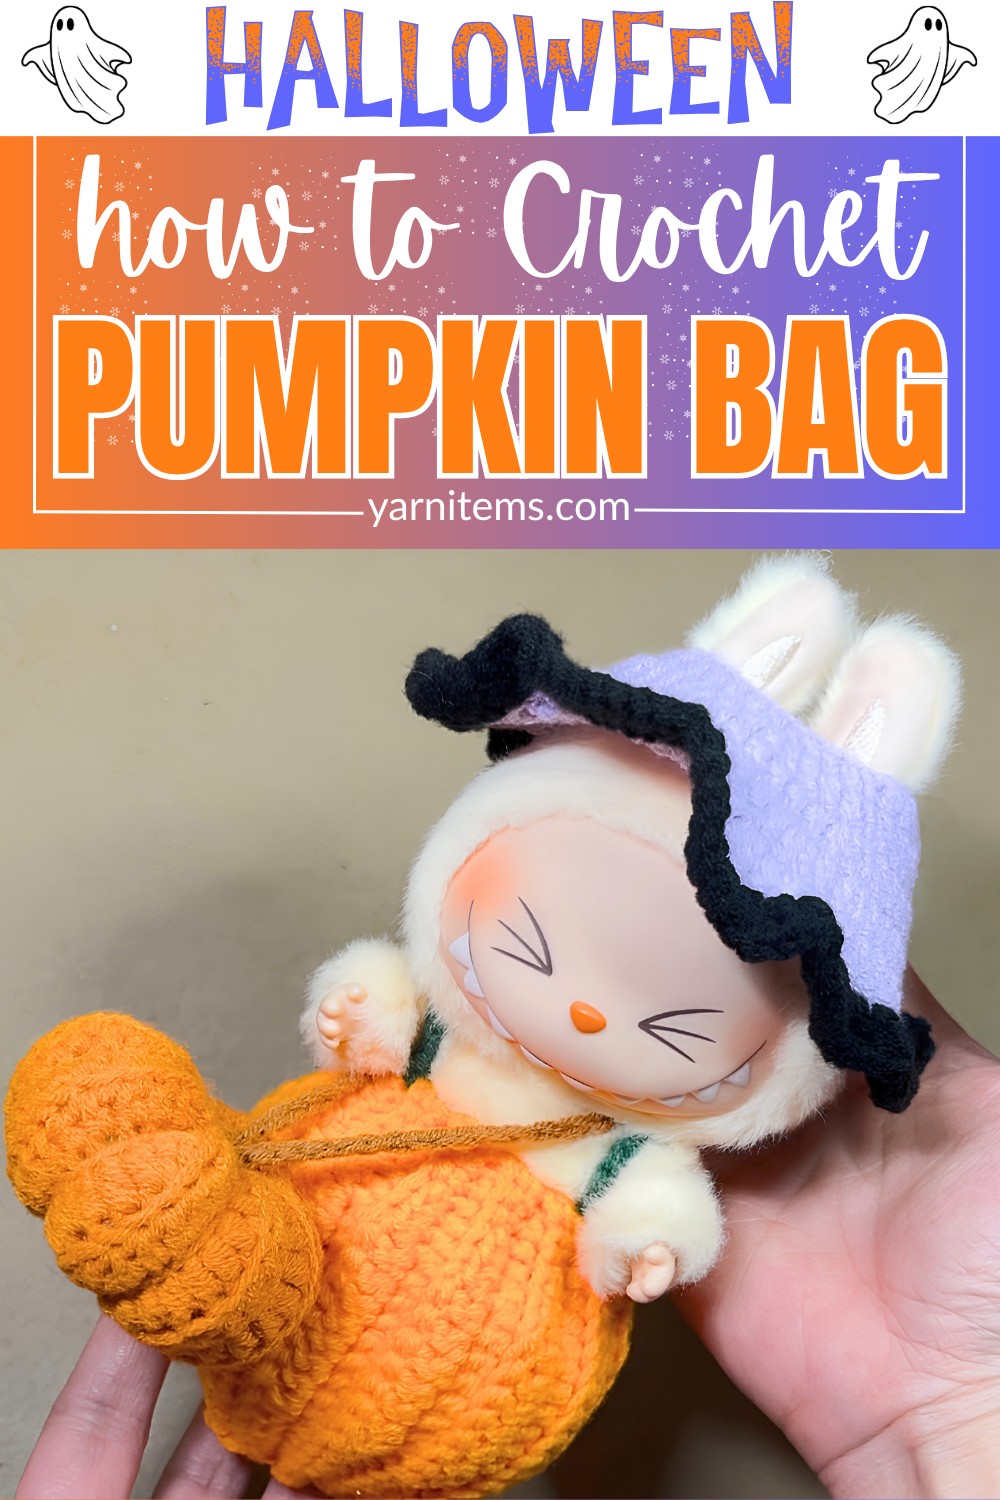
The design comes together with simple stitches and easy shaping, making each section enjoyable to crochet. Along the way, you’ll see how a few thoughtful details transform an ordinary mini bag into an eye-catching pumpkin piece. Keep reading to follow the crochet pattern and bring this cheerful Thanksgiving accessory to life.
Credit Pikky Diy
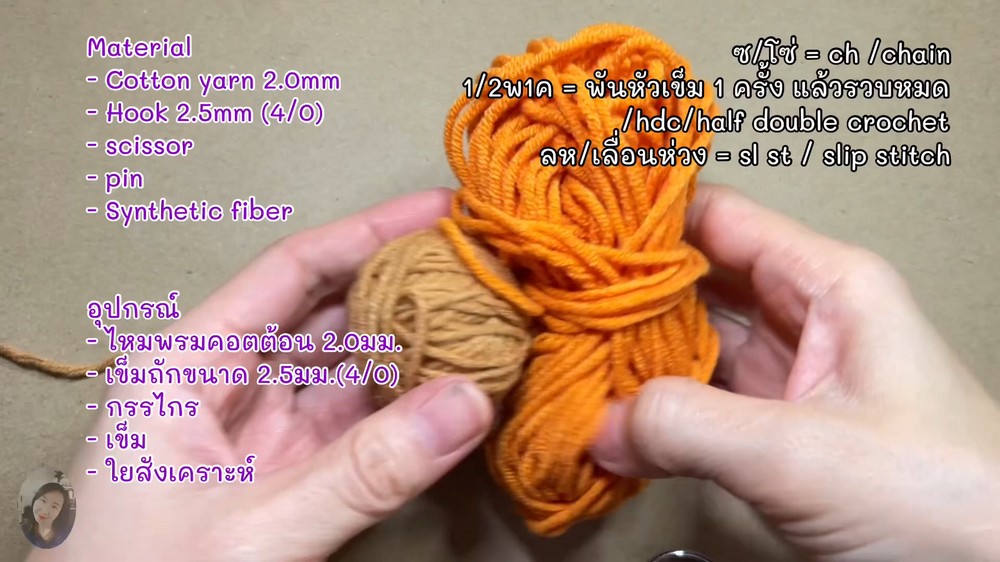
Materials & Tools Needed
- Yarn:
- Orange (pumpkin body)
- Brown/Khaki (bag strap & stem detail)
- Recommended thickness: approximately 2.0 mm (cotton yarn).
- Crochet Hook:
- 2.5 mm (Size 4/0).
- Stuffing:
- Synthetic fiberfill (polyester fiber stuffing).
- Tools:
- Tapestry needle (for assembly and shaping).
- Scissors.
- Stitch markers/pins.
Finished Size & Customization Ideas
- Size:
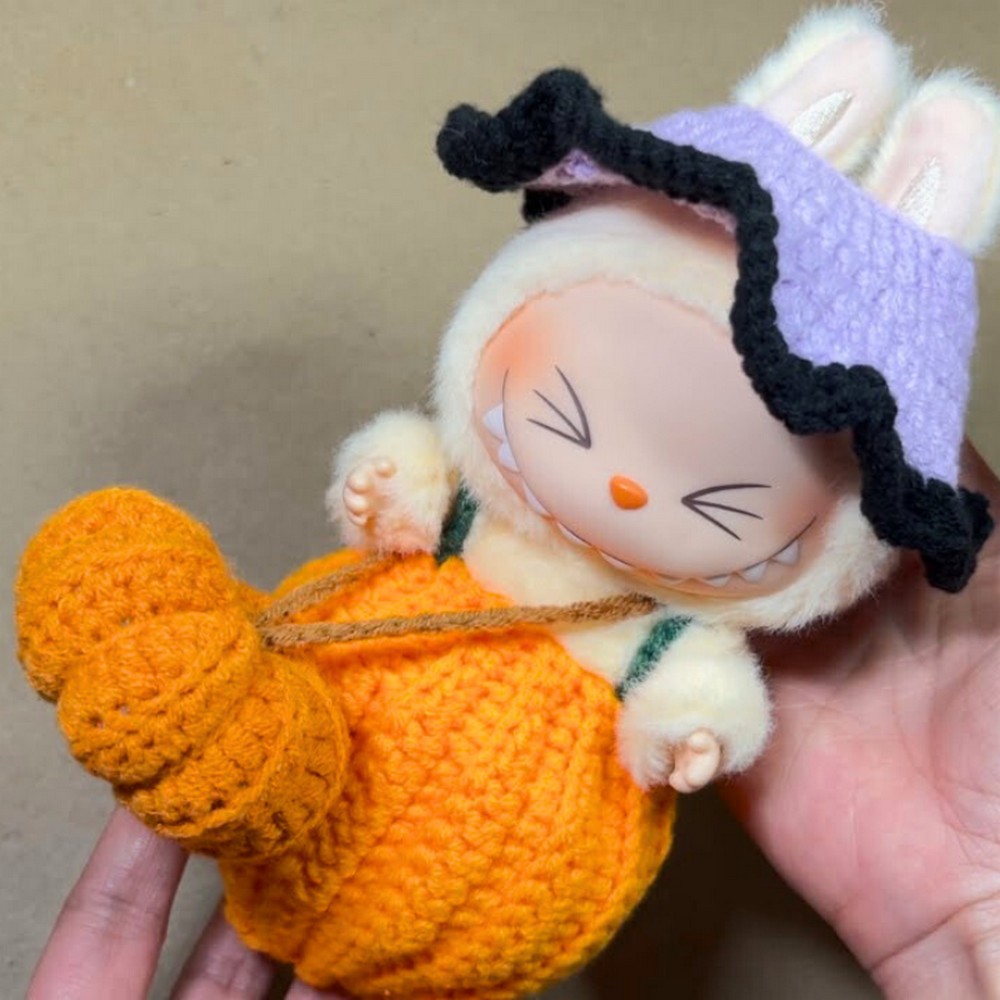
Perfectly scaled for a 15 cm Labubu doll as a tiny crossbody bag. - Customization Ideas:
- Use a 3.0 mm–3.5 mm hook for a larger standalone pouch with chunkier yarn.
- Add a tiny green leaf stitch at the top junction for a garden-style look.
Pattern Abbreviations & Terminology
(Using US crochet terms)
- ch: Chain stitch
- hdc: Half-double crochet
- BLO: Back loop only (creates textured “ribbed” lines).
- sl st: Slip stitch
- st(s): Stitch(es)
Step-by-Step Detailed Crochet Pattern
Part 1: The Pumpkin Body (Orange Yarn)
We’ll crochet a ribbed rectangle, transform it into a tube, and shape it into a pumpkin.
1. Create the Ribbed Base Rectangle
- Rows 1–18:
- Foundation: Ch 16.
- Row 1: Starting in the 3rd chain from your hook, hdc into each stitch across. (14 hdc total). Turn.
- Row 2: Ch 2. Work 14 hdc into BLO (back loop only) across the row. Turn.
- Rows 3–18: Repeat Row 2 (Ch 2, hdc in BLO) until textured ribbing is complete.
2. Finish the Rectangle & Prepare Yarn Tail
- Fasten off, leaving a long tail of yarn (~12–15 inches).
- Thread this tail onto a tapestry needle for later assembly.

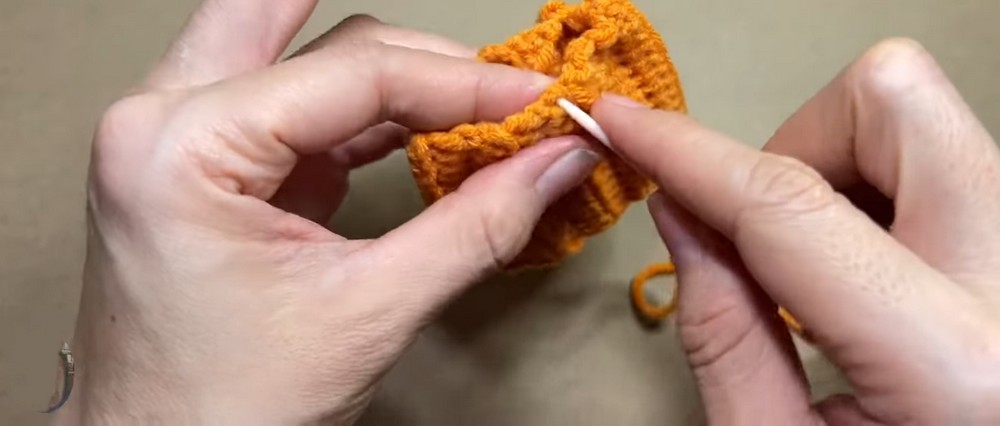
3. Form the Cylinder
- Fold the ribbed rectangle in half—align Row 1 to Row 18.
- Use your long yarn tail to whipstitch or slip-stitch the two short ends together, forming a cylinder.
4. Close the Bottom
- Use your tapestry needle to weave through the bottom edge stitches in and out.
- Pull tight to cinch shut the bottom opening.
- Secure with a knot on the inside.
5. Stuff the Pumpkin
- Turn the cylinder right-side out.
- Fill the hollow shell firmly with synthetic fiberfill until round and plump.
6. Close the Top
- Weave your needle through the top edge stitches.
- Pull tightly to close the opening, securing the stuffing inside.
7. Sculpt the Pumpkin Segments
- Divide the pumpkin into 6–8 segments using your remaining yarn tail:
- Insert your needle through the top center straight down to the bottom center.
- Pull tightly to indent slightly, sculpting the pumpkin shape.
- Wrap your yarn around the outside along the ribbed groove, and repeat weaving/top-to-bottom stitching 6–8 times.
- Tie a secure knot at the bottom and weave in the loose ends.
Part 2: The Crossbody Strap (Brown/Khaki Yarn)
1. Crochet the Strap
- Ch 40–45: Create a chain based on your desired strap length.
- Leave short tails on both ends for finishing.

2. Fit Check & Assembly
- Test the fit by positioning the strap across your Labubu doll.
- Attach one end of the strap beside the top center of your pumpkin with a tapestry needle.
- Sew the other end of the chain to the opposite top edge of the pumpkin to form a loop strap.
- Tie off ends securely and weave in remaining yarn.

Final Notes
Your festive crossbody pumpkin bag for Labubu is now ready for Thanksgiving celebrations.