Crochet Strawberry Keychain Pattern – Cute Amigurumi Berry
Looking for a cute handmade charm? Crochet this mini strawberry keychain with a leafy top, tiny white seeds, and a sweet flower detail.
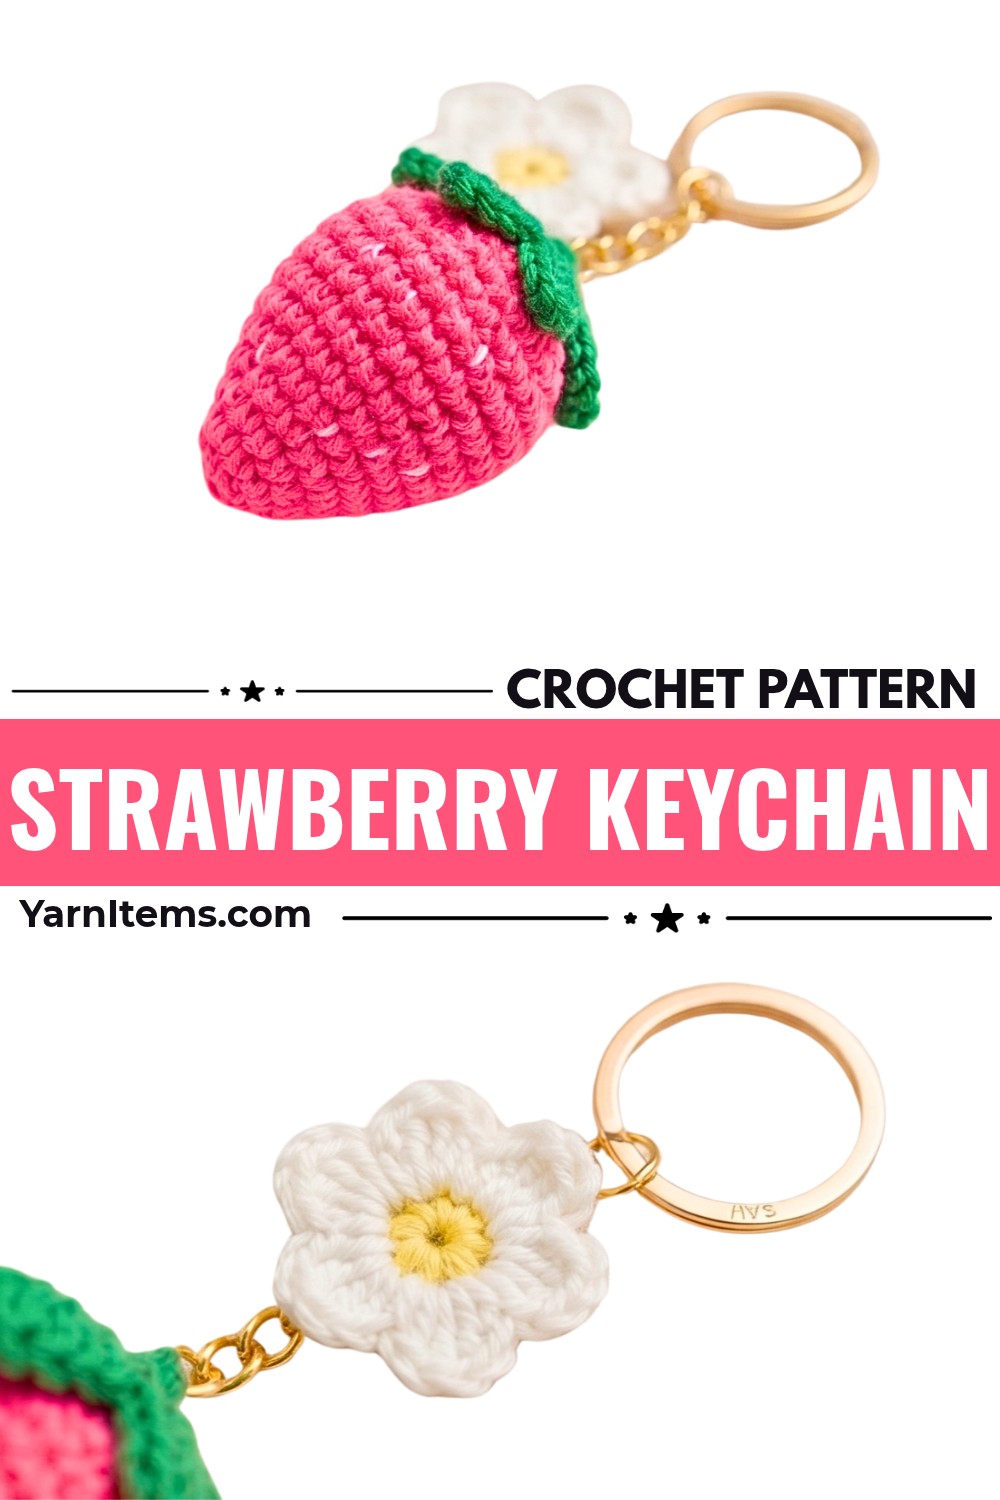
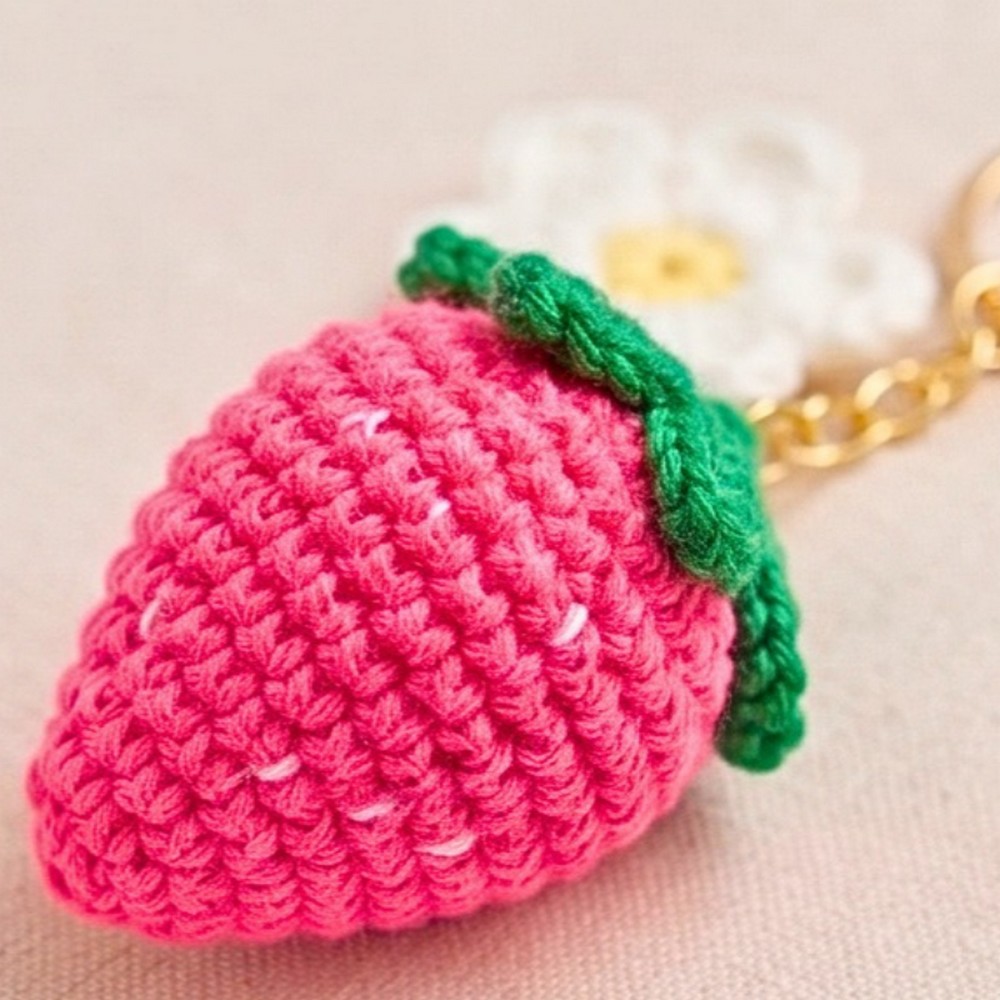
Bright berry colors, tiny embroidered seeds, and a little white flower give this crochet strawberry keychain its sweet, playful look. Its plump shape and leafy green top make it a lovely miniature charm for a handbag, backpack, or set of keys.
Made with simple amigurumi stitches, this crochet strawberry comes together in continuous rounds before you add the leaves and flower. You’ll also learn how to embroider the seeds and attach the keychain hardware so the finished charm is ready to use or give as a handmade gift.
Credit Dani Crochet
Finished Size
The finished strawberry measures approximately 4.5-5.5 cm (1.8-2.2 inches) high and 3.5 cm (1.4 inches) across its widest point when worked to gauge with a 2.5 mm crochet hook.
Materials & Tools Needed
- Yarn: 4-ply or sport-weight yarn, approximately 2 mm thick, such as Milk Cotton or DK acrylic
- Main Color: Pink or bright red, approximately 15–20 g
- Leaves: Leaf green, approximately 5-8 g
- Flower: Sunny yellow, approximately 2 g, and pure white, approximately 3 g
- Embroidery: Scrap white yarn or embroidery floss for the strawberry seeds
- Crochet Hook: 2.5 mm
- Stuffing: Polyester fiberfill
- Hardware:
- 1 keychain ring with a short link chain
- 2 small metal jump rings, 6-8 mm
- Tools & Notions:
- Stitch marker for continuous spiral rounds
- Blunt-tip yarn or tapestry needle
- Small craft pliers for opening and closing jump rings
- Sharp yarn scissors
- Optional fabric glue or hot glue gun for securing the calyx without stitching
Crochet Abbreviations
This pattern uses standard US crochet terms.
- MR: Magic Ring or adjustable loop
- ch: Chain stitch
- sl st: Slip stitch
- sc: Single crochet
- hdc: Half double crochet
- dc: Double crochet
- inc: Single crochet increase (work 2 sc in the same stitch)
- dec: Invisible single crochet decrease
- st(s): Stitch(es)
- [ … ]: Repeat the instructions inside brackets the stated number of times
- (xx sts): Total stitch count at the end of the round
Invisible decrease (dec): Insert your hook through the front loops only of the next two consecutive stitches. YO and pull through both front loops. YO again and pull through the remaining two loops on your hook.
Step 1: Crochet the Strawberry Body
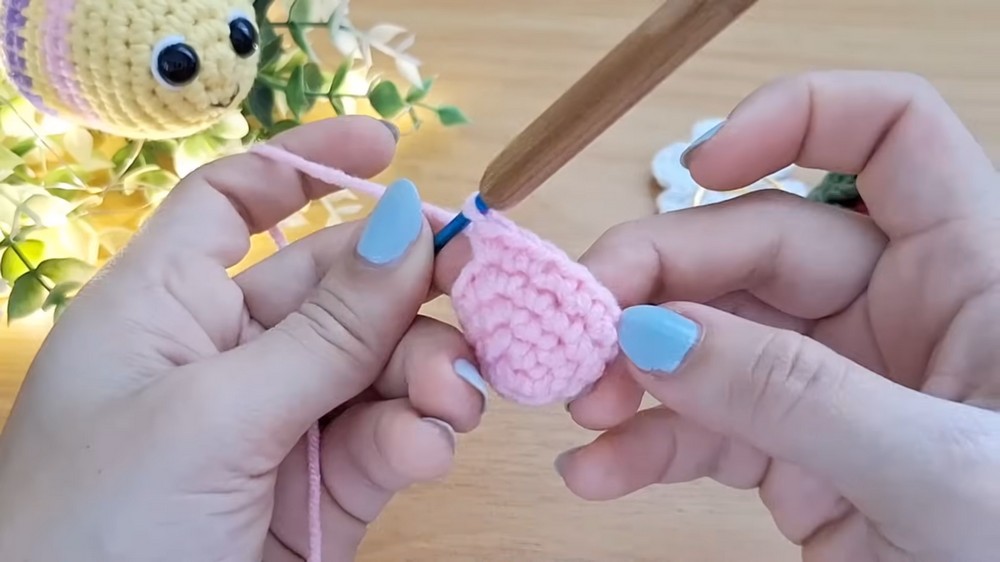
Use your main color, pink or bright red, to crochet the berry. The body is worked in continuous spiral rounds, starting at the pointed bottom and gradually widening toward the rounded crown.
Do not join rounds with a slip stitch. Place a stitch marker in the first stitch of each round and move it up as you work.
Shape the Berry
- Rnd 1: Work 6 sc into a MR. Pull the yarn tail tightly to close the center hole and place your stitch marker in the first stitch. (6 sts)
- Rnd 2: [1 sc, 1 inc] × 3. (9 sts)
- Rnd 3: [2 sc, 1 inc] × 3. (12 sts)
- Rnd 4: [3 sc, 1 inc] × 3. (15 sts)
- Rnd 5: [4 sc, 1 inc] × 3. (18 sts)
- Rnd 6: [5 sc, 1 inc] × 3. (21 sts)
- Rnd 7: [6 sc, 1 inc] × 3. (24 sts)
- Rnd 8: [7 sc, 1 inc] × 3. (27 sts)
- Rnd 9: [8 sc, 1 inc] × 3. (30 sts)
- Rnds 10–12: Work 1 sc in each of the 30 stitches around for 3 full rounds without increasing. (30 sts per round)
- Rnd 13: [4 sc, 1 dec] × 5. (25 sts)
- Rnd 14: [3 sc, 1 dec] × 5. (20 sts)
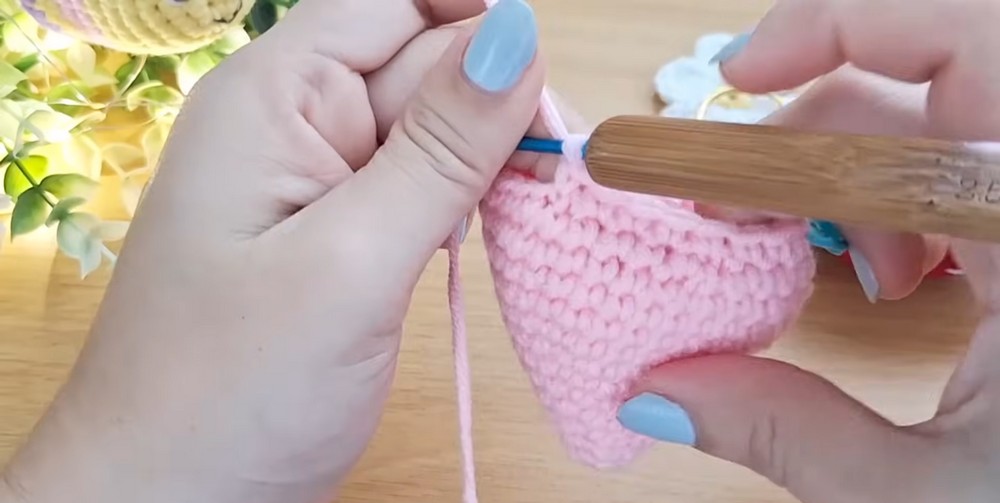
- Rnd 15: [2 sc, 1 dec] × 5. (15 sts)Pause here to stuff the strawberry firmly with polyester fiberfill. Make sure the pointed bottom is well-packed so the berry keeps its shape.
- Rnd 16: [1 sc, 1 dec] × 5. (10 sts)Add more stuffing if needed to complete the plump, rounded crown.
- Rnd 17: Work 5 dec consecutively. (5 sts)
Close the Strawberry
- Fasten off, leaving an approximately 8-inch yarn tail.
- Thread the tail onto a tapestry needle.
- From the outside in, pick up only the front loop of each of the remaining 5 stitches.
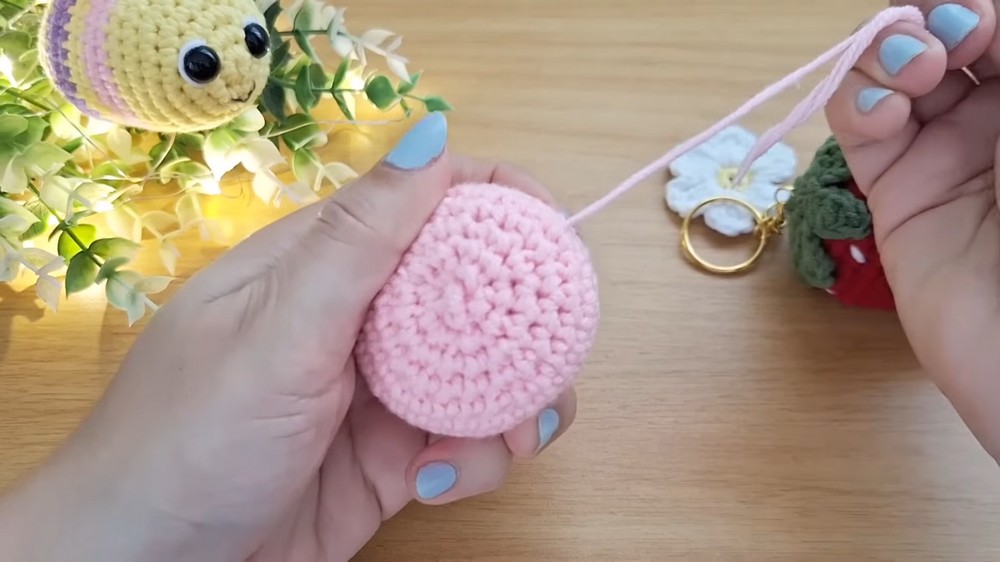
- Pull the yarn firmly to close the opening like a drawstring.
- Insert the needle through the center of the cinch and bring it out through the side of the berry.
- Knot discreetly and weave the remaining yarn end inside the body.
Shaping tip: Pay particular attention to the pointed lower section when adding stuffing at Round 15. Distribute the fiberfill into the narrow tip before filling the wider upper portion, so the berry does not develop an empty or flattened bottom.
Step 2: Crochet the Leaf Calyx
Use leaf-green yarn to make the leafy top. This piece begins with a small circular base, followed by seven pointed leaves worked around its edge.
Make the Green Base
- Base Rnd 1: Work 7 sc into a MR. Pull the ring closed. (7 sts)
- Base Rnd 2: Work 2 sc into each stitch around. (7 inc, 14 sts)
Form the Seven Leaf Points
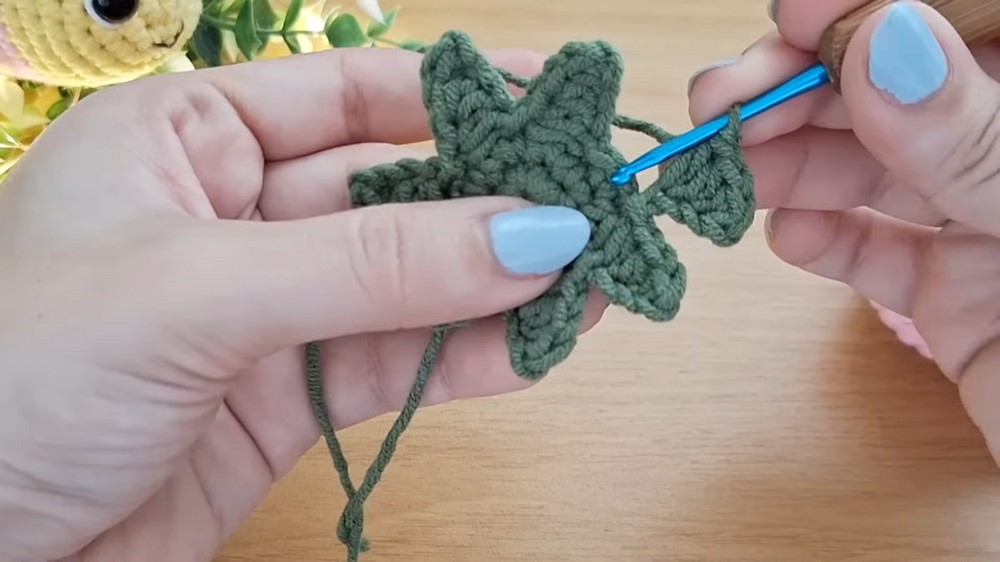
- Leaf 1:
- Work 1 sl st into the next stitch.
- Work ch 4.
- Starting in the second chain from the hook, work 1 sc.
- Work 1 hdc into each of the next 2 chains.
- Skip 1 stitch along the edge of the circular base.
- Work 1 sl st into the subsequent stitch.
- Leaves 2-7: Repeat the following sequence 6 more times around the perimeter: [ch 4, starting in the second chain from the hook: 1 sc, 2 hdc; skip 1 base stitch, sl st into the next base stitch]You will finish with exactly 7 leaf points.
Finish the Calyx
- Join with a final sl st into the base of the first leaf.
- Work ch 1 and cut the yarn, leaving an approximately 10-inch tail for sewing.
Keep the longer green tail attached because you will use it to sew the calyx onto the strawberry.
Step 3: Make the Mini Flower Charm
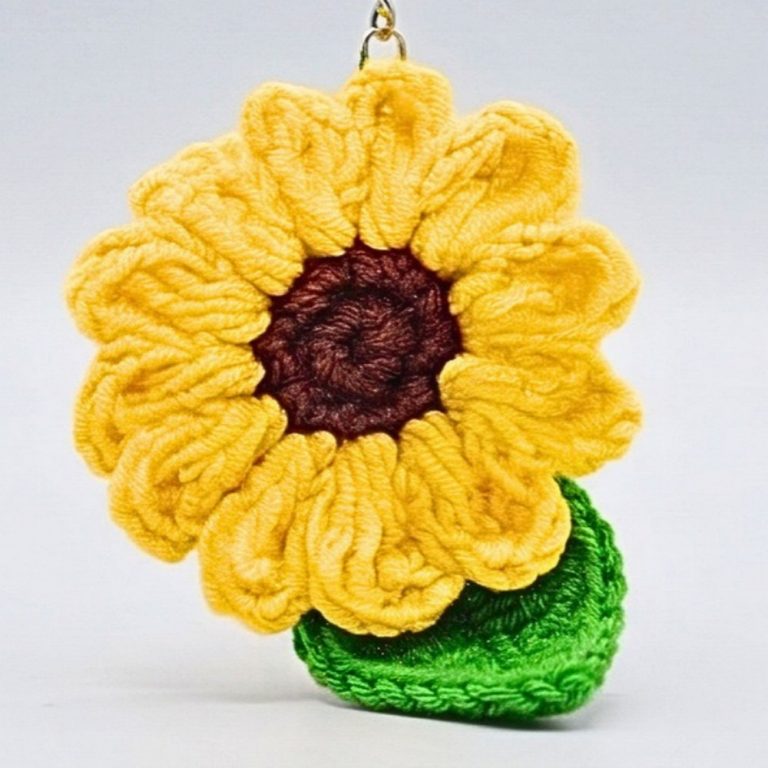
The small flower has a yellow center and six rounded white petals. Work the yellow center first, then attach the white yarn to form the petals.
Crochet the Yellow Center
- Using sunny yellow yarn, work 6 sc into a MR.
- Work 1 sl st into the first sc to close the circle.
- Work ch 1.
- Cut the yellow yarn, leaving a short tail, and pull it through. (6 sts)
Add the White Petals
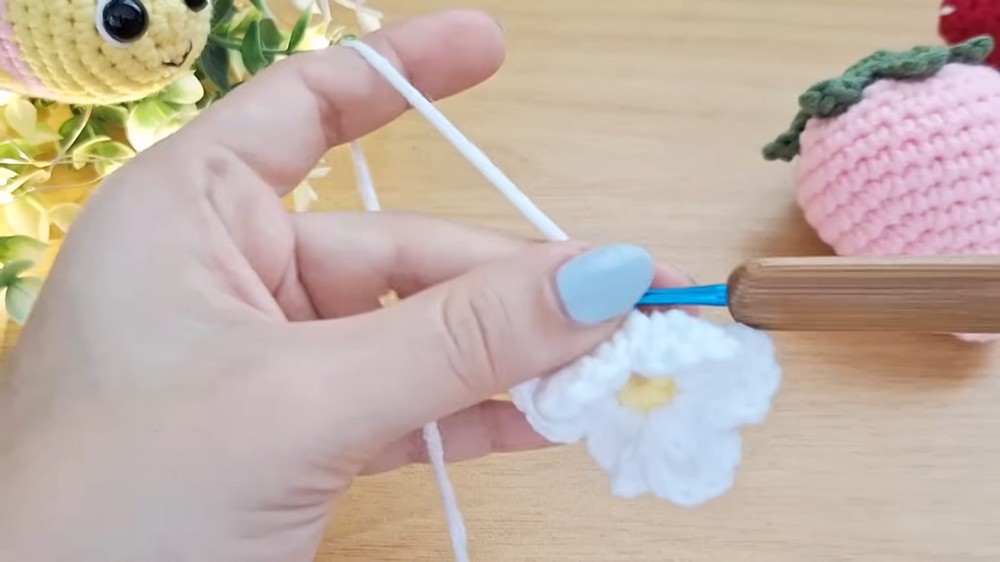
- Make a slip knot with white yarn on your hook, or insert your hook into any stitch of the yellow ring, pull up a white loop, and work ch 2.
- Petal 1: Into the next stitch of the center ring, work the following stitches all into the same stitch: (3 dc, ch 2, 1 sc)This completes the first petal.
- Petals 2–6: Repeat the following sequence 5 times: [ch 2, in the next stitch work (3 dc, ch 2, 1 sc)]You will have a total of 6 rounded petals around the yellow center.
Finish the Flower
- Work 1 sl st into the base of the beginning ch-2.
- Fasten off.
- Weave in both white yarn ends and the initial yellow yarn ends on the back of the flower.
- Trim the remaining tails flush.
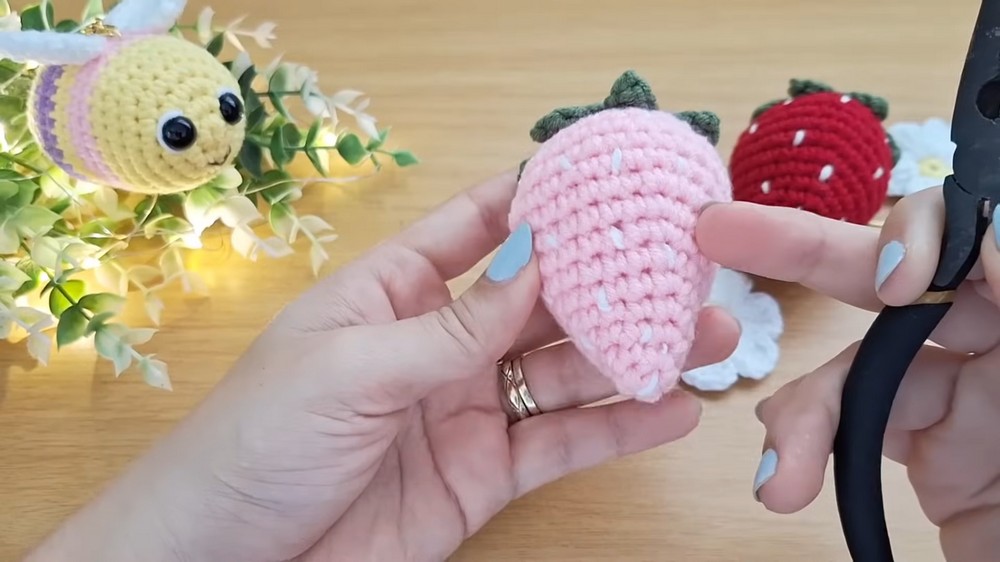
Step 4: Embroider the Strawberry Seeds
Use scrap white yarn or embroidery floss to add the small seed details to the berry.
- Thread a tapestry needle with a strand of white yarn.
- Insert the needle through an inconspicuous spot on the strawberry body and bring it out along Rnd 5.
- Make small vertical straight stitches across the surface, each spanning approximately one stitch height.
- Continue adding seed stitches in a staggered brick-lay pattern around Rnds 5, 7, 9, and 11.
- Space the stitches approximately 2–3 stitches apart.
- Pull the thread securely without overtightening the stitches.
- Knot off the yarn and bury the tail inside the stuffing.
The staggered placement gives the strawberry a natural seed pattern instead of arranging the stitches in straight vertical columns.
Step 5: Attach the Leaf Calyx
Position the green leafy piece over the closed top of the strawberry.
- Place the calyx flat over the cinched top of the berry.
- Center its middle ring directly over the cinched round.
- Thread the reserved green yarn tail onto a tapestry needle.
- Take small tacking stitches through the central disc and the base of each leaf point, securing them to the strawberry body.
- Check that the leaves lie flat against the surface.
- Knot the yarn underneath one of the leaves and bury the remaining thread.
Alternative attachment: Instead of sewing, apply a small dab of clear fabric glue under the central disc and leaf points. Hold the calyx in place until the glue sets.
Step 6: Attach the Keychain Hardware
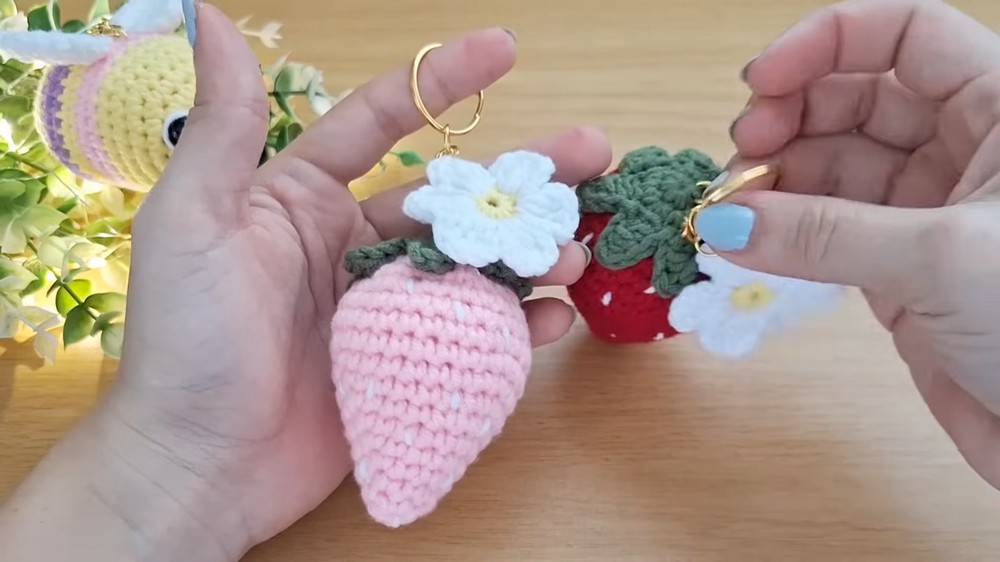
Use the small metal jump rings and craft pliers to attach the strawberry and flower charm to the keychain chain.
Attach the Strawberry
- Using craft pliers, gently twist open the jump ring attached to the bottom of the keychain chain.
- Pass the jump ring through 2–3 strong yarn strands at the very center of the green calyx and the top of the strawberry.
- Twist the jump ring closed until the seam meets flush.
Attach the Flower Charm
- Open the secondary small jump ring.
- Thread it through the tip of one flower petal.
- Hook the ring onto one of the middle links of the keychain chain.
- Use your pliers to clamp the jump ring securely shut.
Check that both jump rings are fully closed and that the flower hangs freely beside the strawberry.
Finishing Notes
Your crochet strawberry keychain is complete! Check that the calyx is firmly attached, the embroidered seeds are secure, and the keychain rings are properly closed.
The finished berry works well as a bag charm, planner accessory, or handmade gift. With its small size and simple components, it can also be a quick crochet make that takes under an hour once you are familiar with the pattern.