
Crochet Mini Strawberry Keychain Tutorial – Amigurumi Fruit Charm
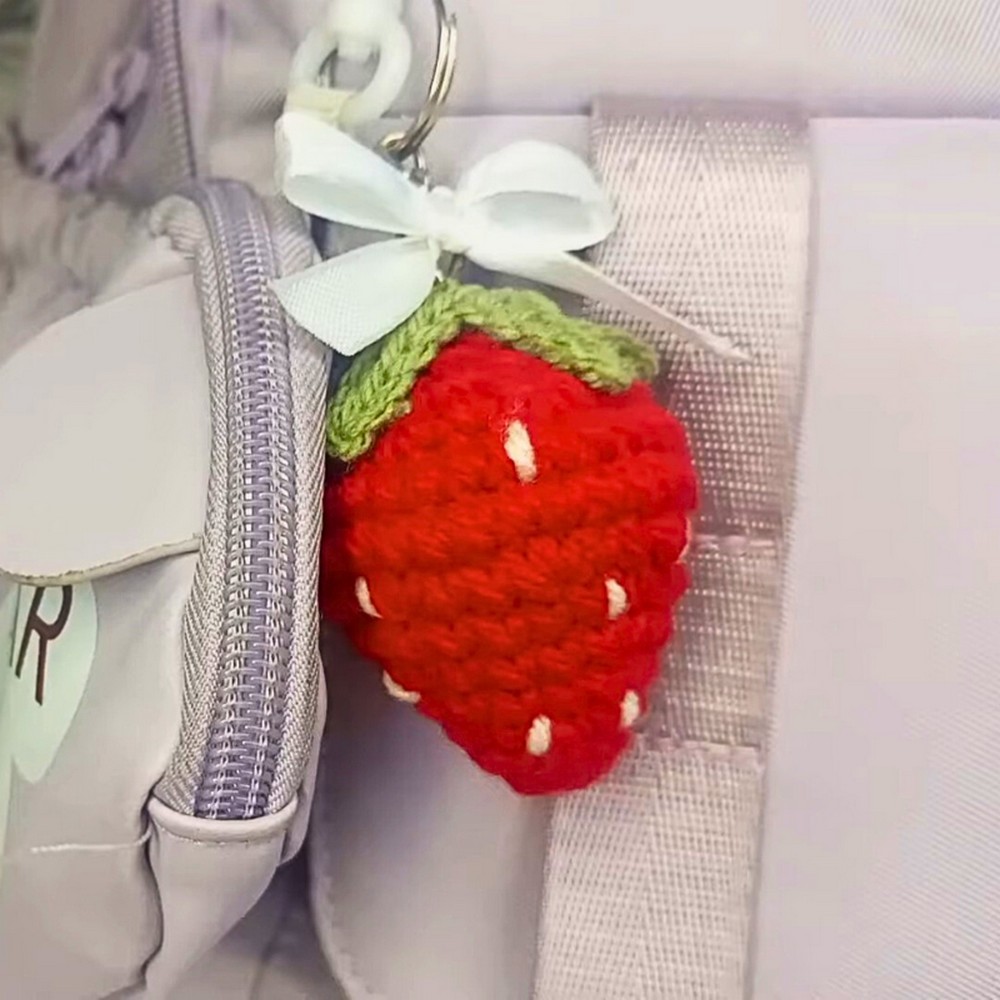
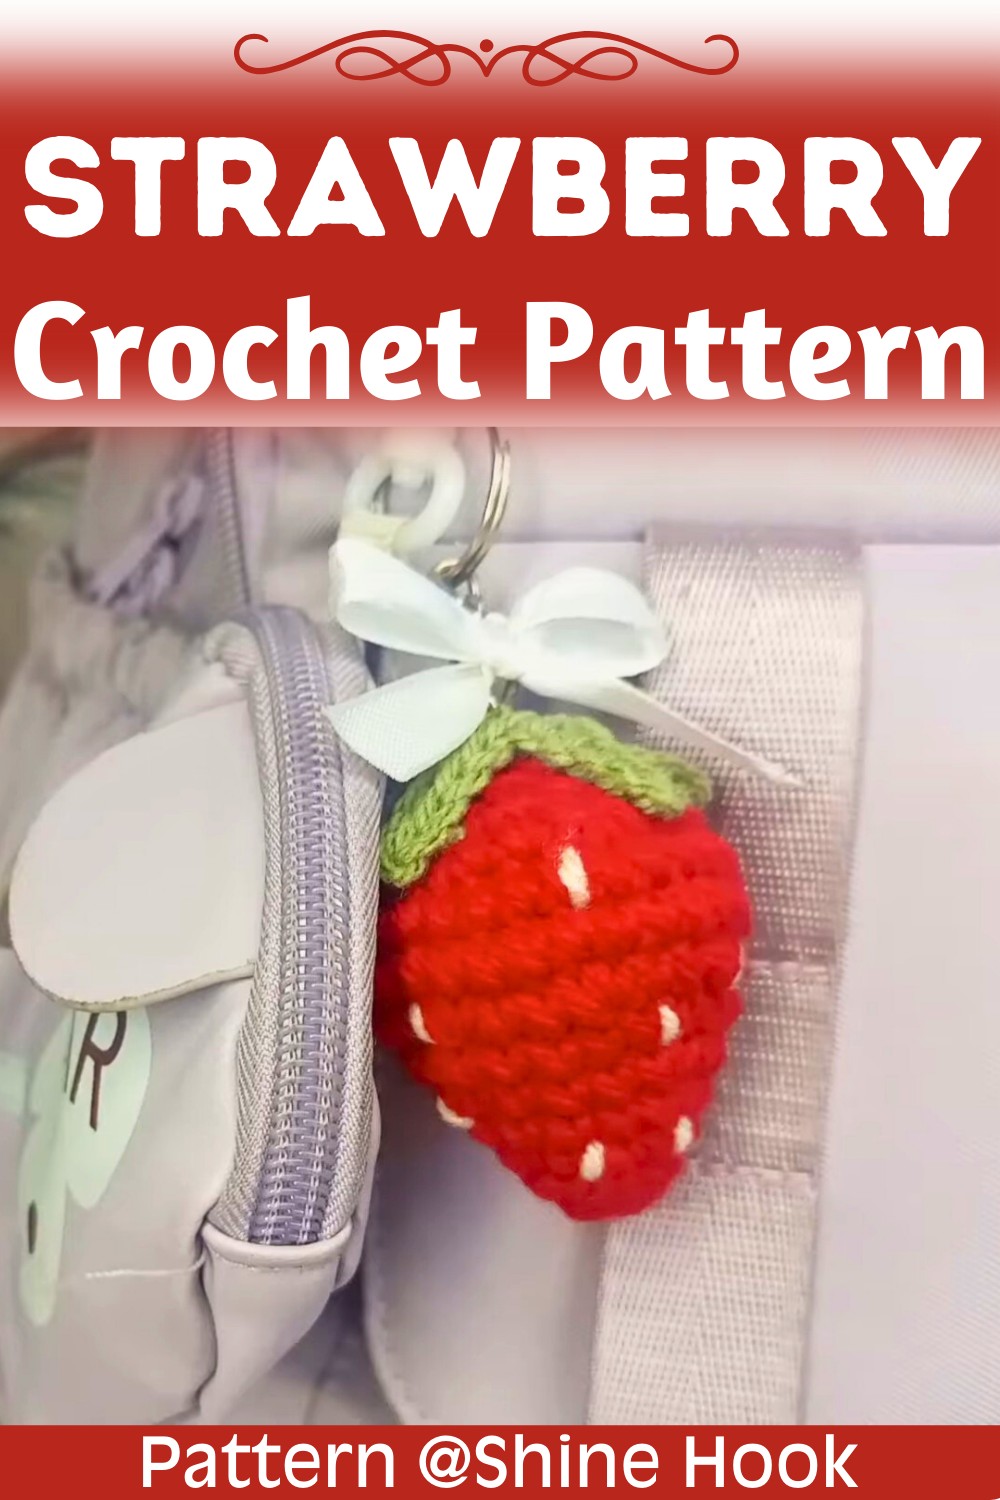
Here’s a quick little strawberry keychain that’s easy to crochet and adds a cheerful handmade touch to keys, bags, and backpacks.
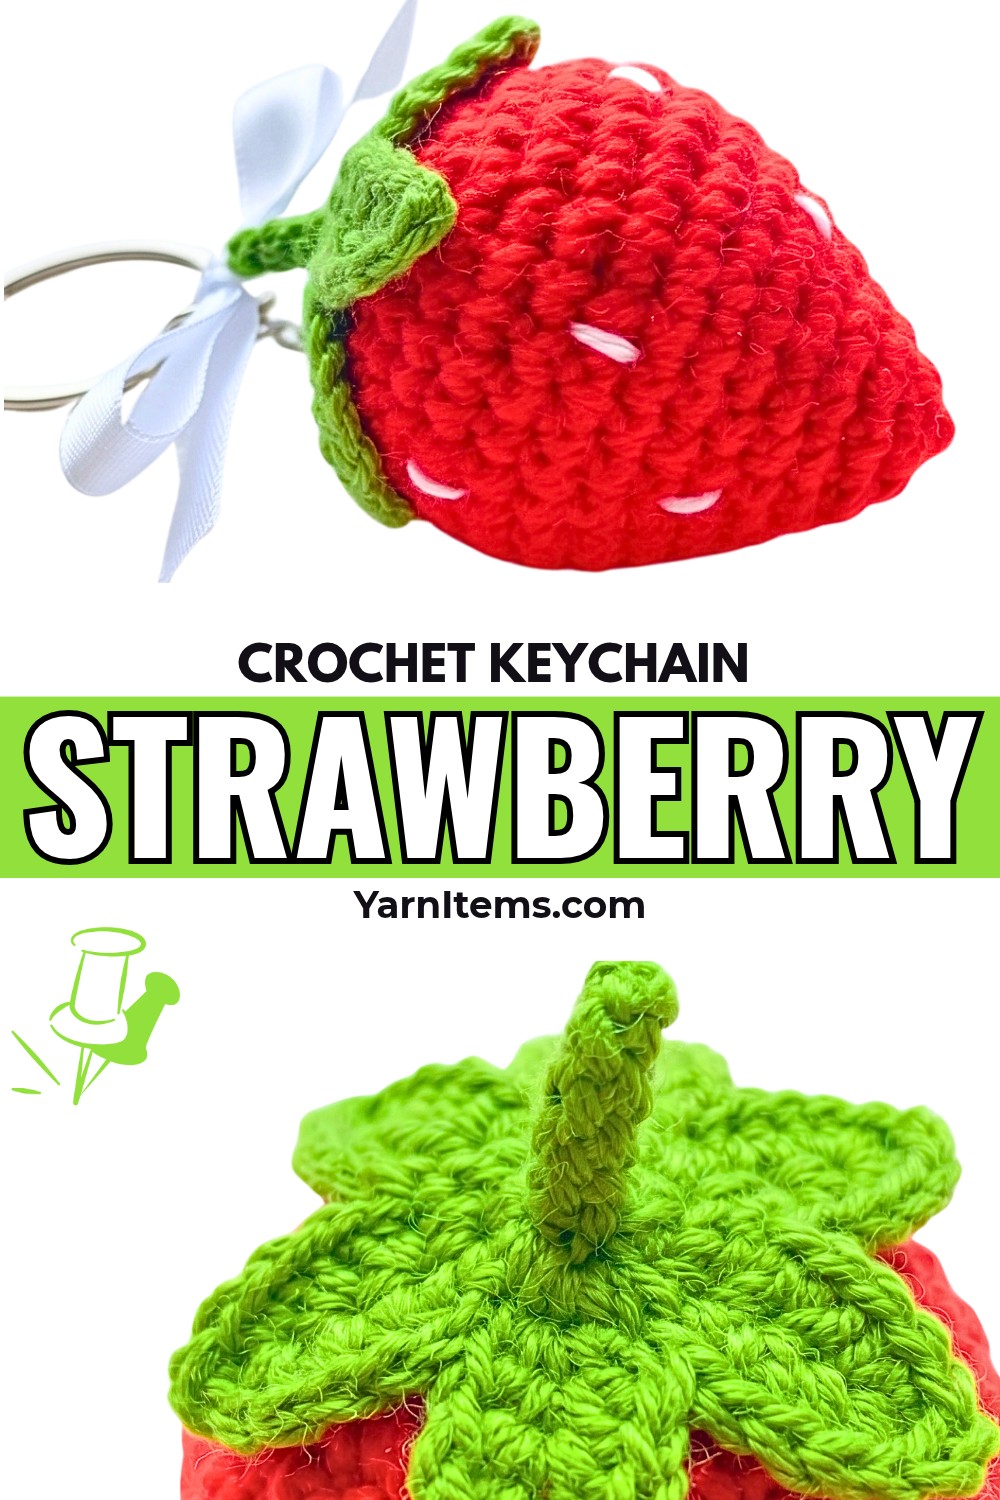
Small crochet accessories are especially useful when you want something that can be finished without a long list of complicated techniques. This strawberry uses a simple increase-and-decrease shape, so the body comes together quickly while still developing the rounded form of a real strawberry. The small size also makes it a useful crochet pattern for practicing amigurumi without needing much yarn.
The shape becomes much easier to manage when you pay attention to the stuffing and closing stages. Adding the fiberfill gradually helps the fruit stay rounded, while the green calyx gives the top its finished crochet look. The embroidered xseeds are simple, but they make a noticeable difference once the red body is complete.
Credit Cuddly Crochet Critters
Materials & Tools Needed
- Yarn: Red yarn for the strawberry body, green yarn for the calyx, and white yarn for the seeds
- Crochet Hook: 2.5 mm or 3.0 mm hook, depending on your yarn
- Stuffing: Fiberfill
- Notions: Stitch marker, tapestry needle, scissors, keychain ring, and a small ribbon bow
Pattern Abbreviations
- MR: Magic Ring
- ch: Chain
- sc: Single Crochet
- inc: Increase – 2 sc in the same stitch
- dec: Decrease – sc 2 stitches together
- sl st: Slip Stitch
- R: Round / Row
Step-by-Step Crochet Instructions
Strawberry Body
Work the main body in red yarn.
R1: Make a Magic Ring and work 6 sc into the ring. [6 sts]
R2: Work (1 sc, 1 inc) around. [9 sts]
R3: Work (2 sc, 1 inc) around. [12 sts]
R4: Work (3 sc, 1 inc) around. [15 sts]
R5: Work (4 sc, 1 inc) around. [18 sts]
R6: Work (5 sc, 1 inc) around. [21 sts]
R7: Work (2 sc, 1 inc) around. [28 sts]
R8–R9: Work 1 sc in each stitch around for 2 rounds. [28 sts per round]
R10: Work (2 sc, 1 dec) around. [21 sts]
R11: Work (1 sc, 1 dec) around. [14 sts]
Stuffing and Closing
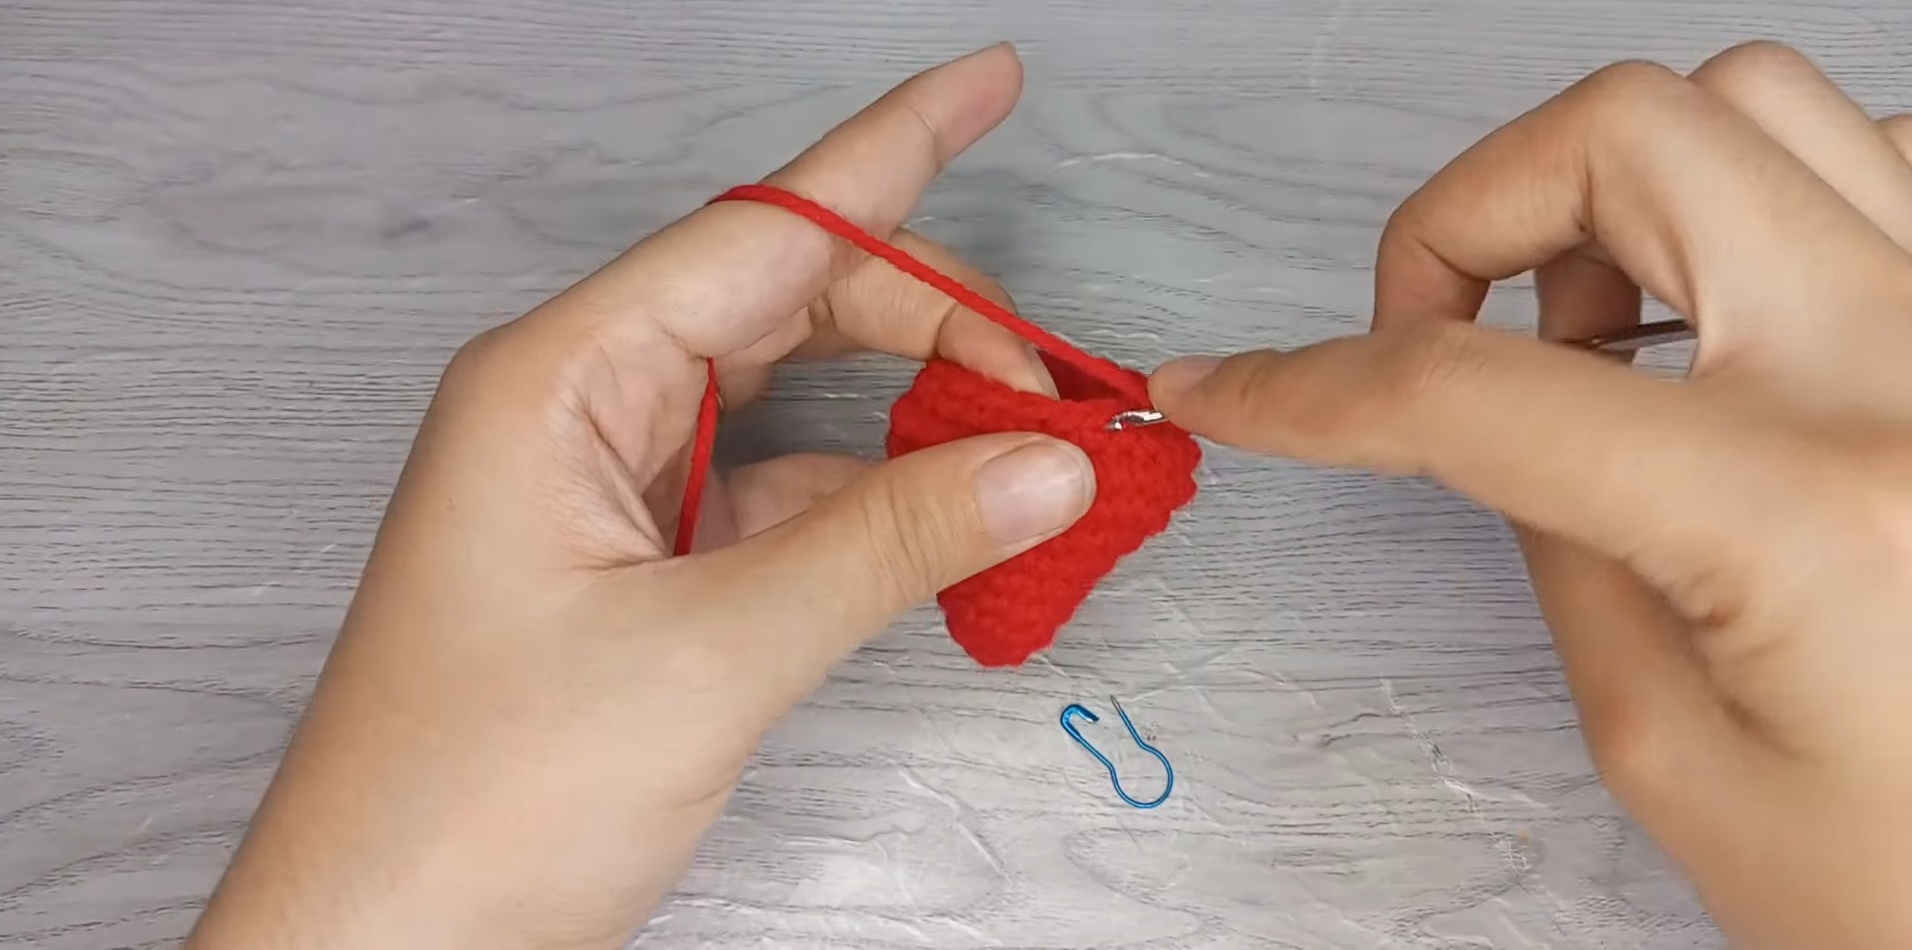
Add fiberfill firmly to the strawberry body before the opening becomes too small to work comfortably. Spread the stuffing evenly so the lower part does not become noticeably fuller than the top.
R12: Work decreases around until 7 stitches remain. Fasten off, leaving a long yarn tail. Thread the tail onto a tapestry needle and weave it through the front loops of the remaining stitches. Pull the yarn closed to seal the opening.
Adding the Strawberry Seeds
Use white yarn and a tapestry needle to embroider small diagonal seed stitches across the red body. Place them at slightly different angles and distances to give the strawberry a natural appearance.
Green Calyx
Use green yarn for the leafy top.
R1: Make a Magic Ring and work 5 sc into the ring. Pull the ring closed. [5 sts]
For each of the 5 center stitches:
- Ch 4
- Skip the first chain from the hook.
- Work 1 sl st, then 2 sc along the chain.
- Finish with 1 sl st in the next stitch of the center ring.
- Repeat the same sequence around all 5 stitches.
Fasten off, leaving a long tail for attaching the calyx.
Positioning the Calyx
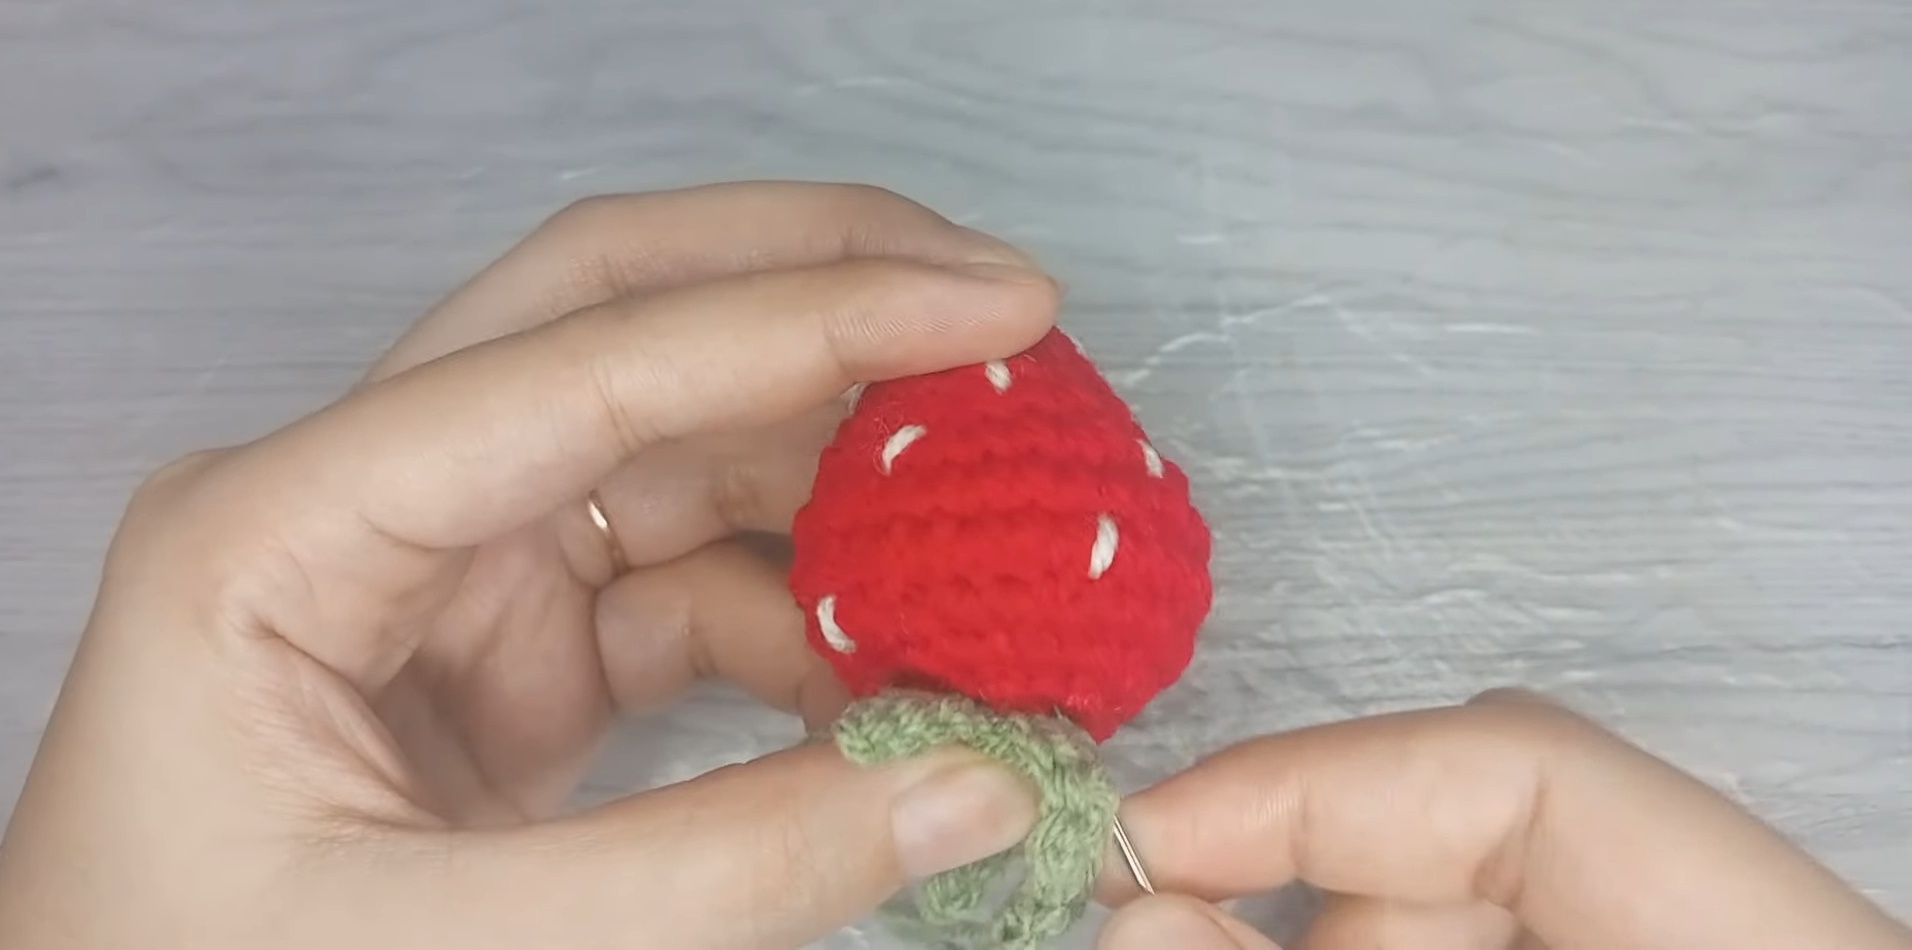
Place the green calyx directly over the closed top of the strawberry and spread the five leaf points evenly. Sew through the center and base of the leaves with the green yarn tail.
This small positioning step is worth checking before you attach the keyring. If one leaf is pulled farther to one side, the finished strawberry can look uneven when it hangs from a bag or set of keys.
Attaching the Keychain
- Position the keychain ring at the center of the green calyx.
- Use the remaining green yarn to stitch firmly through the base of the ring and the calyx.
- Make several passes with the needle so the ring does not loosen with regular handling.
- Knot the yarn securely and hide the remaining tail inside the strawberry.
- Add the small ribbon bow to the keychain ring if desired.
- Gently test the ring and calyx before attaching the finished strawberry to your bag or keys.
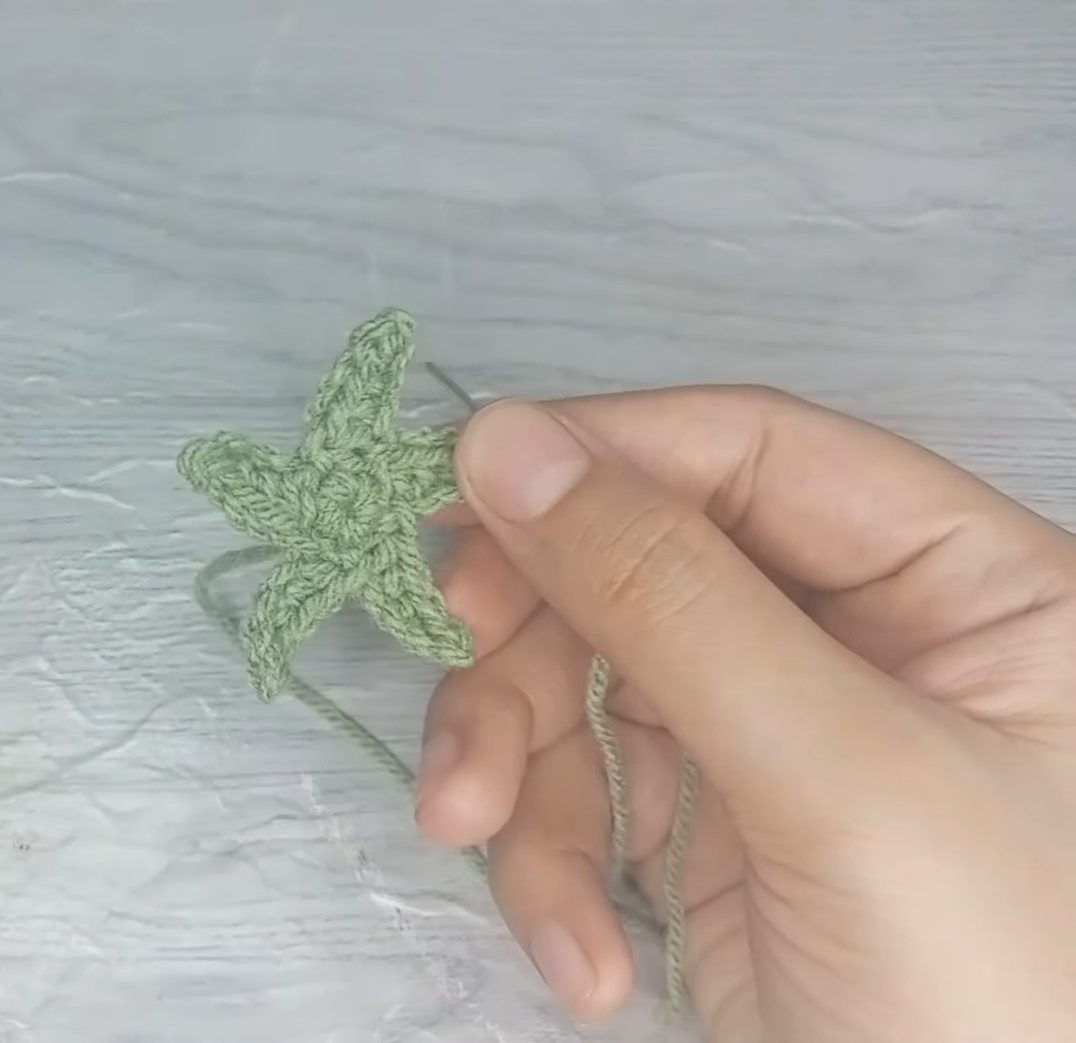
Quick Finishing Check
Before using the keychain, check that the strawberry is firmly stuffed, the top opening is completely closed, and the keyring is securely attached. Since this piece will be pulled and moved regularly, these three details matter more than adding extra decoration.
Customization Ideas
- Use different shades of red for a softer or deeper strawberry.
- Try light or dark green for the leafy top.
- Use thicker yarn and a slightly larger hook for a bigger charm.
- Add a tiny embroidered face for a character-style strawberry.
- Attach the finished piece to a backpack, pencil case, handbag, or gift package instead of keys.
- Replace the white seed color with a contrasting shade for a different look.



One Comment