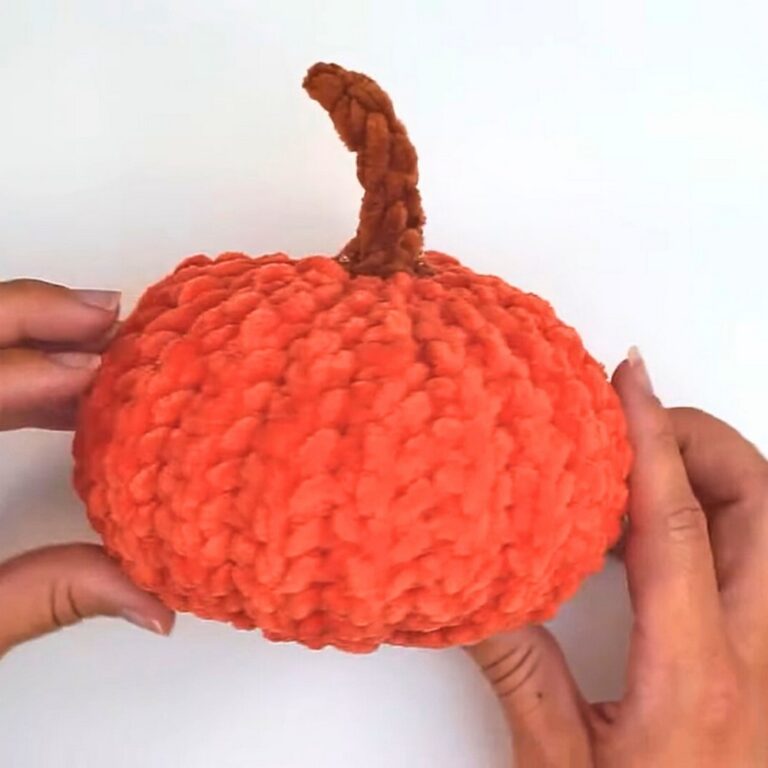
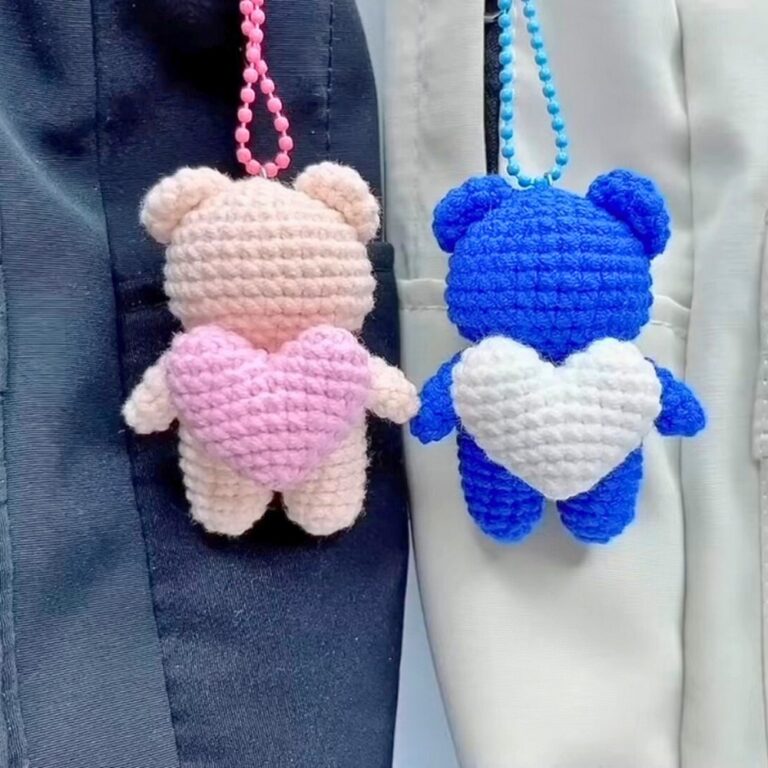
Crochet Deadpool Amigurumi Pattern for Unique Superhero
This crochet Deadpool amigurumi pattern is a creative way to bring the iconic anti-hero to life. The design includes detailed features like Deadpool’s signature red-and-black suit with expressive white eyes, an adjustable belt, and sturdy limbs. Combining simple stitches, color transitions, and felt pieces for the mask, it offers crocheters of all skill levels a rewarding craft that looks polished and fun.
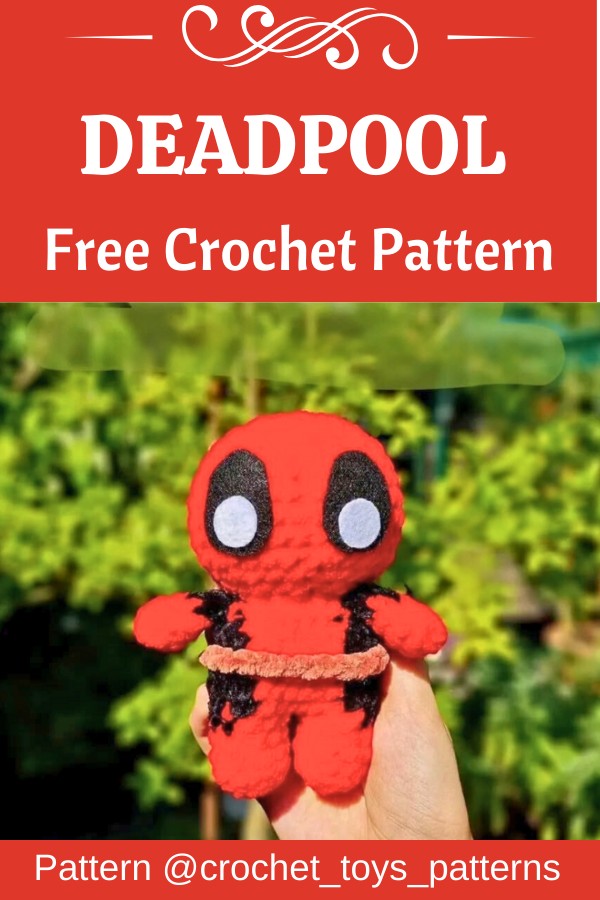
For customization, you can experiment with different yarn textures, adjust the suit’s accents, or modify the size for a personalized touch. Add accessories, such as mini swords or alternate eye expressions, to make your Deadpool truly unique. Whether gifting or enhancing decor, this pattern ensures creativity flourishes with every stitch while maintaining its superhero charm.
Credit crochet_toys_patterns
Step-by-Step Pattern
Materials
- Hook: 5mm
- Black chenille size 4 medium
- Red chenille size 4 medium
- Brown chenille size 4 medium
- Black felt
- O White felt
- Stuffing
- Tapestry needle
- Stitch markers
- Scissors
- Fabric glue
Abbreviations
- R: round
- St: stitch
- mr: magic ring
- ch: chain
- sc: single crochet
- dc: double crochet sl st: slip stitch
- inc: increase
- dec: decrease
- BLO: back loop only
- FO: fasten off
- cc: change colour

Pattern Instructions
Head
- R1: 8sc in a mr (8)
- R2: 8inc (16)
- R3: (sc, inc)x8 (24)
- R4: (3sc, inc)X6 (30)
- R5: (2sc, inc, 2sc)x6 (36)
- R6-10: 36sc (36) – 5 rounds
- R11: (4sc, dec)x6 (30)
- R12: (3sc, dec)x6 (24)
- R13: (4sc, dec)x4 (20)
Cut yarn, FO with an invisible join. Add fiber fill (stuff a lot).

Body pt.1
Start with red yarn
- R1: 5sc in a mr (5)
- R2: 5inc (10)
- R3: BLO 10sc (10)
- R4-5: 10sc (10) – 2 rounds
Cut yarn and FO with an invisible join.
Make another leg but this time don’t cut yarn and ch2 (pic 1).
- R6: Insert the hook in any of the first leg sts (pic 2) and make чsc, cc to black 3sc, cc to red 3sc, 2sc in the 2ch, 3sc, cc to black 3sc, cc to red 4sc, 2sc in the 2ch (24)
Body pt.2
- R7: 3sc, cc to black inc, 3sc, inc, cc to red 6sc, cc to black inc, 3sc, inc, cc to red 5sc (28)
- R8-11: 3sc, cc to black 7sc, cc to red 6sc, cc to black 7sc, cc to red 5sc (28) – 4 rounds
Start stuffing as you go, when you stuff the feet remember to keep them flat.
- R12: 3sc, cc to black dec, 3sc, dec, cc to red 6sc, cc to black dec, 3sc, dec, cc to red 5sc (24) You can now cut black yarn.
- R13: (4sc, dec)x4 (20)
Finish stuffing.
Cut yarn Leaving a long tail for sewing (pic 3).
Arms (x2)
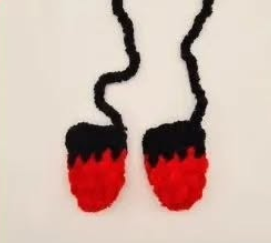
Start using red yarn
- R1: 4sc in a mr (4)
- R2: 4inc (8)
- R3-4: 8sc (8) – 2 rounds
- R5: cc to black 8sc (8)
- R6: fold the arm and close it making 4sc (4) don’t stuff the arm Cut yarn leaving a long tail (pic 4).

Belt
- Use brown yarn
- Cut yarn Leaving a long tail for Sewing (pic 5).
- 1,5 cm slip knot, ch 25 or desired length.

Sewing
- Sew the head to the body, add fibre fill while sewing if needed
- Sew the arms to the body at R12-13
- Sew the belt to the body at R9
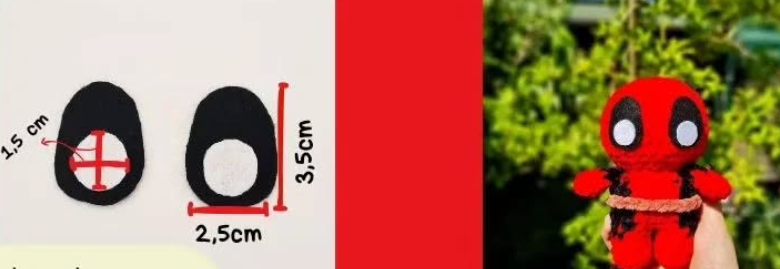
- Cut black and white felt using pic 6 as a reference and attach the eyes between R6-10, 3 visible sts apart