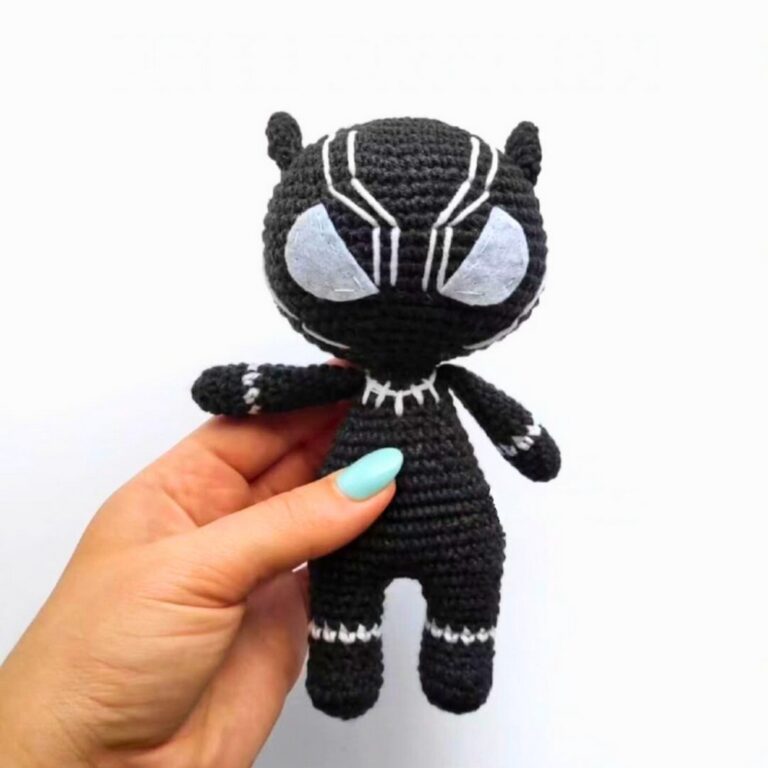
Crochet Sad Hamster Amigurumi Pattern – Tiny Viral Hamster
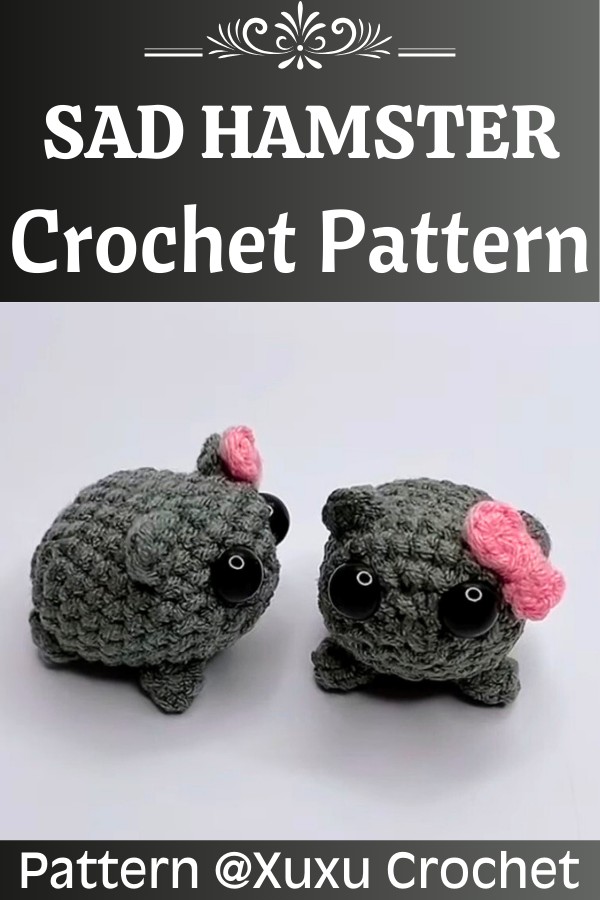
Looking for a tiny sad hamster with an instantly recognizable expression? This crochet pattern creates one with lowered eyes, little feet, a slouched pose, and pink bow.
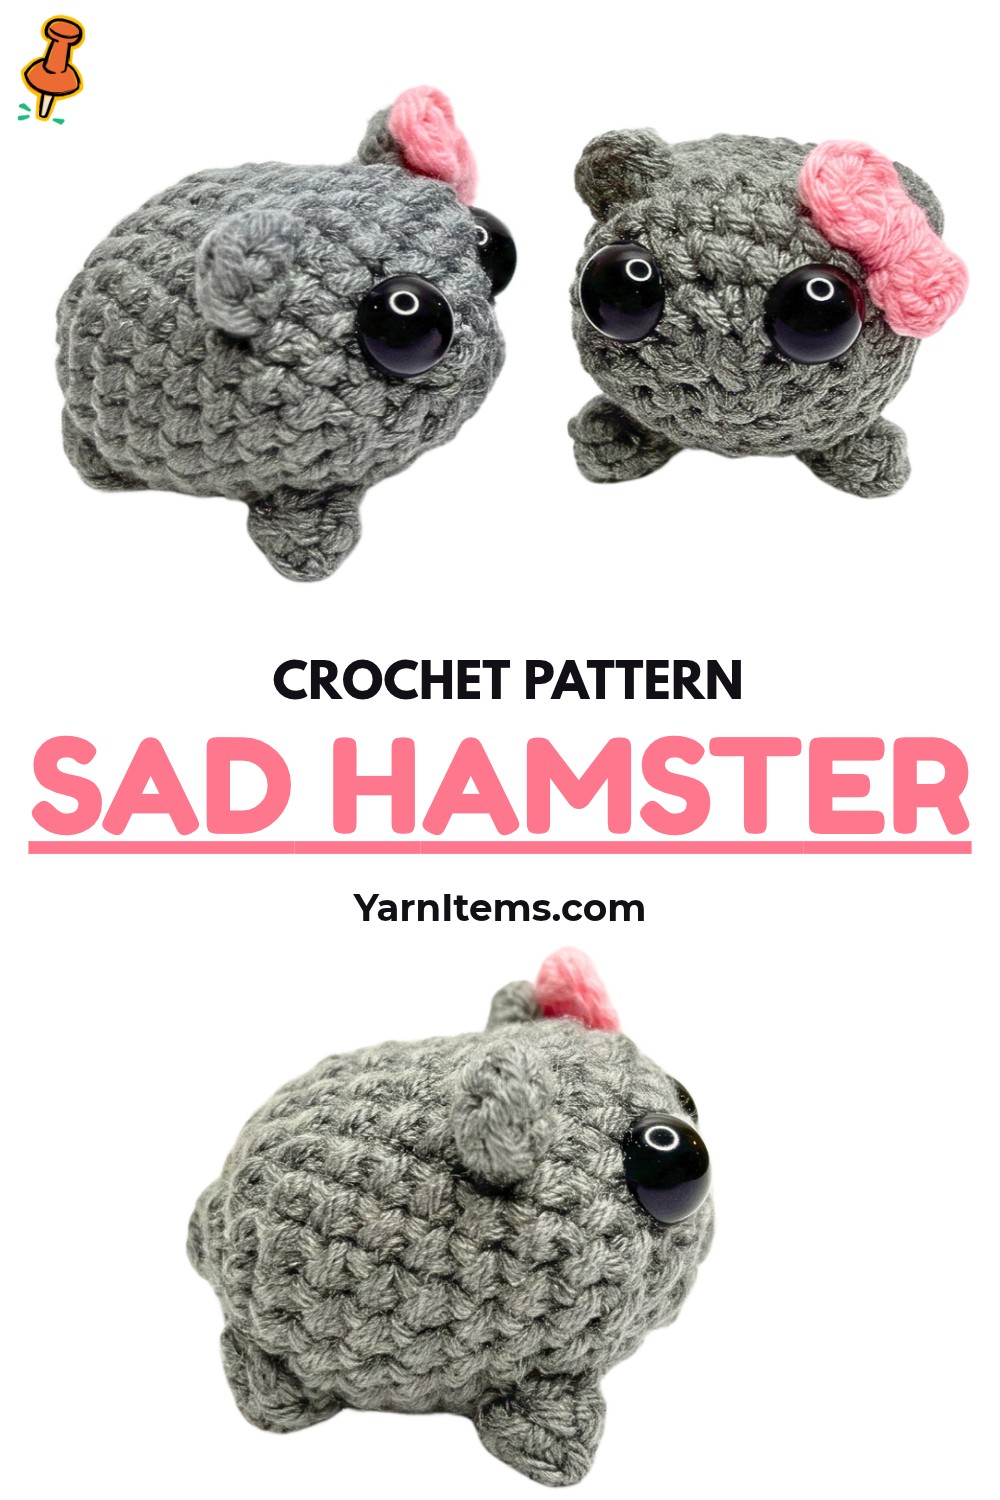
Those tiny downturned eyes and tucked-in posture give this sad hamster amigurumi its instantly recognizable expression. This crochet design turns simple shaping into an expressive little character that works beautifully as handmade keepsake. If you enjoy crochet with personality, this pattern keeps each stage focused on creating that memorable face and sitting pose.
From its compact 2.5-3 inch size to its pink bow, this crochet hamster leaves room for small personal touches without changing its core shape. Careful eye placement creates its sad expression, while separate ears and feet build its slouched pose. This crochet pattern also explains each body round, individual piece, and assembly point so you can follow its finished shape as it comes together.
Credit Xuxu Crochet
Pattern Details You’ll Need Before Starting
Finished Size
Using fingering/sport weight cotton yarn with 2.5 mm hook, finished hamster measures approximately 2.5-3 inches tall.
Materials & Tools
- Dark gray cotton yarn: Main body, ears, front feet, and back feet
- Pink yarn: Small amount for hair bow
- 2.5 mm crochet hook
- Two 10 mm safety eyes, or glued half-beads
- Fiberfill stuffing
- Stitch markers
- Tapestry needle
- Hot glue: For attaching eyes and bow
Pattern Abbreviations
- ch: Chain stitch
- sc: Single crochet
- hdc: Half-double crochet
- inc: Increase – work 2 single crochets in same stitch
- dec / inv-dec: Decrease / invisible decrease – work 2 single crochets together using front loops only
- sl st: Slip stitch
- st(s): Stitch(es)
- [ ]: Repeat instructions inside brackets for given number of times

Shape Body From an Oval Chain Base
Body is worked with dark gray yarn, beginning from an oval chain foundation. Increases widen its shape, later decreases contour it, and fiberfill is added before final closure.
Foundation
Create slip knot and ch 6.
Round 1 – Build Oval Base
Skip first chain from hook.
- Work 1 sc in 2nd chain.
- Work 1 sc in each of next 3 chains.
- Work 3 sc in final chain.
- Continue down opposite side of chain foundation.
- Trap yarn tail inside stitches as you work so it stays hidden.
- Work 1 sc in each of next 3 chains.
- Work 2 sc in final chain.
Total: 12 sts
Round 2 – Begin Widening
Work 1 sl st into first stitch to join, then ch 1.
Work 1 sc in same starting stitch.
Continue with: [1 inc] in next stitch, then [1 sc, 1 inc] around. Total: 18 sts
Round 3 – Move Into Spiral Rounds
From this point onward, work continuously in spiral rounds. Do not join with sl st at end of each round. Work: [2 sc, 1 inc] around. Total: 24 sts
Rounds 4-6 – Hold Body Width: Work 1 sc in each stitch around for 3 consecutive rounds. Total: 24 sts
Rounds 7-8 – Shape Slouched Form
These rounds introduce both decreases and increases, creating contour needed for hamster’s characteristic shape.
Round 7: Work 4 sc, 1 invisible dec, 1 sc, 1 invisible dec, 8 sc, 1 inc, 1 sc, 1 inc, 4 sc. Total: 24 sts
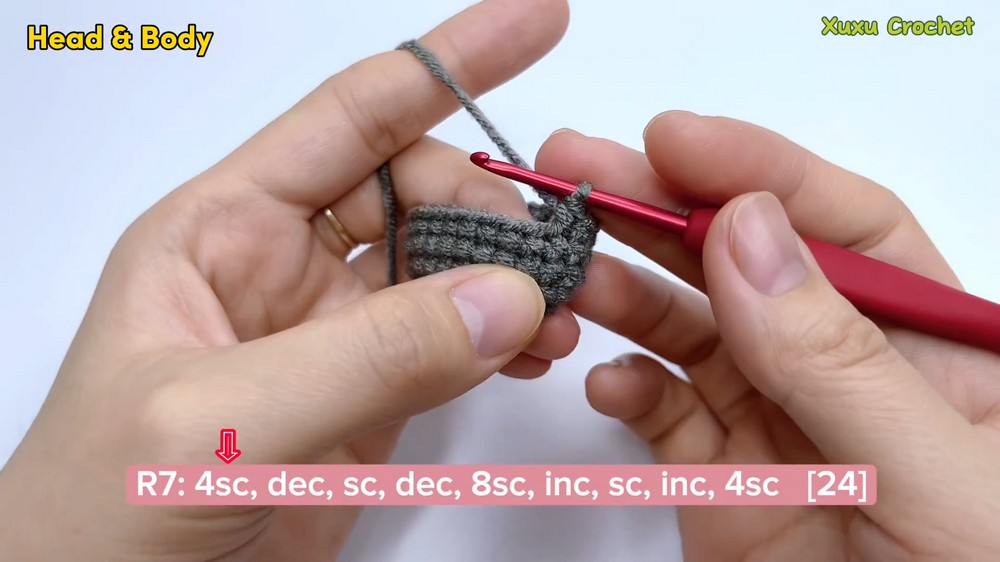
Round 8:Work 3 sc, 1 dec, 1 sc, 1 dec, 8 sc, 1 inc, 2 sc, 1 inc, 4 sc. Total: 24 sts
Round 9 – Maintain Shape
Work 1 sc in each stitch around. Total: 24 sts
Rounds 10-11 – Narrow Toward Closure
Round 10: Work [2 sc, 1 dec] around. Total: 18 sts
Round 11: Work [1 sc, 1 dec] around. Total: 12 sts
Now firmly stuff body with fiberfill. Add enough stuffing to give body its compact form before closing, while keeping final opening accessible for Round 12.
Round 12 – Close Body
Work 6 decreases back-to-back. Total: 6 sts
Fasten off, leaving yarn tail.
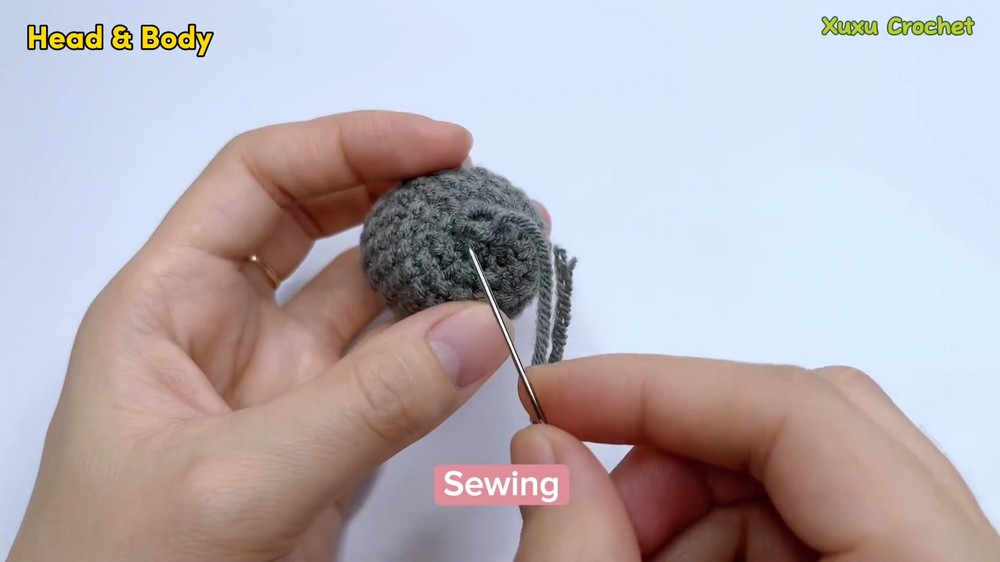
Using tapestry needle, weave through front loops of remaining 6 stitches. Pull tightly until hole closes completely.
Image: Closed stuffed body showing upper head slope and bottom closure.
Add Tiny Ears and Feet
Separate dark gray pieces give hamster its recognizable silhouette. Ears frame upper head, while two pairs of feet later create its sitting posture.
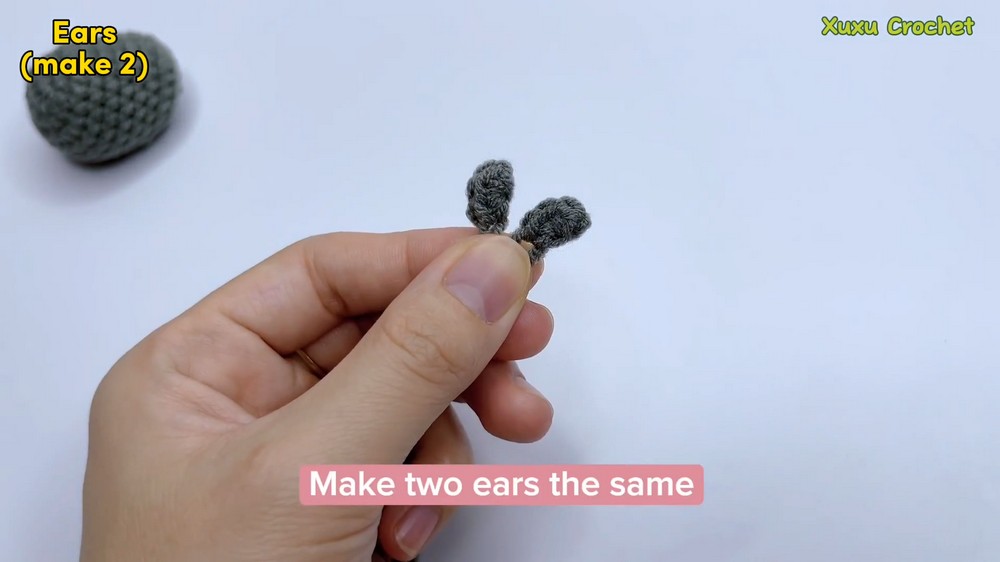
Ears – Make 2
Form magic ring and ch 1.
Work 3 sc directly into ring.
Pull ring tight to close. Fasten off, leaving long tail for sewing.
Keep both ears matching in size so they can sit symmetrically during assembly.
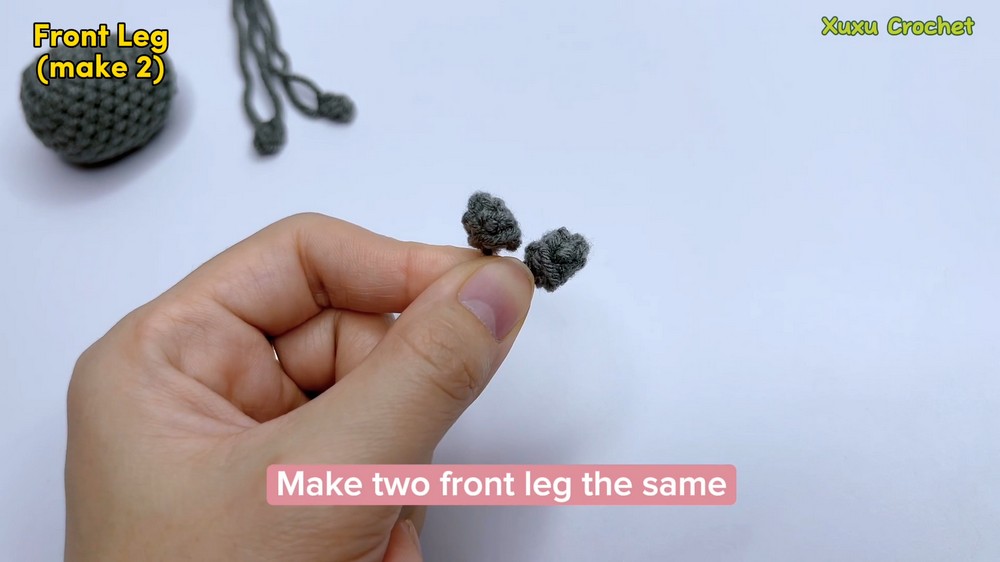
Front Feet – Make 2
Form magic ring and ch 1.
Round 1: Work 4 sc into ring. Pull tight to close.
Round 2: Work 1 sc in each of 4 stitches around in spiral.
Work 1 sl st to join. Fasten off, leaving long tail for sewing.
Pull initial magic ring tight and trim hidden tail. Flip piece right-side out.
Back Feet – Make 2
Form magic ring and ch 1.
Round 1: Work 4 sc into ring. Pull tight to close.
Work 1 sl st into first stitch to join this single-row foot.
Fasten off, leaving long sewing tail. Pull magic ring tight and trim.
Give Hamster Its Pink Bow
Use pink yarn for tiny hair bow.
Form Two Bow Loops
Form magic ring.
First bow loop:
- ch 2
- work 1 hdc into magic ring
- ch 2
- work 1 sl st into magic ring
Second bow loop:
- ch 2
- work 1 hdc into magic ring
- ch 2
- work 1 sl st into magic ring
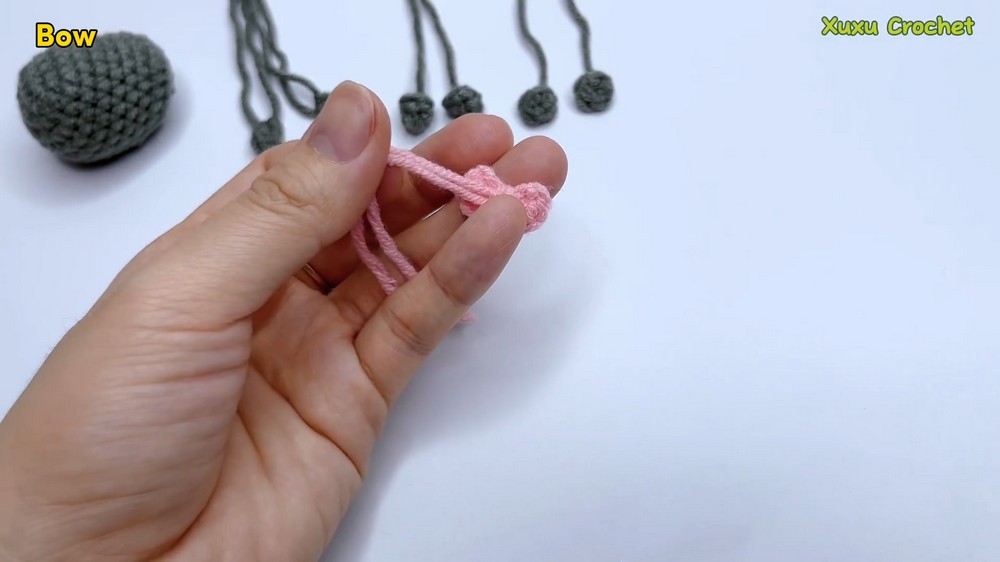
Pull magic ring tight to lock both loops into bow shape. Fasten off.
Take starting yarn tail and wrap it tightly around bow’s center waist several times. Knot securely in back, then trim excess.
Image: Pink bow after center wrapping, showing two defined loops.
Position Face Before Sewing Pieces
Assembly controls expression more than any single body round, so check orientation before securing pieces.
Place Eyes for Sad Expression
Position body with closed closure at back bottom base and upper head tilted forward.
Place two 10 mm safety eyes across Rounds 10 and 11. Space them roughly 3 stitches apart, near upper front slope.
For stronger viral sad/crying expression, tilt or lower eyes slightly during placement.
If using glued half-beads, attach them with hot glue according to supplied tutorial method.
Image: Front view showing eye placement across Rounds 10–11 and forward head tilt.
Sew Ears Into Position
Place one ear on each side of head.
Align ears symmetrically, approximately 2 rows back from eye level.
Sew both ears securely into place, checking front view before fully tightening sewing tails.
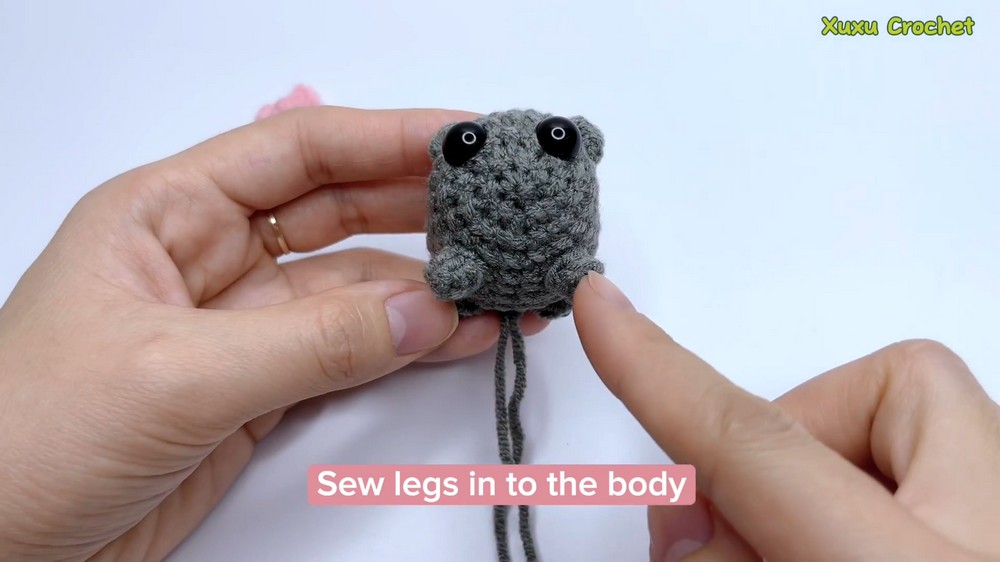
Attach Front Feet
Pin front feet right below eye/cheek line, aligned between middle face and ear rows.
Sew both pieces securely onto chest.
Their placement should sit close to face area rather than low on body, matching supplied tutorial positioning.
Set Back Feet for Sitting Posture
Position back feet lower down around Rounds 4 and 5.
Align them directly with front feet.
This lower placement works with body shaping to create characteristic slouched, sitting posture.
Sew both pieces securely.
Image: Side or front view showing front feet higher on chest and back feet lower around Rounds 4–5.
Finish With Bow
Attach small pink hair bow directly to upper head near base of one ear.
Use hot glue or matching thread to secure it.
Check bow position from front before final attachment so its loops remain visible beside ear.
Your viral Sad Hamster Amigurumi is now complete, with expressive eyes, rounded body, tiny ears, four feet, and pink bow defining its final character.
Small Changes You Can Make
Adjust Facial Expression
Eye placement is easiest way to change emotional effect without altering body pattern. Tilt or lower safety eyes slightly to emphasize sad/crying meme expression.
Change Bow Color
Replace pink bow with tiny blue ribbon for different look.
Leave Bow Off
For simpler variation, omit bow completely and keep focus on hamster’s facial expression and slouched sitting pose.