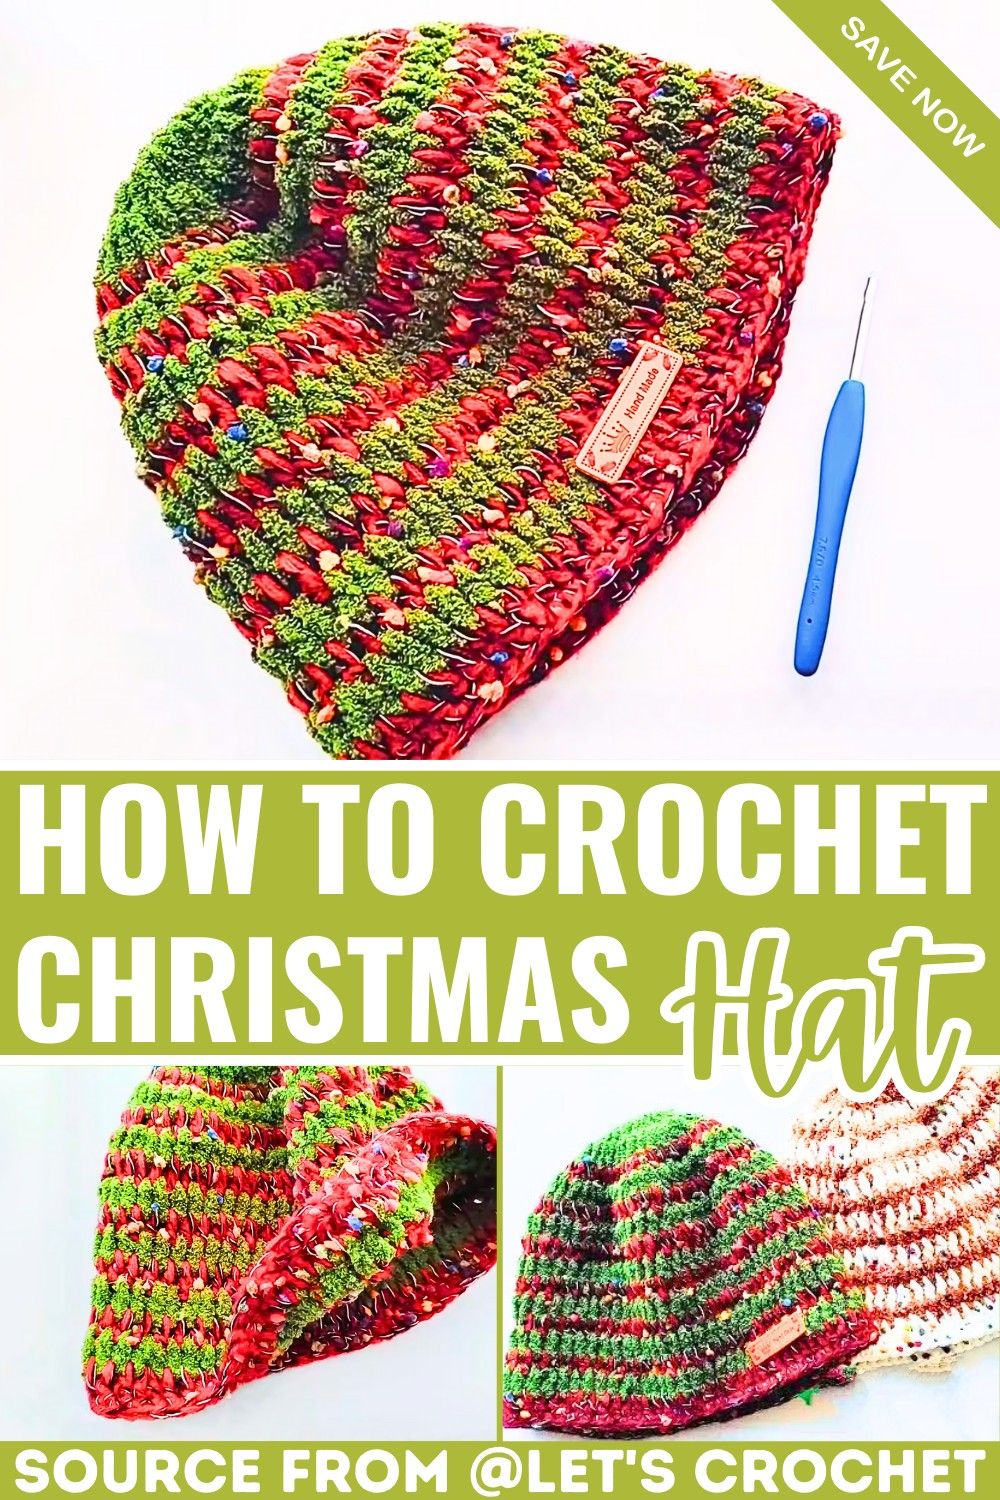
How to Crochet a Stylish Christmas Hat For Warm & Giftable
Some handmade gifts are enjoyed for a season. Others become part of every winter tradition. A crochet Christmas hat does both, bringing festive charm and everyday warmth in one piece. It’s the kind of gift people reach for year after year, making every crochet stitch feel worthwhile.
Crochet a Christmas Hat Pattern
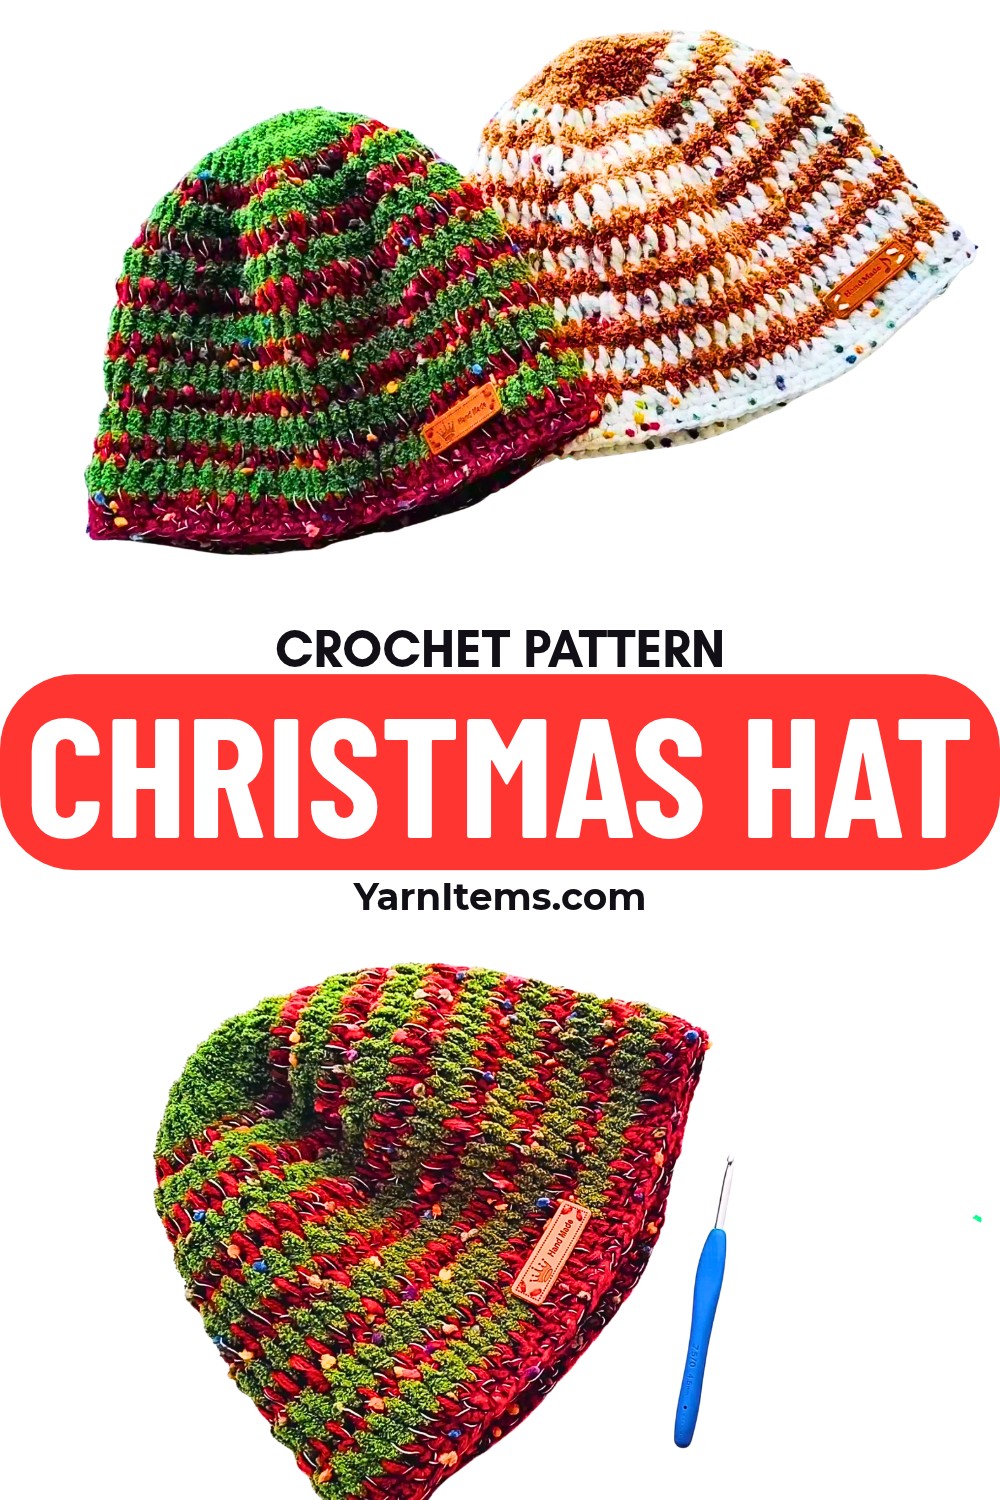
This pattern shows you how to create a Christmas hat that’s comfortable to wear, easy to customize, and fun to crochet. From choosing festive colors to shaping the hat for a neat fit, each step comes together smoothly. Keep scrolling to see how this simple crochet design turns into a holiday favorite that’s ready to gift or wear yourself.
Credit Let’s crochet
Materials & Tools
- Yarn
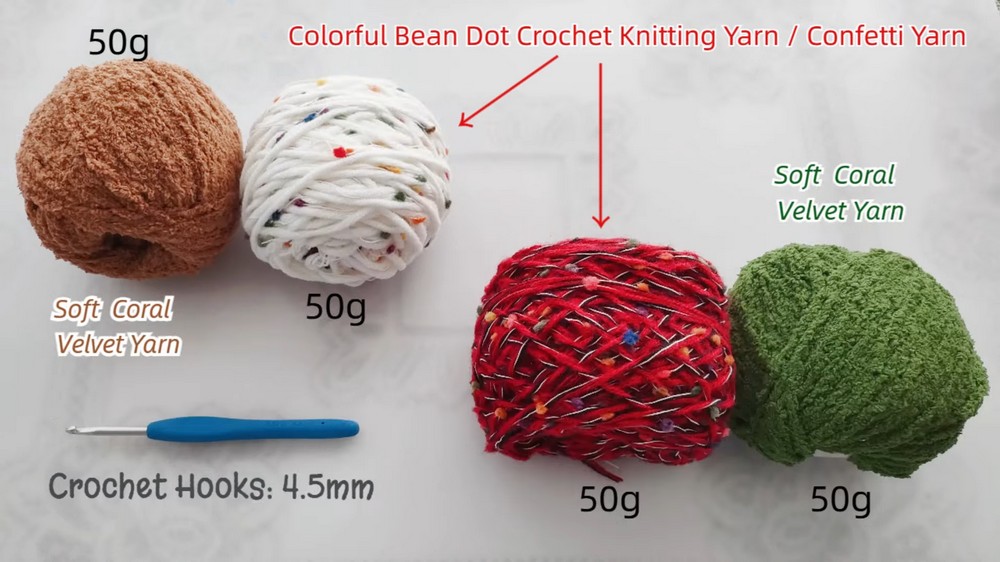
- Green soft coral velvet yarn – approx. 50 g
- White & red/multicolor confetti yarn (colorful bean dot style) – approx. 50 g
- Hook: 4.5 mm crochet hook
- Accessories: Faux leather “Hand Made” tag, sewing thread, sewing needle
- Notions: Yarn needle for weaving in ends
Finished Size (Approx.)
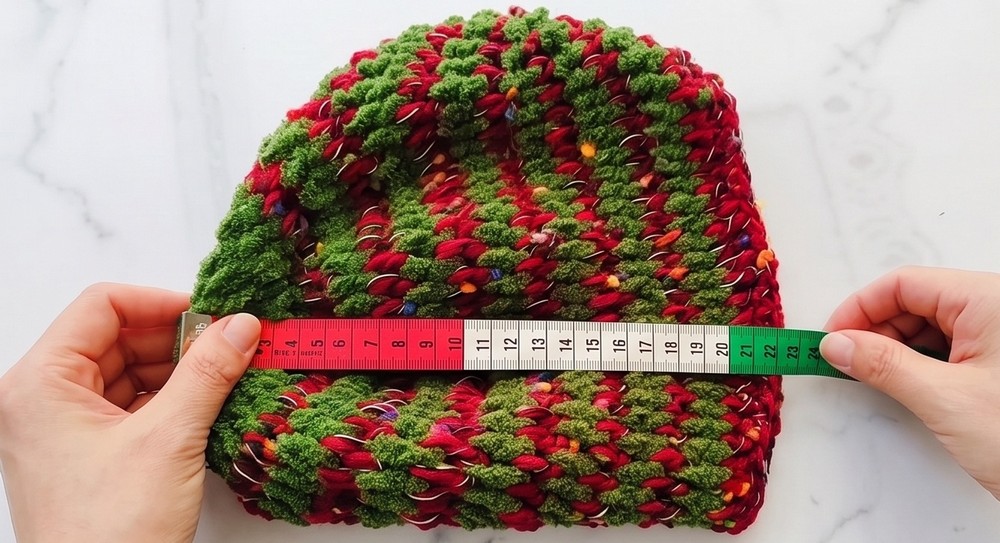
- Circumference: 55–66 cm (hat is stretchy and flexible)
- Height: 22 cm
To adjust size:
- For larger/smaller circumference:
- Adjust the increase rounds (especially R2–R7, R15–R16).
- For a slouchier hat:
- Add extra rounds of non-increasing double crochet before the brim.
Abbreviations (US Terms)
- ch – chain
- sc – single crochet
- dc – double crochet
- sl st – slip stitch
- [2dc] – 2 dc worked into the same stitch (increase)
- R – round
Note: In the top section, a starting ch 3 or 1 sc + ch 2 counts as the first dc.
Part 1: Top of Hat (Green Velvet Yarn)
R1:
Magic ring, ch 3 (counts as 1 dc), 11 dc into the ring.
Join with sl st to top of ch-3. (12 sts)
R2:
Ch 3 (counts as 1 dc), 1 dc in same st.
Work [2dc] in each remaining st around.
Join with sl st. (24 sts)
R3:
Ch 3 (counts as 1 dc), [2dc] in next st.
Repeat (1 dc, [2dc]) around.
Join with sl st. (36 sts)
R4:
Ch 3 (counts as 1 dc), 1 dc in next st, [2dc] in next st.
Repeat (2 dc, [2dc]) around.
Join with sl st. (48 sts)
R5:
Ch 3 (counts as 1 dc), 1 dc in each of next 2 sts, [2dc] in next st.
Repeat (3 dc, [2dc]) around.
Join with sl st. (60 sts)
R6:
Ch 3 (counts as 1 dc), dc in each st around (no increases).
Join with sl st. (60 sts)
R7:
Ch 3 (counts as 1 dc), dc in each of next 8 sts, [2dc] in next st.
Repeat (9 dc, [2dc]) 5 times around.
Join with sl st. (66 sts)
R8–R14:
Ch 3 (or preferred starting dc), dc in each st around with no increases.
Join with sl st each round. (66 sts per round)
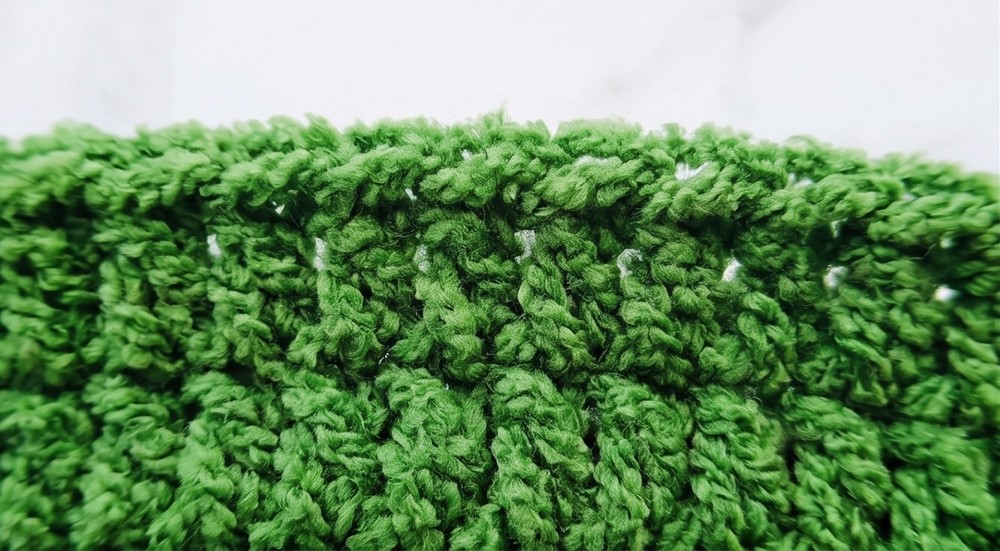
Part 2: Middle Band & Expansion (Confetti Yarn)
Join confetti yarn to any stitch.
R15:
Ch 3 (counts as 1 dc), dc in each of next 9 sts, [2dc] in next st.
Repeat (10 dc, [2dc]) 5 times around.
Join with sl st. (72 sts)
R16:
Ch 3 (counts as 1 dc), dc in each of next 10 sts, [2dc] in next st.
Repeat (11 dc, [2dc]) 5 times around.
Join with sl st. (78 sts)
If you want a taller/slouchier hat, add extra rounds of plain dc (78 sts) here before working the brim.
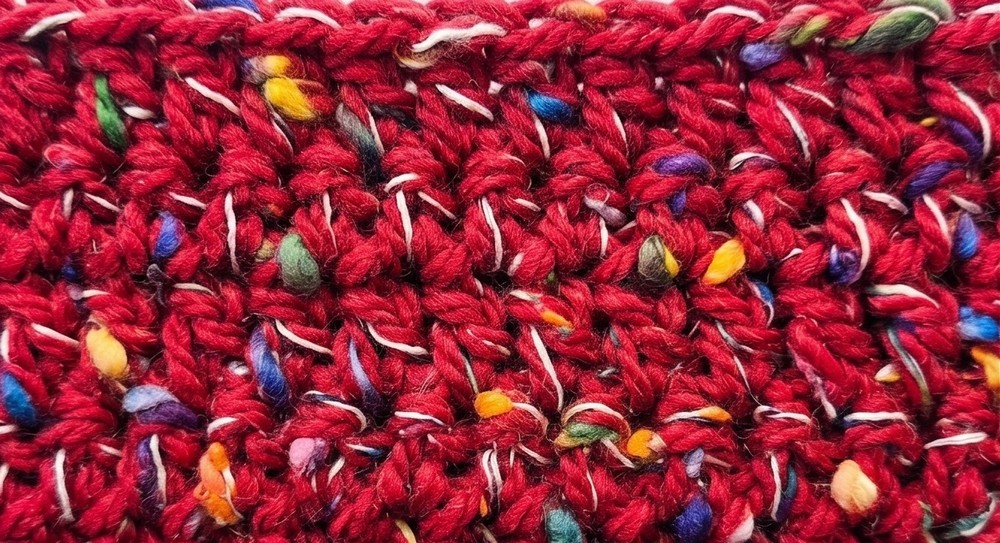
Part 3: Brim & Finishing (Confetti Yarn)
R17:
Ch 1 (does not count as a st).
Work 1 sc in each st around.
Join with sl st to first sc. (78 sts)
Fasten off. Weave in all ends on the inside of the hat with a yarn needle.
Finishing Touch
- Position the faux leather “Hand Made” tag on the front brim.
- Sew both ends of the tag securely in place using regular sewing thread and a sewing needle.