How to Crochet Slip Knot and Foundation Chain for Beginners
Your first crochet loop sets everything in motion-learn two simple ways to make a slip knot and turn it into a 13-chain foundation.
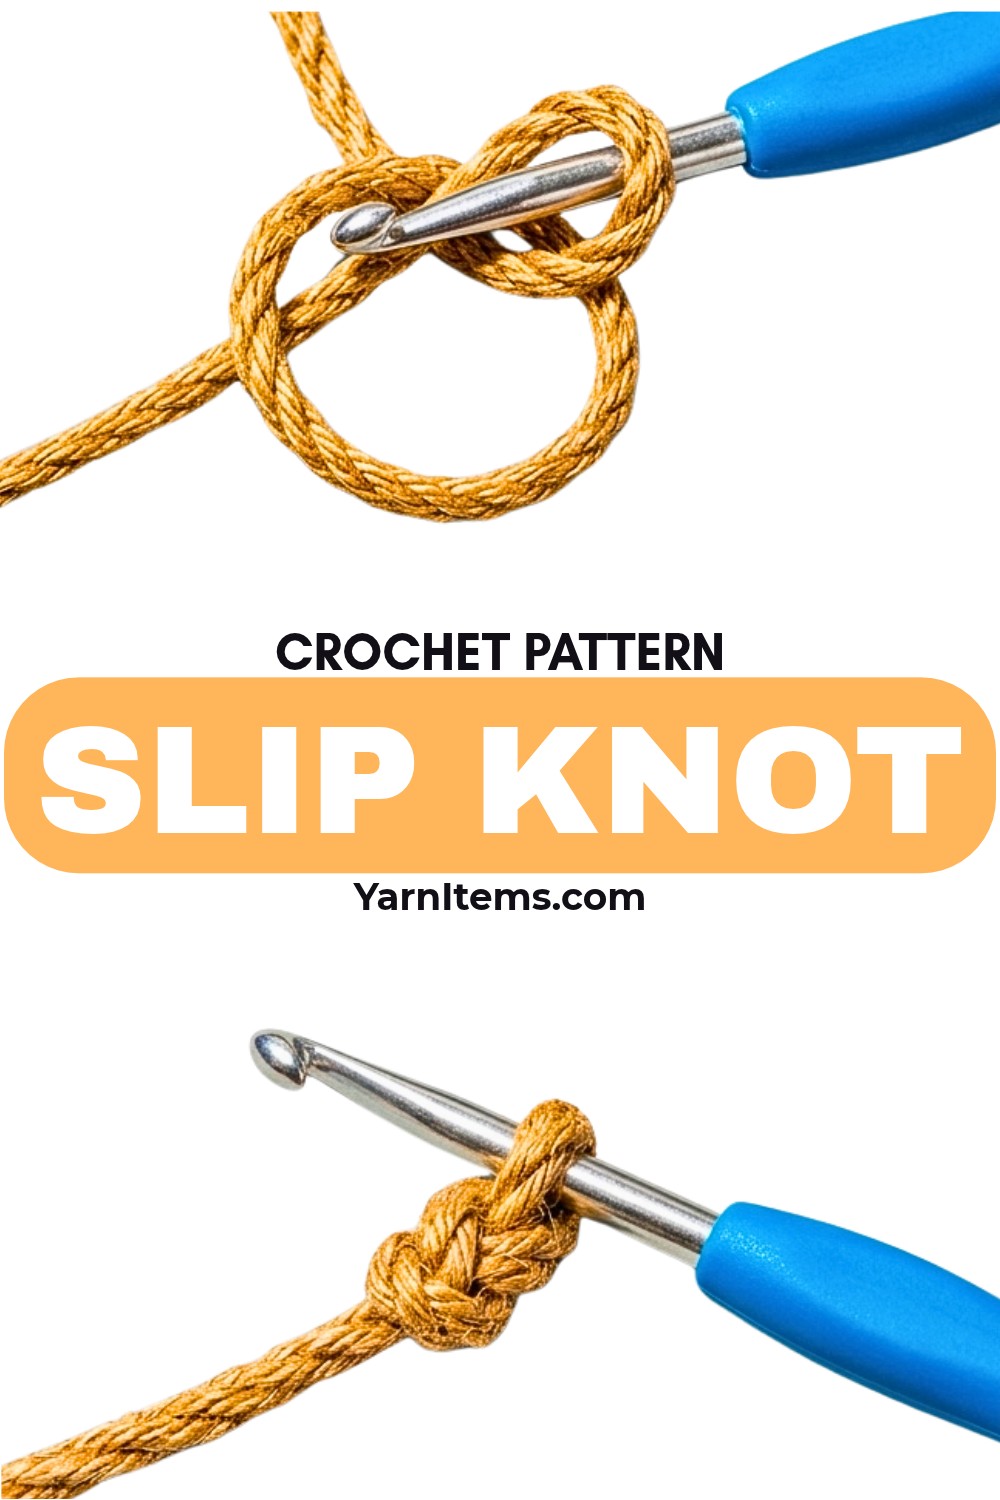
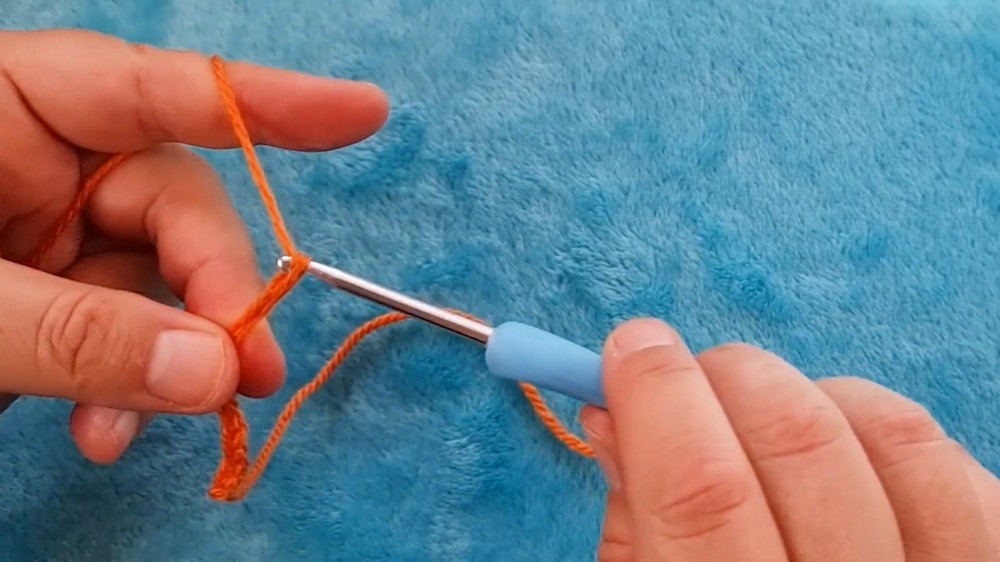
Getting the first loop onto your crochet hook can feel surprisingly awkward when you are just starting, but this tutorial gives you two simple ways to make a slip knot. You can practice with any yarn you are comfortable handling, while the tutorial demonstrates the technique with medium worsted-weight orange yarn and a crochet hook suited to the yarn.
From there, the lesson moves directly into the foundation chain, showing exactly how to keep the slip knot loose enough to move along the hook and how to repeat the yarn-over motion until you have 13 chains. You can follow either slip-knot method first, then use the same starting loop to practice the foundation chain before moving on to Row 1 of another crochet pattern.
Credit Goga Hook
Materials & Tools Needed
- Yarn: Any weight yarn you are comfortable practicing with. The tutorial uses a medium worsted-weight orange yarn.
- Crochet Hook: A hook size appropriate for your chosen yarn. A light blue ergonomic hook is featured in the video.
- Optional: Scissors, tapestry needle, and stitch markers are shown in the video as part of a complete crochet kit.
Finished Size & What to Expect
There is no fixed finished size for this practice chain. The length of your 13 chains can vary depending on your personal tension, yarn weight, and hook size.
This makes the technique useful for practicing with different combinations of yarn and hooks. As you repeat the chain motion, you can observe how loosely or tightly your hands naturally work the yarn.
Pattern Abbreviations
- ch: Chain
- st(s): Stitch(es)
Before Making the First Chain
The slip knot should sit snugly around the hook without gripping it tightly. When you can slide the loop easily up and down the shaft of the hook, you are ready to make your first chain.
Also remember one small detail that is easy to miss when counting: the working loop currently sitting on your hook does not count as a stitch. Your stitch count begins with the chain formed when you pull the yarn through that loop.
The Finger Slip Knot
This method uses your finger to form and control the loop before transferring it to the hook.
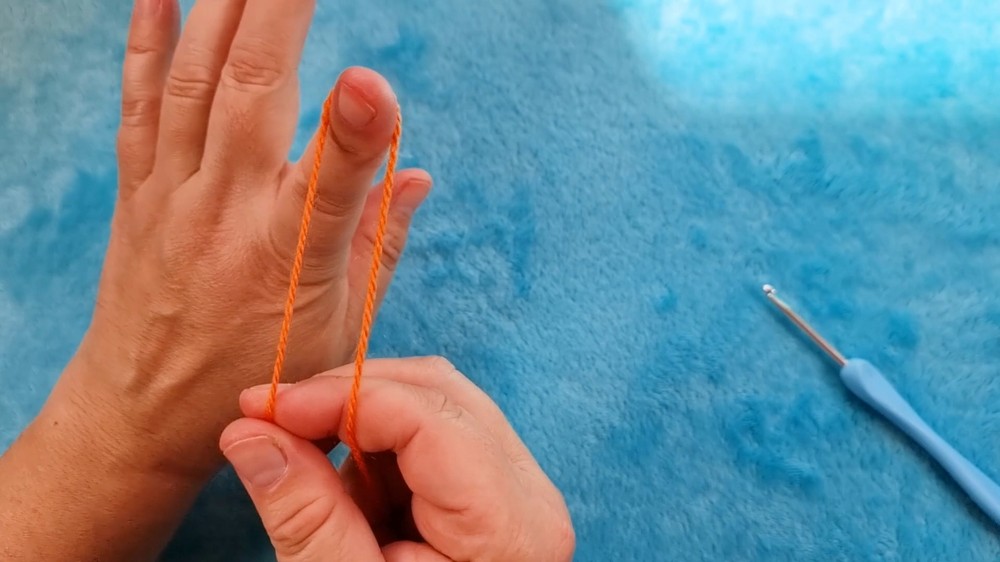
Step 1: Leave a short tail and drape the working yarn over your index finger.
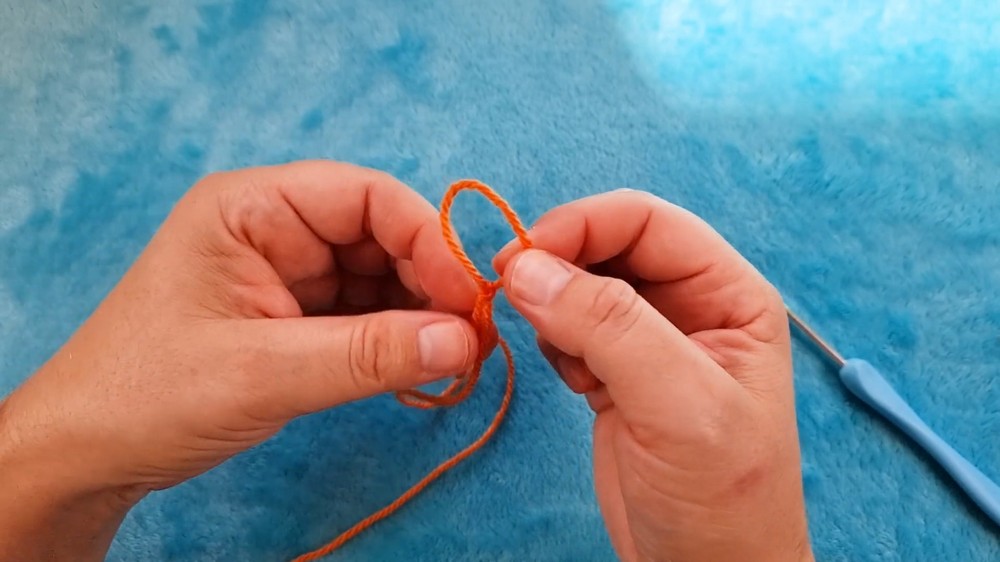
Step 2: Wrap the yarn around your finger to create an “X” or a complete loop.
Step 3: Turn your finger slightly so you can clearly see the two strands.
Step 4: Grab the back strand, which is the working yarn, and pull it under and through the front loop on your finger.
Step 5: Pull gently to tighten the loop slightly, then slip it off your finger.
The result is a slip knot that can be adjusted rather than permanently fixed. The tutorial demonstrates that pulling both ends allows the knot to come undone quickly, which is why it is called a slip knot.
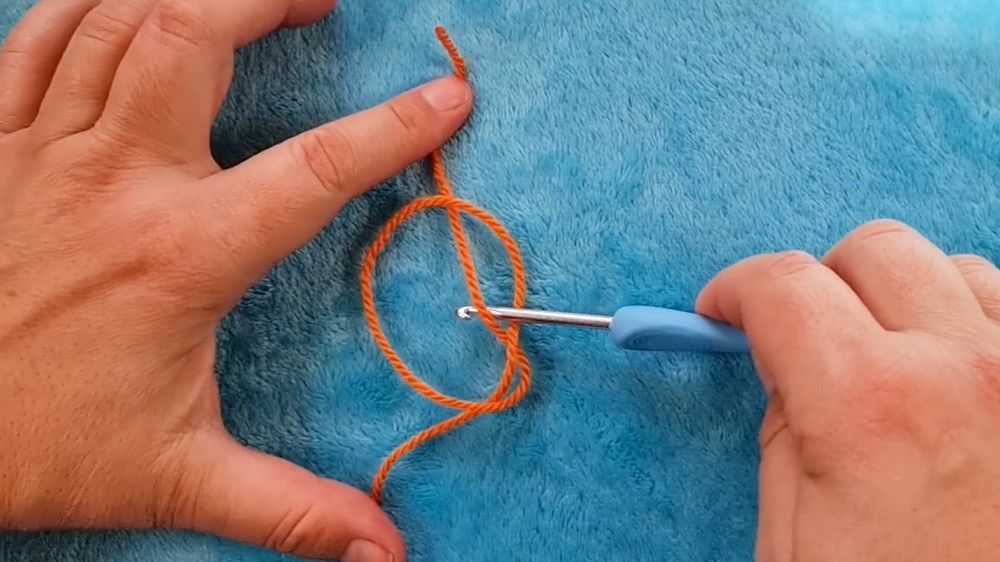
The Hook Slip Knot
If you would rather make the knot without wrapping the yarn around your finger, you can form the loop directly with your crochet hook.
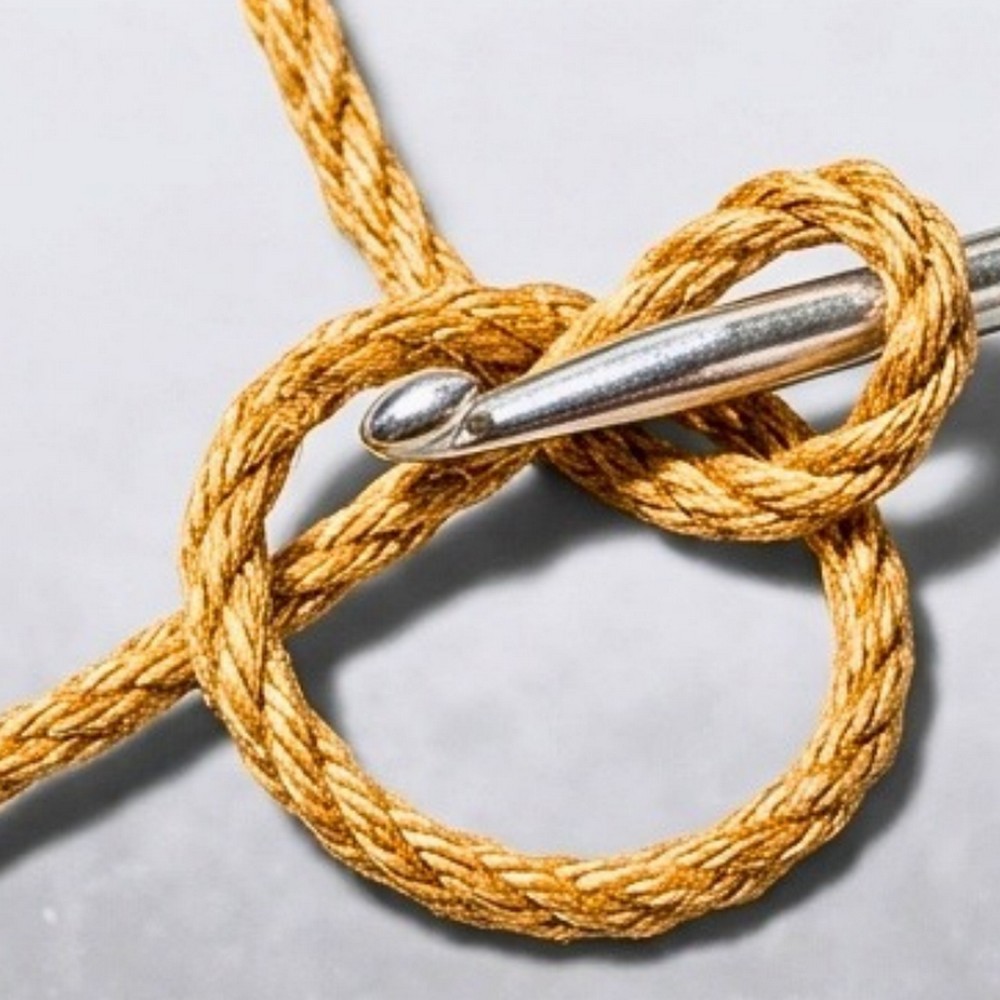
Step 1: Cross the yarn over itself to make a simple loop, keeping the working yarn lying on top.
Step 2: Insert your crochet hook directly into the center of the loop.
Step 3: Grab the working yarn with the hook and pull it upward through the center of the loop.
Step 4: Hold the two loose yarn ends and pull the hook upward to tighten the knot around the shaft of the hook.
Both methods leave you with the same basic starting point: a slip knot secured around your crochet hook and ready for chaining.
Crocheting the Foundation Chain
Once your slip knot is on the hook, the next movement is repeated to create the foundation chain.
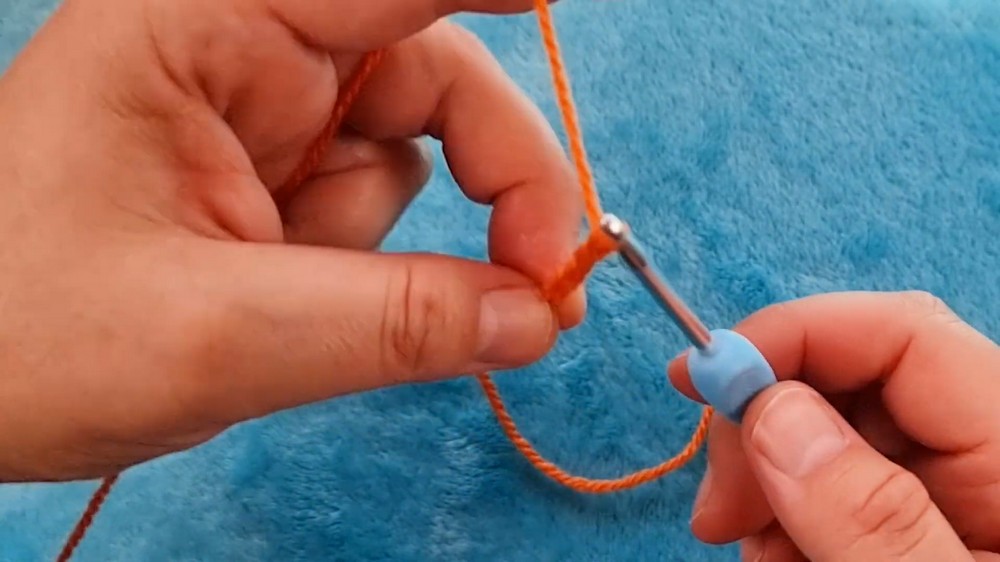
Step 1: Tighten the slip knot gently. It should be snug but still able to slide easily up and down the shaft of the hook.
Step 2: Yarn over by wrapping the working yarn over the hook from back to front.
Step 3: Pull the hooked yarn through the slip-knot loop currently on your hook. This creates your first chain, ch 1.
Step 4: Repeat the same yarn-over-and-pull-through motion until you have made a total of 13 chains.
Stitch Count: At the end of the tutorial, you will have exactly 13 chains (ch 13). The working loop remaining on your hook does not count toward those 13 stitches.
A Simple Counting Check
Once you stop chaining, count the completed chain stitches rather than counting the loop sitting on your hook. If you have followed the tutorial correctly, the completed foundation should contain 13 chains.
Keeping the tension consistent while counting is also useful practice. Try to keep each chain reasonably similar rather than pulling some loops extremely tight and leaving others very loose.
What Comes Next?
This tutorial ends once the 13-chain foundation is complete. There is no joining, color change, or assembly to perform.
Your completed ch 13 foundation is now ready to become the starting point for Row 1 of whichever crochet pattern you are following next.