Crochet Spider Web Bandana Pattern for Halloween
Turn simple crochet stitches into a spooky spider web bandana with airy EDC rows, pointed edging, and adjustable straps for Halloween styling.
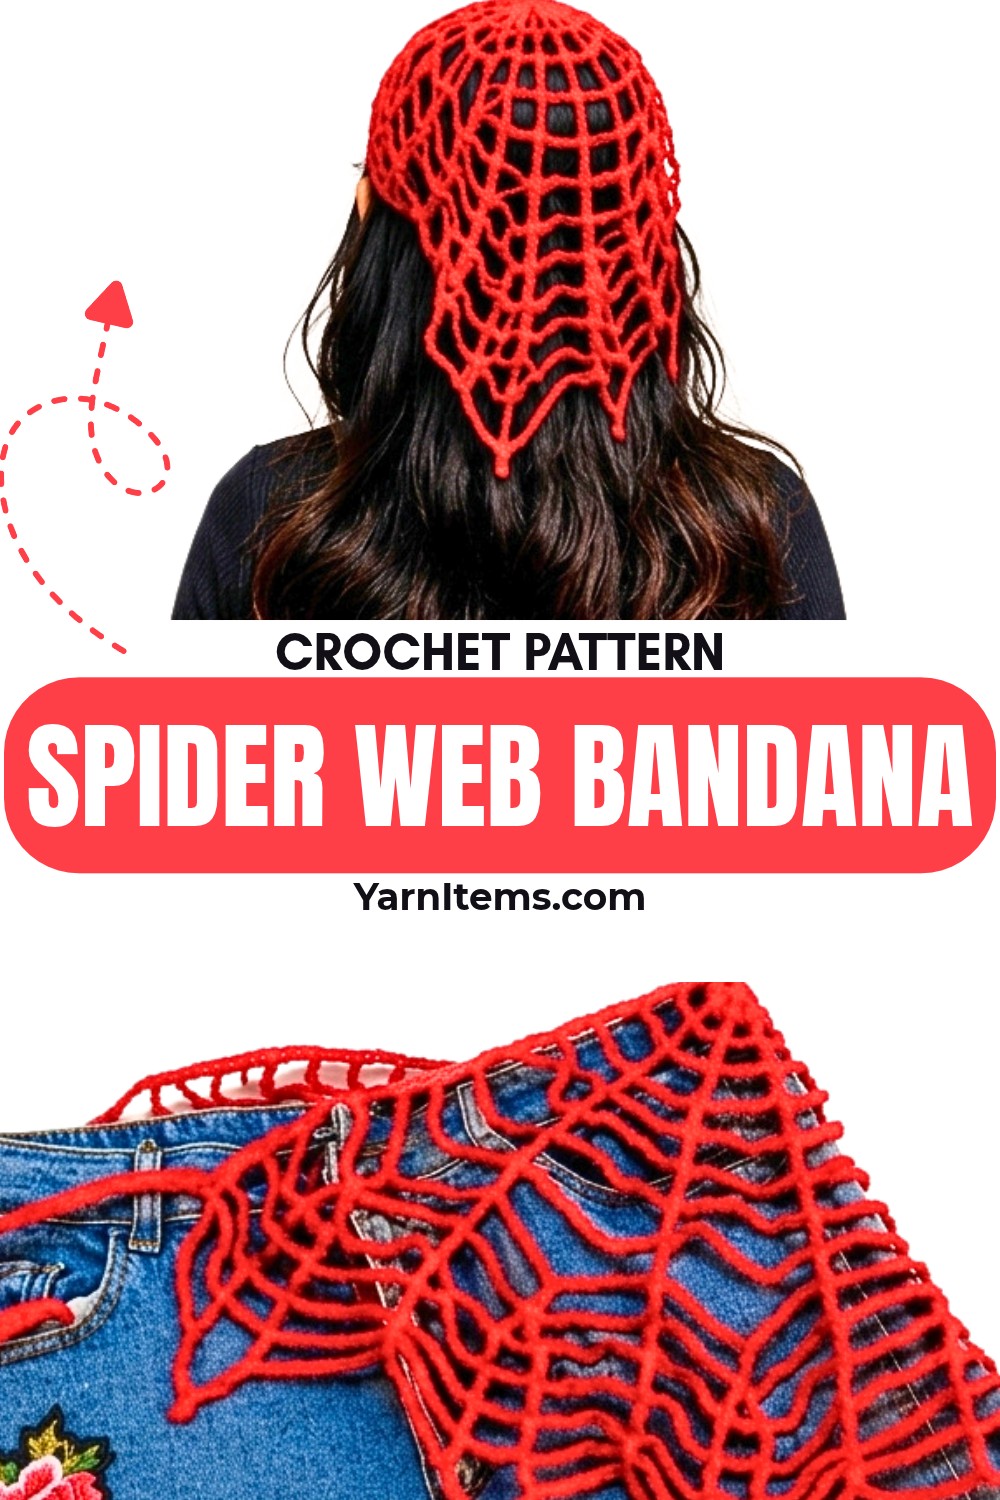
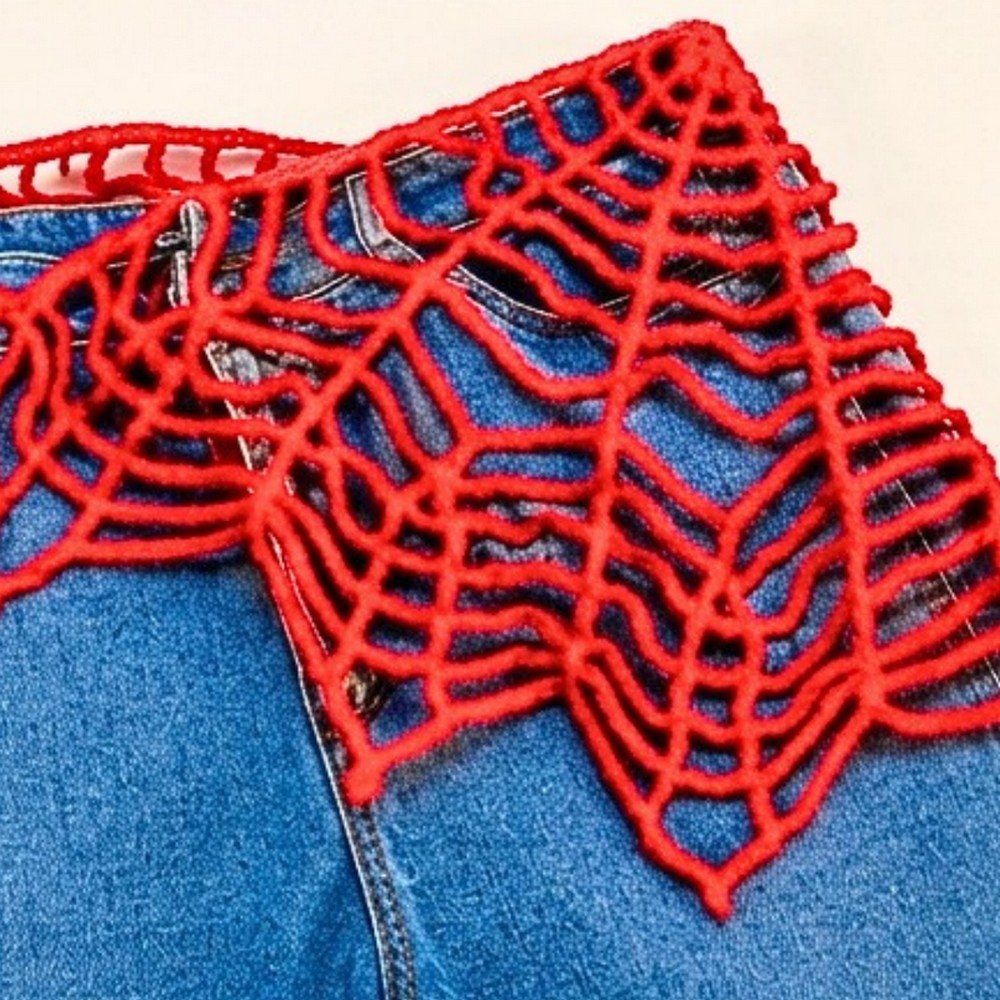
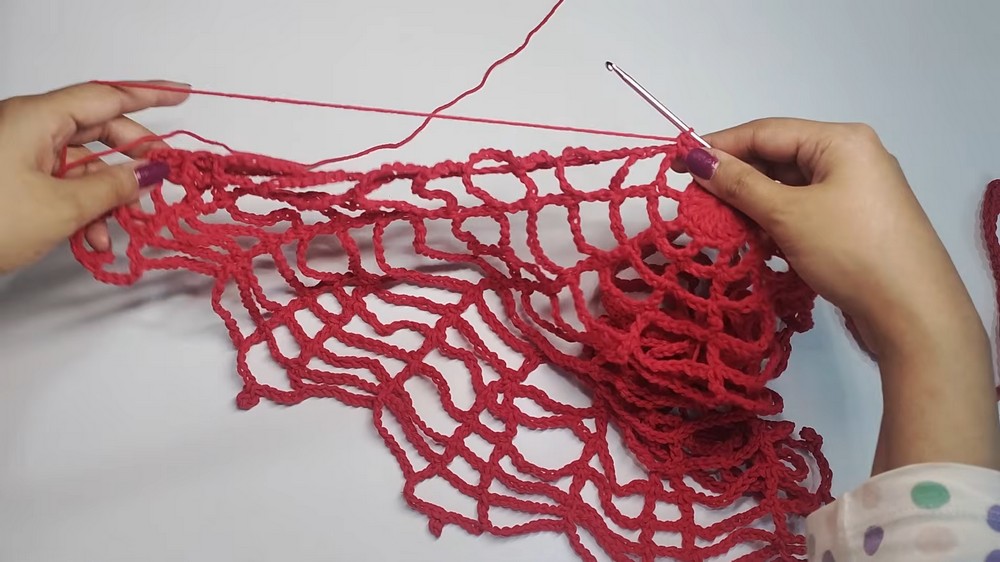
Halloween style gets a handmade twist with this oversized crochet spider web bandana, where open chain spaces and elongated stitches gradually form a lightweight web shape. Loose tension helps the lace-like fabric stay fluid, while the pointed edging gives the finished accessory its unmistakable spooky character.
Starting from the center, the crochet pattern expands through increasingly larger chain spaces before the middle sections are reshaped with V-stitches and decorative spikes. You’ll follow the rows in order, then finish by adding the two long straps and a neat single-crochet border around the top edge.
Credit YarnIt Crochet
Materials & Tools Needed
- Yarn: Medium-weight cotton yarn (6-ply).
- Hook: 3.5 mm crochet hook.
- Other Tools: Scissors and a tapestry needle for weaving in ends.
Finished Size & Customization Ideas
The adult-sized bandana measures approximately 50 cm at the base and is intentionally oversized for versatile styling.
For a smaller or child-sized version, stop the expanding rows earlier than Round 9 and move directly to the spike edging rows.
The straps can also be adjusted. The tutorial uses 70 chains for the long straps, while 50–60 chains can be used for a smaller fit.
For a thinner, sleeker tie, use slip stitches instead of single crochet on the straps.
Once finished, the bandana can be worn as a spooky Halloween hair accessory, wrapped around the waist over jeans, or tied onto a tote bag as a decorative seasonal detail.
Pattern Abbreviations & Terminology
- MR: Magic Ring
- CH: Chain
- SC: Single Crochet
- DC: Double Crochet
- EDC: Extended Double Crochet — yarn over, insert hook into stitch, pull up a loop (3 loops on hook), pull through the first loop only (3 loops on hook), pull through two loops, then pull through the last two loops. This adds extra height and drape to the web.
- SL ST: Slip Stitch
- ST(S): Stitch(es)
Before You Begin
Keep your tension loose throughout the pattern to help the web maintain its beautiful, flowy drape.
Step-by-Step Crochet Instructions
Round 1: Make a MR. CH 3 (counts as your first DC), make 14 DC into the ring, pull the tail to close the ring tight, do NOT join with a slip stitch; work in back-and-forth rows (15 DC).
Round 2: CH 4 (counts as turning chain), turn your work, CH 3, skip 1 ST, DC into the next ST, *CH 3, skip 1 ST, DC into the next ST, repeat from * across the round, (8 DC, 7 CH-3 spaces).
From Round 3 onward, replace all double crochets with Extended Double Crochets (EDC).
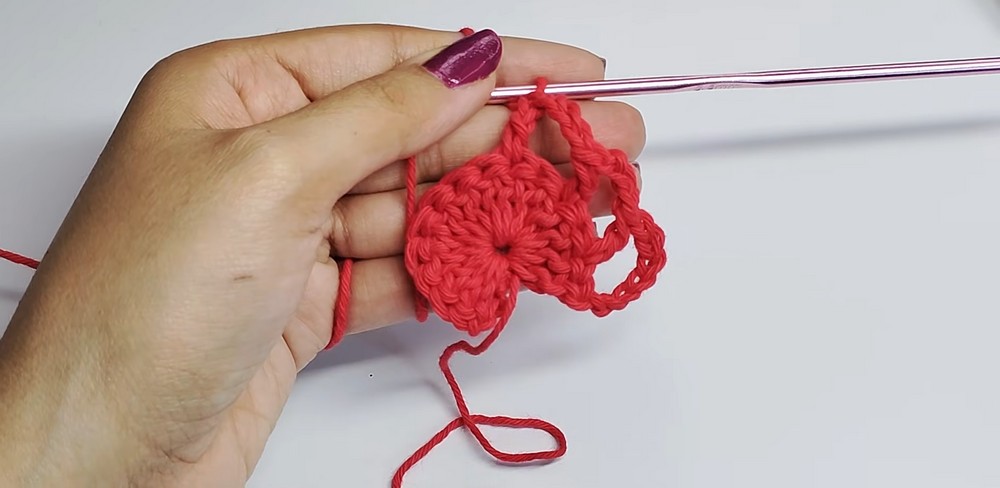
Round 3: CH 4, turn, CH 5, skip the CH-3 space, place 1 EDC directly into the top of the next DC, *CH 5, skip the CH-3 space, 1 EDC in the next DC, repeat from * across, for the final ST skip 3 chains of the turning chain and place your last EDC in the 4th chain, (8 EDC, 7 CH-5 spaces).
Round 4: CH 4, turn, CH 7, skip the CH-5 space, place 1 EDC in the next EDC, *CH 7, 1 EDC in the next EDC, repeat from * across, place the final EDC in the 4th chain from the bottom of the previous turning chain, (8 EDC, 7 CH-7 spaces).
Round 5: CH 4, turn, CH 9, 1 EDC in the next EDC, *CH 9, 1 EDC in the next EDC, repeat from * across, place final EDC in the 4th turning chain, (8 EDC, 7 CH-9 spaces).
Round 6: CH 4, turn, CH 11, 1 EDC in the next EDC, *CH 11, 1 EDC in the next EDC, repeat from * across, place final EDC in the 4th turning chain, (8 EDC, 7 CH-11 spaces).
Rounds 7-9: Continue the same pattern, increasing the chain spaces by 2 chains each round: Round 7: CH 13 spaces between EDCs; Round 8: CH 15 spaces between EDCs; Round 9: CH 17 spaces between EDCs.
These increasing chain spaces gradually open the web and prepare its widest section for the shaping that follows.
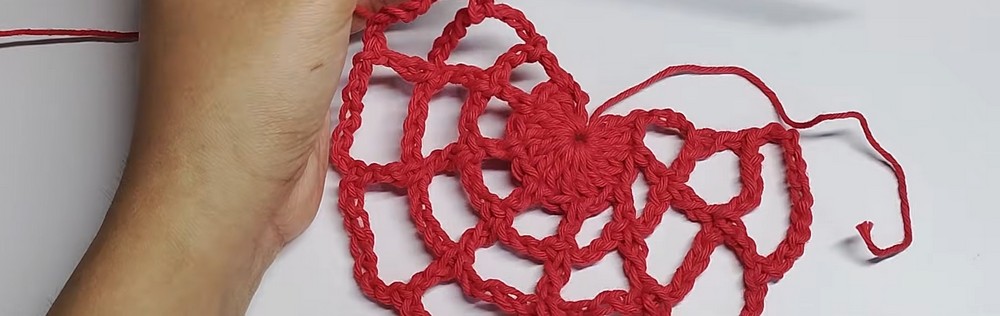
Round 10: CH 4, turn, CH 9, find the exact middle chain of the 17-CH space (skip 8 chains, work into the 9th chain) and place 1 EDC into that middle chain, CH 9, place 1 EDC into the next EDC stitch, repeat this sequence (CH 9, EDC in 9th chain, CH 9, EDC in next EDC) across, end with EDC in the 4th turning chain.
The middle chain of the 17-CH space is used as the placement point for the new EDC, bringing a solid stitch into the center of each wide opening.
Round 11: CH 4, turn, CH 9, place 1 EDC into the next EDC (the one sitting in the middle of the chain space), CH 3, then place another EDC into the same stitch to create a V-stitch, CH 9, place 1 EDC into the next solid line EDC, repeat (CH 9, V-stitch in middle EDC, CH 9, 1 EDC in next EDC) across.
Round 12: CH 4, turn, CH 9, 1 EDC in the first EDC of the V-stitch, CH 3, 1 EDC into the second EDC of the V-stitch, CH 9, 1 EDC in the next solid line EDC, repeat across.
Round 13: CH 4, turn, CH 9, 1 EDC in the first V-stitch leg, CH 4 (increasing the middle gap by one), 1 EDC in the second V-stitch leg, CH 9, 1 EDC in the next solid line EDC, repeat across.
Round 14: CH 4, turn, CH 9, 1 EDC in the first leg, CH 5, 1 EDC in the second leg, CH 9, place a SC into the next solid line EDC instead of an EDC, repeat across.
Spike Edging
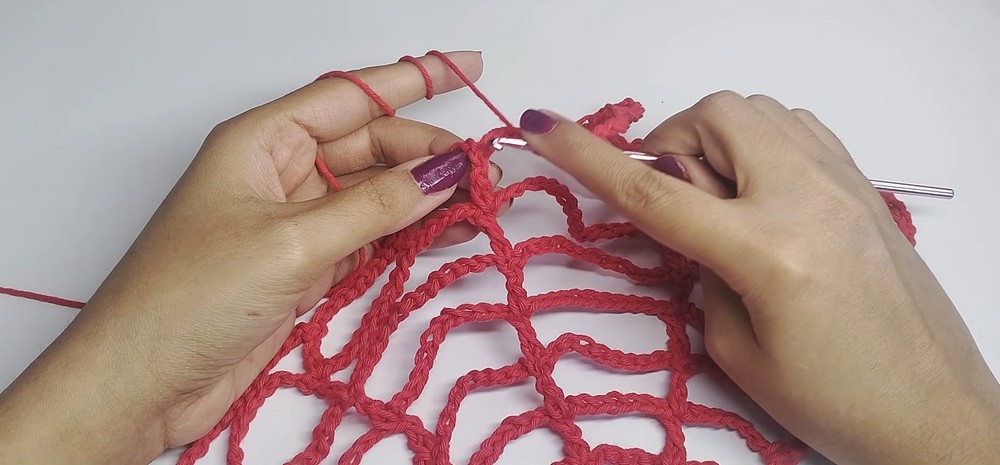
Round 15: CH 4, turn, CH 9, 1 EDC in the first leg, CH 9, count to the 5th chain from your hook and place a SL ST to create a rounded picot spike, CH 5, 1 EDC in the second leg, CH 9, SC into the next SC, repeat across to form the web spikes.
The rounded slip-stitch points give the outer edge its decorative spike effect and complete the web-inspired edging.
Creating the Straps & Top Border
First Strap
Do not cut the yarn. From the corner where you just ended Round 15, CH 70. Working back down the chain, place 1 SC in each chain stitch until you return to the base of the bandana, for 70 SC total.
Top Edge Border
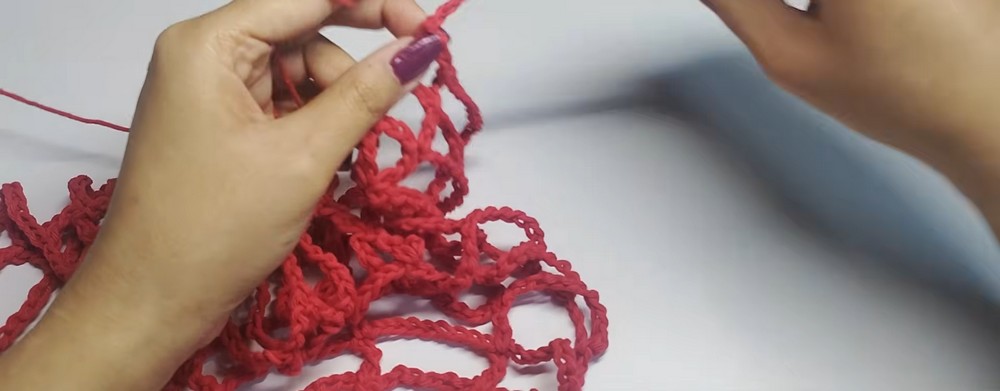
Work SC stitches across the top flat edge to neaten it. Place 1 SC in the immediate corner, then place 4 SC into each wide side row gap.
When you reach the middle at the magic ring center, place 2 SC in the last DC, 1 SC directly in the center hole, and 2 SC in the next DC. Continue placing 4 SC in each remaining gap until you reach the opposite corner.
Second Strap
From the second corner, CH 70. Work back down the chain with 1 SC in each stitch, then slip stitch into the corner base of the bandana to secure the strap.
Finishing
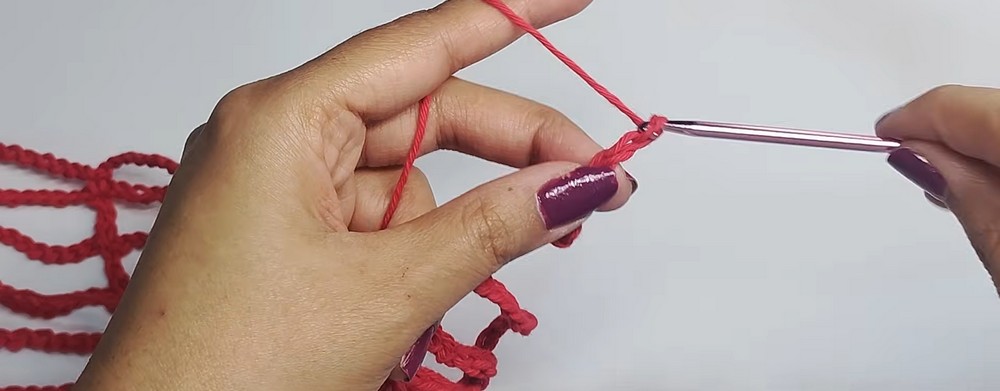
CH 1 and cut a small tail. Fasten off by pulling the loop tight.
Use a tapestry needle to weave in all loose ends securely, paying special attention to the center magic ring tail.
Lightly steam press the finished piece so the web details and spiked edges stand out clearly.
Styling Ideas
Wear the oversized bandana as a Halloween hair accessory, wrap it around the waist over jeans, or tie it onto a tote bag for a seasonal decorative touch.
For a smaller fit, stopping the expanding rows earlier and shortening the straps gives you a more compact version while keeping the same spider web character.