Step-by-Step Guide to Crochet a Little Horse
This adorable crocheted little horse captivates with its intricate detailing and charming design. Crafted with love, it showcases a perfect blend of texture, color, and cuteness.
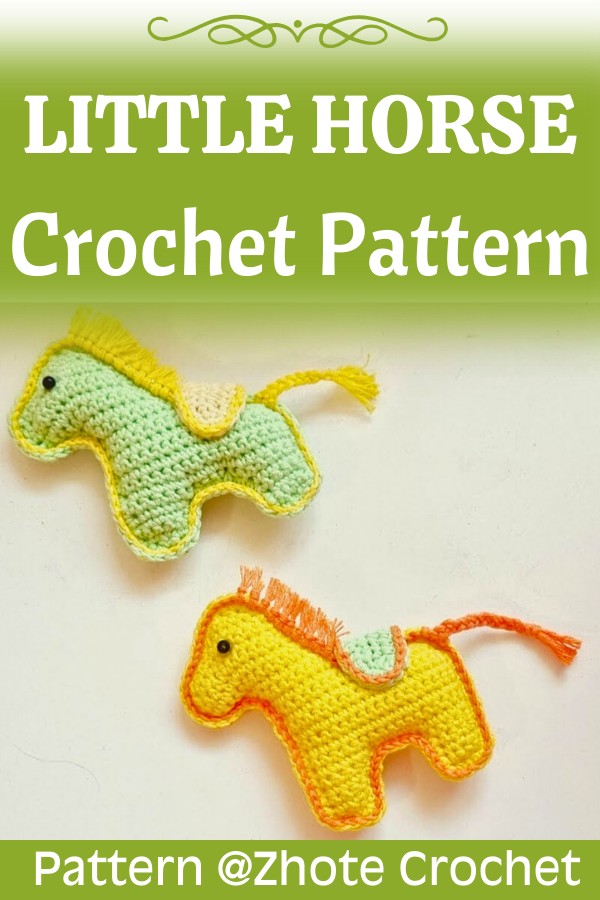
Its life-like eyes and fluffy mane give it a delightful personality suitable for children and adults alike.
Credit Zhote Crochet
Materials Needed
- Yarn in desired colors (brown, white, etc.)
- Crochet hook (size suitable for your chosen yarn)
- Safety eyes or black beads
- Stuffing
- Tapestry needle
- Scissors
- Stitch markers
Key Crochet Techniques
- Chain (ch)
- Single Crochet (sc)
- Increase (inc)
- Decrease (dec)
- Slip Stitch (sl st)
Functional Uses and Shape
This little crocheted horse stands out due to its versatile usage. Its compact and soft structure makes it perfect as a stuffed toy for children, a charming piece of home decor, or a delightful gift. Its symmetrical shape and balanced design ensure it remains upright, adding to its appeal.

Detailed Pattern
Step 1: Head
- Magic ring, ch 1, 6 sc in ring. (6)
- Inc in each st around. (12)
- 1 sc, inc, repeat around. (18)
- 2 sc, inc, repeat around. (24)
- 3 sc, inc, repeat around. (30)
- Sc around for 6 rounds. (30)
- 3 sc, dec, repeat around. (24)
- 2 sc, dec, repeat around. (18)
- Add safety eyes between rows 6 and 7 about 5 stitches apart.
- 1 sc, dec, repeat around. (12)
- Stuff the head.
- Dec around. (6)
- Fasten off and weave in ends.

Step 2: Body
- Magic ring, ch 1, 6 sc in ring. (6)
- Inc in each st around. (12)
- 1 sc, inc, repeat around. (18)
- 2 sc, inc, repeat around. (24)
- 3 sc, inc, repeat around. (30)
- Sc around for 7 rounds. (30)
- 3 sc, dec, repeat around. (24)
- 2 sc, dec, repeat around. (18)
- 1 sc, dec, repeat around. (12)
- Stuff the body.
- Dec around. (6)
- Fasten off and leave a long tail for sewing.

Step 3: Legs (Make 4)
- Magic ring, ch 1, 6 sc in ring. (6)
- 1 sc, inc, repeat around. (9)
- Sc around for 8 rounds.
- Fasten off and leave a long tail for sewing.
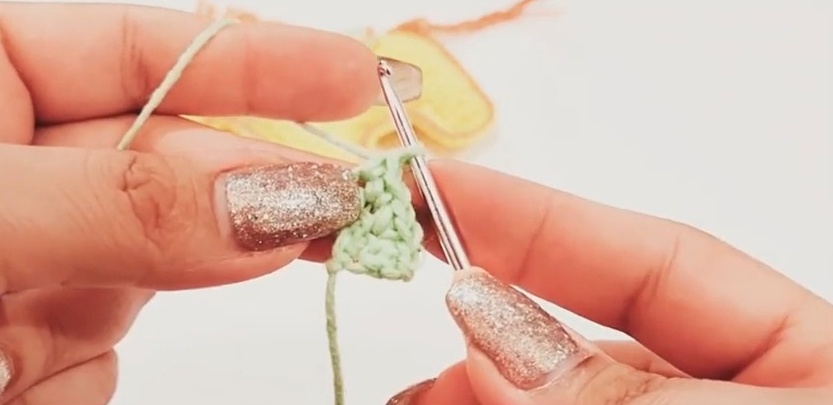
Step 4: Ears (Make 2)
- Ch 4, sc in 2nd ch from hook, sc, turn.
- Ch 1, 1 sc in first sc, 2 sc in the next, 1 sc in the last. (4)
- Fasten off and leave a long tail for sewing.
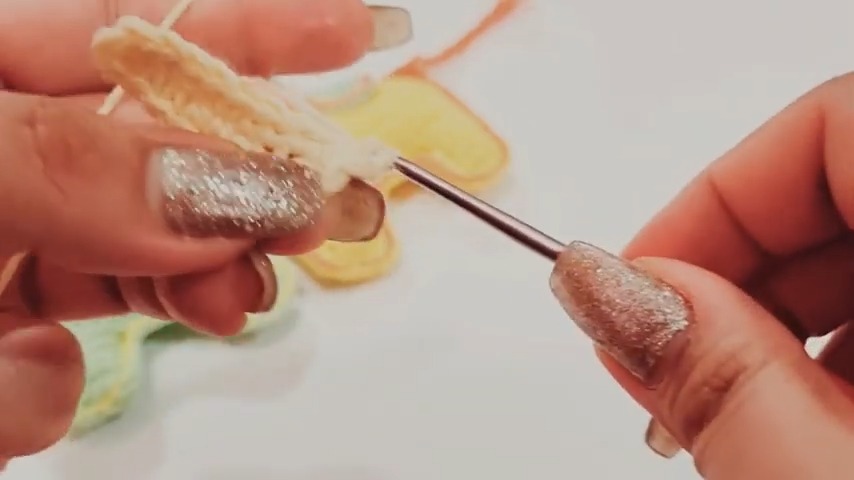
Step 5: Mane and Tail
- Cut strands of yarn (about 6 inches each).
- Attach strands along the top of the head for the mane.
- Braid together or leave loose.
- For the tail, attach about 6 strands together at the end of the body.
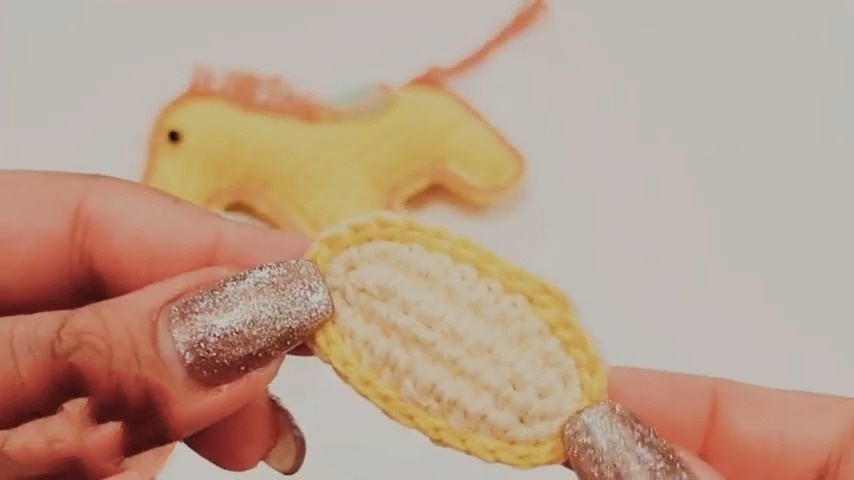
Step 6: Assembly
- Sew the head to the body.
- Attach the legs evenly to the bottom of the body.
- Sew the ears onto the head.
- Style the mane and tail as desired.

Conclusion
Creating this little horse is a rewarding and enjoyable project for crocheters of all levels. Whether you’re making it as a toy, a gift, or a decor piece, its delightful charm is sure to bring a smile to anyone’s face. Enjoy your crochet journey and the joy of crafting something special with your own hands!