Crochet Side-Strap Shorts with Easy-to-Follow Pattern Tutorial
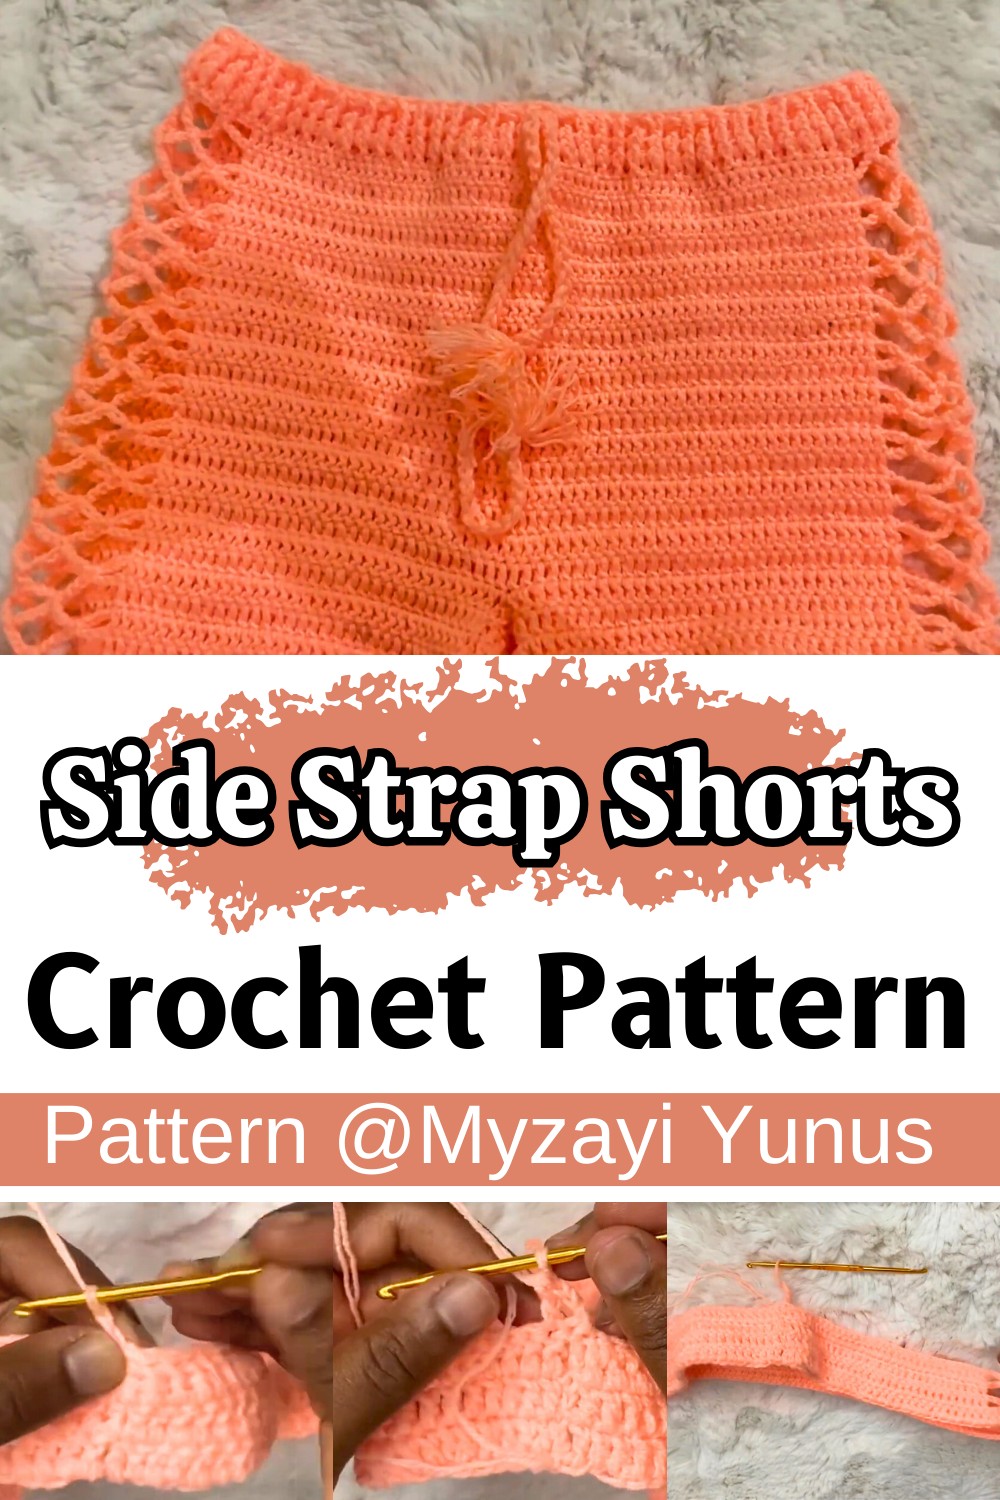
These trendy crochet side-strap shorts are the perfect blend of effortless style and comfort, featuring lace-up details on the sides and a flattering fit that can be easily customized to any size.

Crochet side-strap shorts are the perfect combination of style and comfort. These unique crochet shorts feature charming side straps that add a trendy and adjustable touch to the overall design. If you’re relaxing on a warm day or heading out with friends, these Side-Strap Shorts are both functional and fashionable. They’re lightweight, great for summer, and can be customized to fit your favorite colors or exact size.
Crochet Side Strap Shorts
Making these crochet shorts is a straightforward and enjoyable process. Using basic crochet techniques, you’ll work from the waistband to the legs, finishing off with some creative details like straps and tassels for the sides. The shorts pattern is simple enough for beginners yet produces a polished, wearable result. Plus, the waist and leg openings are beautifully shaped to ensure a snug yet comfy fit. You can even add personal touches to make them your own.
Credit Myzayi Yunus
Key Features of the Pattern
- Customizable Fit: Start by creating a foundation chain based on your hip measurement to ensure the shorts fit perfectly.
- Worked in Rounds: The body of the shorts is worked seamlessly in circular rounds with double crochet stitches.
- Side Straps Design: Alternating rows of chain spaces create unique lace-up side straps for a stylish and breathable look.
- Shaping for Legs and Waistband: The leg holes and ribbed waistband are shaped using stitch markers, increases, and front post/back post double crochet ribbing.
- Optional Embellishments: Add tassels or decorative drawstrings for extra flair.
The pattern begins with a simple slipknot and a foundation chain that matches your hip circumference. The piece is joined into a loop with slip stitches, forming the base of the shorts. You’ll work the first row using basic double crochet stitches across the chain in one continuous round. At this stage, the goal is to establish the foundation for the body of the shorts while ensuring your work isn’t twisted.

Once the base is complete, stitch markers guide the layout for the side straps and body. The straps are created along the sides of the shorts using a charming lattice technique made with chain and skip-stitch combinations. This airy feature is not only visually appealing but also keeps these shorts lightweight and ideal for summer. The rest of the body is filled with double crochet stitches to maintain a clean and uniform texture.
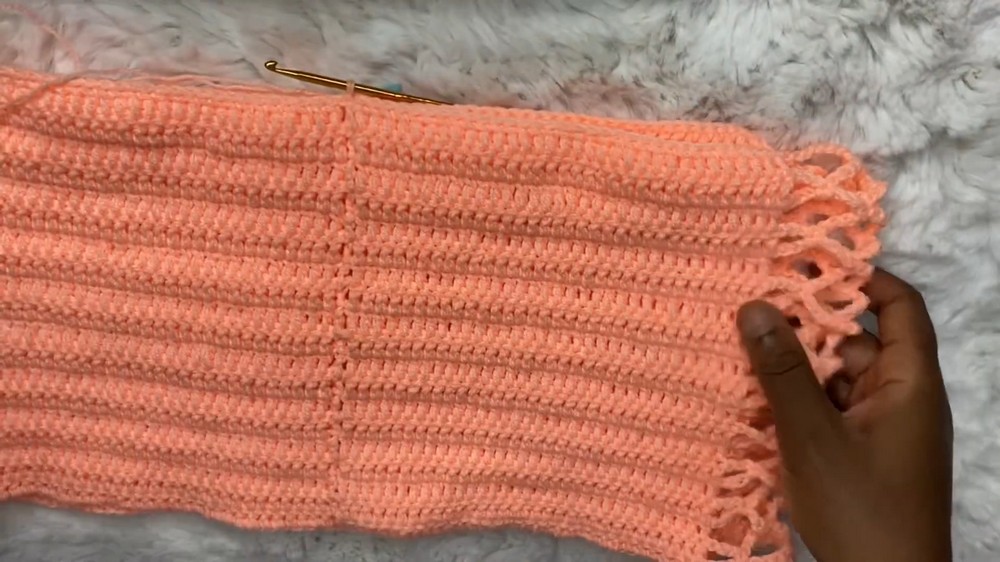
To shape the leg holes, the work is divided evenly into two sections, with additional foundation chains added to form the opening for each leg hole. Once the leg holes are created, rows of alternating double crochets and chain space designs are used to provide consistency with the overall pattern. Around six to seven rows are worked for each leg, although this can be adjusted based on your preference for leg length.

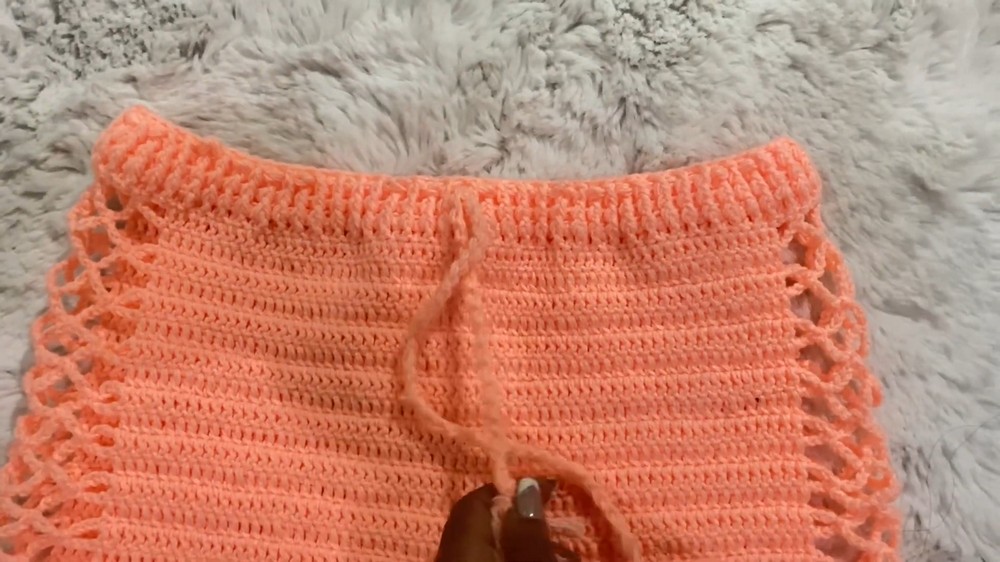
Finally, the waistband is added using front post and back post double crochet stitches to create a comfortable ribbed texture. This not only adds a professional, polished finish but also ensures that the shorts sit snugly without slipping. Optional tassels or drawstrings can be attached to the side straps or waistband for added design flair, making the shorts fully customizable to your style preferences.
Video Tutorial
Materials and Key Pattern
Materials Needed:
- Yarn
- 3mm and 4mm crochet hooks
- Stitch markers
- Scissors
- Tape measure
Key Crochet Techniques:
- Slipknot
- Chain stitch (ch)
- Double crochet (dc)
- Single crochet (sc)
- Slip stitch (sl st)
- Front post double crochet (fpdc)
- Back post double crochet (bpdc)

Detailed Pattern
- Measure & Begin:
- Measure your hip circumference.
- Make a foundation chain that matches your hip measurement.
- Join with a slip stitch to form a circle.
- Row 1:
- Chain 3, make a double crochet in each chain around.
- Join with a slip stitch in the third chain.
- Row 2:
- Divide the chain into sections using stitch markers.
- Chain 3, double crochet until the first marker.
- Continue with patterned openings (e.g., chain 8, skip 5, single crochet in the 6th).
- Alternate sides with pattern openings and double crochets.
- Subsequent Rows:
- Repeat the row 2 pattern, alternating the opening technique.
- Continue until you achieve the desired length (19 rows for large, 17 for medium, 18 for small).
- Leg Holes:
- Chain 19, slip stitch at the next marker to form the leg opening.

- Leg Rounds:
- Chain 3, double crochet around.
- Repeat for 7 rounds.
- Waistband:
- Chain 3, work front and back post double crochets alternately for 3 rows.
- Finish:
- Add optional waist strings or tassels.
- Secure and weave in all ends.
Troubleshooting and Suggestions
Common Issues:
- Twisted Foundation Chain: To avoid twisting when joining your starting chain, lay the chain flat before slip-stitching it into a loop.
- Uneven Stitching on the Side Straps: Consistency in stitch tension is crucial for clean and even-looking side straps. Take your time when working chain spaces and ensure you’re skipping the correct number of stitches.
- Size Adjustments: For a perfect fit, carefully measure your hip circumference and use stitch markers to divide the shorts proportions correctly. Recheck measurements as you progress.
Suggestions for Customization:
- Color Options: Experiment with variegated yarn or color-blocking to make the design pop. The side straps, in particular, are excellent for adding contrasting colors.
- Added Length and Coverage: Extend the number of rows for the legs or waistband if you prefer more coverage.
- Embellishments: Add decorative tassels, beads, or ribbon ties to the side straps or waistband for a unique touch.
- Alternative Uses: Convert this pattern into a beachwear overlay by using a lightweight cotton yarn or make a matching crop top to create a full set.