Crochet Flower Hairclip Tutorial – Elegance for Hairstyles
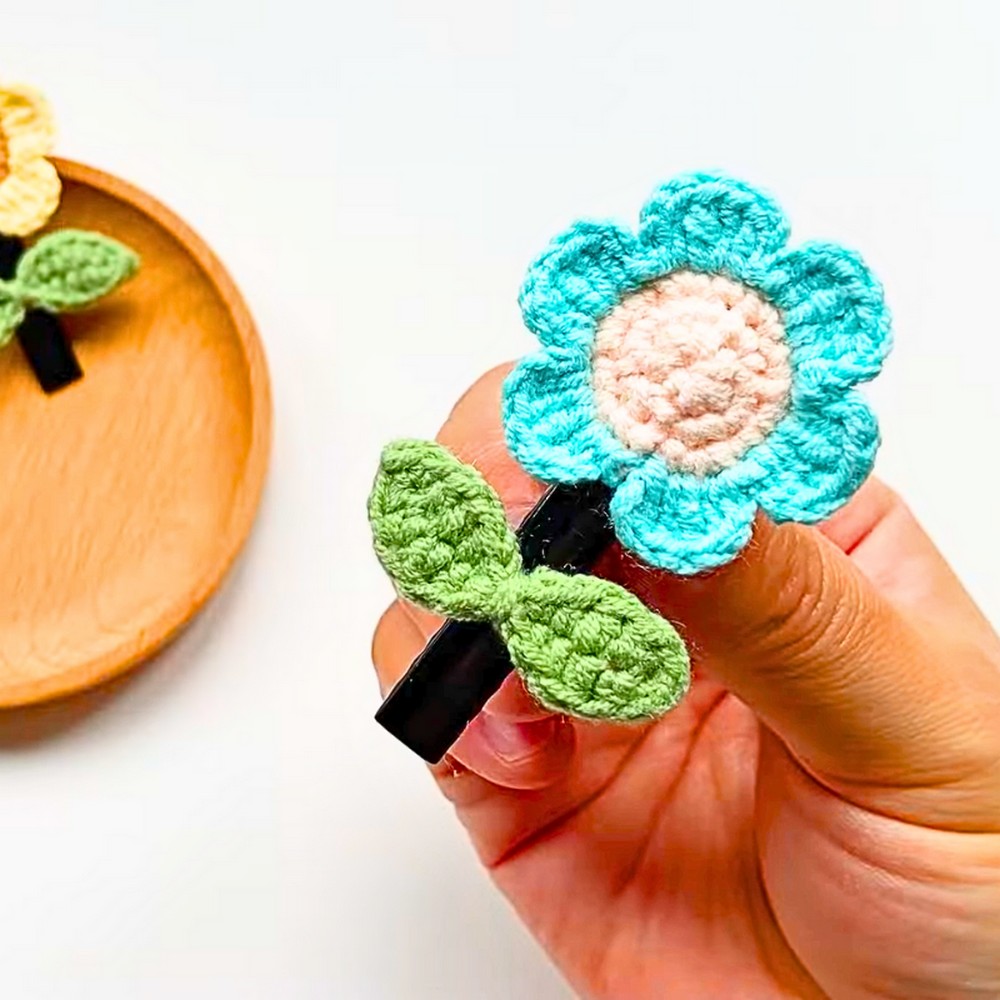
Crochet flower hairclips are the perfect blend of functionality and elegance, offering a handmade touch to your everyday hairstyles. This tutorial is ideal for crafters who enjoy creating accessories that are both practical and visually striking. The design is easy to follow and customizable, allowing you to experiment with vibrant yarn colors to match any outfit or occasion. Whether you’re crafting for yourself or preparing gifts, this tutorial sparks creativity with its simplicity and versatility.
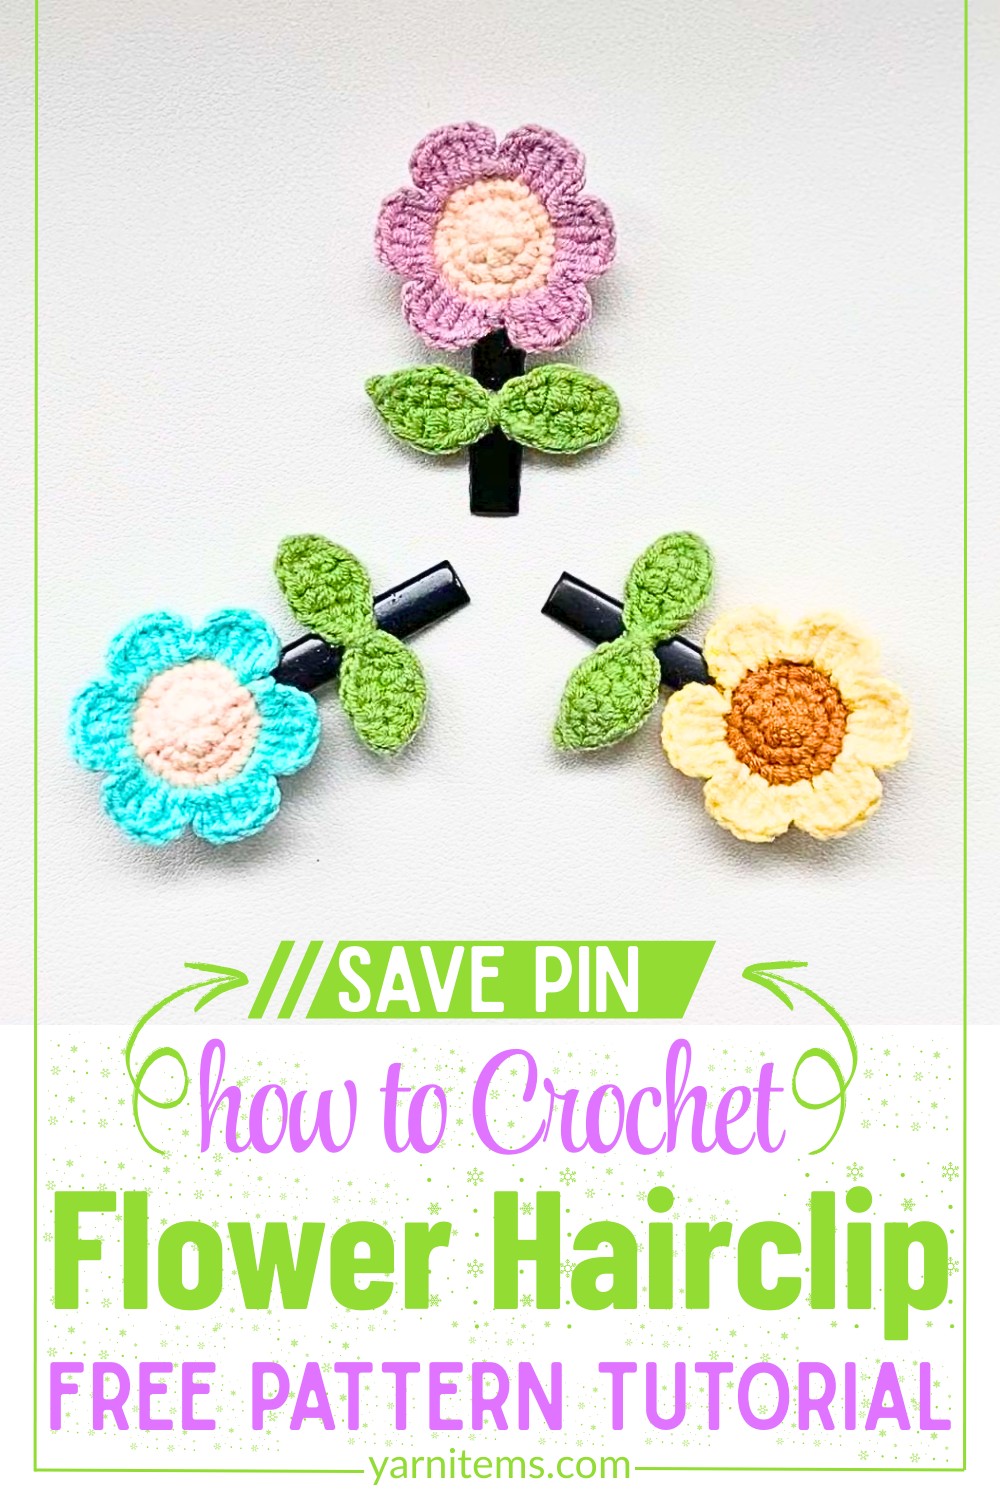
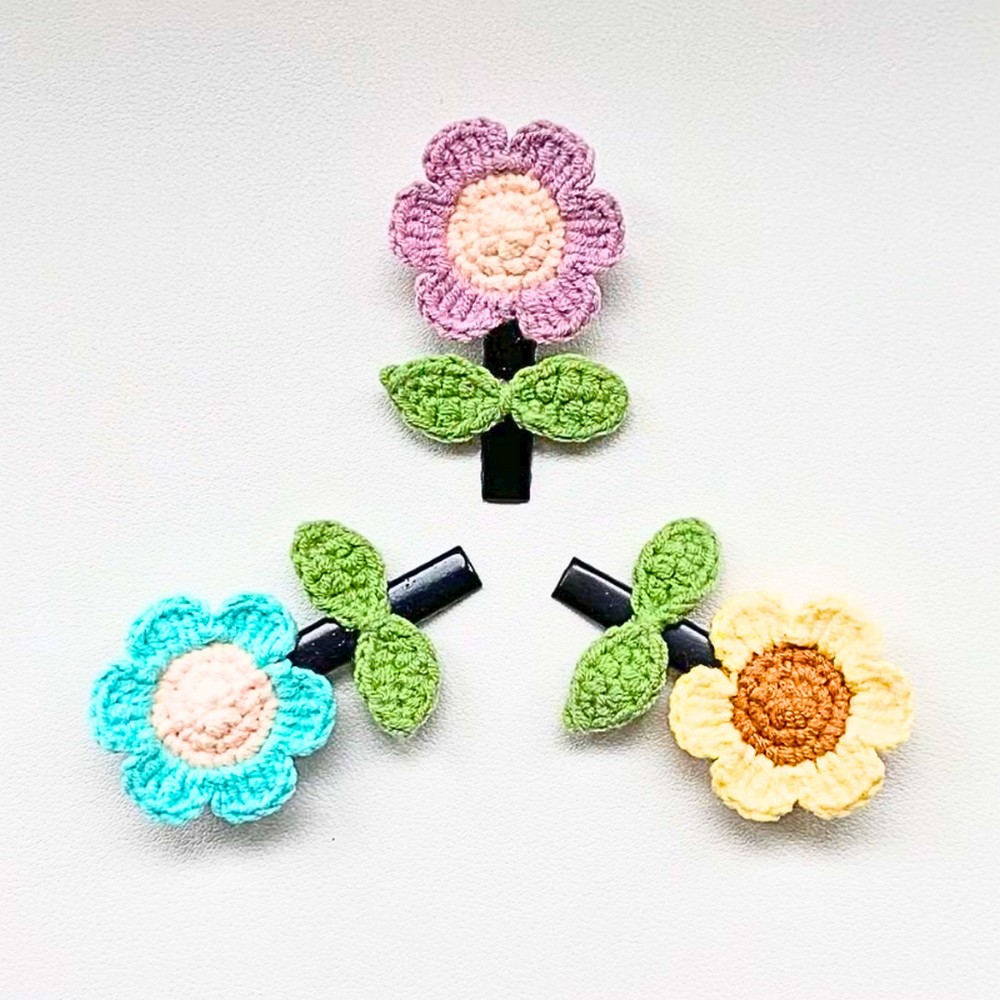
Crochet Flower Hairclip
The step-by-step guidance explores how to alternate petal sizes and shapes for added depth, giving the flower a dynamic appearance. Additionally, the thoughtful use of sturdy yet lightweight materials for the hairclip ensures comfort and durability. Combining intricate craftsmanship with everyday utility, this project is a rewarding experience for both beginners and advanced crafters.
Credit Ada’s Handmade
Tutorial Highlights
- Layered Petal Design: Build gorgeous flower shapes using alternating sizes to create texture and realism.
- Lightweight Base: Focuses on durability while keeping the hairclip comfortable for extended wear.
Step-by-Step Pattern
Materials
For this crochet flower hairclip, you will need the following materials:
- Yarn:
- Petal Color: Choose a vibrant or pastel cotton yarn for the flower petals.
- Center Color: A contrasting or complementary color for the flower’s center.
- 4-ply cotton yarn is recommended for a sturdy yet gentle texture.
- Hook Size: 3.0mm crochet hook to suit the yarn and create tight, precise stitches.
- Optional Tools:
- Hairclip base: A metal or plastic hairclip to attach the flower to.
- Hot glue gun or strong fabric glue for attaching the flower to the hairclip.
- Tapestry needle for sewing and weaving in ends.
- Scissors for cutting yarn.
- Beads or sequins for embellishments if desired.
Stitch Guide
Before beginning, review these basic crochet stitches and techniques:
- Magic Loop: Begin with this technique to create a tight, adjustable center in your starting circle. This is ideal for the flower’s center.
- Single Crochet (sc): Insert the hook into the stitch, yarn over, pull through, yarn over again, and pull through both loops on the hook.
- Double Crochet (dc): Yarn over, insert the hook into the stitch, yarn over again, pull through, yarn over, pull through two loops, yarn over, pull through remaining two loops.
- Slip Stitch (sl st): Insert the hook into the stitch, yarn over, pull through both the stitch and the loop on your hook.
- Chain (ch): Yarn over and pull through the loop on the hook.
- Picot Stitch: Chain 3, then slip-stitch into the first chain to create a small, decorative bump.
Notes
- Gauge: Adjust your hook size or tension to achieve the desired tightness based on the yarn. A tighter gauge ensures the petals will hold their shape well.
- Customization Ideas:
- Mix and match colors for a unique, multi-colored flower.
- Add beads to the center or edge of the petals for a bit of sparkle.
- Make flowers of different sizes by adjusting yarn weight and hook size.
- Assembly Tips: Ensure all ends are securely woven in to prevent unraveling, mainly if the hairclip is used frequently.
Pattern Instructions
Step 1: Create the Flower Center
- Magic Loop: Begin with a magic loop using your chosen center color.
- Round 1:
- Crochet 6 single crochets (sc) into the magic loop. Pull the loop tight.
- Slip stitch (sl st) to the first sc to close the round. Chain 1.
- Round 2:
- Work 2 single crochets (sc) into each stitch around. (12 sc total)
- Slip stitch to the first sc to join.

Step 2: Petal Formation
- Switch to your petal color yarn.
- Round 3:
- Attach yarn with a slip stitch into any stitch.
- (Ch 3, 2 dc, ch 3, sl st) into each stitch around to form petals. Repeat for each of the 12 sc (12 petals total).
- Fasten off and weave in ends using the tapestry needle.

Step 3: Assemble the Hairclip
- Prepare the Hairclip:
- Use a hot glue gun or fabric glue to attach your flower to the hairclip base.
- Ensure the flower is centered and securely glued.
- Embellishments (Optional):
- Add beads or sequins around the flower’s center for added decoration.

Step 4: Finishing Touches
- Check that all ends are securely fastened and trim any excess yarn.
- Allow the glue to dry completely before using the hair clip in your hair.