Unique Crochet Spiderweb Granny Square Pattern For Halloween
Some granny squares blend into a piece, but this one instantly grabs attention. With strands arranged to resemble a delicate spiderweb. The Crochet Spiderweb Granny Square brings a spooky yet elegant touch to blankets, wall hangings, table décor, and other Halloween-inspired pieces.
Its open crochet design creates plenty of visual interest without making the square look overly complicated.
Crochet Spiderweb Granny Square Pattern

If you’ve been looking for a square that’s different from the usual floral or classic styles, this pattern is a fun place to start. The step-by-step instructions break the crochet process into simple rounds. Making it easy to watch the web appear stitch by stitch. Keep scrolling to create a square that adds a striking seasonal detail to your next crochet piece.
Credit Crochet Mili
Materials & Tools Needed
- Yarn: Medium-weight yarn in 2 contrasting colors
(e.g., White for the web and Grey for the border). - Crochet Hook: 4.0 mm (G/6)
- Other Tools: Scissors and a yarn needle (for weaving in ends).
Pattern Abbreviations & Terminology
- ch: Chain
- sc: Single Crochet
- dc: Double Crochet
- sl st: Slip Stitch
- sp: Space

Step-by-Step Crochet Instructions
Base Ring
- Using your first color (White):
- Make a slip knot and ch 7.
- Sl st into the 1st chain to form a ring.
Row 1
- Ch 1.
- Work 12 sc directly into the center of the ring.
- Sl st into the first sc of the row to join.
(Stitch count: 12 sc)
Row 2
- Ch 5 (counts as 1 dc + 1 ch-2 space).
- Work 1 dc into the next stitch, then ch 2.
- Repeat [1 dc into the next stitch, ch 2] in each stitch around.
- Sl st into the 3rd chain of your initial ch-5 to join.
- (Stitch count: 12 dc columns separated by ch-2 spaces)

Row 3
- Ch 6 (counts as 1 dc + ch-3 space).
- Work 1 dc into the top of the next dc from the previous row, then ch 3.
- Repeat [1 dc into the top of the next dc, ch 3] all the way around.
- Sl st into the 3rd chain of your starting ch-6 to join.
(Stitch count: 12 dc columns separated by ch-3 spaces)
Row 4
- Ch 7 (counts as 1 dc + ch-4 space).
- Work 1 dc into the top of the next dc from the previous row, then ch 4.
- Repeat [1 dc into the top of the next dc, ch 4] all the way around.
- Sl st into the 3rd chain of your starting ch-7 to join.
(Stitch count: 12 dc columns separated by ch-4 spaces)
Row 5
- Ch 8 (counts as 1 dc + ch-5 space).
- Work 1 dc into the top of the next dc from the previous row, then ch 5.
- Repeat [1 dc into the top of the next dc, ch 5] all the way around.
- Sl st into the 3rd chain of your starting ch-8 to join.
(Stitch count: 12 dc columns separated by ch-5 spaces)
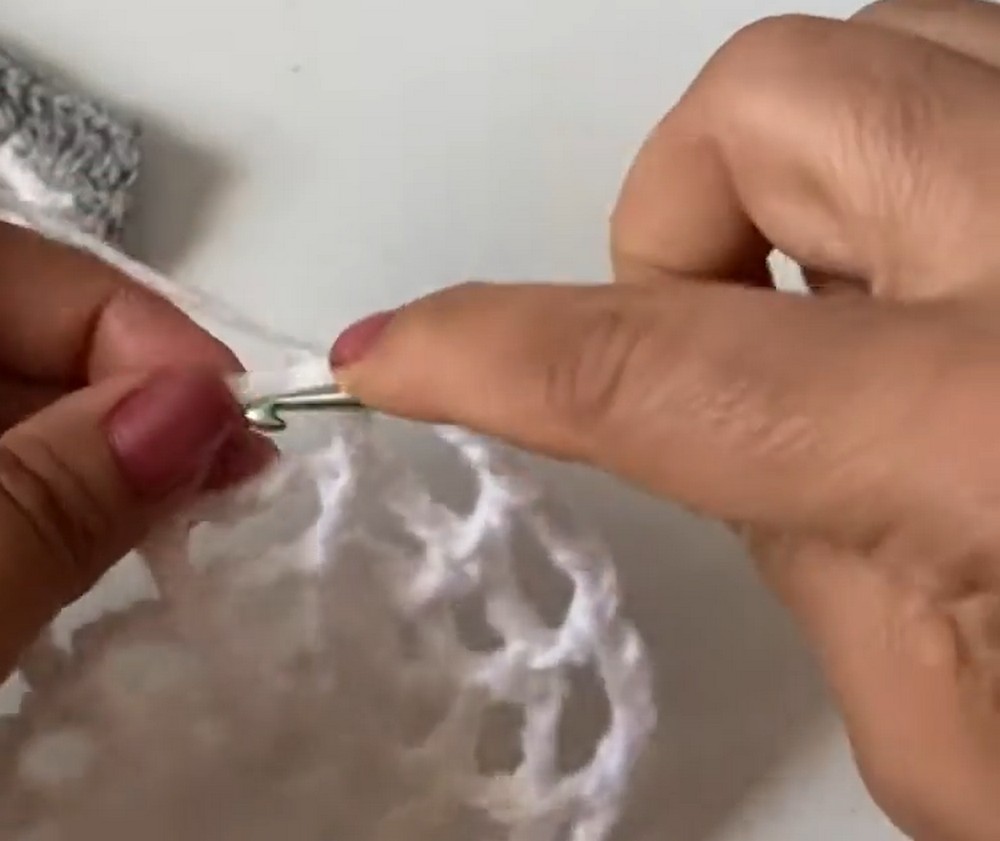
Row 6 (Squaring off the circle)
- Sl st into the next ch-5 space to position your hook.
- Ch 1, then work 5 sc into the same space.
- Work 5 sc into the next ch-5 space.
- In the third ch-5 space, create a corner: 3 sc, ch 2, 3 sc.
- Repeat this sequence around:
- [5 sc in next space, 5 sc in next space, (3 sc, ch 2, 3 sc) in next space] three more times.
- Sl st into the very first sc to join.
- Cut your yarn and fasten off.
Row 7 (The Border)
Using your second color (Grey):
- Join into any ch-2 corner space from Row 6.
- Ch 3 (counts as 1 dc), then work 1 dc, ch 2, 2 dc into the same corner space.
- Work 1 dc into every stitch along the flat side until you reach the next corner.
- In each ch-2 corner space, work 2 dc, ch 2, 2 dc.
- Continue working 1 dc into every stitch on the sides and repeat the corner sequence at each corner.
- Sl st into the 3rd chain of your starting ch-3 to join.
- Cut your yarn, fasten off, and weave in all loose ends.

Finished Size & Customization Ideas
Aesthetic Tweaks
- Create a Halloween version with a white web, black border, and an embroidered purple/orange spider on top.
- Use neon or rainbow yarn for a kaleidoscopic effect.
Sizing Up
For a larger square (e.g., a tote bag or blanket):
- Repeat the same pattern logic in Rows 2–5.
- Increase the chains between the dc stitches by +1 for each additional round (e.g., ch-6 space, then ch-7 space, etc.) before squaring off.