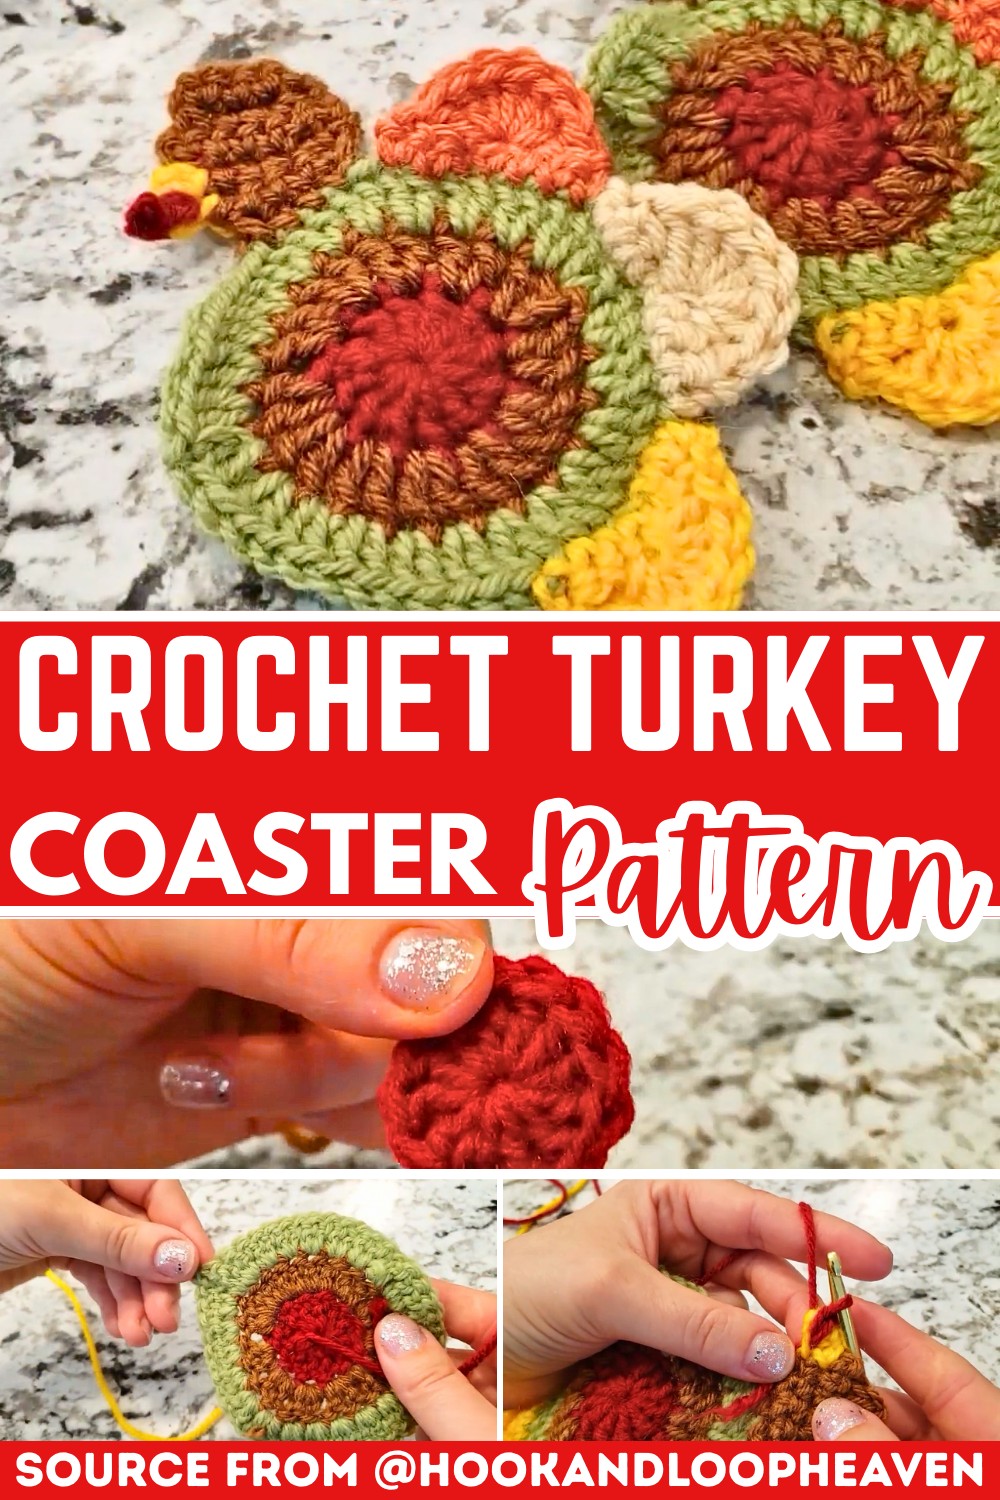
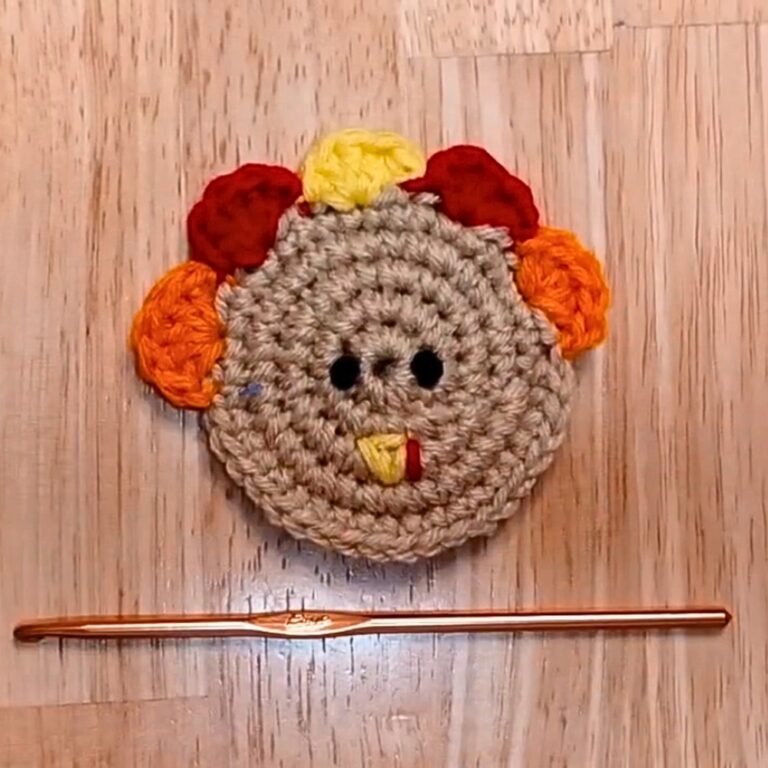
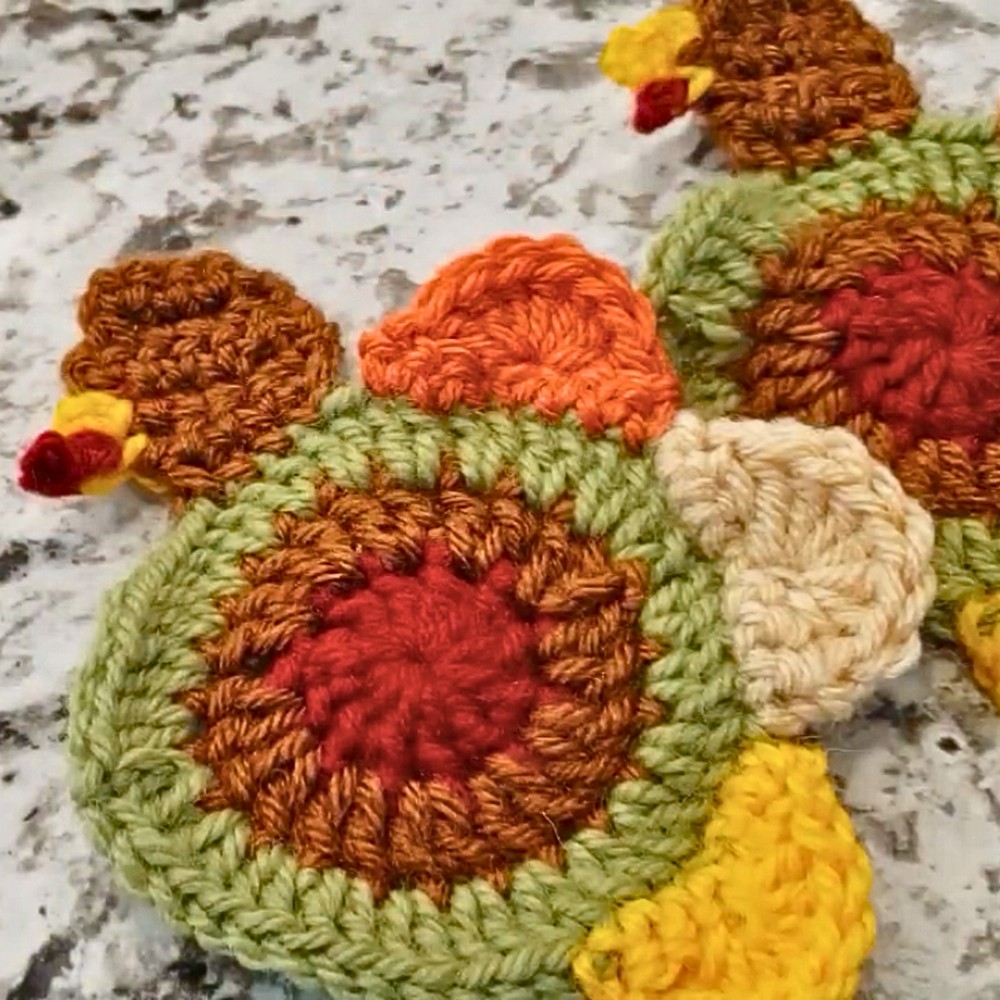
A colorful crochet turkey coaster is a simple way to bring a playful fall accent to your table without making a big decorating piece. The bright fan of feathers, rounded shape, and cheerful turkey face turn an everyday coaster into a seasonal piece that instantly catches the eye. Whether it’s placed under a favorite mug or arranged with your Thanksgiving table setting. This handmade crochet design adds a warm touch that feels festive from the moment it’s finished.
Crochet Turkey Coaster Tutorial

This colorful turkey coaster pattern breaks the crochet piece into small, easy sections. Making it simple to follow from the first stitch to the final detail. You’ll build the turkey one piece at a time, adding layers of colorful feathers before finishing the face and other small accents that bring it to life. By the end, you’ll have a coaster that’s as enjoyable to display as it is to crochet. And the next step shows exactly how it all comes together.
Credit HookAndLoopHeaven
Materials & Tools Needed
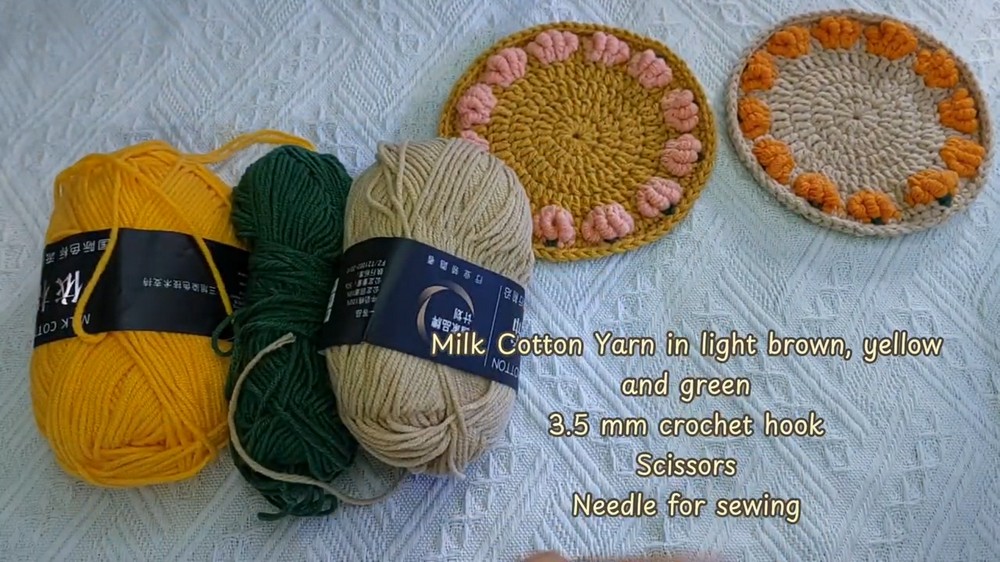
- Yarn: Lion Brand Vanna’s Choice (6 different colors). You can swap for any worsted-weight yarn.
- Crochet Hook: Size H (5 mm).
- Scissors
- Tapestry needle (for sewing ends)
Finished Size & Customization Ideas
- Finished Size: Approximately 6-7 inches in diameter (depending on yarn tension).
- Customization Ideas:
- Use traditional fall colors (brown, orange, yellow, red).
- Create a monochrome coaster by using the same color throughout.
- Add glitter yarn or textured yarn for a unique effect.
Pattern Abbreviations & Terminology
- ch: Chain
- dc: Double crochet
- sc: Single crochet
- sl st: Slip stitch
- st(s): Stitch(es)
- magic ring: An adjustable ring used to start crochet in the round.
Step-by-Step Detailed Crochet Instructions
Turkey Body
- Round 1 (Body Base):
- Make a magic ring, then ch 3 (this counts as your first dc).
- Crochet 11 dc inside the ring (12 total including starting ch-3).
- Join with a sl st to the top of the beginning ch-3.
- Round 2:
- Attach the second color to any stitch with a sl st, then ch 3.
- Crochet 2 dc into each stitch around (24 total).
- Join with a sl st to the top of the beginning ch-3.
- Round 3:
- Attach the third color to any stitch with a sl st, then ch 3.
- Crochet 2 dc into each stitch around (48 total).
- Join with a sl st to the top of the beginning ch-3.
Turkey Feathers
- Feather Foundation (Repeat for 6 Colors):
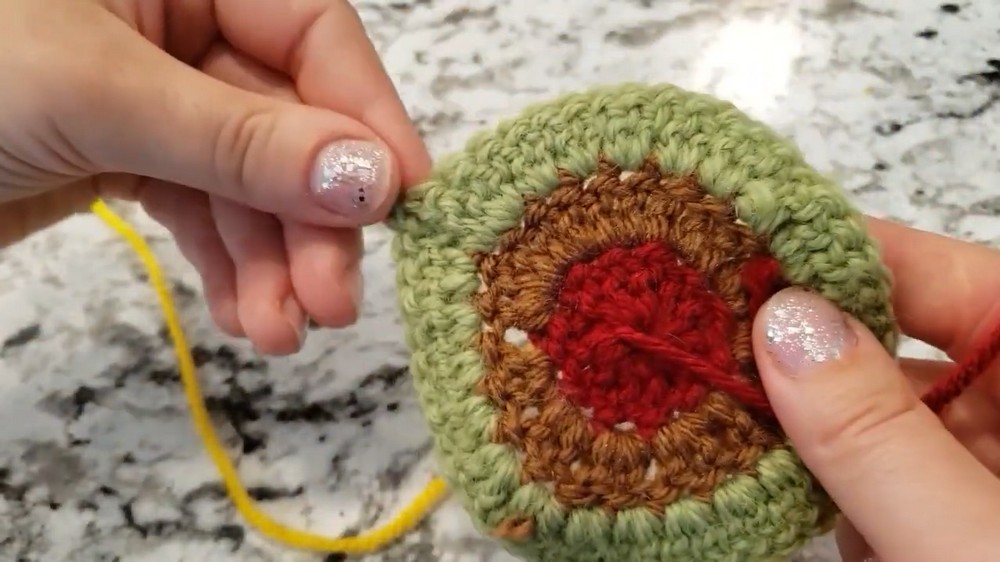
- Start on the wrong side of the body. Attach the first feather color into the seventh stitch with a sl st.
- Ch 1, then sc into the same stitch.
- Crochet sc into the next 6 stitches (7 sc total across the foundation).
- Feather Shape:
- Turn, then ch 1. Skip 3 sts and crochet 7 dc into the fourth stitch.
- Skip 2 sts, and sl st into the next stitch to complete the feather.
- Fasten off and weave in ends.
- Repeat this process for all colors (place 6 feathers evenly around the body).

Turkey Head
- Foundation (worked in a circular shape):
- Attach yarn at the edge of the turkey body where the head will be positioned.
- Ch 1, then crochet 4 sc aligned across 4 body stitches.
- Turn, then ch 1 and crochet 4 sc across.
- Increase Row:
- Turn, then ch 1.
- Crochet 2 sc into the first stitch, then sc into the next 2 stitches.
- Crochet 2 sc into the final stitch (6 total).
- Shaping Row:
- Turn, then ch 1.
- Crochet 1 sc into each of the 6 stitches (no increases).
- Decrease Row:
- Turn, then ch 1.
- Crochet sc decrease over the first 2 stitches.
- Crochet sc into the next 2 stitches.
- Crochet sc decrease over the last 2 stitches (4 total).
- Final Shaping Row:
- Turn, then ch 1.
- Crochet sc into all 4 stitches.
- Fasten off and weave in ends.
Turkey Beak
- Beak Foundation:
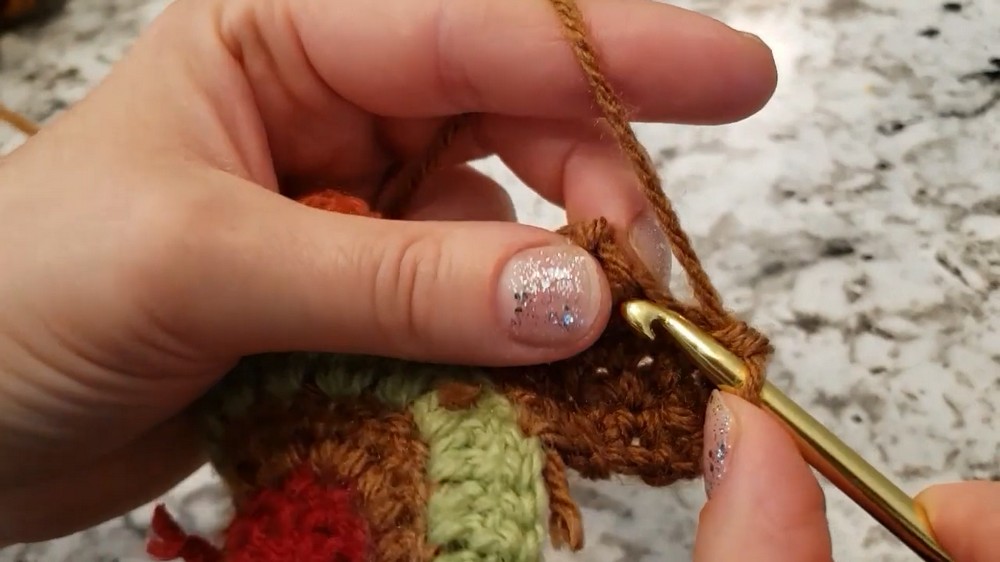
- Locate the middle stitch of the head.
- Attach yarn and ch 1.
- Crochet 1 sc into the same stitch and 1 more into the next adjacent stitch.
- Decrease:
- Turn, then ch 1.
- Crochet sc decrease over the 2 stitches.
- Fasten off and weave in ends.
Turkey Wattle
- Locate Placement:
- Locate a stitch near the side of the head, slightly below the beak.
- Crochet Wattle:
- Attach red yarn and sl st to the identified stitch.
- Ch 3, and sl st back into the same stitch.
- Fasten off and weave in ends.

Finishing
- Weave Ends: Use a tapestry needle to sew in all loose yarn ends neatly and securely.
- Blocking: If needed, gently block the coaster to shape it properly.