Wonky Crochet Square Motif – Free Pattern & Guide
Turn colorful yarn scraps into a playful wonky crochet square with a spiral-inspired center, textured stitches, and expanding square corners.
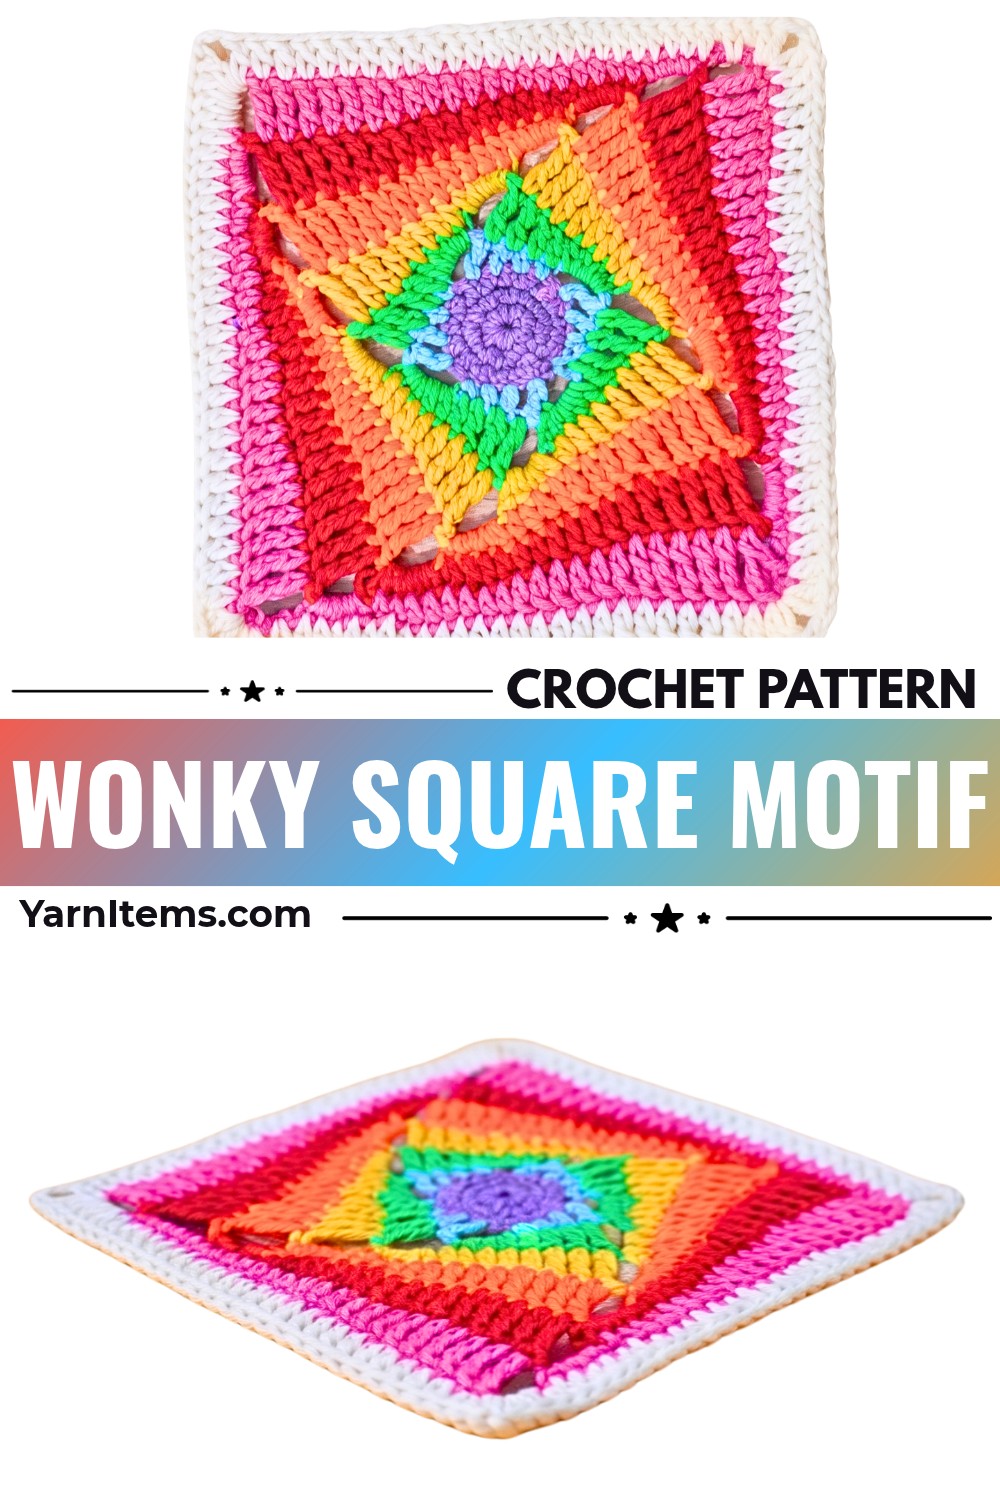
Unusual stitch heights and changing yarn colors give this wonky crochet square its distinctive snail-like or spiral appearance. Unlike a traditional granny square, this design mixes single, half double, double, and triple crochet stitches to create an interesting center that gradually develops into a square.
Start with a small ring, build the first color sections, and introduce chain-4 corners as the motif grows. You can stop after a few rows for a small decorative square or continue expanding it for larger handmade crochet pieces. Use several colors to emphasize the spiral effect, or choose leftover yarn shades for a colorful stash-friendly design.
Credit Simple Crochet
Materials & Tools Needed
- Yarn: Multiple colors of yarn. Multicolor or scrap yarn works especially well to highlight the unique snail/spiral motif.
- Crochet Hook: Choose a hook suitable for your selected yarn weight, typically a standard hook matching your yarn label (for example, 3.5 mm to 4.5 mm).
- Tapestry / Yarn Needle: For weaving in ends and seamless invisible joins.
- Scissors: For cutting yarn between color changes.
Finished Size & Ways to Customize Your Square
One of the useful features of this motif is that its size is flexible. You can stop at any completed row to make a small square or continue adding rows to create a larger design.
Here are a few ways to use your finished motifs:
- Baby Blankets: Join multiple squares to make a colorful blanket.
- Sofa Throws: Combine larger motifs for a cozy throw.
- Tote Bags: Use joined squares to create a textured bag.
- Cardigans and Garments: Incorporate the motifs into handmade clothing.
Color ideas: Using two or more alternating colors helps the spiral or snail-like center stand out. You can also use a different color for every row to create a playful patchwork effect.
Pattern Abbreviations & Terminology
- Ch: Chain
- Sl St: Slip stitch
- Sc: Single crochet
- Hdc: Half double crochet
- Dc: Double crochet
- Tr: Triple (treble) crochet
- St(s): Stitch(es)
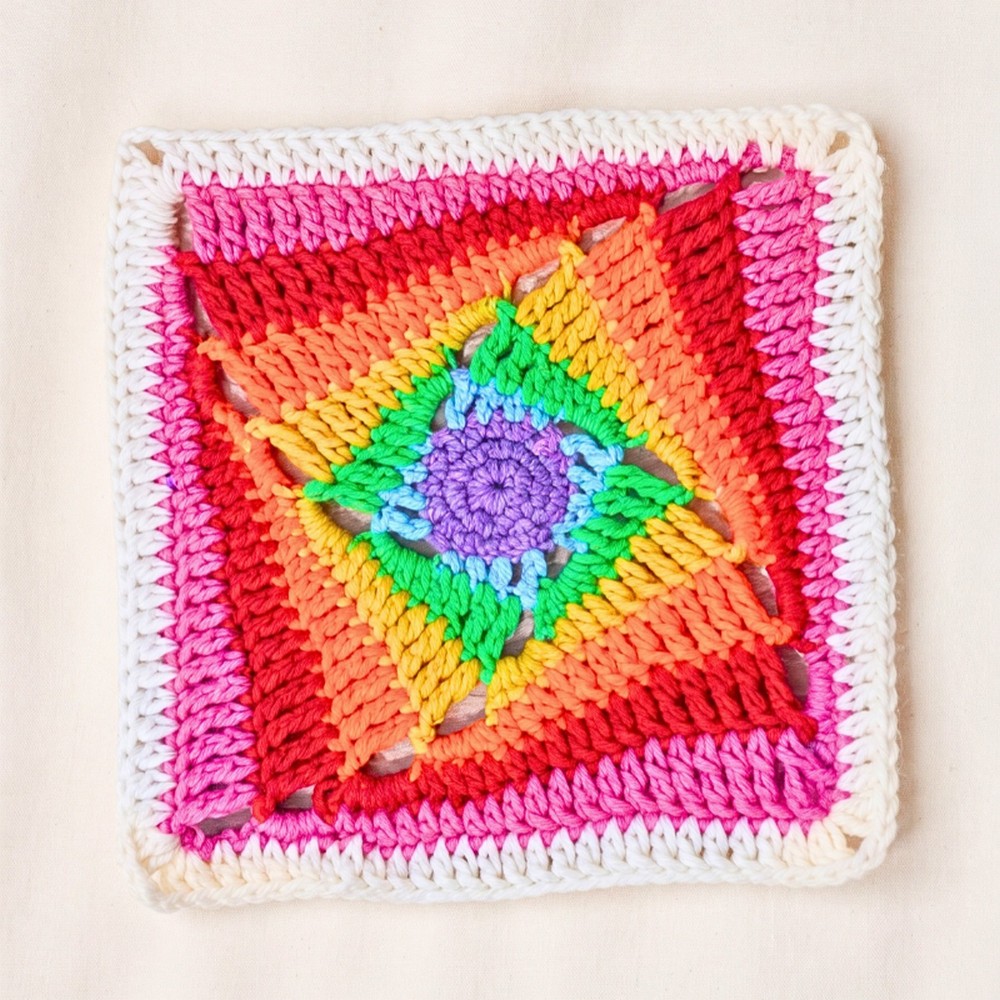
Step-by-Step Wonky Square Crochet Pattern
Center Ring & Row 1
Begin with a small center ring. The first round creates the foundation for the rest of the motif.
- Step 1: Make a slip knot and chain 2.
- Step 2: Work 8 single crochets into the first chain loop.
- Step 3: Join with a slip stitch to the first stitch.
(Stitch count: 8 single crochets)
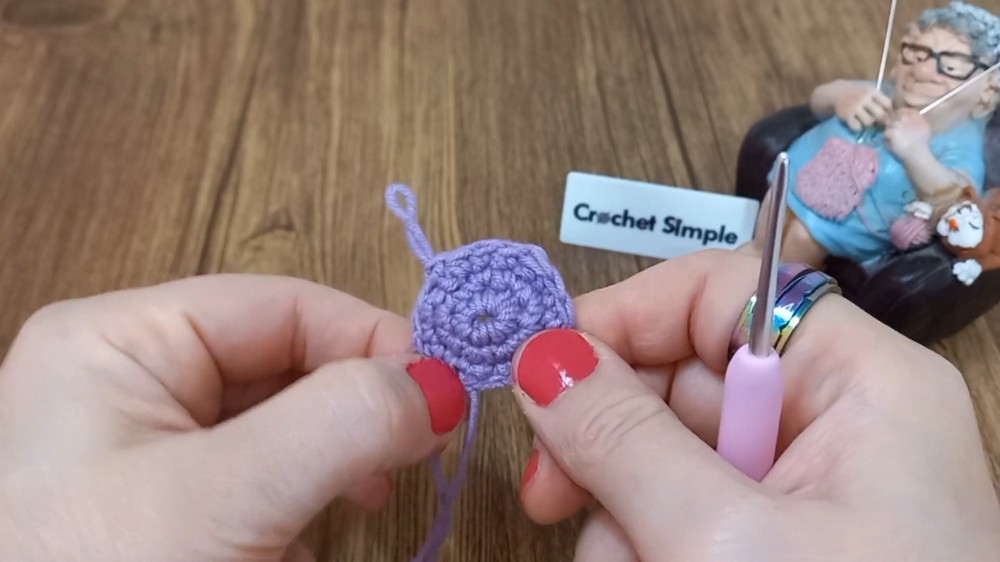
Row 2: Increasing Stitches
Use the second row to increase the number of stitches evenly around the center.
- Step 1: Chain 1.
- Step 2: Work 2 single crochets into each stitch all the way around.
- Step 3: Join with a slip stitch to the first stitch.
- Step 4: Cut yarn, fasten off, and weave in tails invisibly using a tapestry needle.
(Stitch count: 16 single crochets)
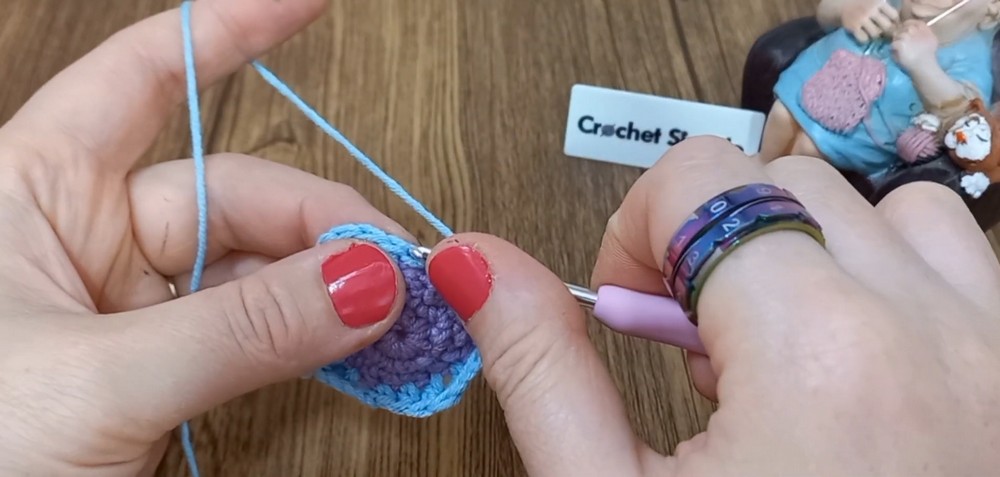
Row 3: Establishing Square Corners
Join your next yarn color to begin introducing the different stitch heights. This combination helps establish the square-like shape.
- Step 1: Join your next color. Chain 3 (counts as 1 double crochet).
- Step 2: Work 1 half double crochet into the next stitch, 1 single crochet into the next stitch, 1 half double crochet into the next stitch, and 1 double crochet into the next stitch.
- Step 3: Repeat this 4-stitch sequence around to form the square corners:
(1 half double crochet, 1 single crochet, 1 half double crochet, 1 double crochet). - Step 4: Join with a slip stitch to the third chain, cut the yarn, fasten off, and weave in the tail.
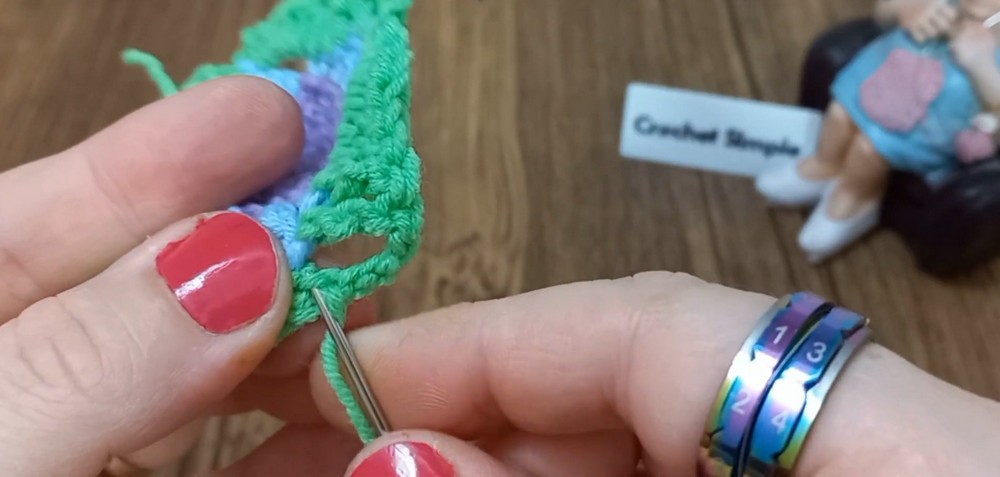
Row 4: Introducing Triple Stitches & Corners
The next color introduces triple crochet stitches and chain-4 spaces. These chain spaces become the corners for the expanding square.
- Step 1: Start from any stitch with a new color and make a slip knot on your hook. Make 1 chain.
- Step 2: Work 1 half double crochet into the next stitch, 1 double crochet into the next stitch, and 1 triple stitch into the next stitch.
- Step 3: Chain 4 to form the corner space, then work 1 single crochet into the next stitch.
- Step 4: Repeat this sequence around:
(1 hdc, 1 dc, 1 tr, ch 4, 1 sc). - Step 5: Join with a slip stitch to the first stitch, cut yarn, and fasten off.

Rows 5-7+: Expanding the Square
Continue adding new color rounds to enlarge the motif. As the square grows, the stitch counts along the sides increase while the chain-4 spaces remain at the corners.
Row 5 pattern example:
- Start in the chain-4 space with a new color.
- Work
3 single crochetsinto the chain space. - Work
1 half double crochet. - Continue with increasing runs of half double crochets, double crochets, and triple stitches along the sides.
- Separate the sides with
ch 4at the corners.
Row 6 and beyond:
- Increase the number of single crochets in the corner chain space (for example, 4 single crochets).
- Match the expanding counts of hdc, dc, and tr stitches along each side as the motif grows.
- Continue keeping the chain-4 spaces at the corners.
The exact stitch counts and complete stitch-by-stitch sequences for these additional rows are not specified in the supplied pattern, so use the original tutorial or chart for the precise placement of each increase.
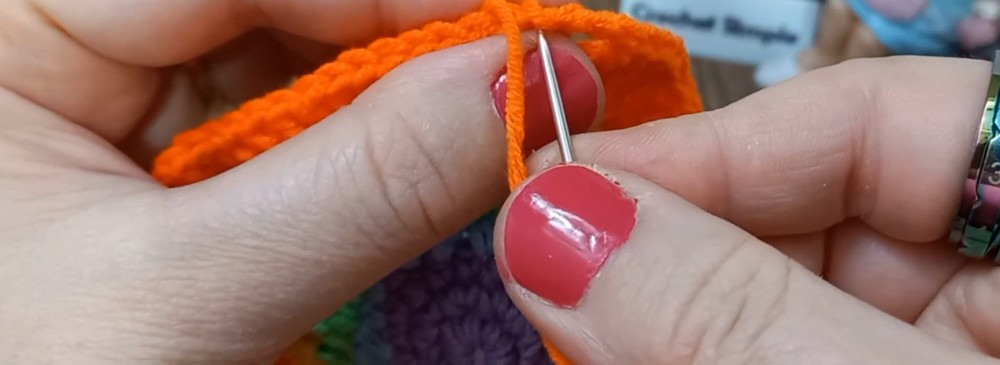
Optional Final Border Row
When your square reaches the desired size, you can add a final border to give the edges a more defined finish.
- Start from a chain space and make 3 chains (counts as 1 double crochet) and 3 more double crochets into the same chain space.
- Work 1 double crochet into each stitch across the side.
- In each corner chain space, work (1 double crochet, 3 chains, 4 double crochets).
- Continue around and finish with an invisible join.
Assembly & Finishing Techniques
Once you have made the desired number of motifs, you can join them together or finish individual squares for separate uses.
Joining Multiple Motifs
- Crochet multiple wonky squares to your desired size.
- Align the motifs edge-to-edge, matching their sides and corners.
- Join them using your preferred method, such as:
- Whip Stitch: Sew the edges together with a tapestry needle.
- Slip Stitch Join: Join the squares from the wrong side using slip stitches.
- Flat Braid Join: Use a decorative joining method to connect the motifs.
Choose a joining method that complements the finished fabric and keeps the squares aligned.
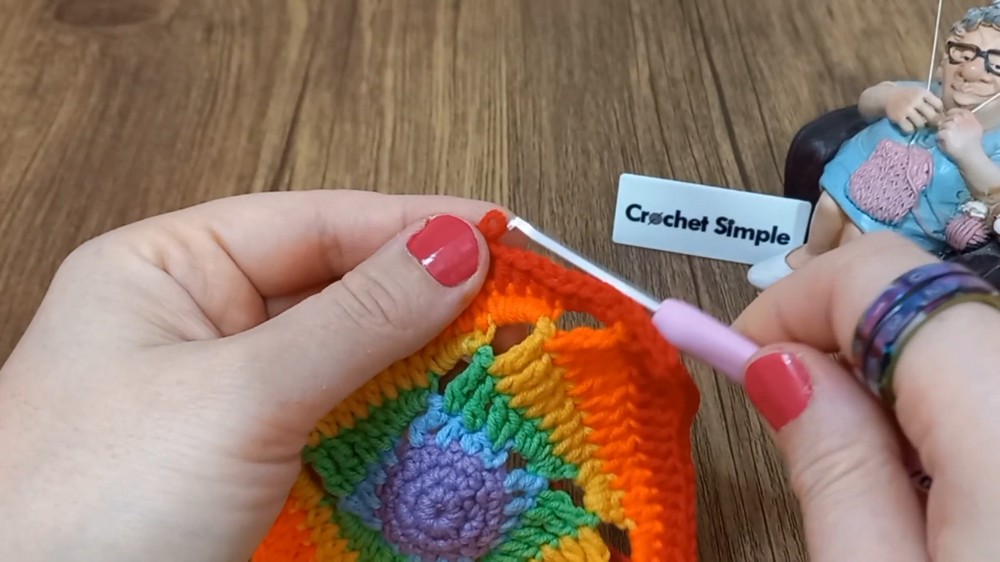
Blocking Your Squares
Lightly steam-press the finished motifs with a steam iron (or wet block them) to flatten the edges and crisp up the square corners.
Blocking can help the motifs sit more evenly, especially when you plan to join several squares into a larger piece.
Weaving in Yarn Ends
Thread each yarn tail through a tapestry needle and weave it securely through the back loops of the stitches before trimming. This keeps the back of the motif tidy and helps prevent loose ends from showing along the edges.
Keeping the Spiral Colors Distinct
Color placement makes a noticeable difference in this motif. If you want the snail-like center to stand out, choose contrasting shades for neighboring rows rather than using colors that blend together.
For example, alternate a bright color with a darker shade, or use three or four colors in a repeating sequence. When working with scrap yarn, arrange the colors before starting so you can see how they look together.
Keep the yarn tails on the back of the motif and weave them in securely after each color change. This helps the front display the stitch texture and color transitions without distracting loose ends.
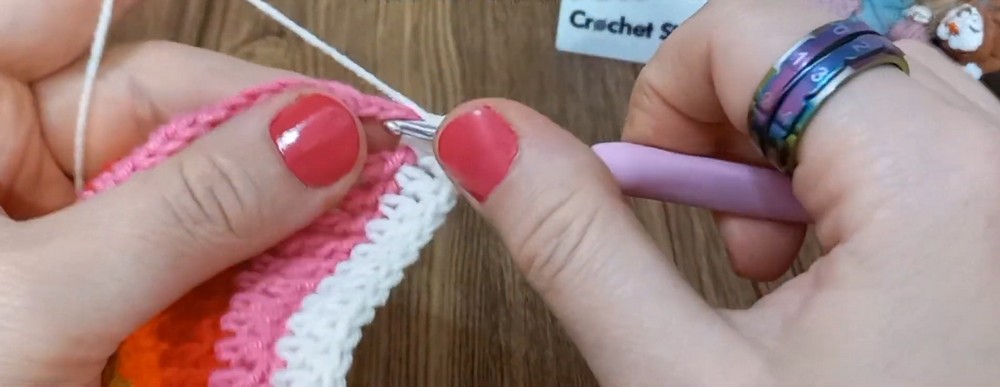
What Can You Make with Wonky Crochet Squares?
Once you have a collection of finished motifs, arrange them into different combinations before joining them. You can use the squares to make a baby blanket, sofa throw, tote bag, cardigan, or other colorful handmade garment.
For a coordinated look, repeat the same color sequence across all the motifs. For a more playful result, change the color order from square to square while keeping the same stitch pattern.