Easy Crochet Pumpkin Coaster Pattern for Fall Decor
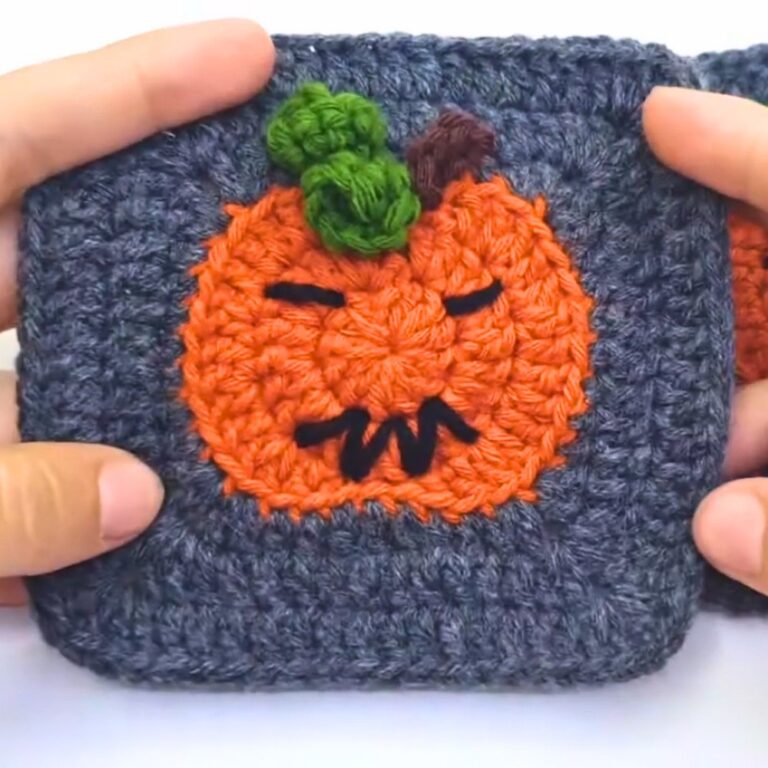
A simple mug instantly feels more festive when it rests on a handmade pumpkin coaster. This crochet design transforms an everyday table accessory into cheerful Fall décor.
With two distinct pumpkin shapes to choose from: one round and plump, the other taller and more classic. If you’re looking for a seasonal crochet piece that’s quick to finish and enjoyable to use, this pattern is a wonderful place to begin.
Crochet Pumpkin Coaster Pattern
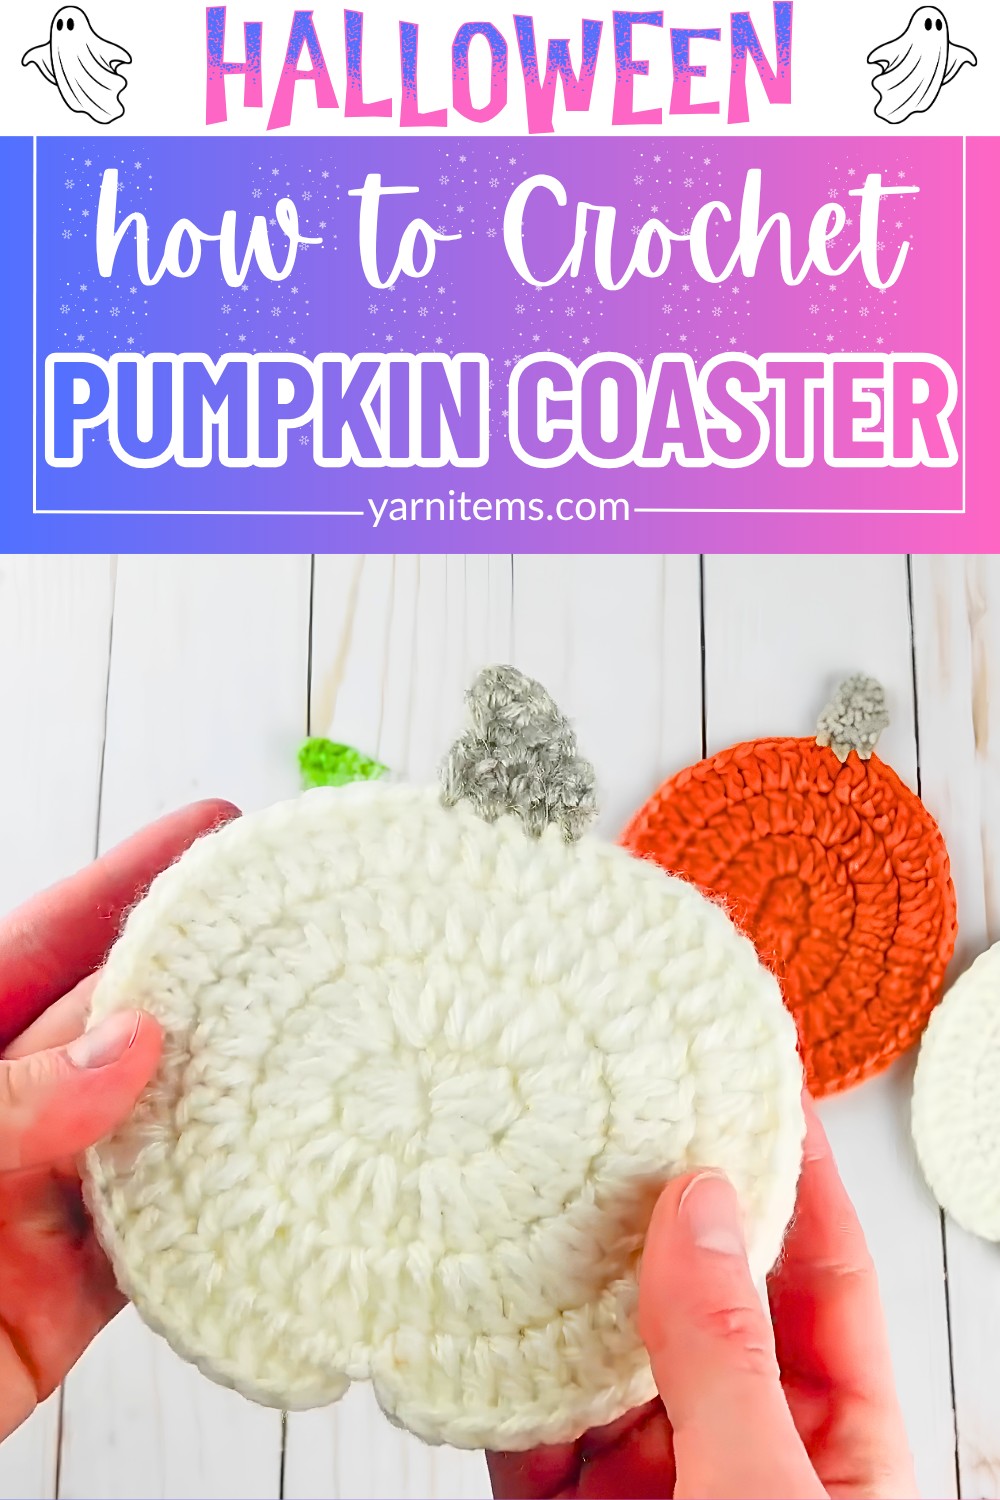
The instructions walk you through creating the oval base before showing the small changes that shape each crochet pumpkin style. You’ll also learn how to add either a straight or gently curved stem for the finishing touch. Gather a few autumn-colored yarns, follow the steps at your own crochet pace. And you’ll soon have a collection of festive coasters ready for Thanksgiving tables, coffee breaks, or thoughtful handmade gifts.
Credit Desert Blossom Crafts
Materials & Tools Needed
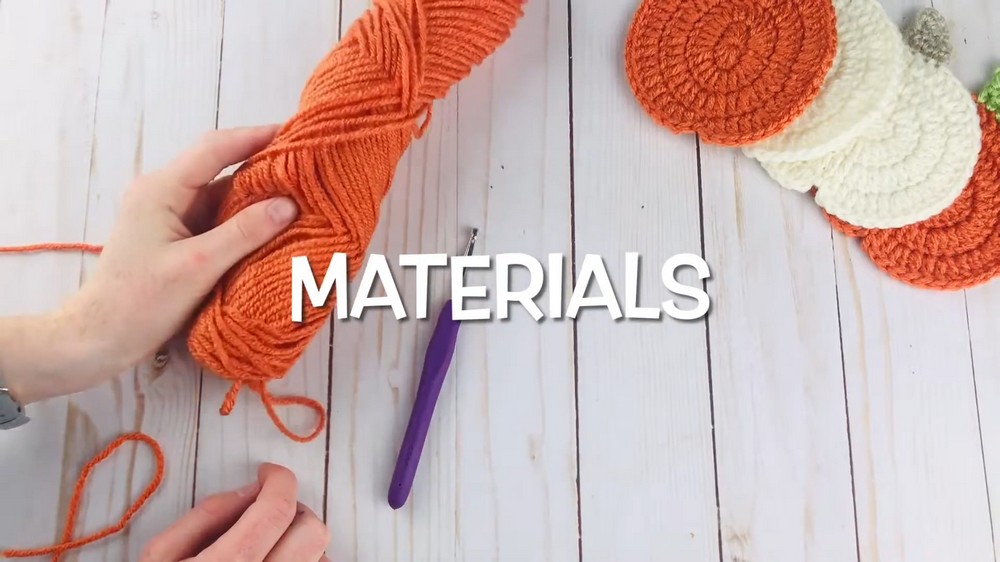
- Yarn: Worsted weight yarn in the following colors:
- Orange or cream for the pumpkin base
- Brown or green for the stem
- Hook: 5.0mm (H/8) hook
- Other Tools:
- Stitch marker (optional but helpful)
- Scissors
- Yarn needle (for weaving in ends)
Finished Size & Customization Ideas
- Finished Size:
Approximately 4–5 inches across (depending on gauge and tension). - Customization Ideas:
- Create multiple pumpkins in different shades like orange, cream, or even yellow for variety.
- Make the stems in green or brown for realistic detail.
- Add embellishments like embroidery (e.g., a vine or leaf) for extra flair.
Pattern Abbreviations & Terminology
- ch: Chain
- sc: Single Crochet
- hdc: Half Double Crochet
- dc: Double Crochet
- sl st: Slip Stitch
- inc: Increase (2 stitches worked into the same stitch)
- st(s): Stitch(es)
Note: This pattern uses US crochet terms and is worked in rounds.

Step-by-Step Crochet Instructions:
This pattern breaks down the instructions for two styles of pumpkin coasters:
-
Short and Wide Pumpkin
-
Tall and Narrow Pumpkin
Base Pumpkin Instructions (Rounds 1–3)
- Round 1: Create a magic ring. Into the magic ring, crochet in this sequence:
- 1 sc, 1 hdc, 2 dc, 1 hdc, 2 sc.
- Repeat: 1 hdc, 2 dc, 1 hdc, 1 sc.
- Tighten the magic ring and sl st into the first sc to join.
Stitch Count: 12 sts.
- Round 2: Ch 2 (does not count as a stitch).
- 2 dc in the same st as the sl st.
- 2 dc in every st around.
- Sl st into the first dc to join. Pull slip stitch tight.
Stitch Count: 24 sts.
- Round 3: Ch 2 (does not count as a stitch).
- 1 dc in the same st as the sl st.
- 2 dc in the next st, 1 dc in the next st. Repeat from * to * around.
- Sl st into the first dc to join. Pull slip stitch tight.
Stitch Count: 36 sts.
Round 4 – Shape Selection
- Follow the section for either Short and Wide Pumpkin or Tall and Narrow Pumpkin based on your preference.

Short and Wide Pumpkin (Round 4)
This version places the seam along the bottom center of the coaster.
- Do NOT chain. Instead:
- Work 1 dc directly into the same st as the sl st (this is the first half of the “blip” detail).
- Continue the pattern: 2 dc in the next st, 1 dc in the next 2 sts. Repeat from * around.
- At the end of the round, sl st into the same st as the first dc.
- Then sl st into the very first sl st (leave this one looser for ease).
- Finish off and fasten yarn.
Tall and Narrow Pumpkin (Round 4)
This version places the seam along the side of the coaster.
- Ch 2.
- Continue the pattern: 1 dc in the next 2 sts, 2 dc in the same st. Repeat from * around.
- After working approximately 1/3 of the way around.
- Place a stitch marker in the indicated stitch for stem placement. Follow:
- Repeat the pattern across the remainder of the round.
- Use a sl st to make the “blip” and join the seam.
- Finish off and fasten yarn.

Creating the Pumpkin Stem
Tall and Straight Stem
- Join stem color yarn with a sl st in the marked st.
- In the same marked stitch:
- 1 sc in the marked st.
- 1 sc between the next two dc stitches.
- 1 sc in the next dc stitch.
Stitch Count: 3 sc.
- Ch 1, turn. Work 3 sc across.
- Ch 1, turn. Work a sc2tog over the first 2 sts, and 1 sc in the last st.
- Ch 1, turn. Sl st into the second st. Fasten off.
Short and Curved Stem
- Join stem color yarn with a sl st in the marked st.
- In the same marked stitch:
- 1 sc in the marked st.
- 1 sc in each of the next 3 sts.
Stitch Count: 4 sc.
- Ch 1, turn. Work 4 sc across.
- Ch 1, turn. Skip the first st. Work 2 sc in the last st.
- Ch 1, turn. Work 2 sc in the first st. Then sc3tog across the last 3 sts. Fasten off.
Finishing Touches:
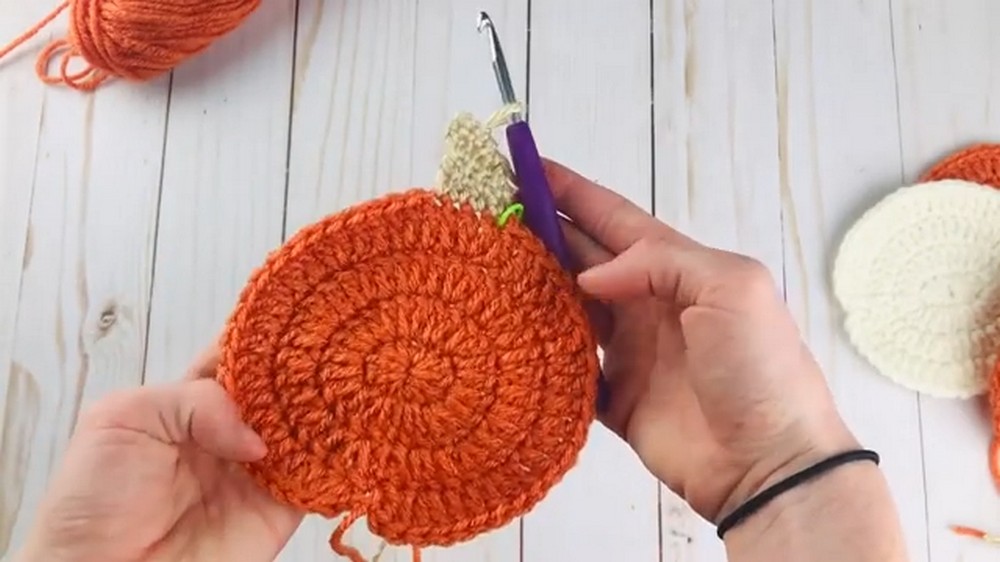
- Weave in all ends: Use a yarn needle to tuck all loose ends neatly into the back of the piece.
- Block your coaster: Lightly steam block the pumpkin coaster to help it lay flat and retain its shape.
Display and Enjoy
Your Festive Crochet Pumpkin Coasters are ready to be used as Fall or Thanksgiving decor. Make a set of both styles for variety or gift them to friends and family.